Salesforce CRM
Integrating Smartflo with Salesforce can transform your business operations, enhancing both sales and customer support processes. Experience seamless call management, click-to-call functionality, and much more. This integration not only streamlines your workflows but also boosts productivity and enhances customer engagement.
Get Started
Follow the below-mentioned steps to successfully integrate your Salesforce CRM with Smartflo.
- Log into your Smartflo Account.
-
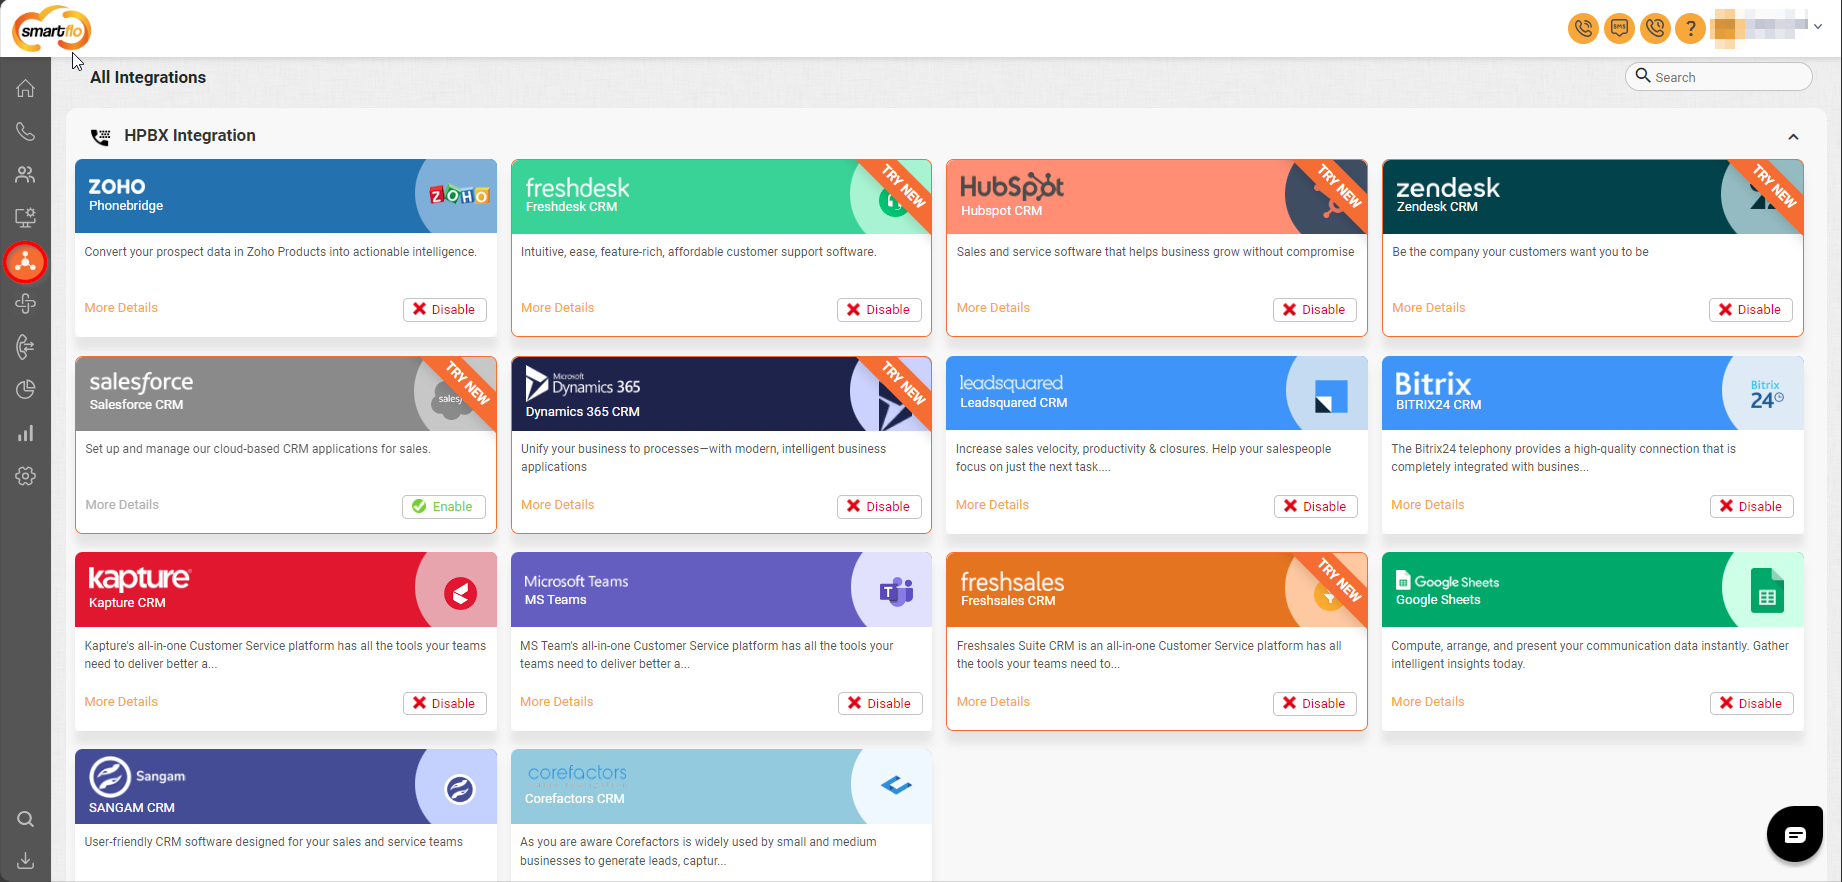
Navigate to the Integrations Tab from the side-navigation panel.
-
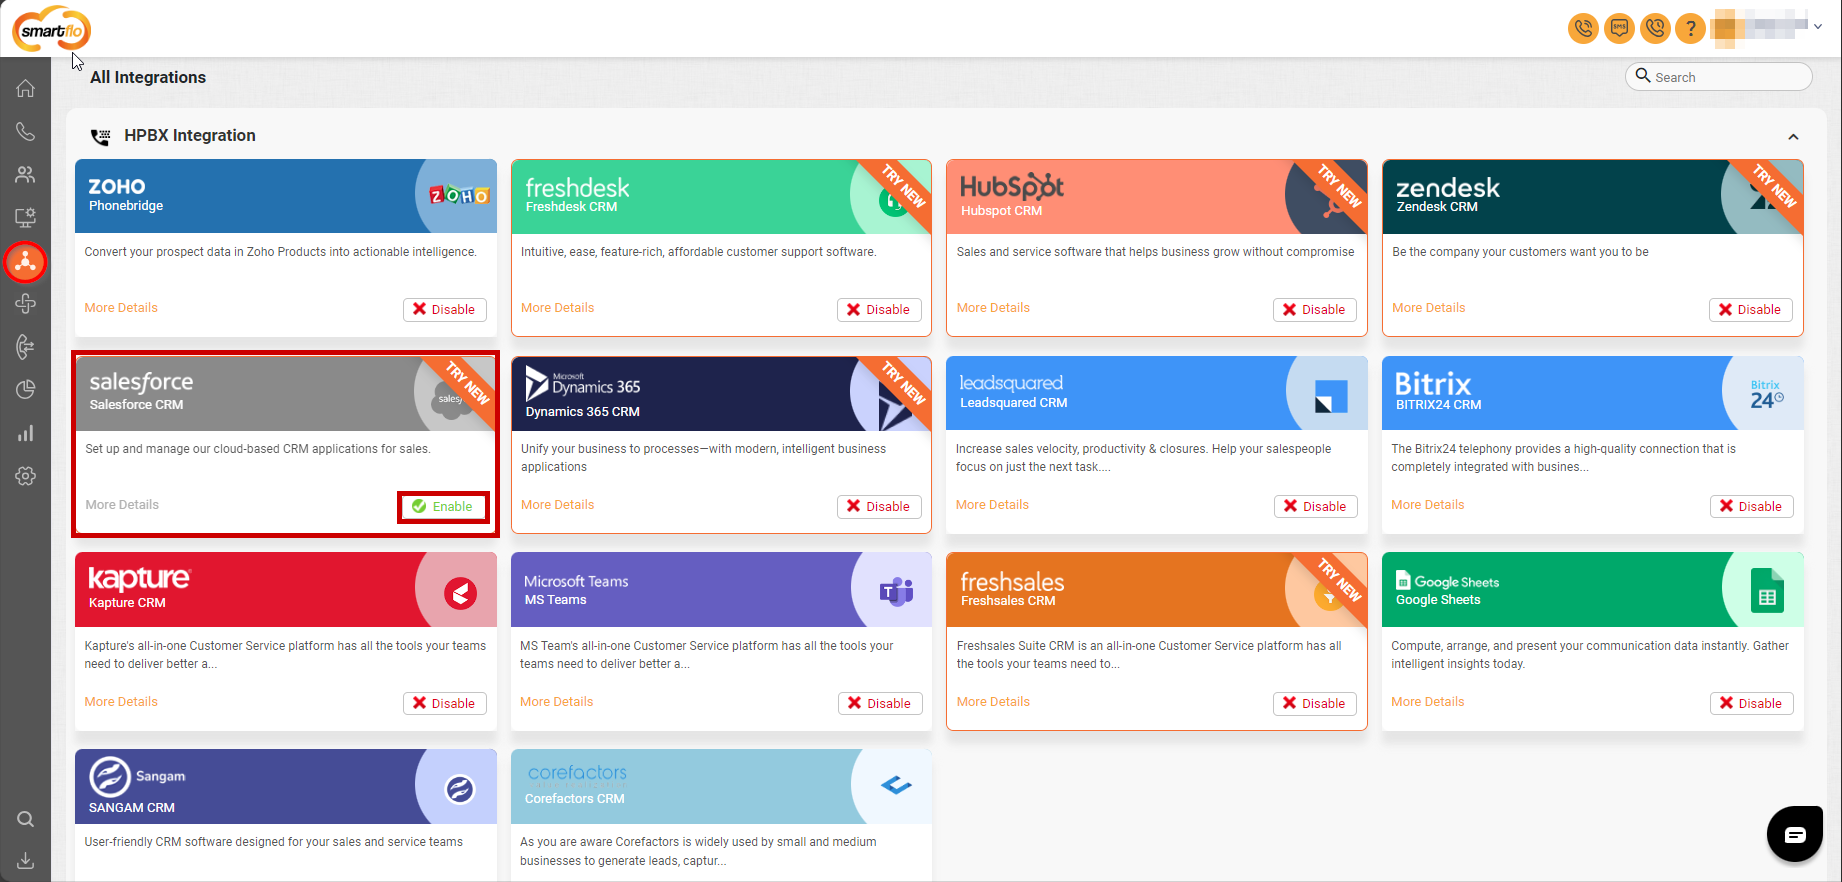
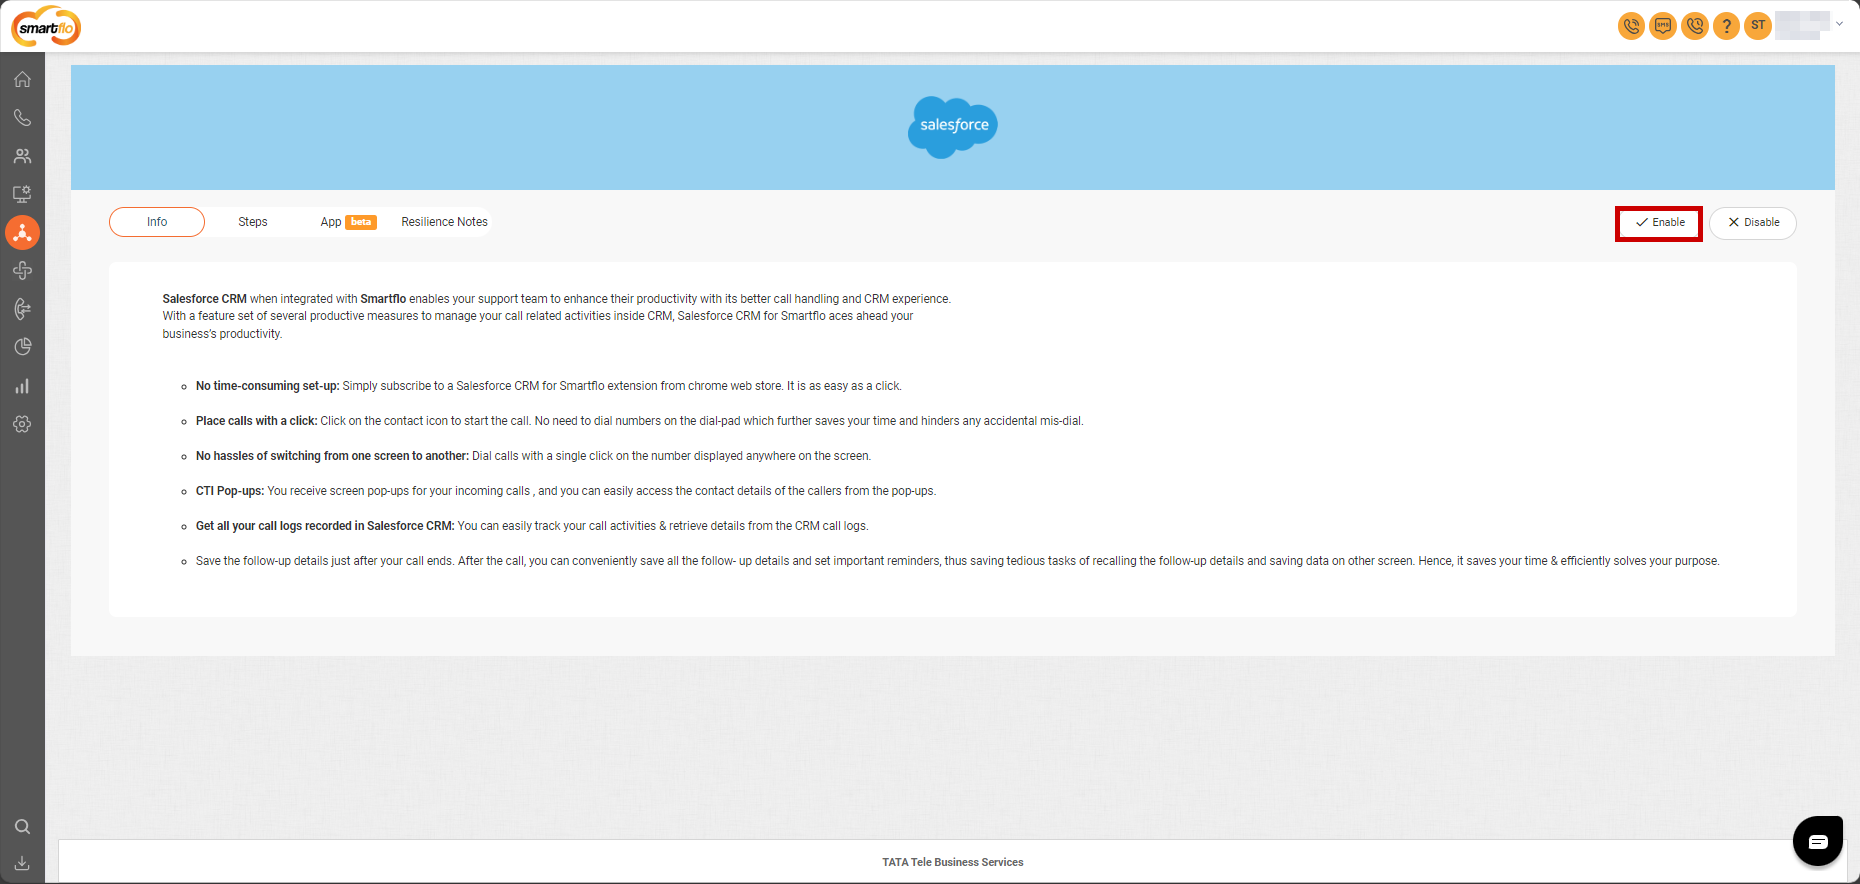
In HPBX integration, click on enable for Salesforce CRM integration.
-
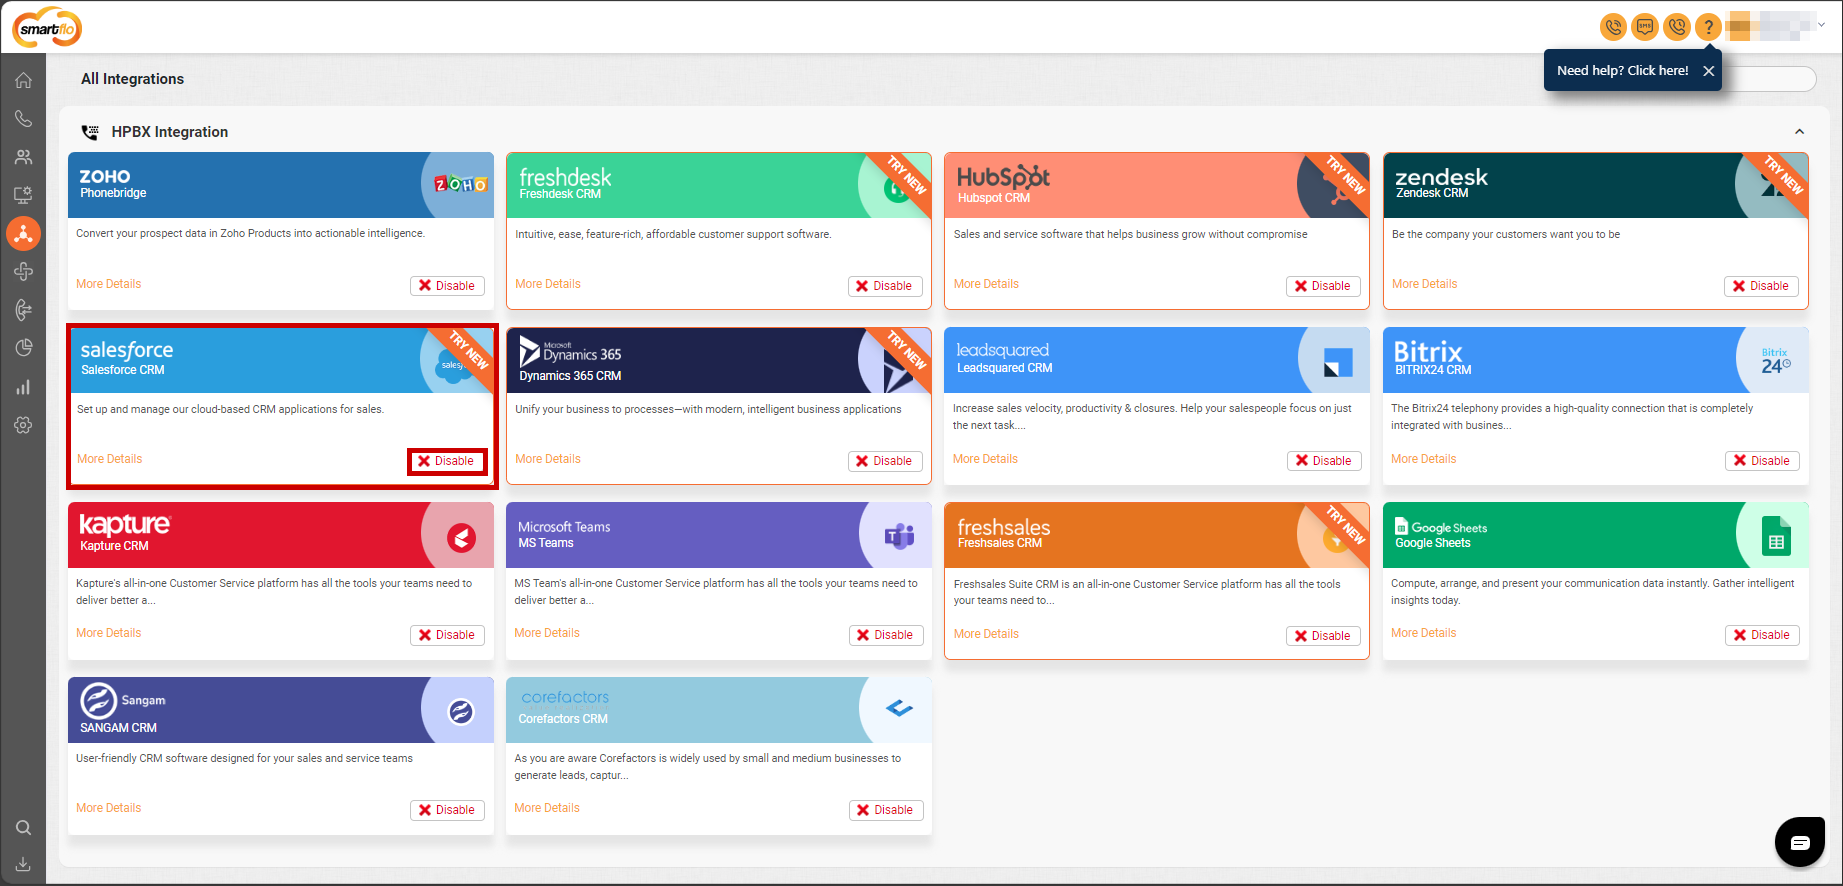
Click on More Details in the Salesforce CRM option.
-
In a new tab, log in to your Salesforce CRM Account.

-
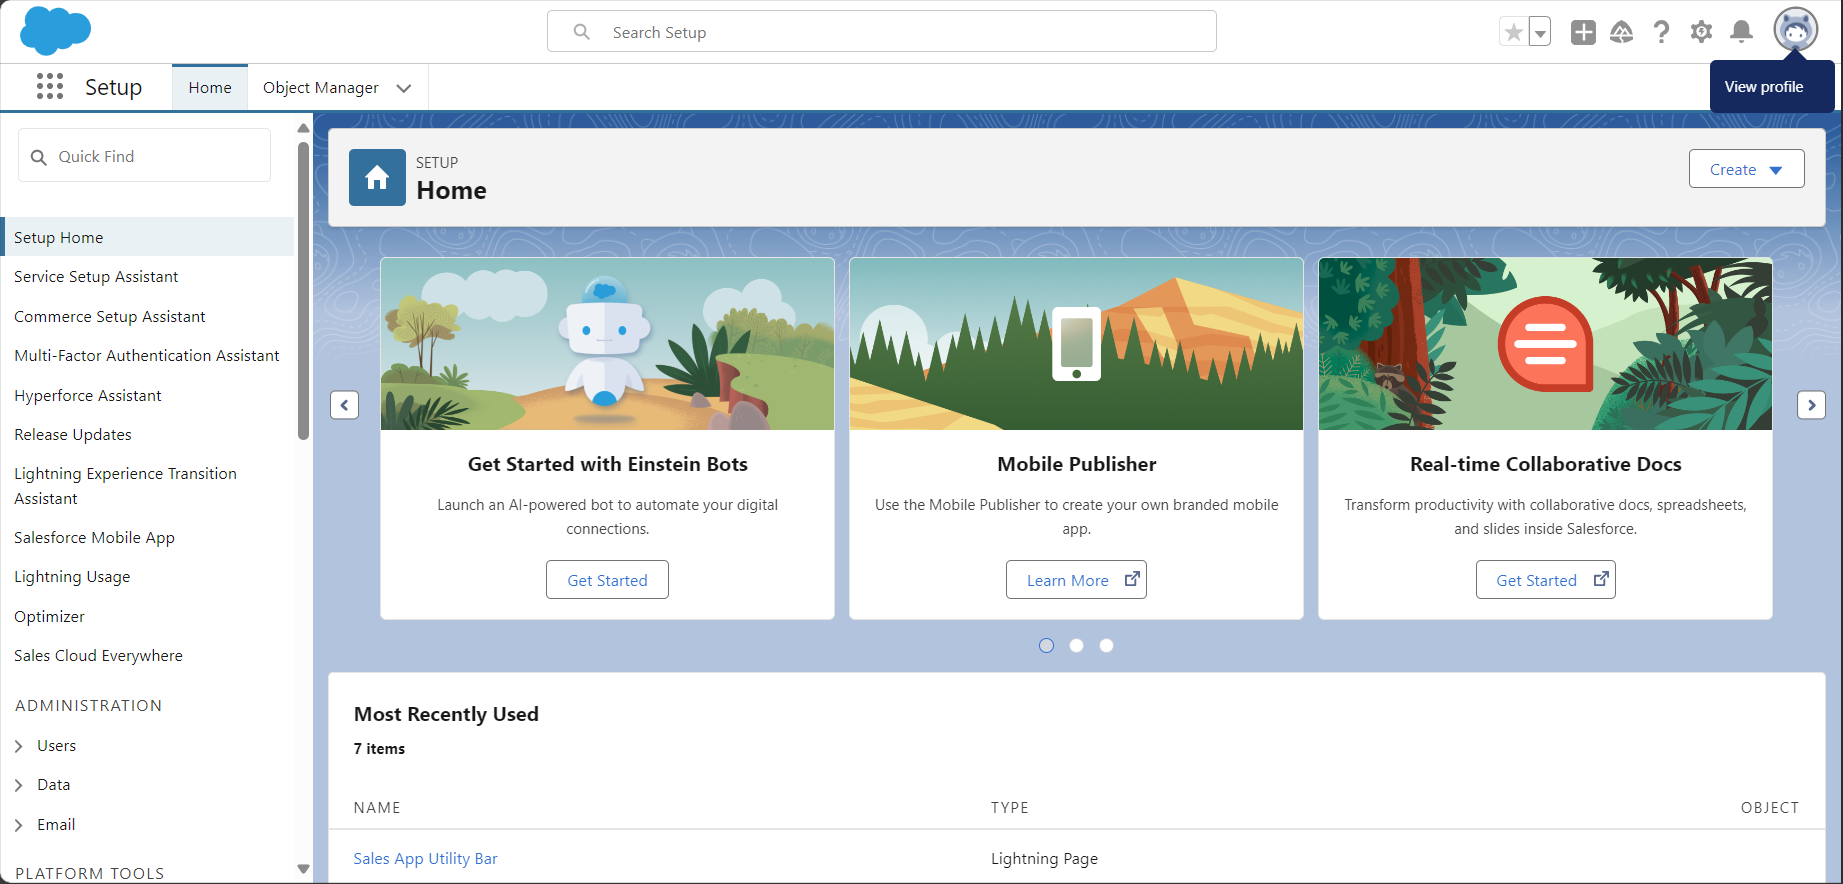
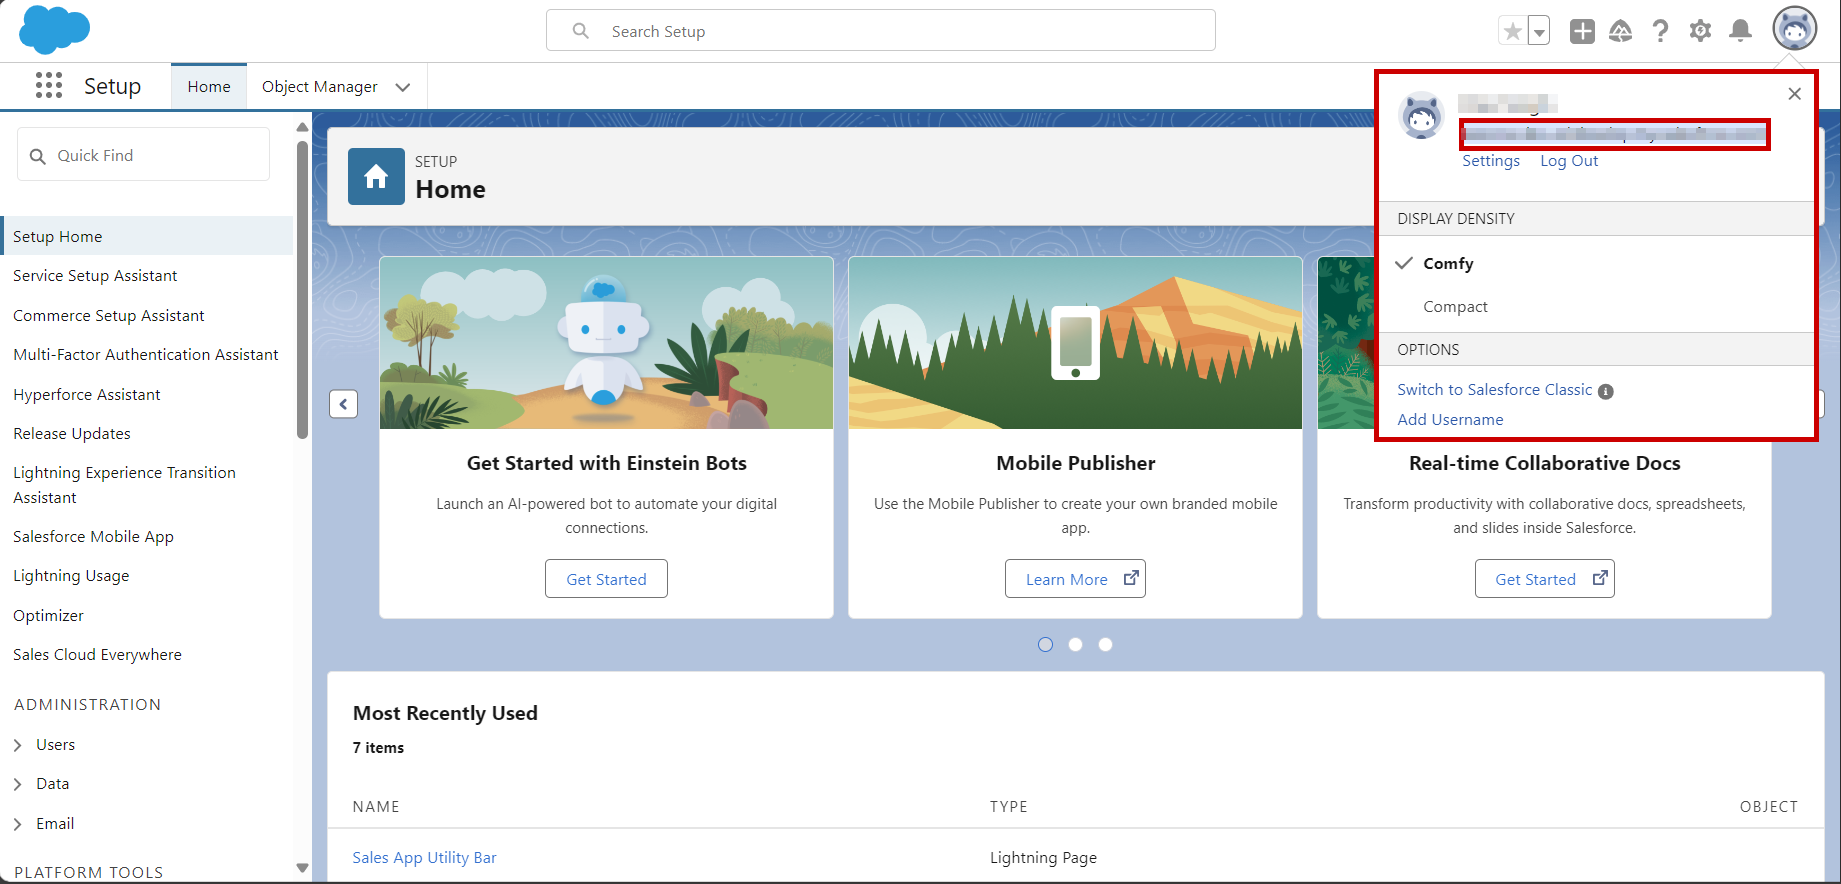
Go to View Profile section from the top-right corner and copy the Salesforce Domain from there.
-
Now, switch back to the previous tab (More Details Tab) and click on Enable then select your desired agent for the integration and paste the Salesforce Domain (with prefixing https://).
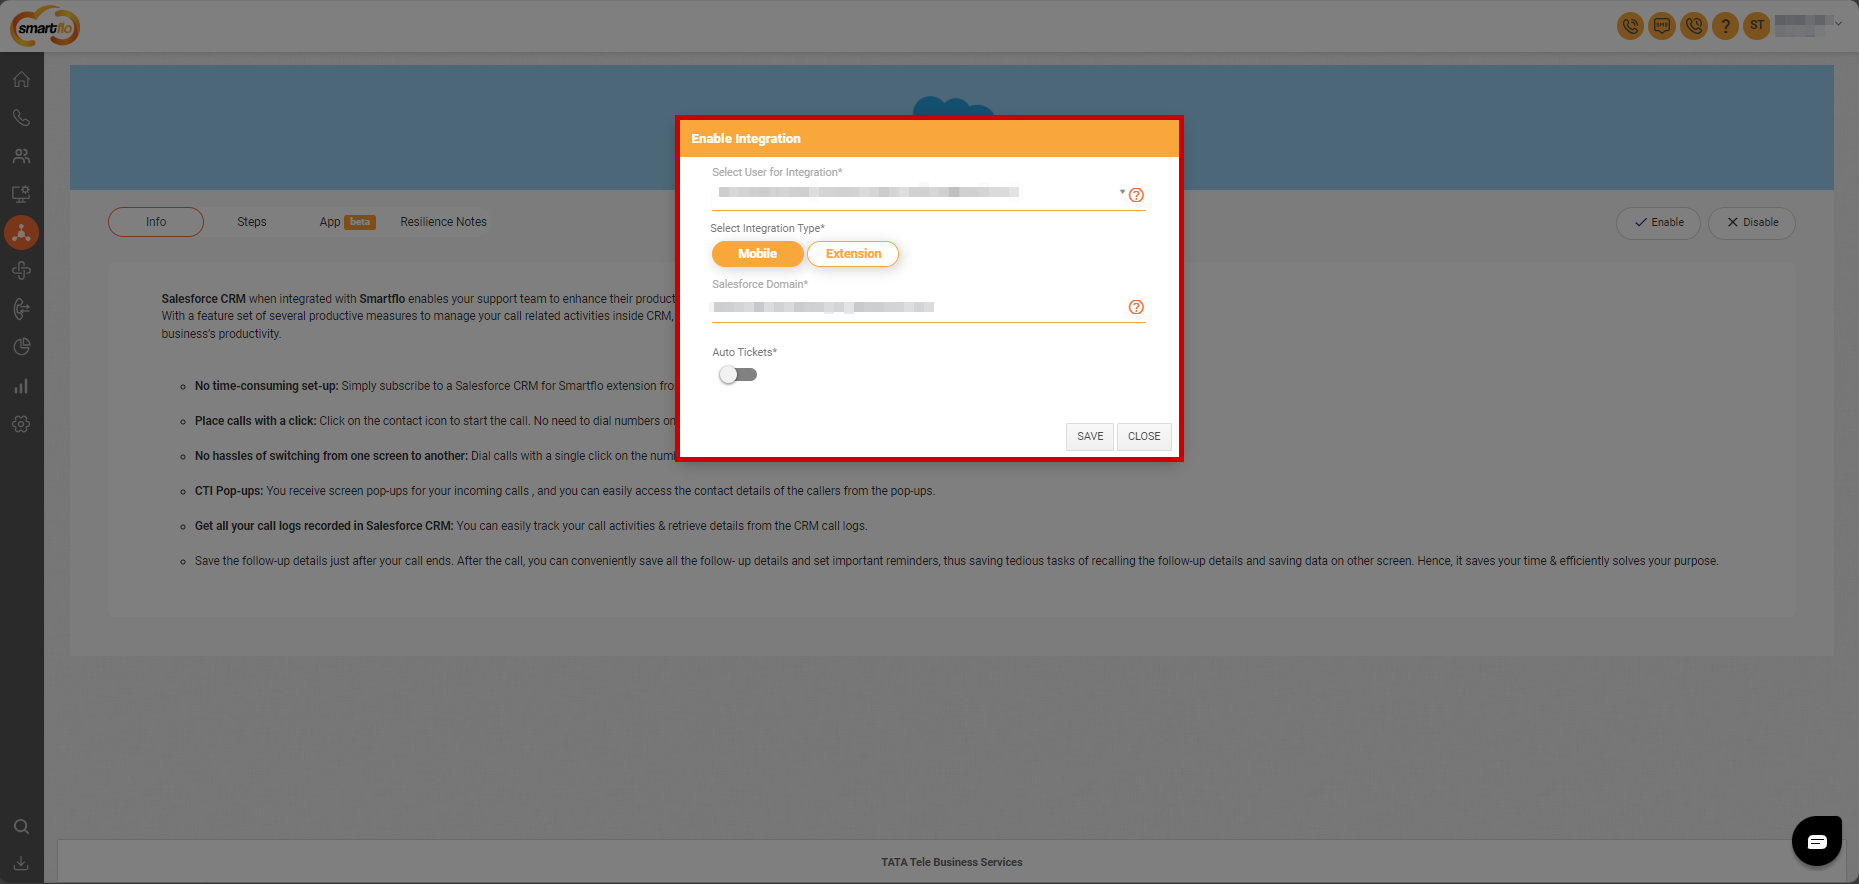
Note:You can select either mobile or extension number for the user, if the user has created his own extension on the portal. Also, you can enable auto ticketing functionality for your selected user.
- Open a new tab, log in to your agent’s account on which you have integrated Salesforce CRM. Then, follow the same steps from 2 to 4.
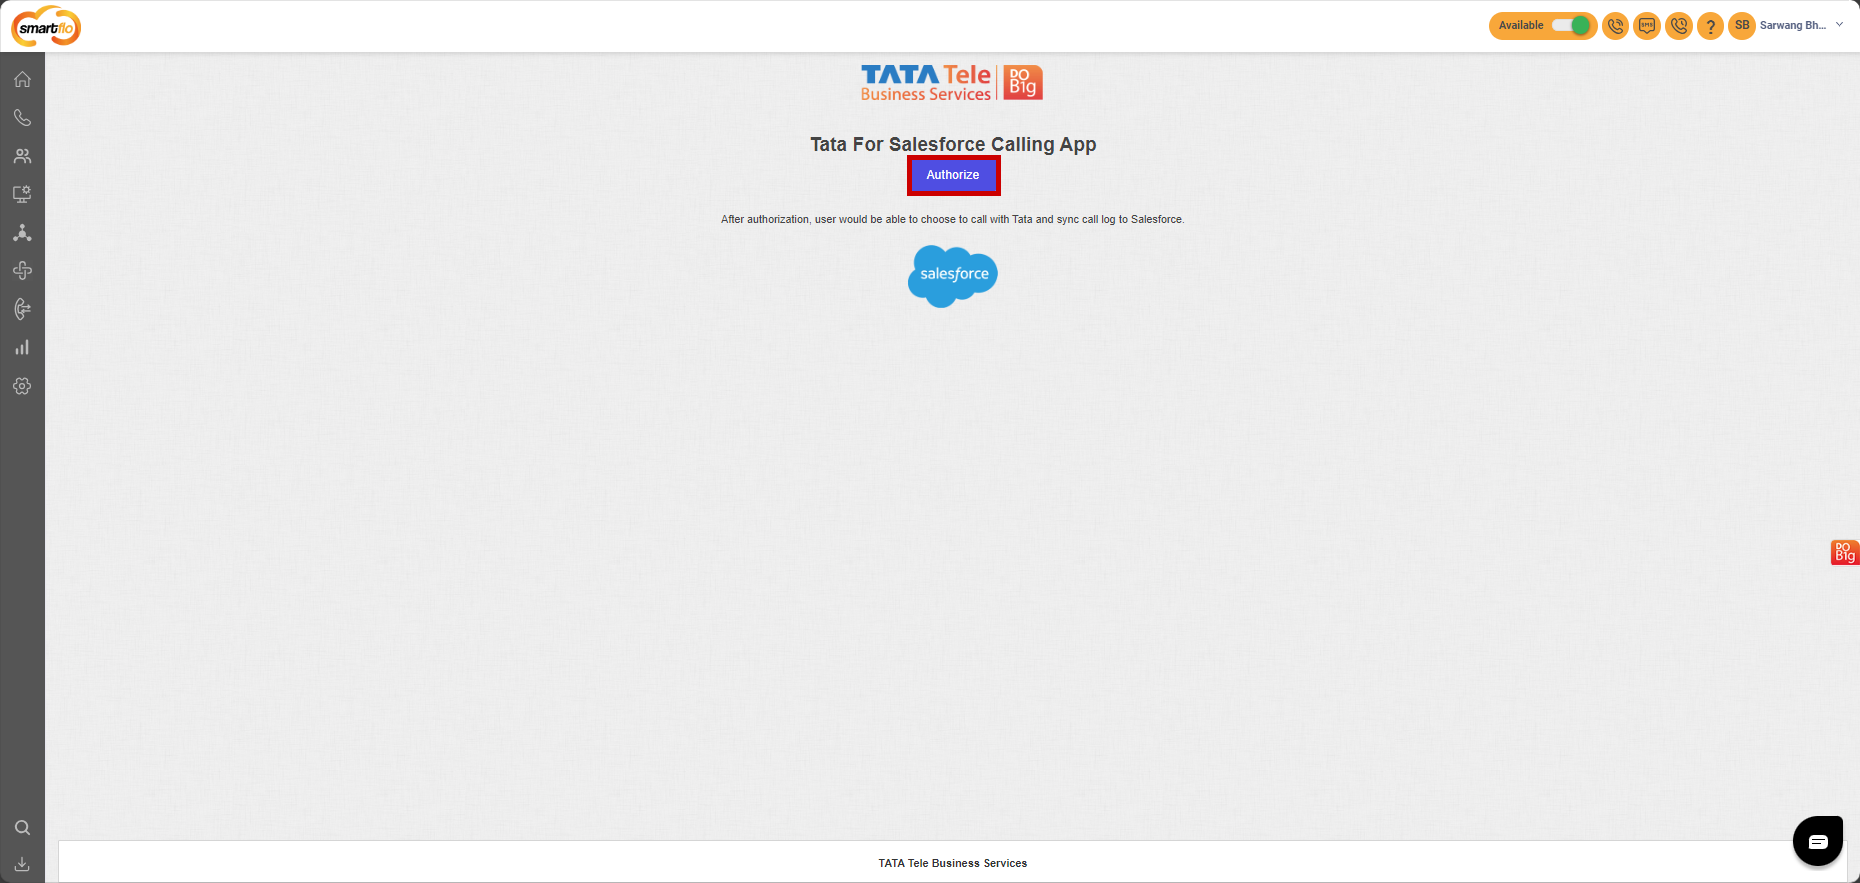
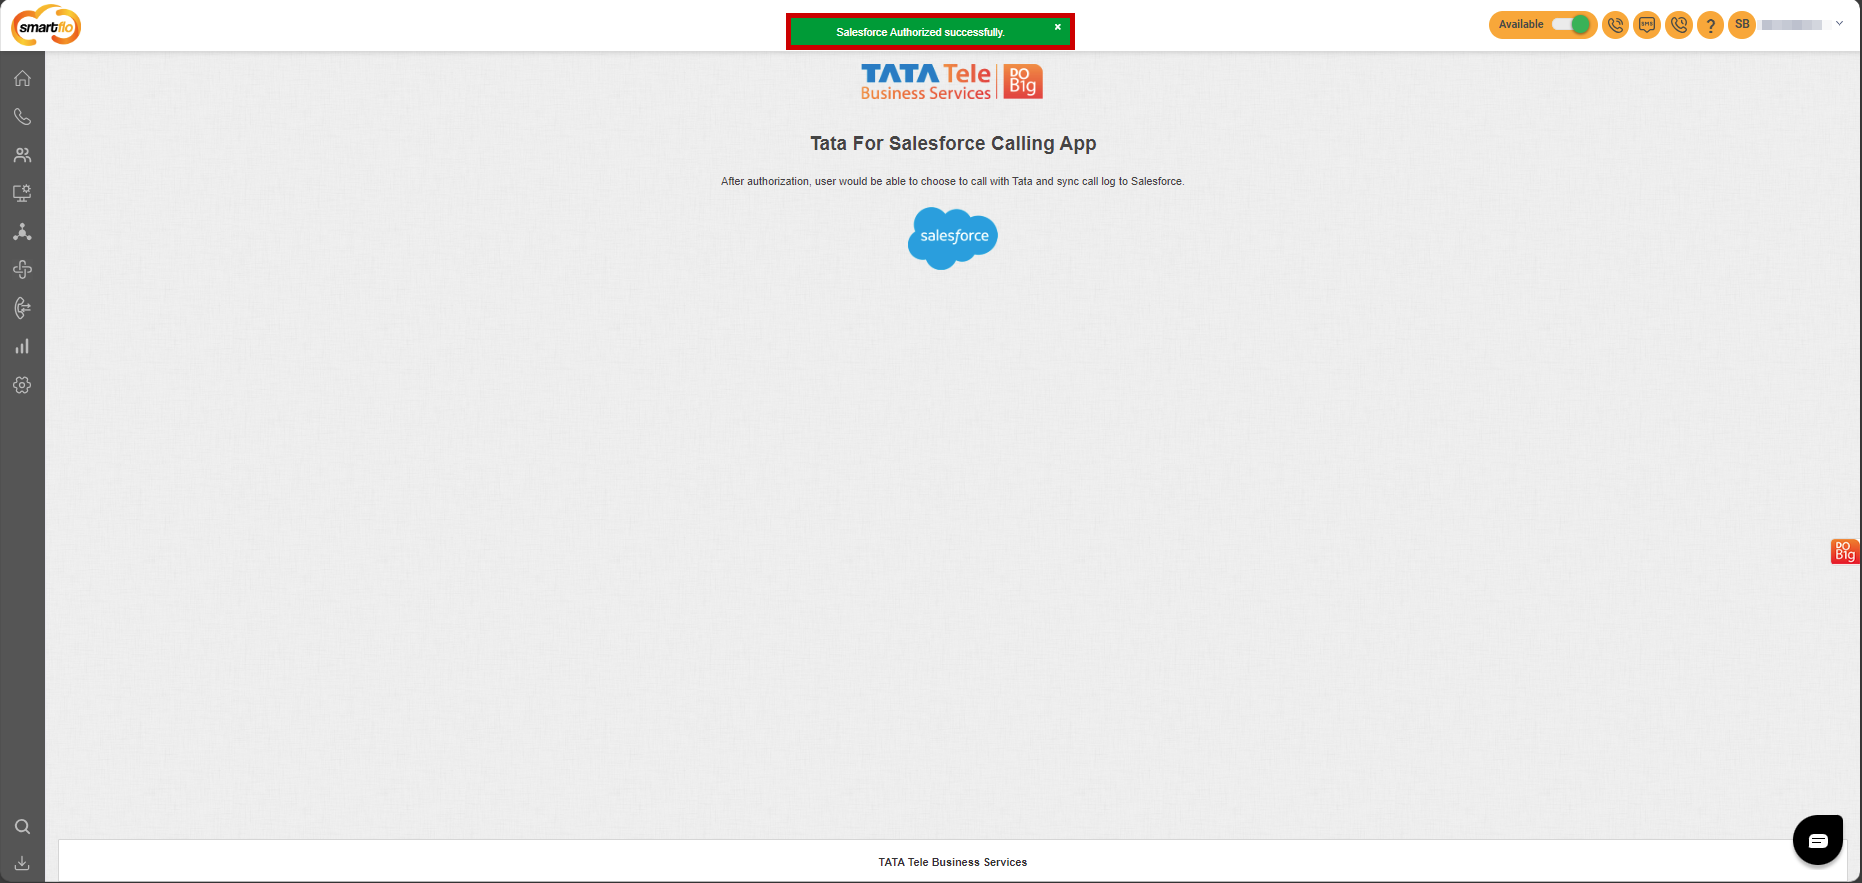
- In your agent’s account, click on App (Beta) and select Authorize Salesforce, you’ll be redirected to the authorization page, then click on Authorize.
-
Smartflo provides two types of Salesforce CRM Applications for Integration.
- Salesforce Application
- Salesforce Sandbox Application
-
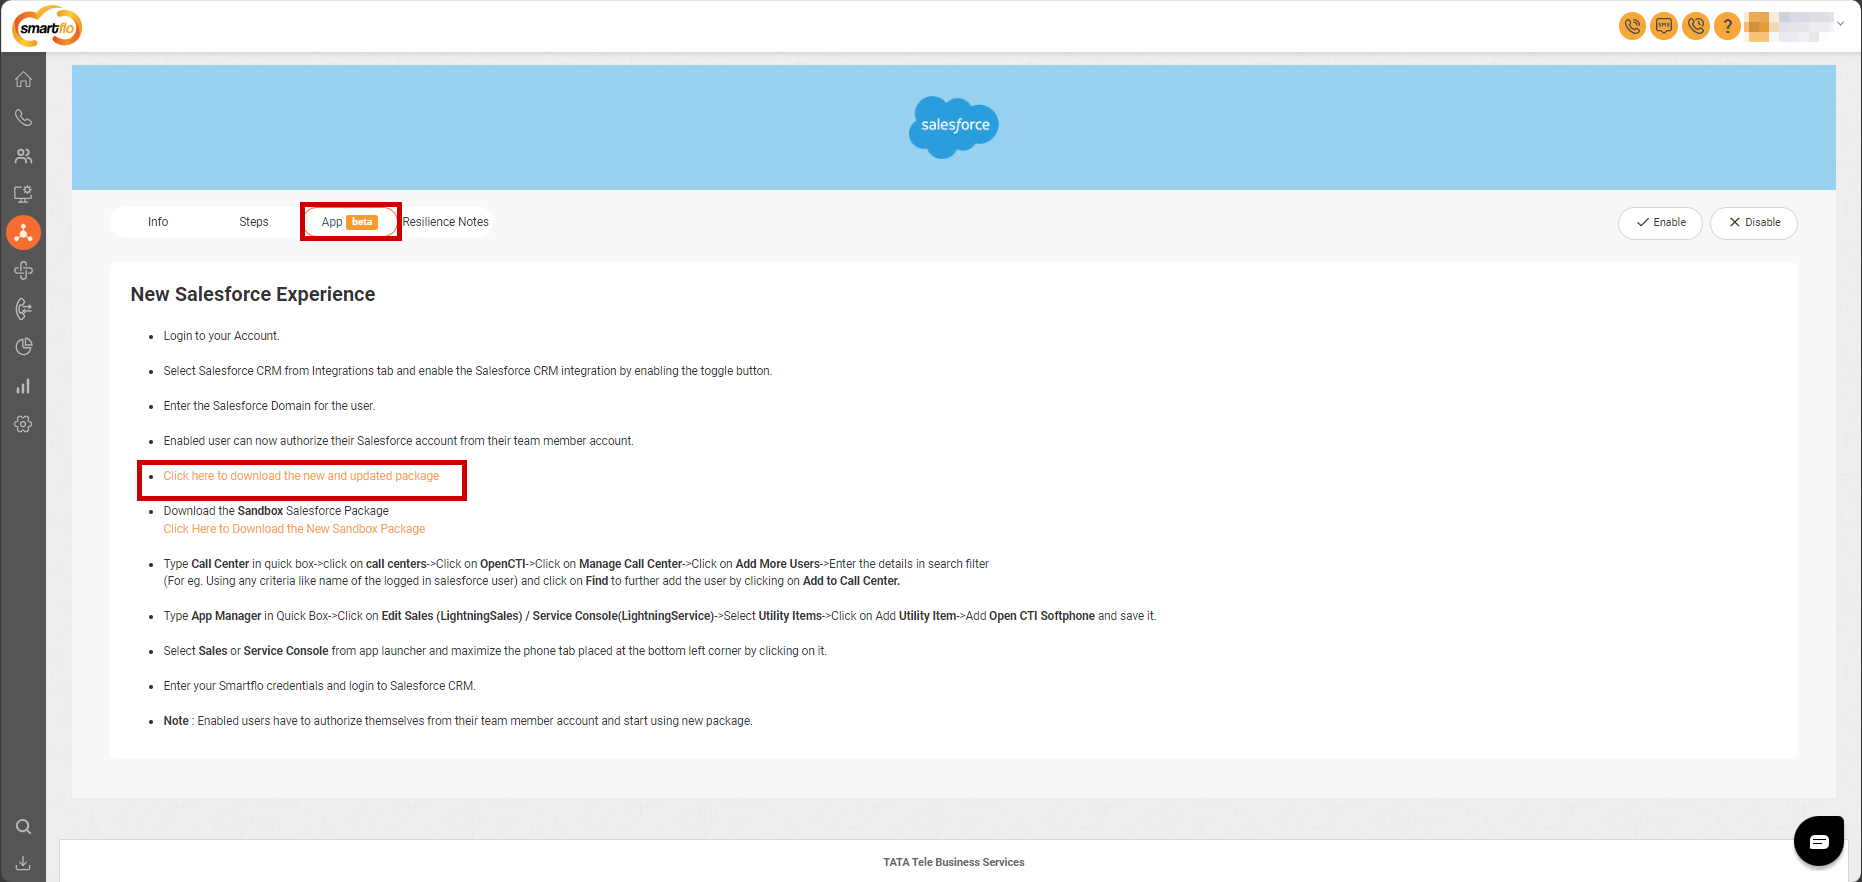
To download Salesforce Application, click on Apps(beta) and select “Click here to download the new and updated package”, you’ll be redirected to Salesforce Login.

-
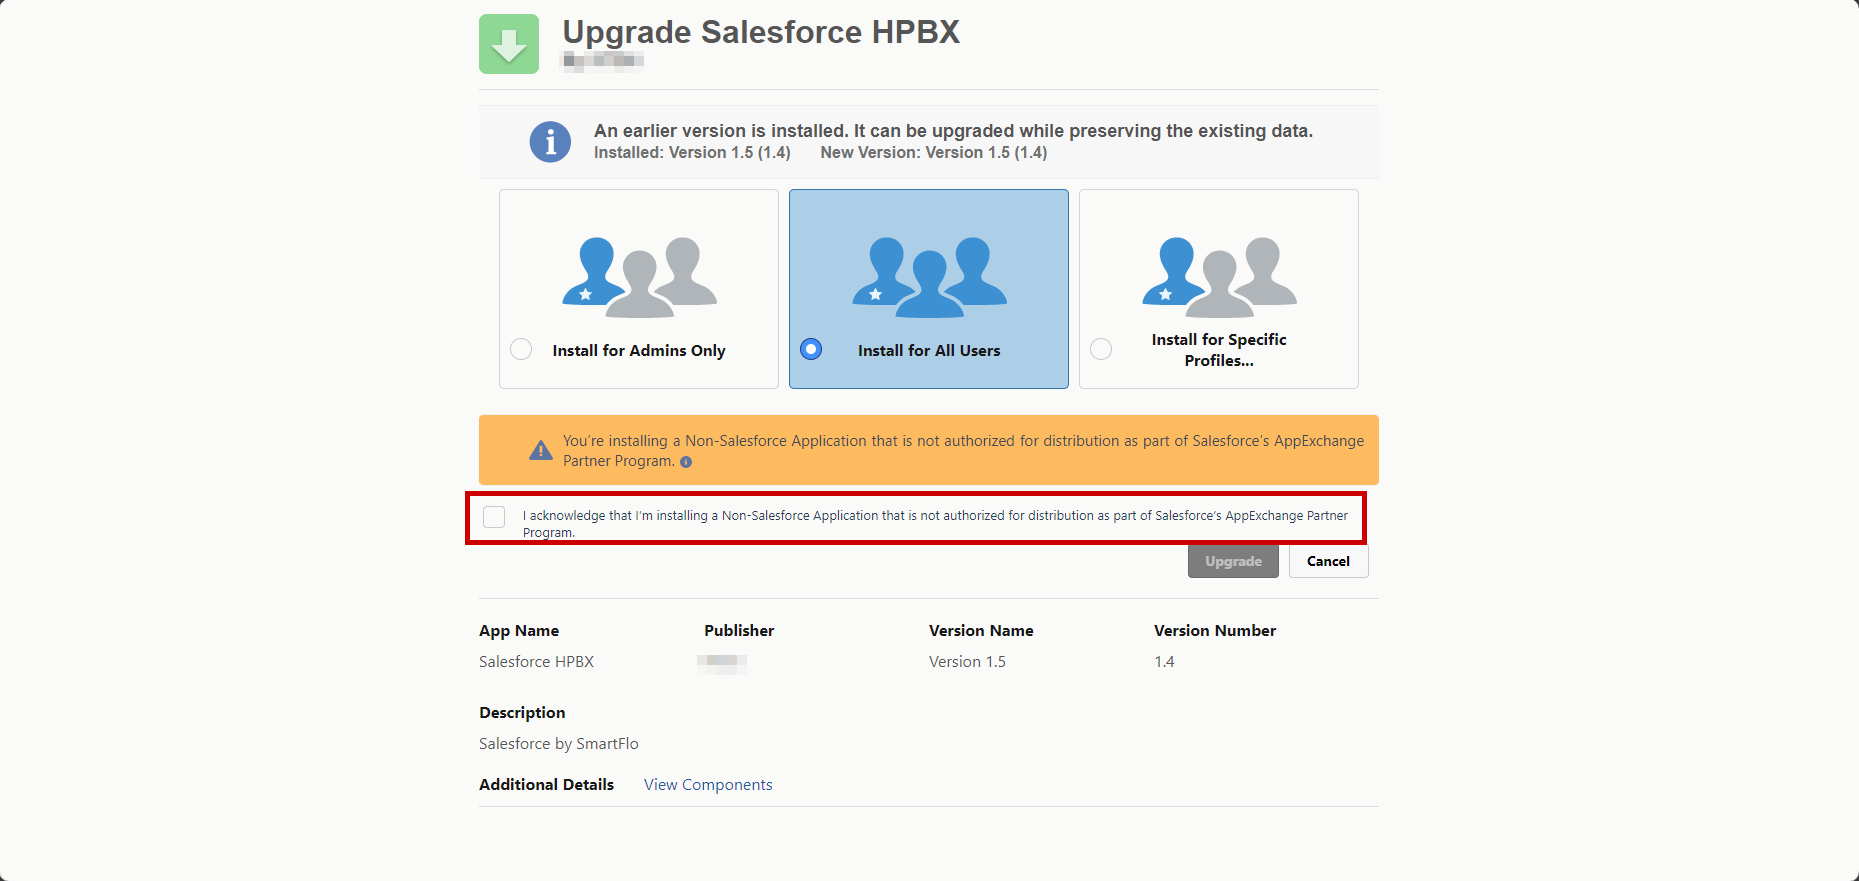
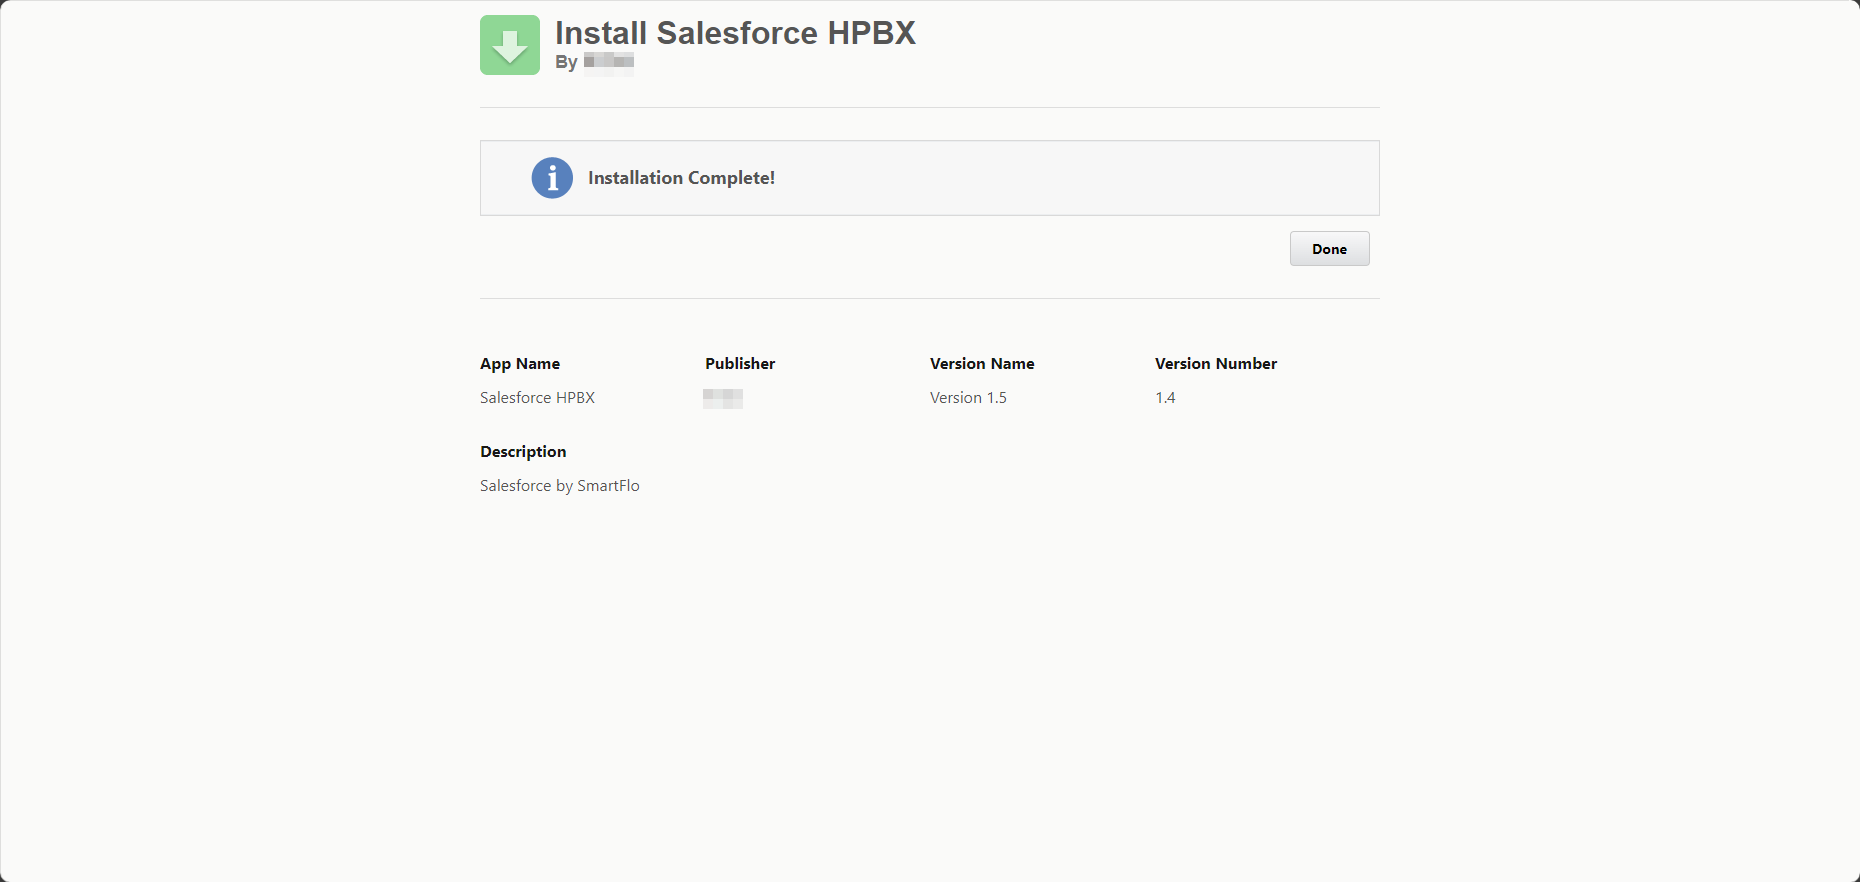
Log in to your Salesforce account and select the users you wish to install the package for and click on Install after acknowledging the agreement.
-
Once the installation is complete click on Done.
-
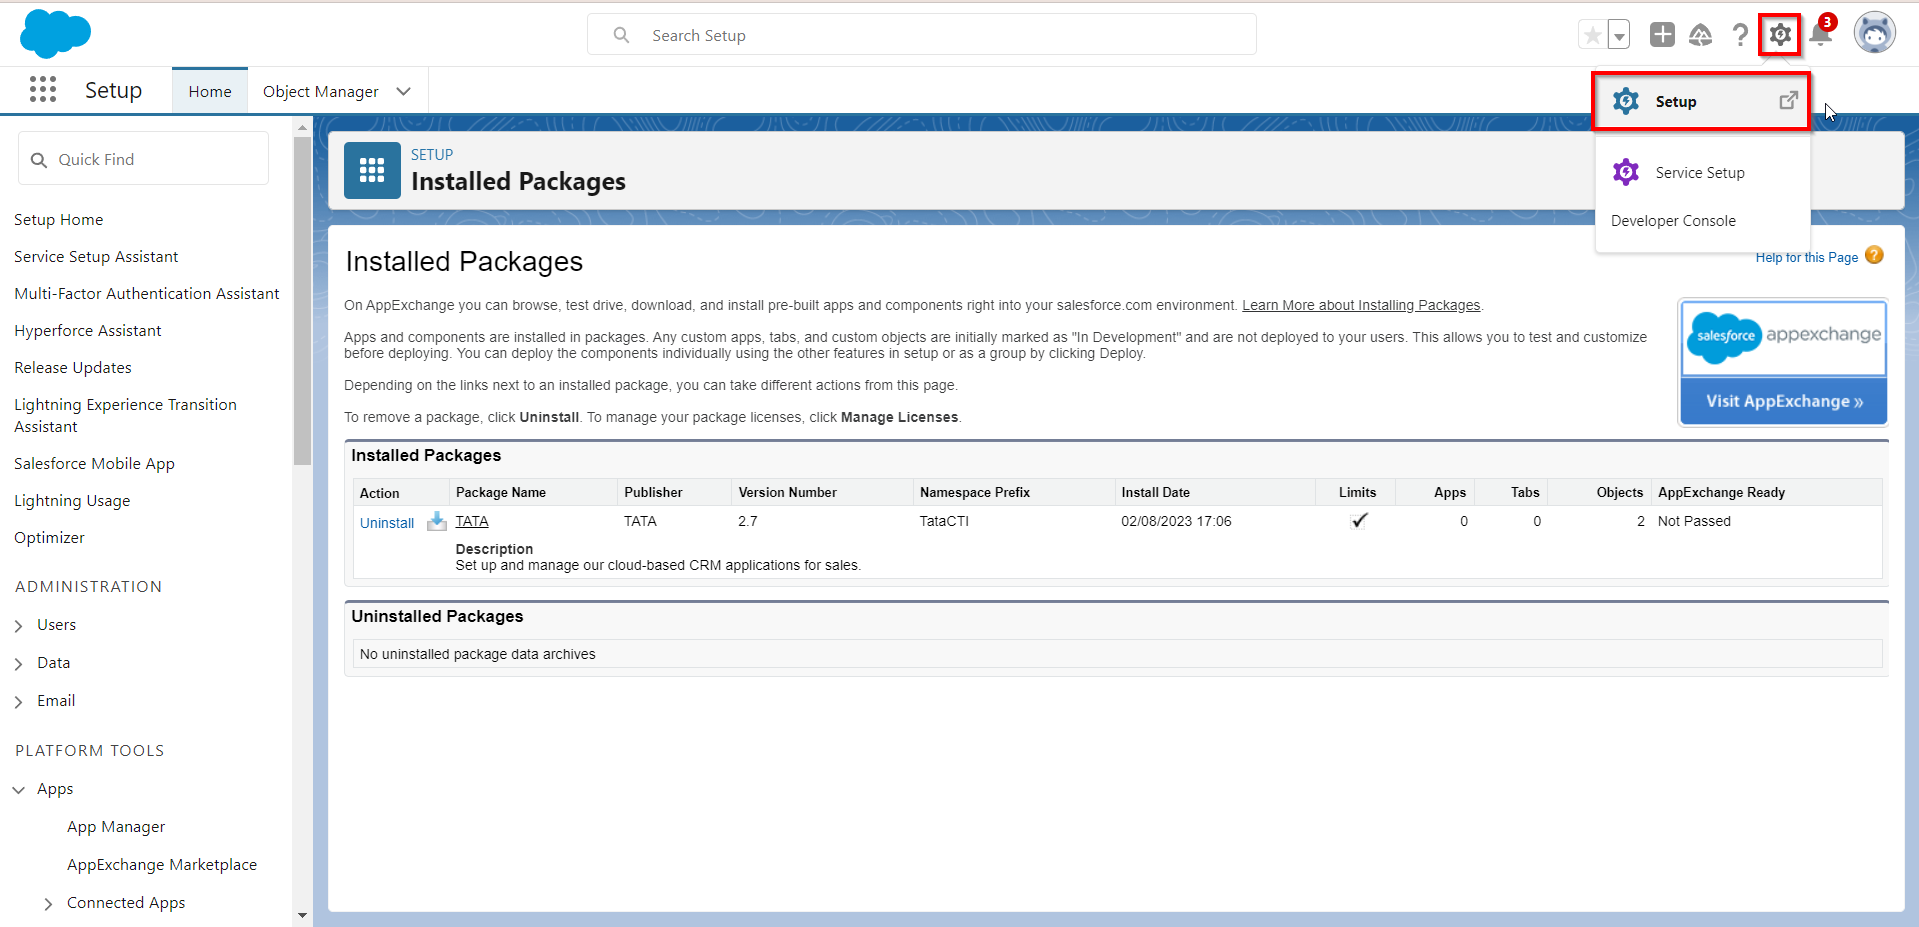
In the Salesforce console click on the settings icon in the top right corner and then select Setup from the drop-down menu.
-
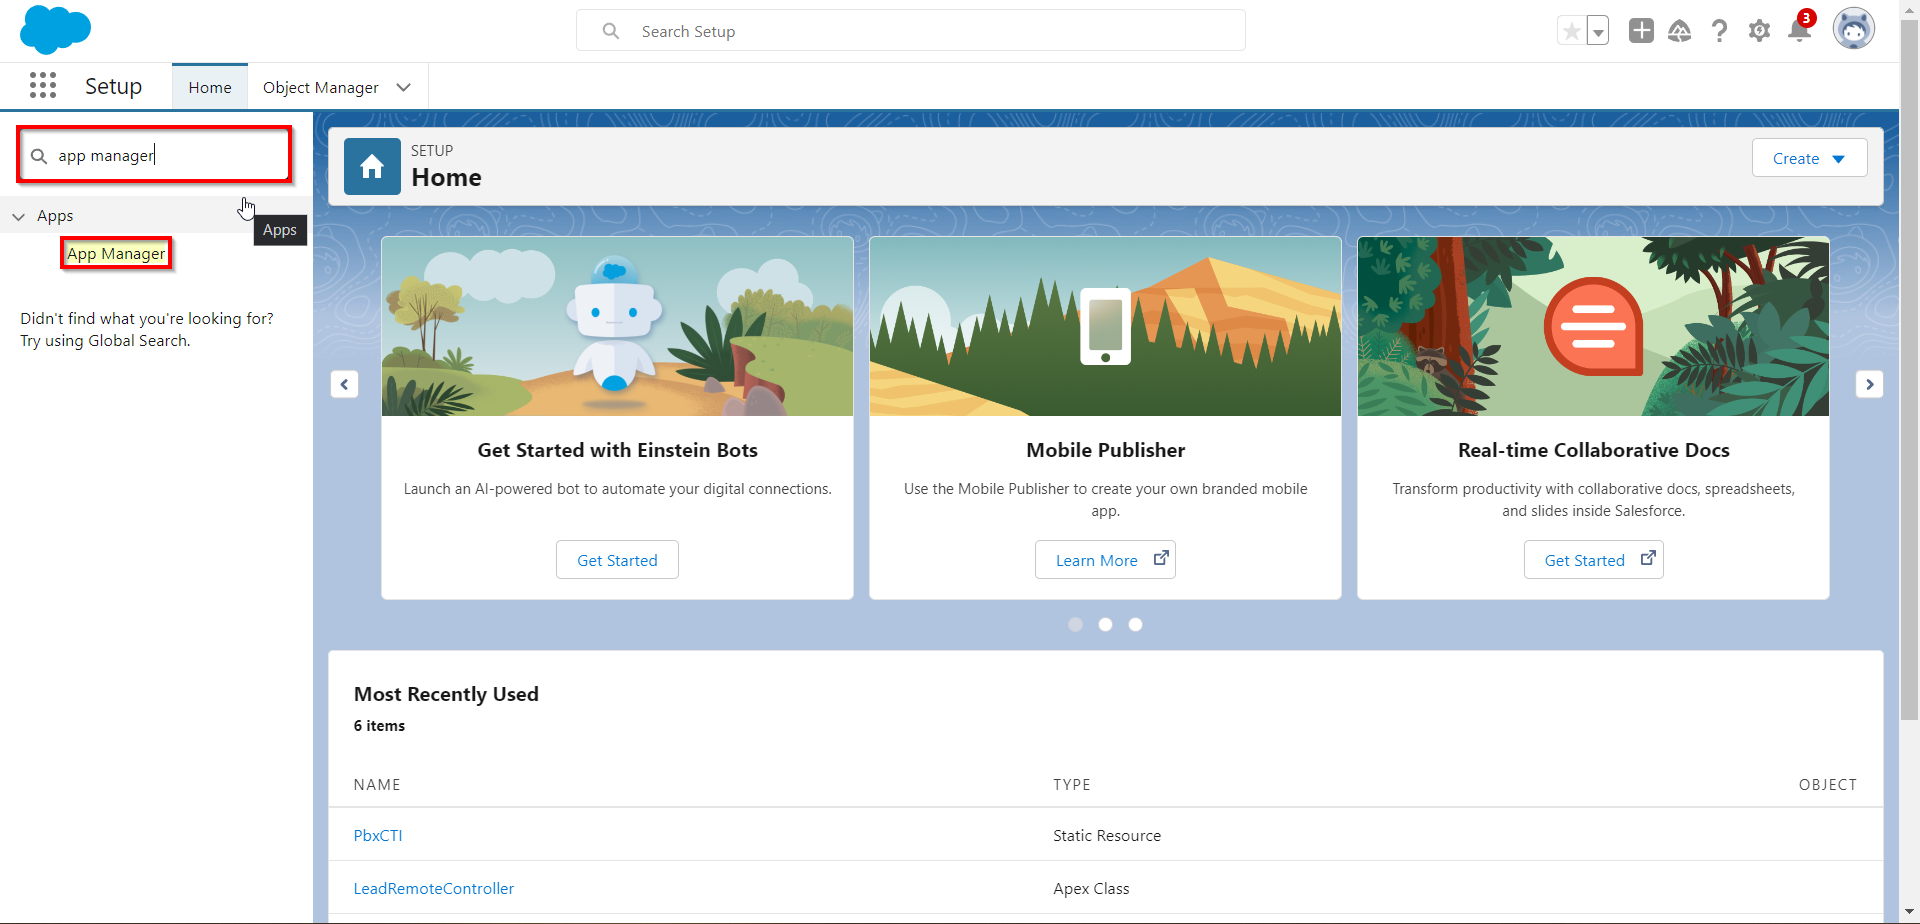
Search for the App Manager in the search bar and click on it.
-
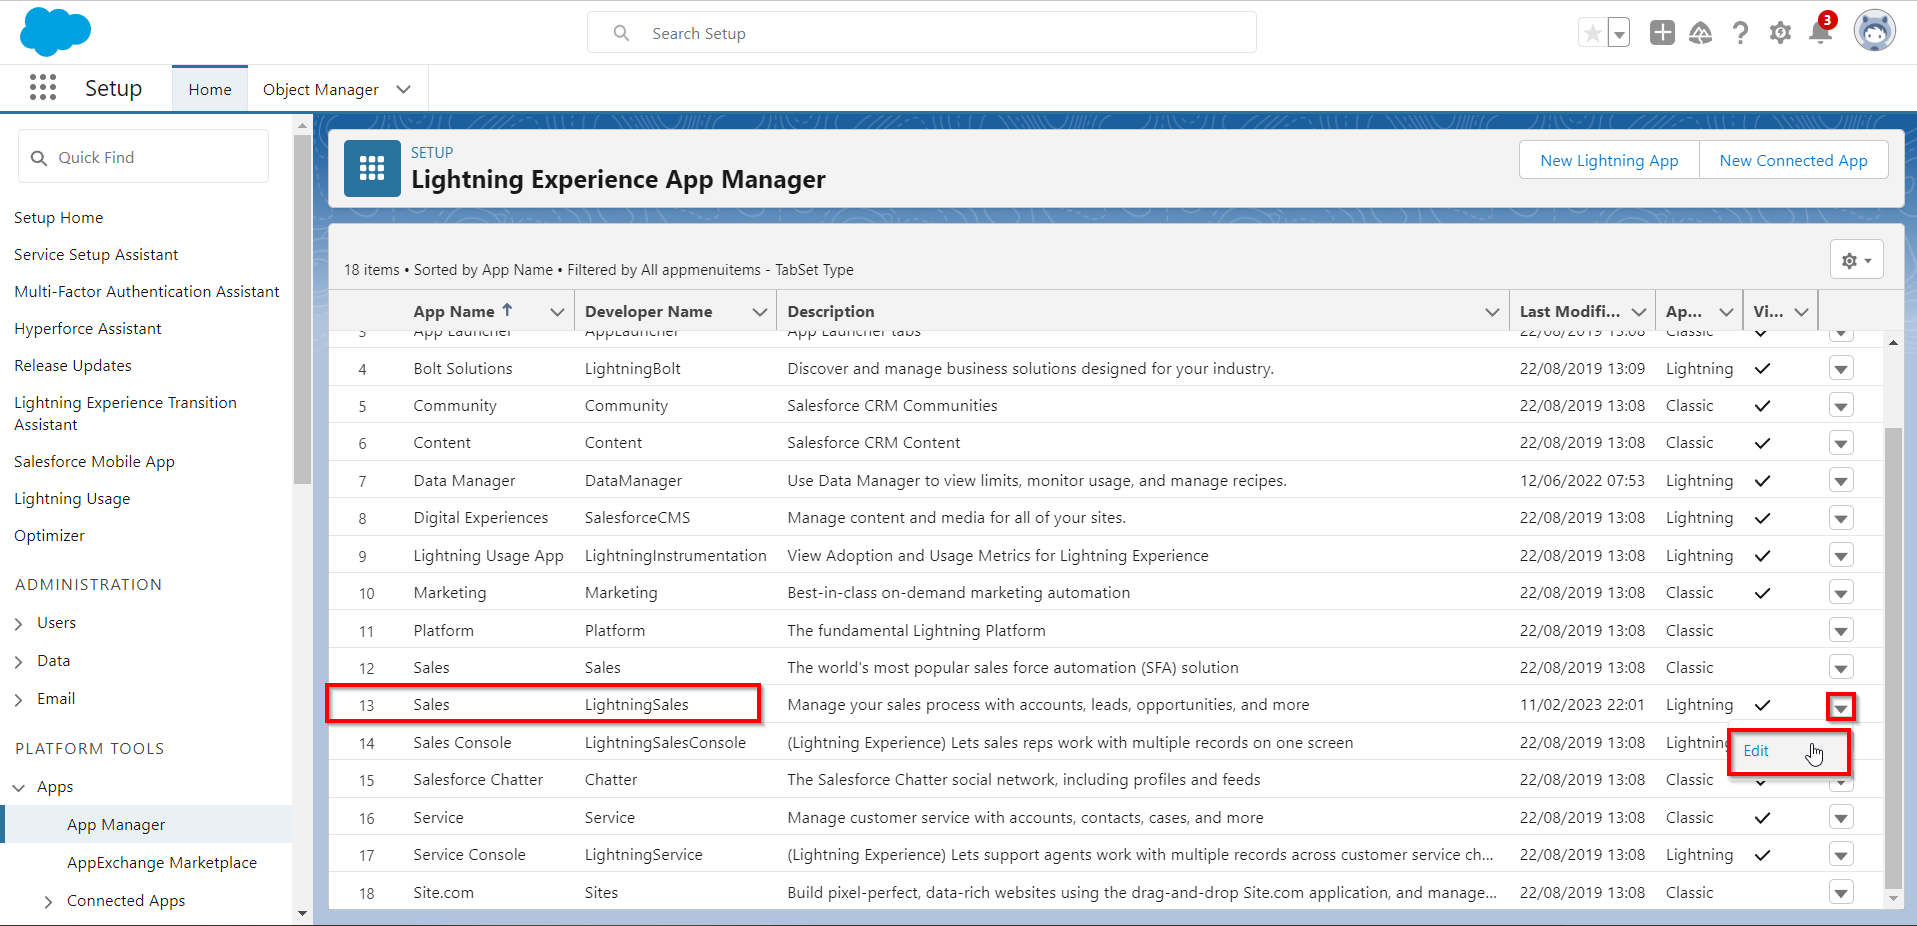
Here, Smartflo supports two of the Salesforce Modules for Integration.
- Lightning Sales
- Lightning Service
The following steps are for both the modules will remain the same. This document showcases only the steps for the Sales Module.
-
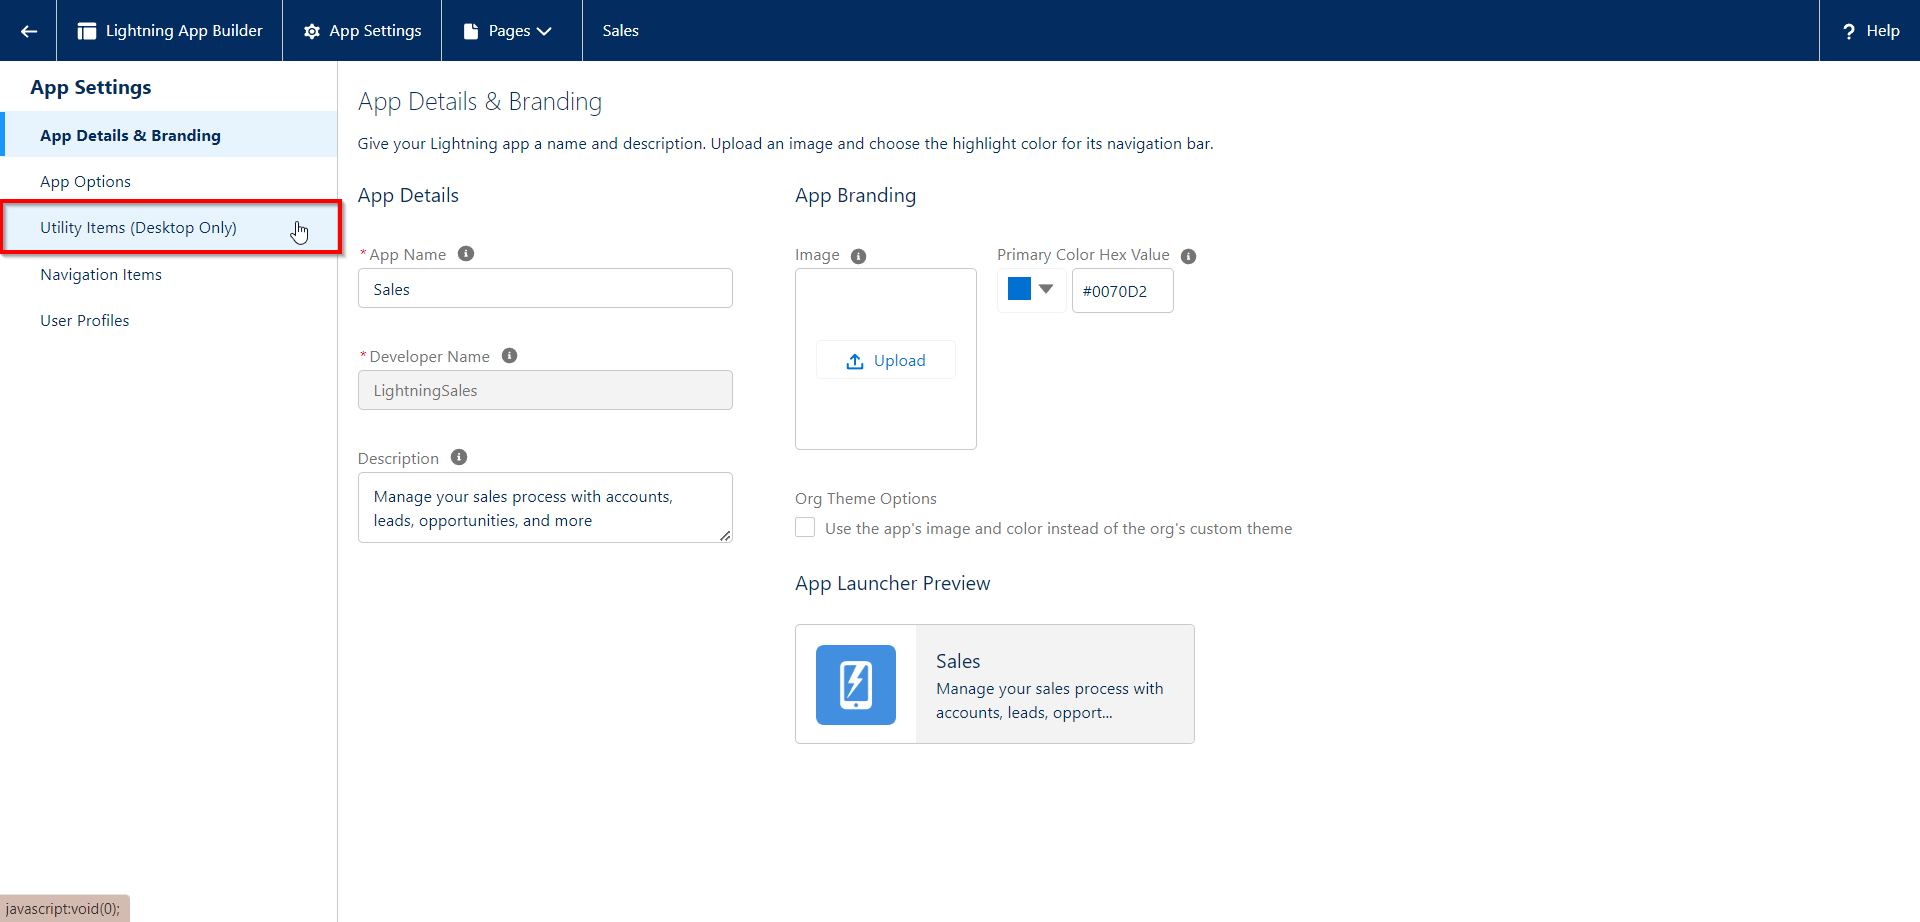
Move over the lightning sales app and click on edit from the drop-down menu.
-
Click on Utility Items (Desktop Only) on the left side navigation pane.
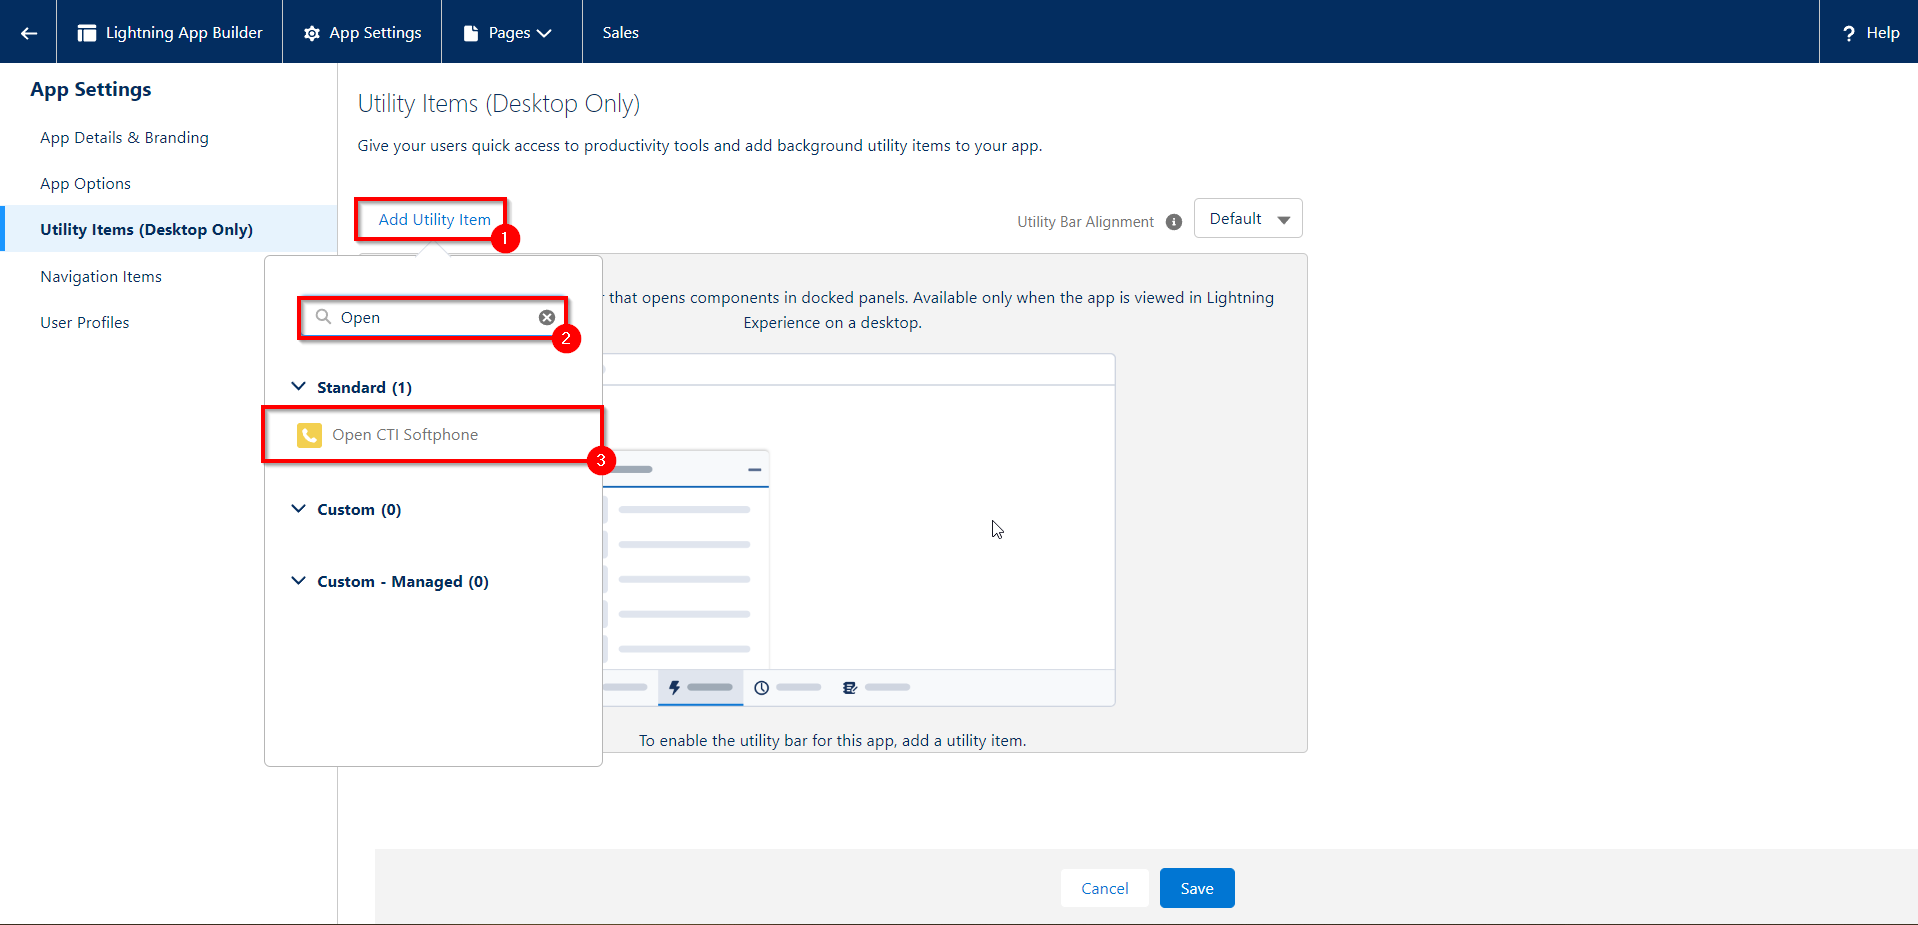
-
Click on Add Utility Item, then search for Open CTI Softphone and click on it.
-
Open CTI Softphone has been successfully added.
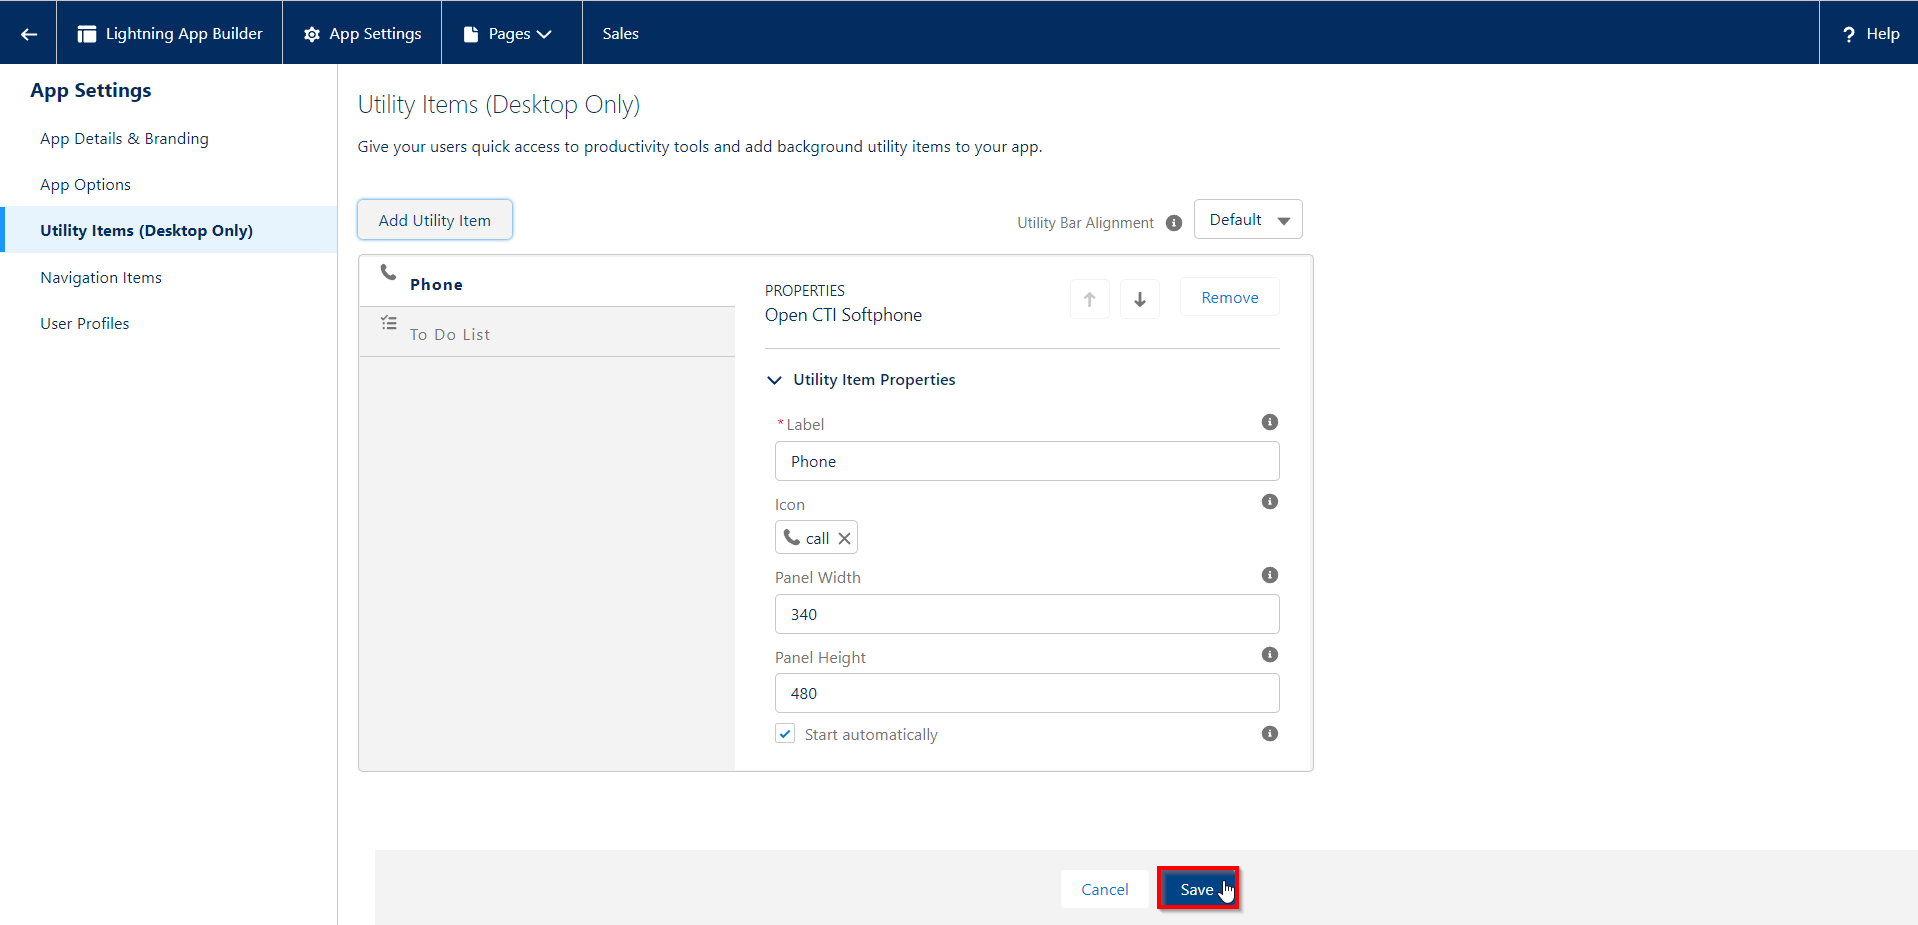
-
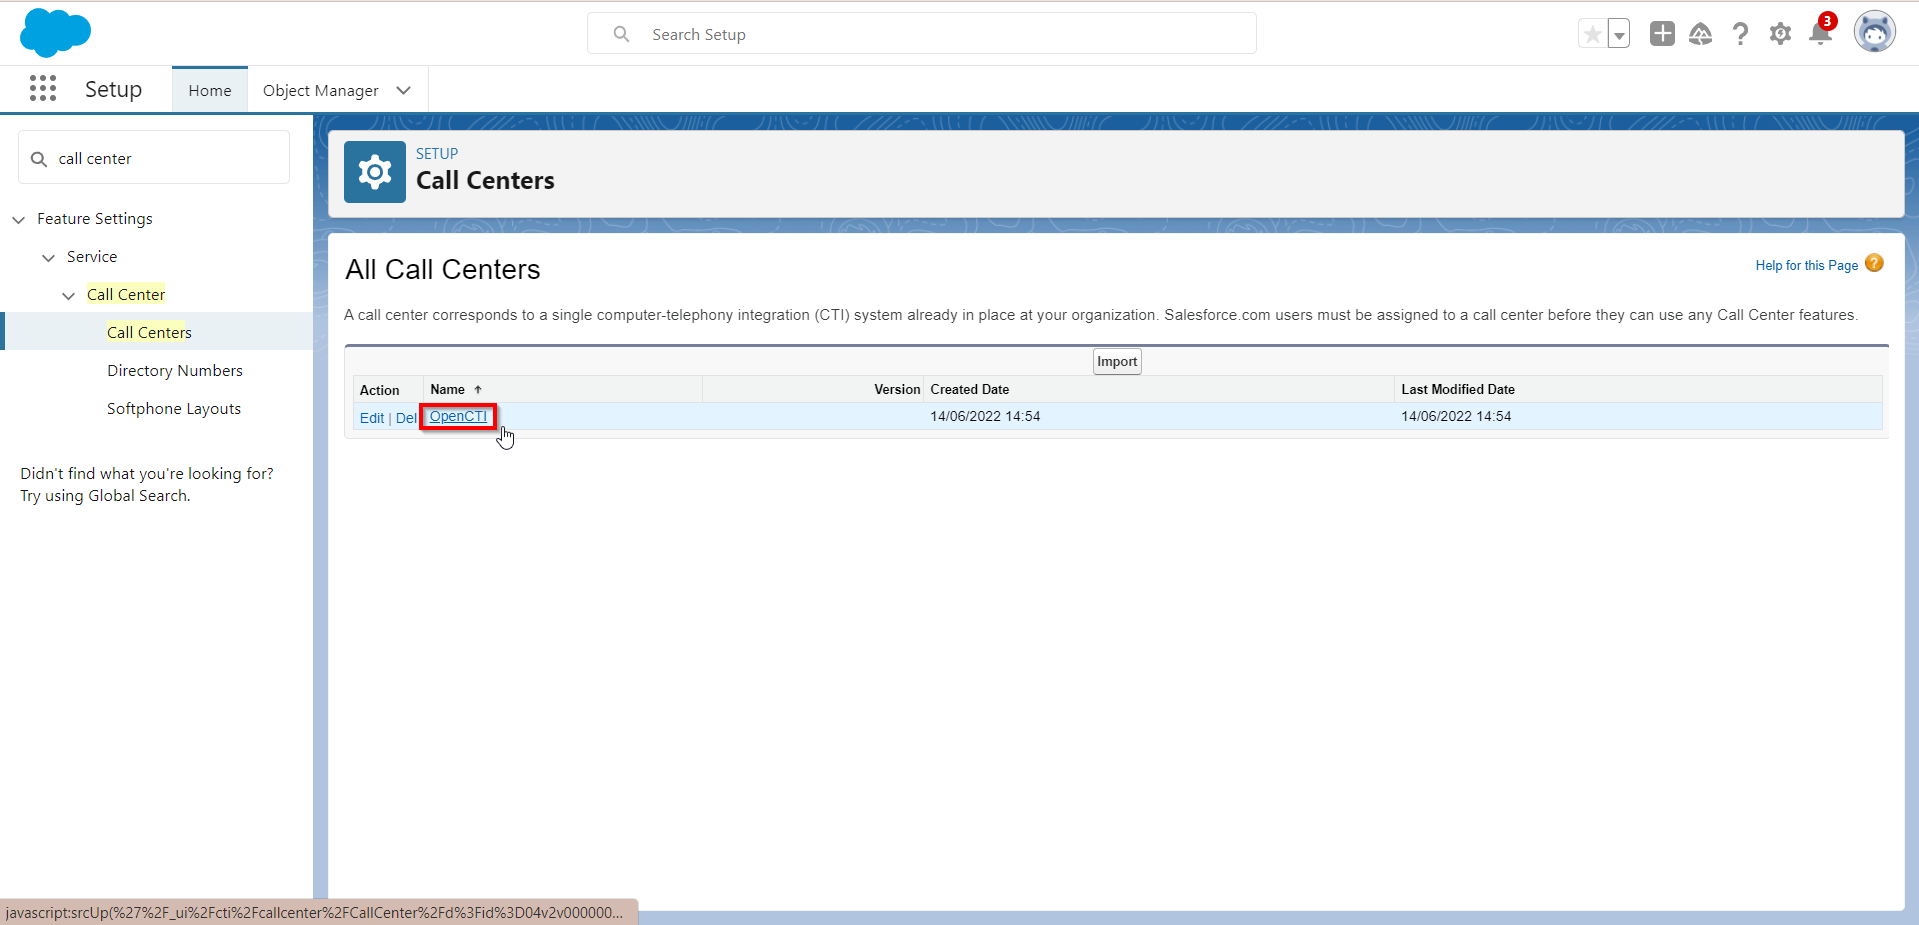
Go back to the setup page and search for Call Centers in the search bar and click on it.
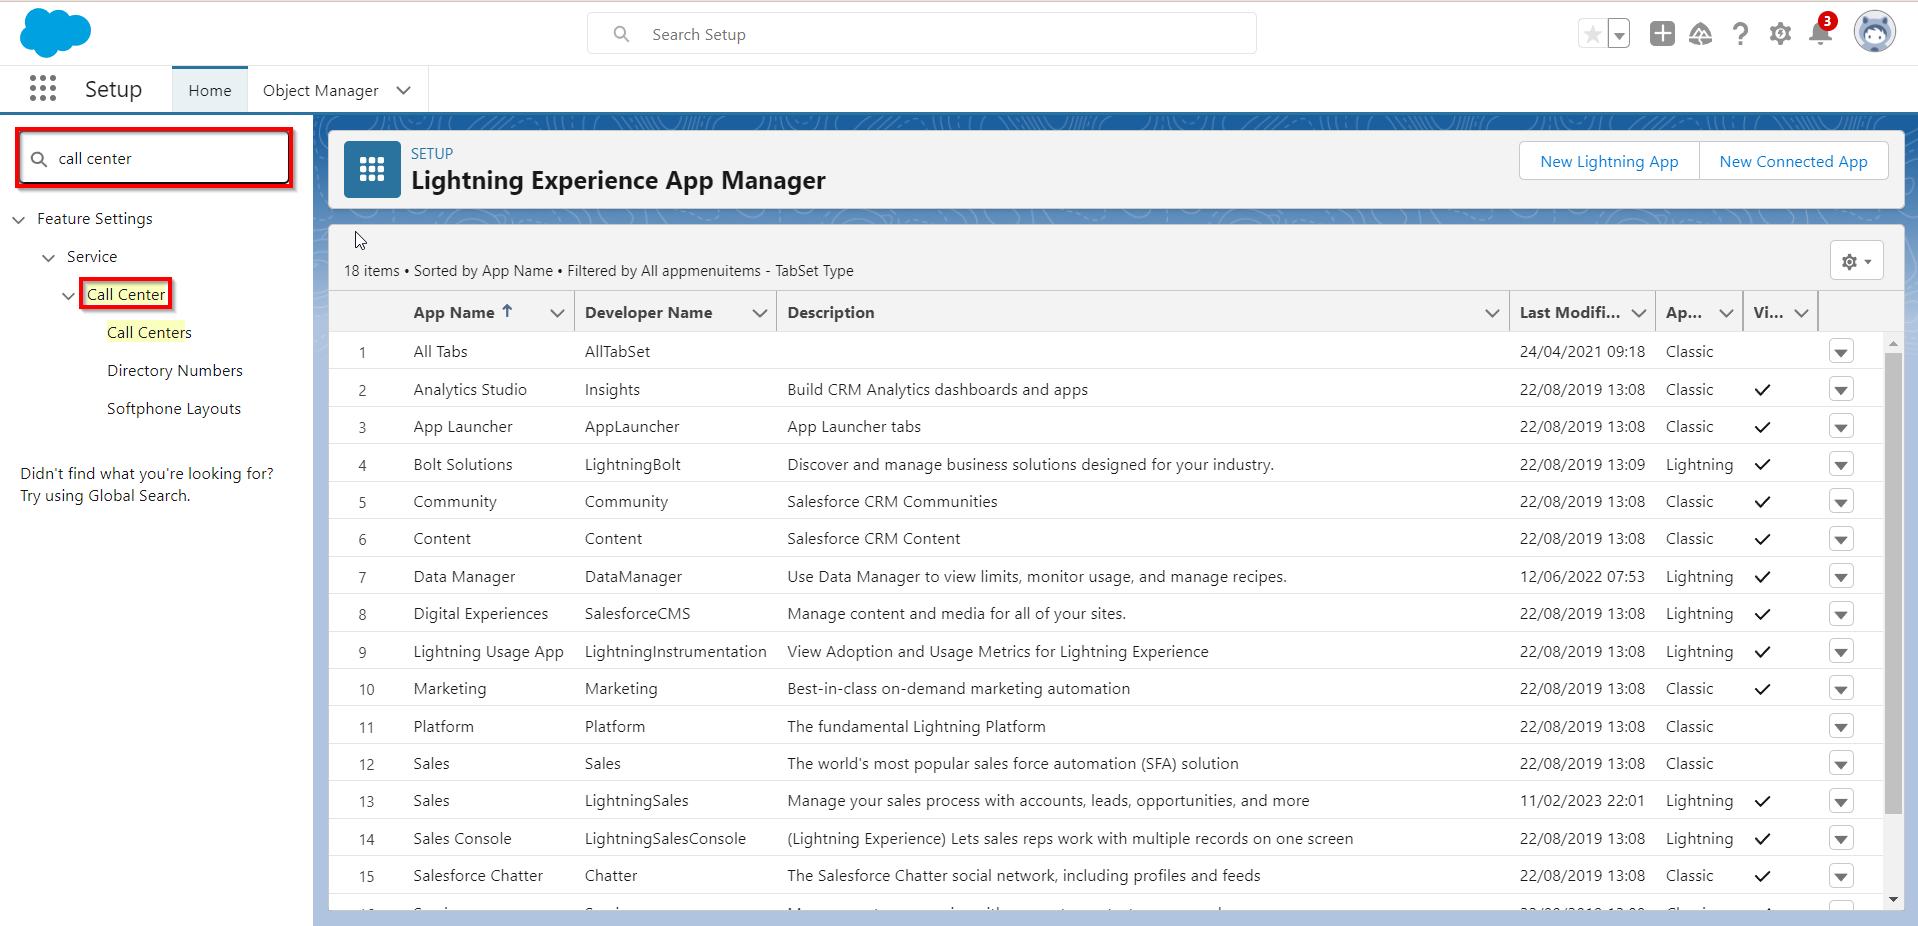
-
Click on Open CTI.
-
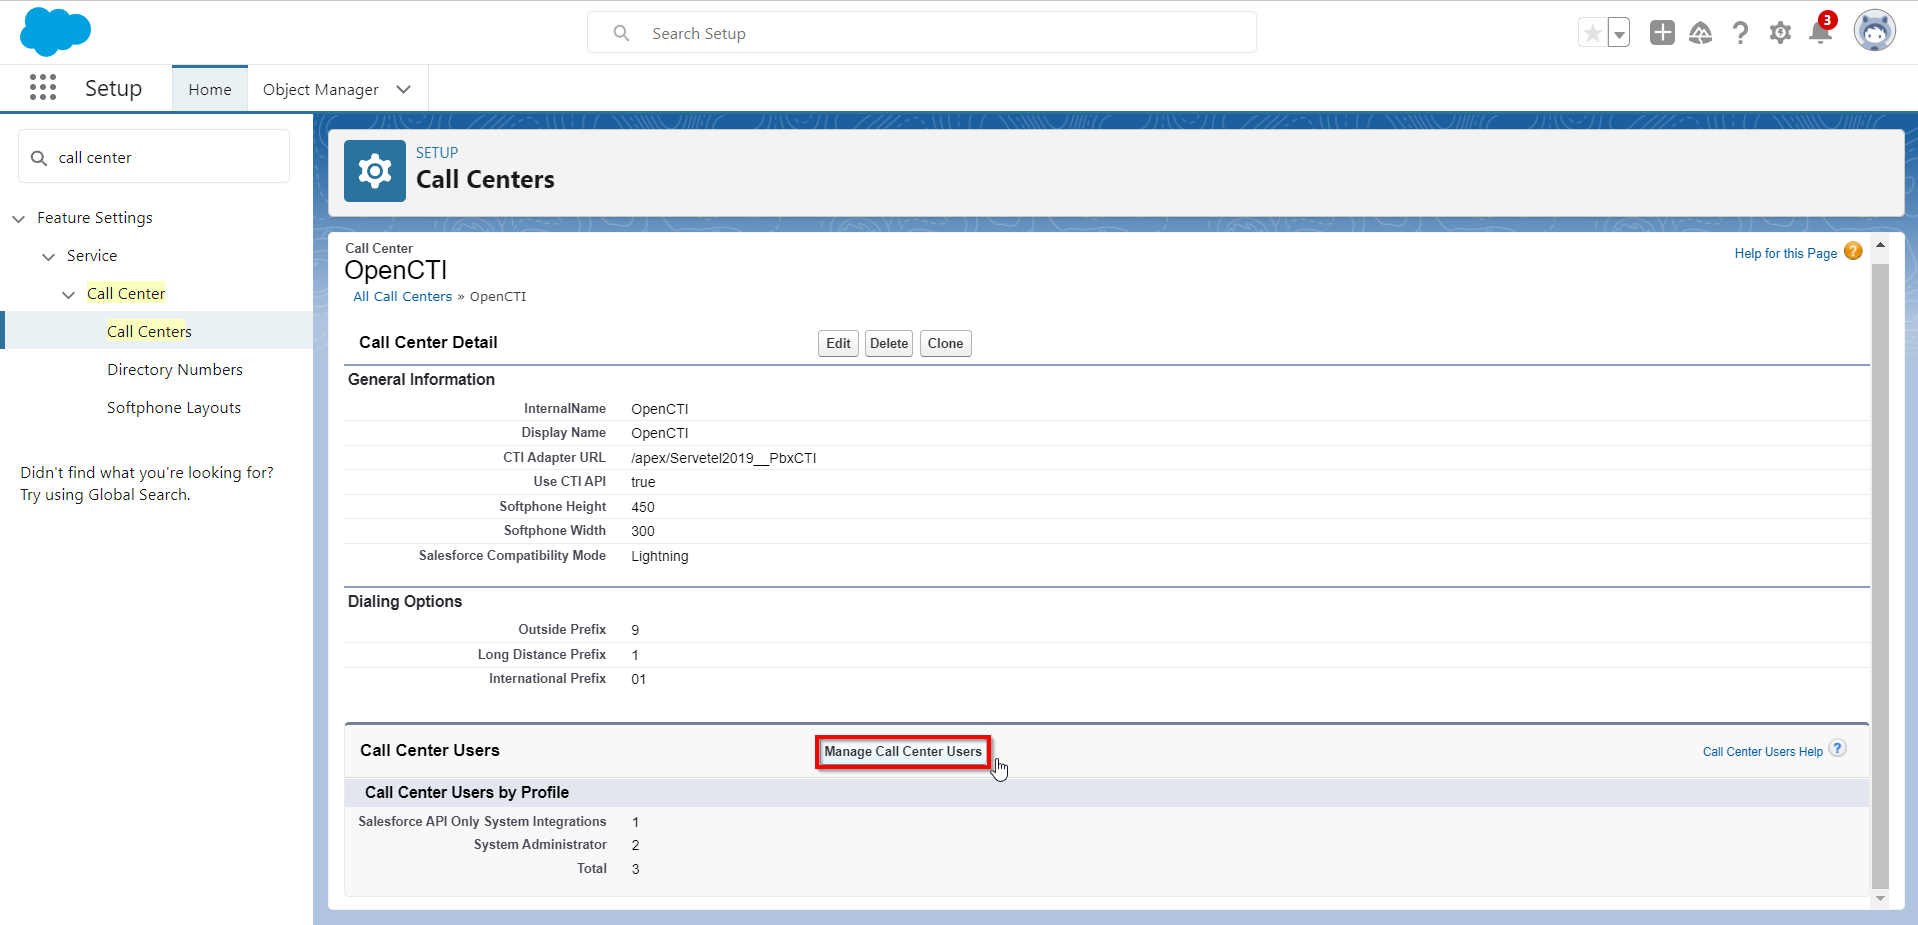
Click on Manage Call Center Users.
-
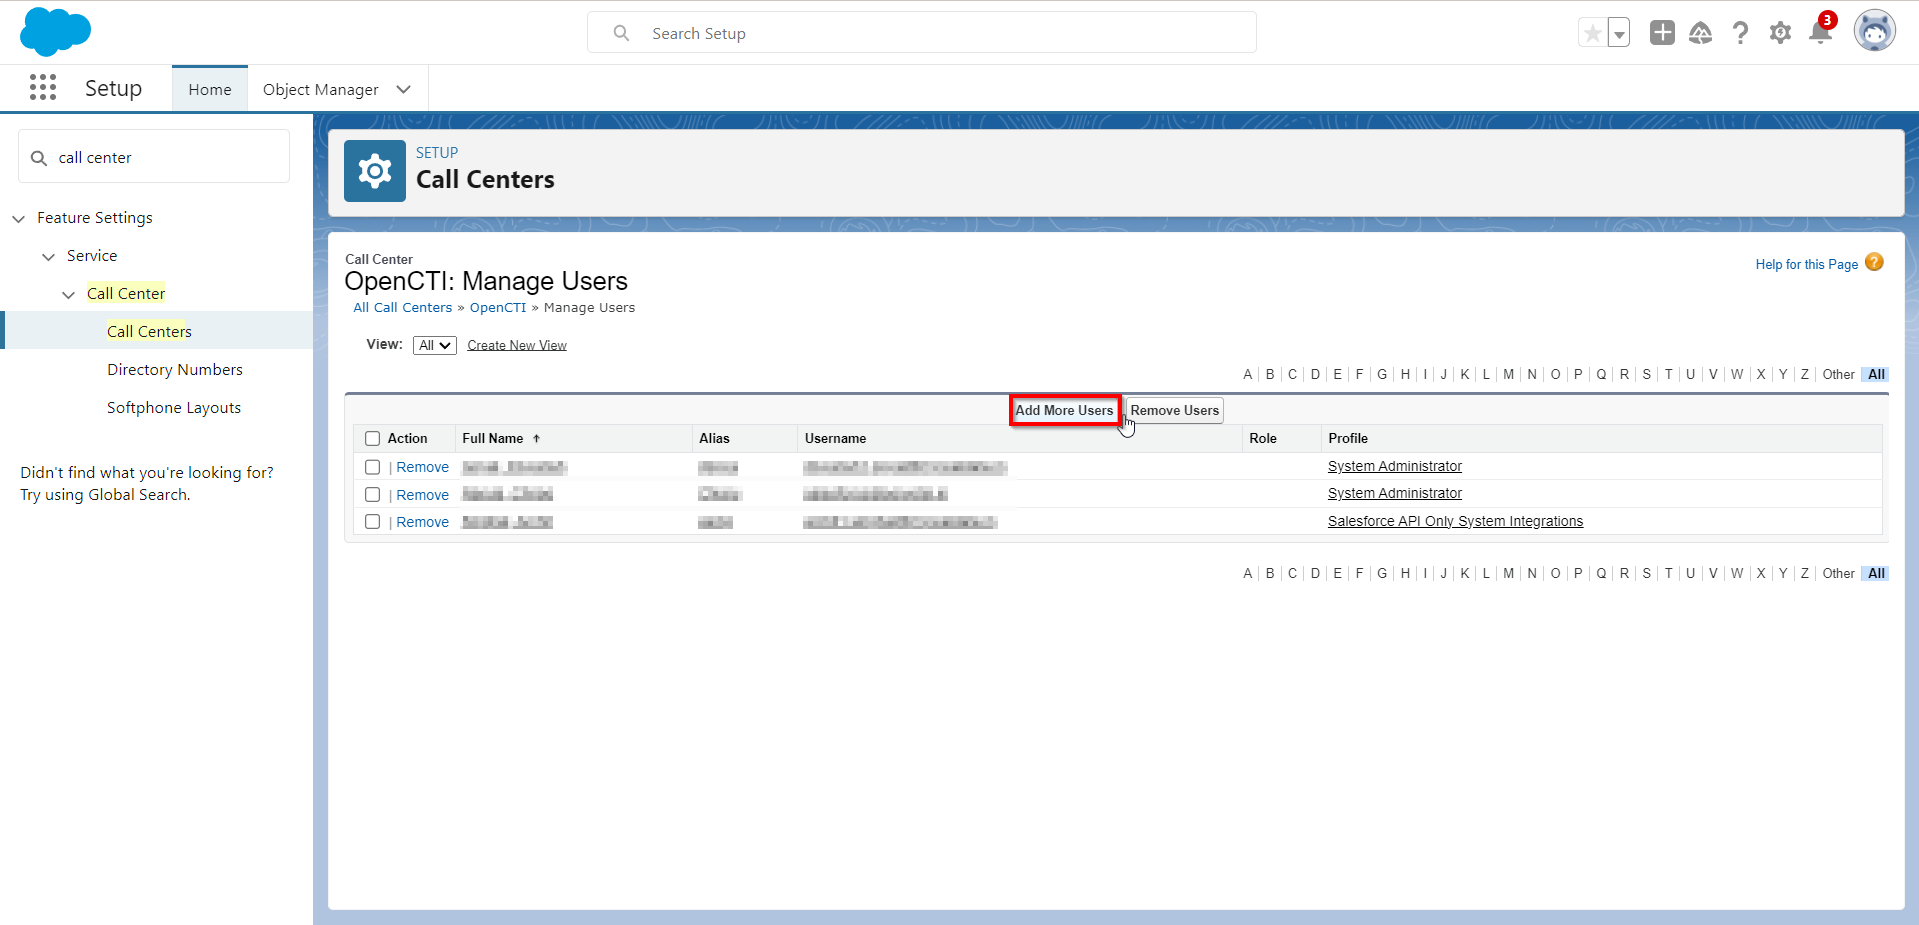
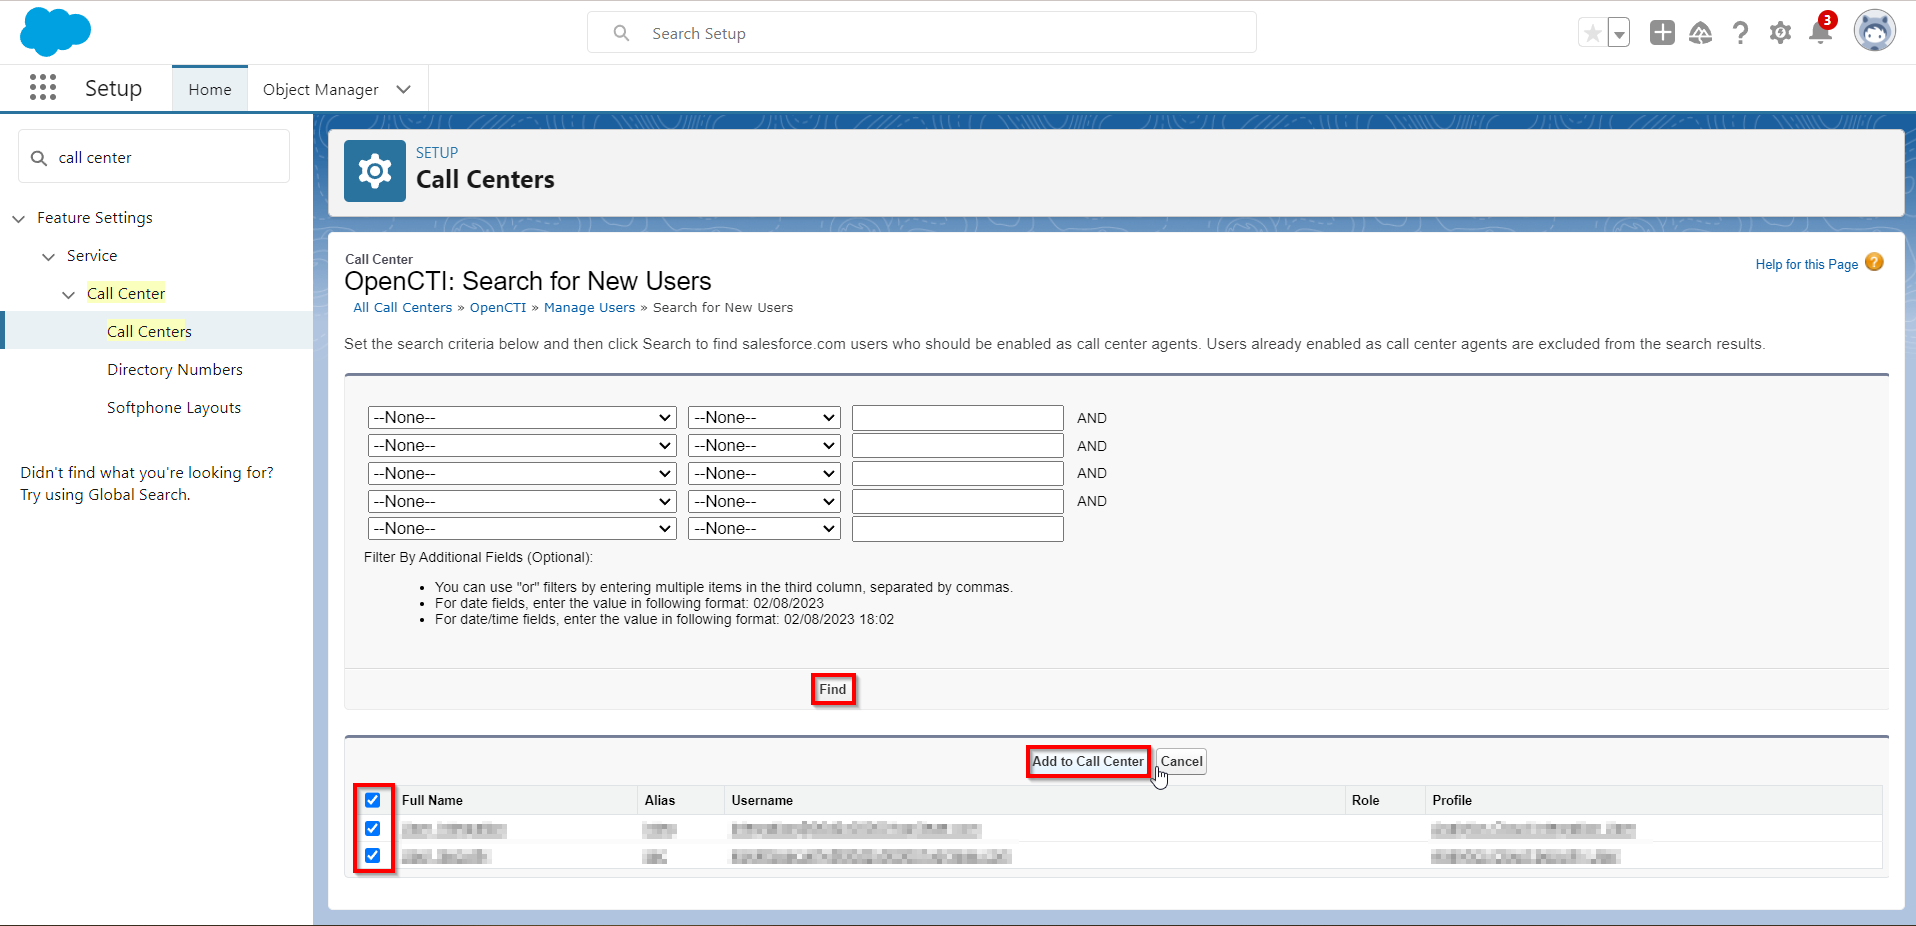
Click on Add More Users, then search and select the desired users and click on Add to Call Center.
-
Select the menu in the top-left corner, search for Sales and click on it.

-
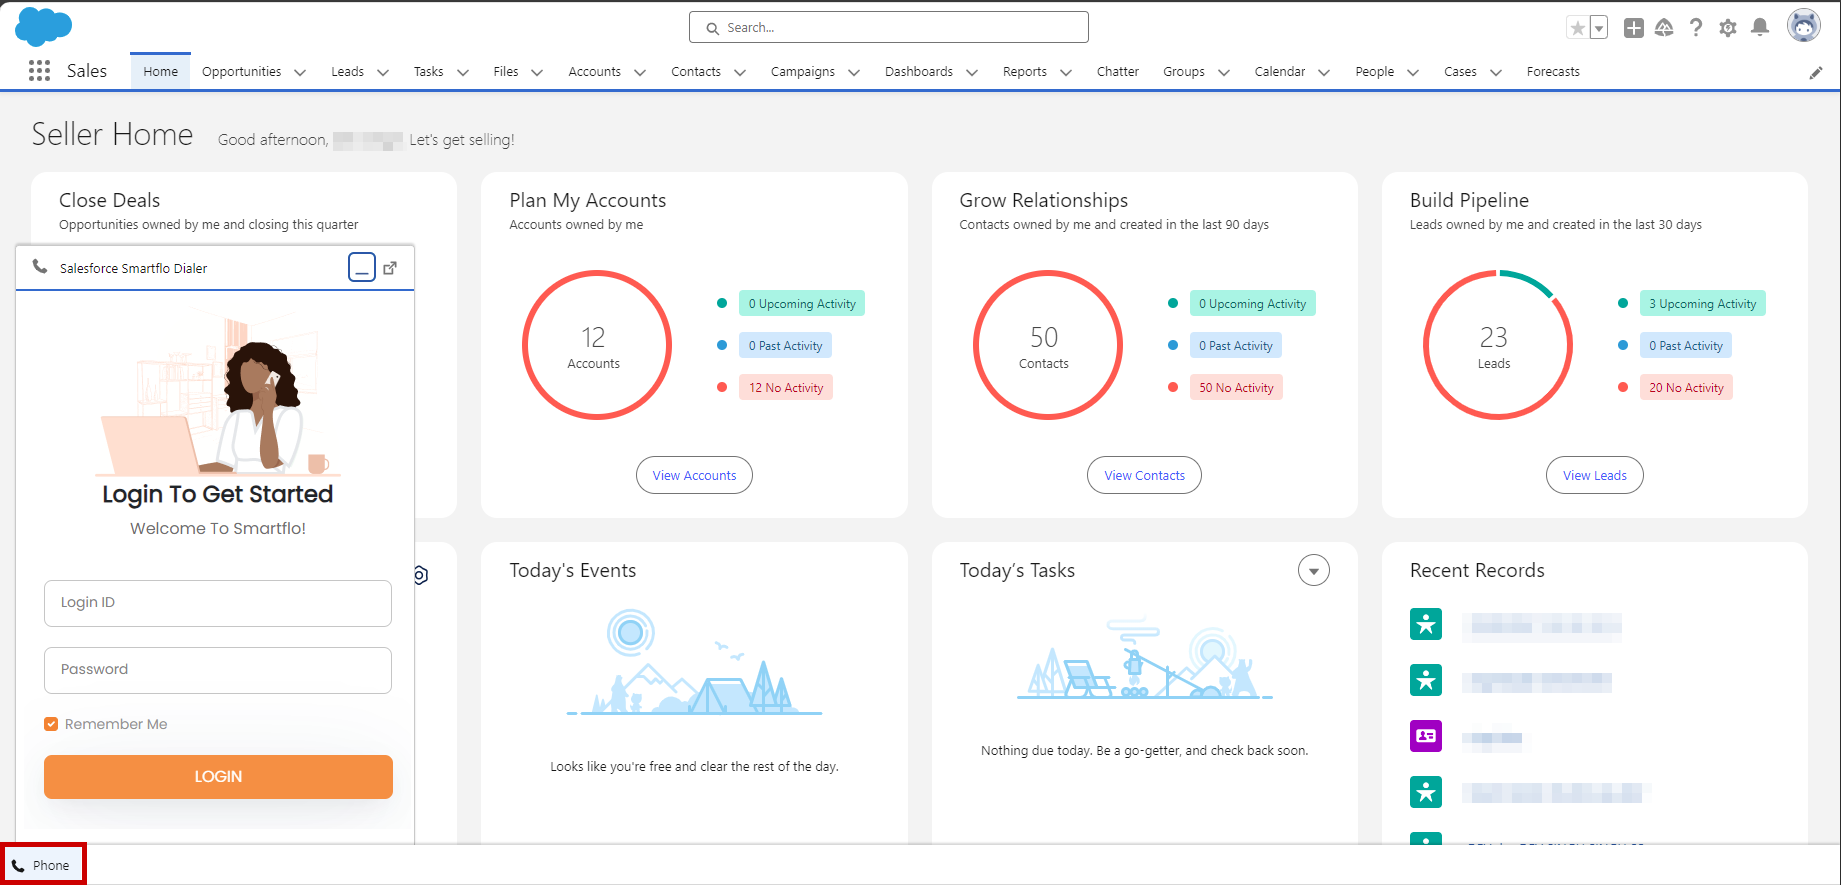
Click on the Phone button in the bottom-left corner and then login using your agent’s credentials.
-
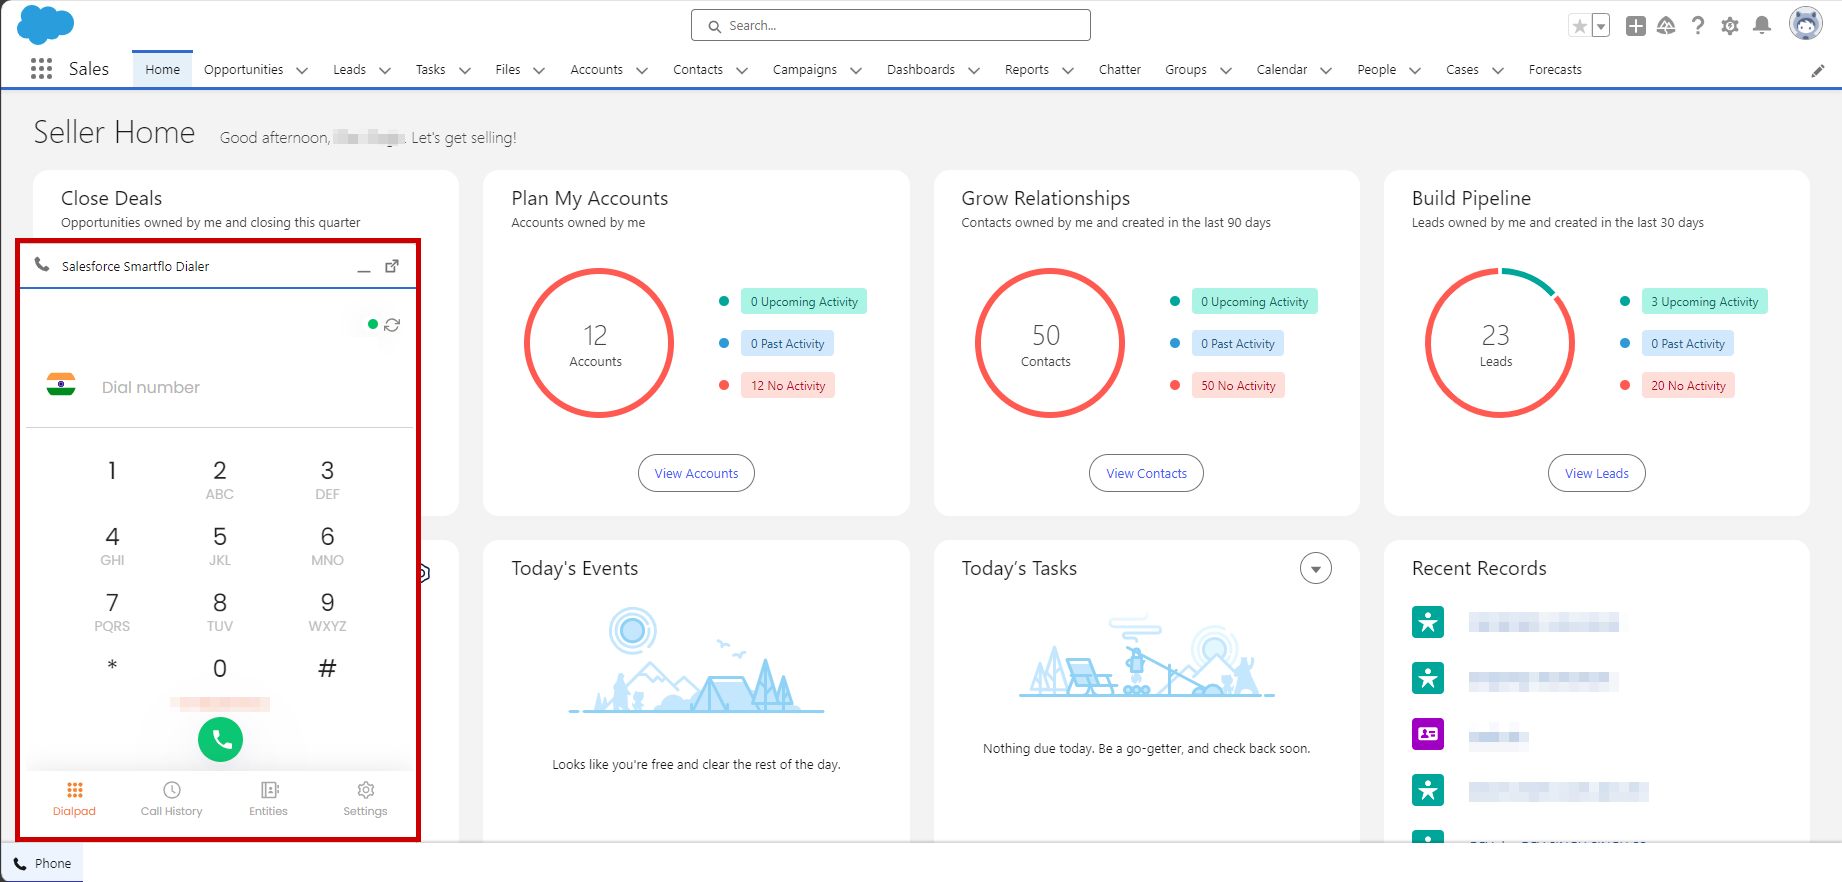
You have successfully integrated Smartflo with Salesforce and are ready to make calls.
Note:Similar procedure needs to be followed for Salesforce Sandbox Application as well.