Smartflo Softphone Mac (Open VPN)
Follow the below steps to start using the Smartflo softphone app:
Step 1: Login to Smartflo account using your Username and Password.
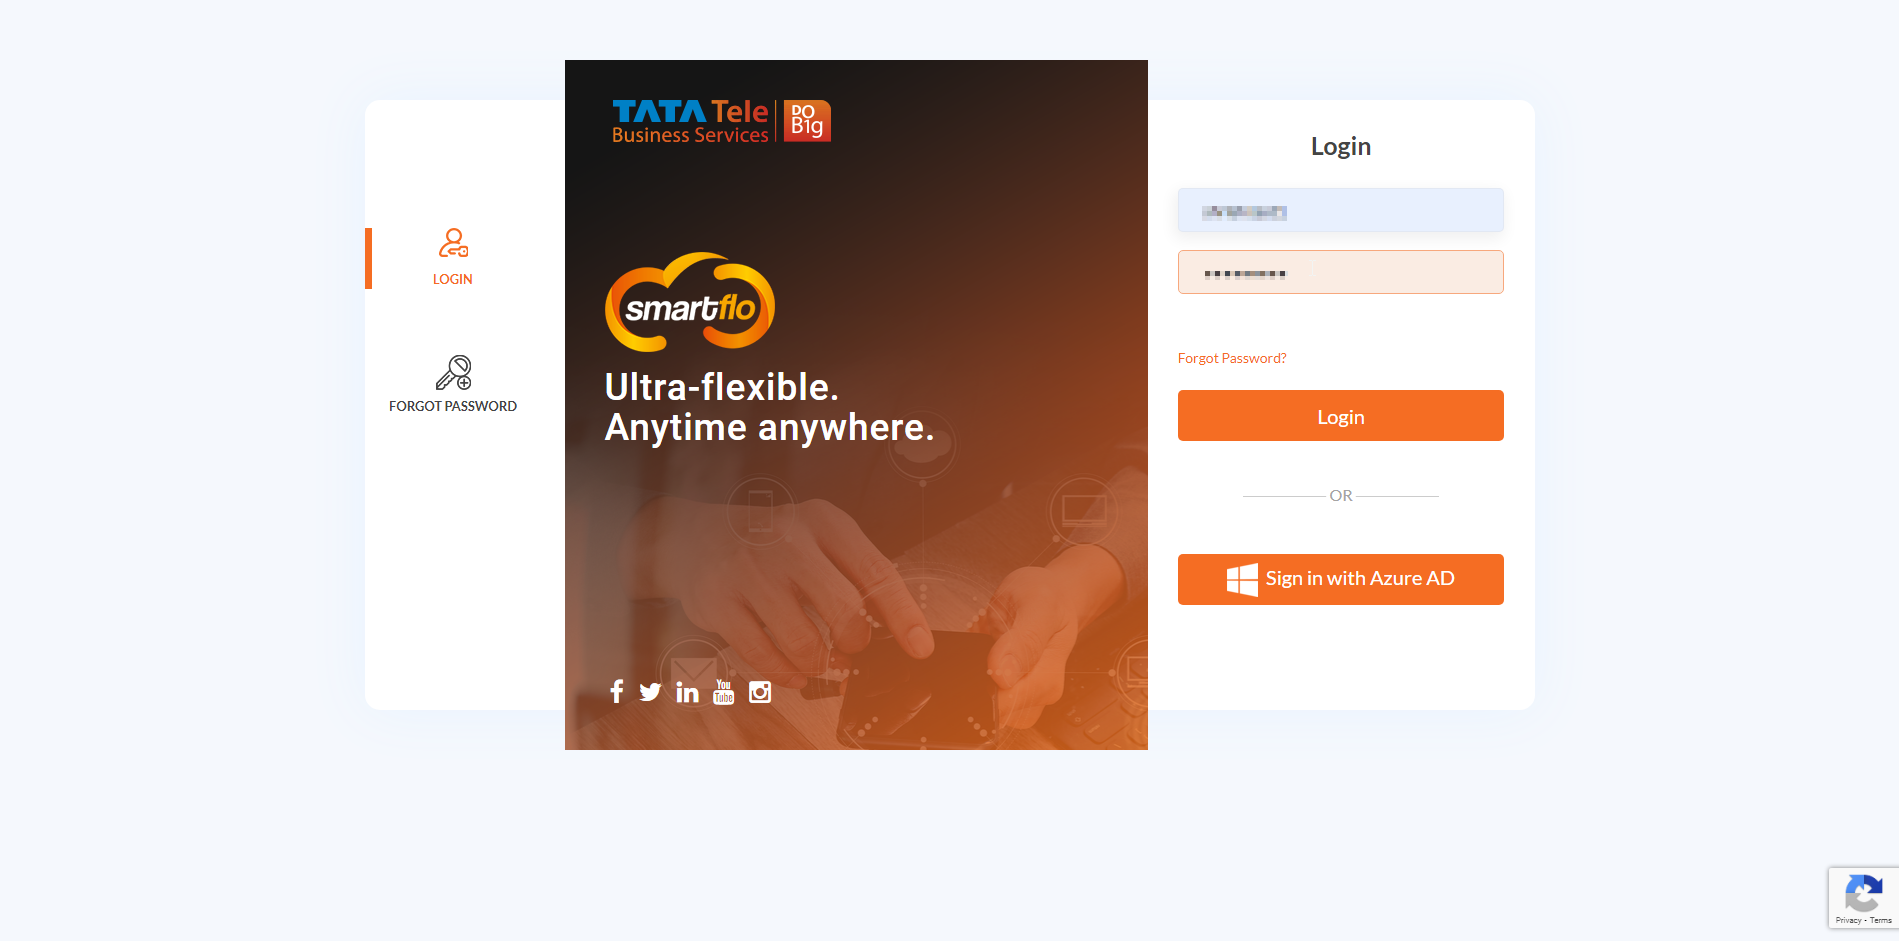
Step 2: Click on the Downloads section on the bottom left side navigation panel.
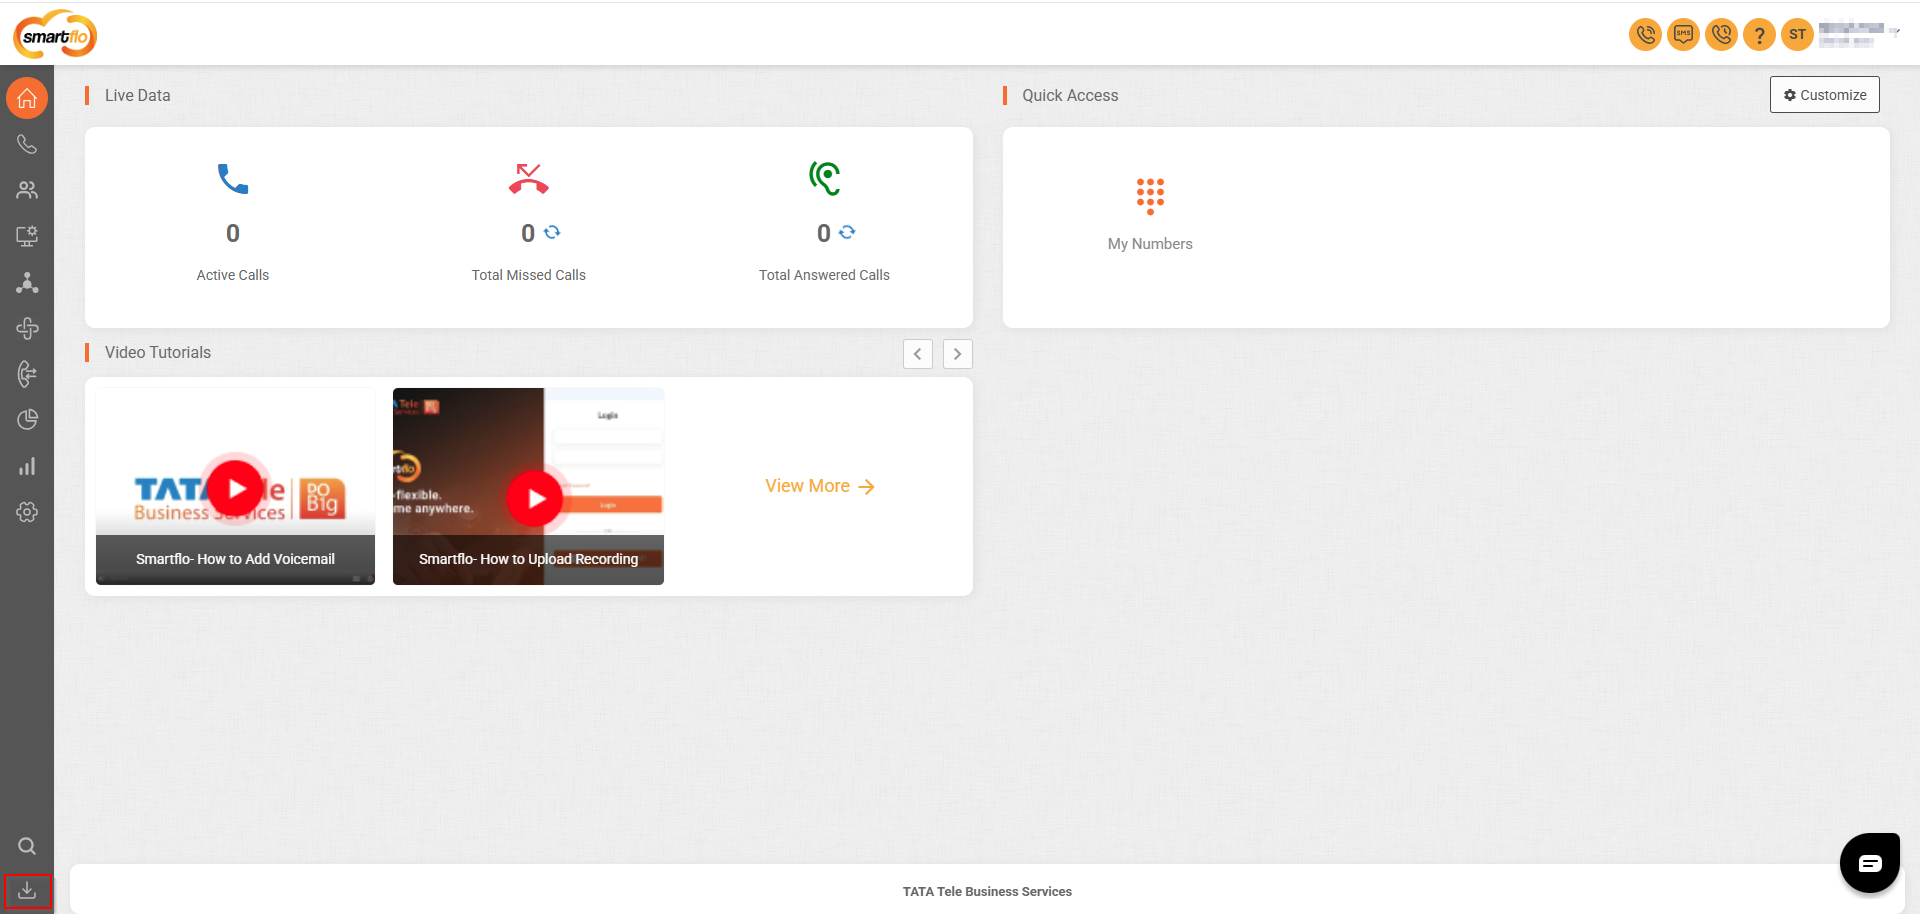
Step 3: Download and install Smartflo Softphone for Mac.
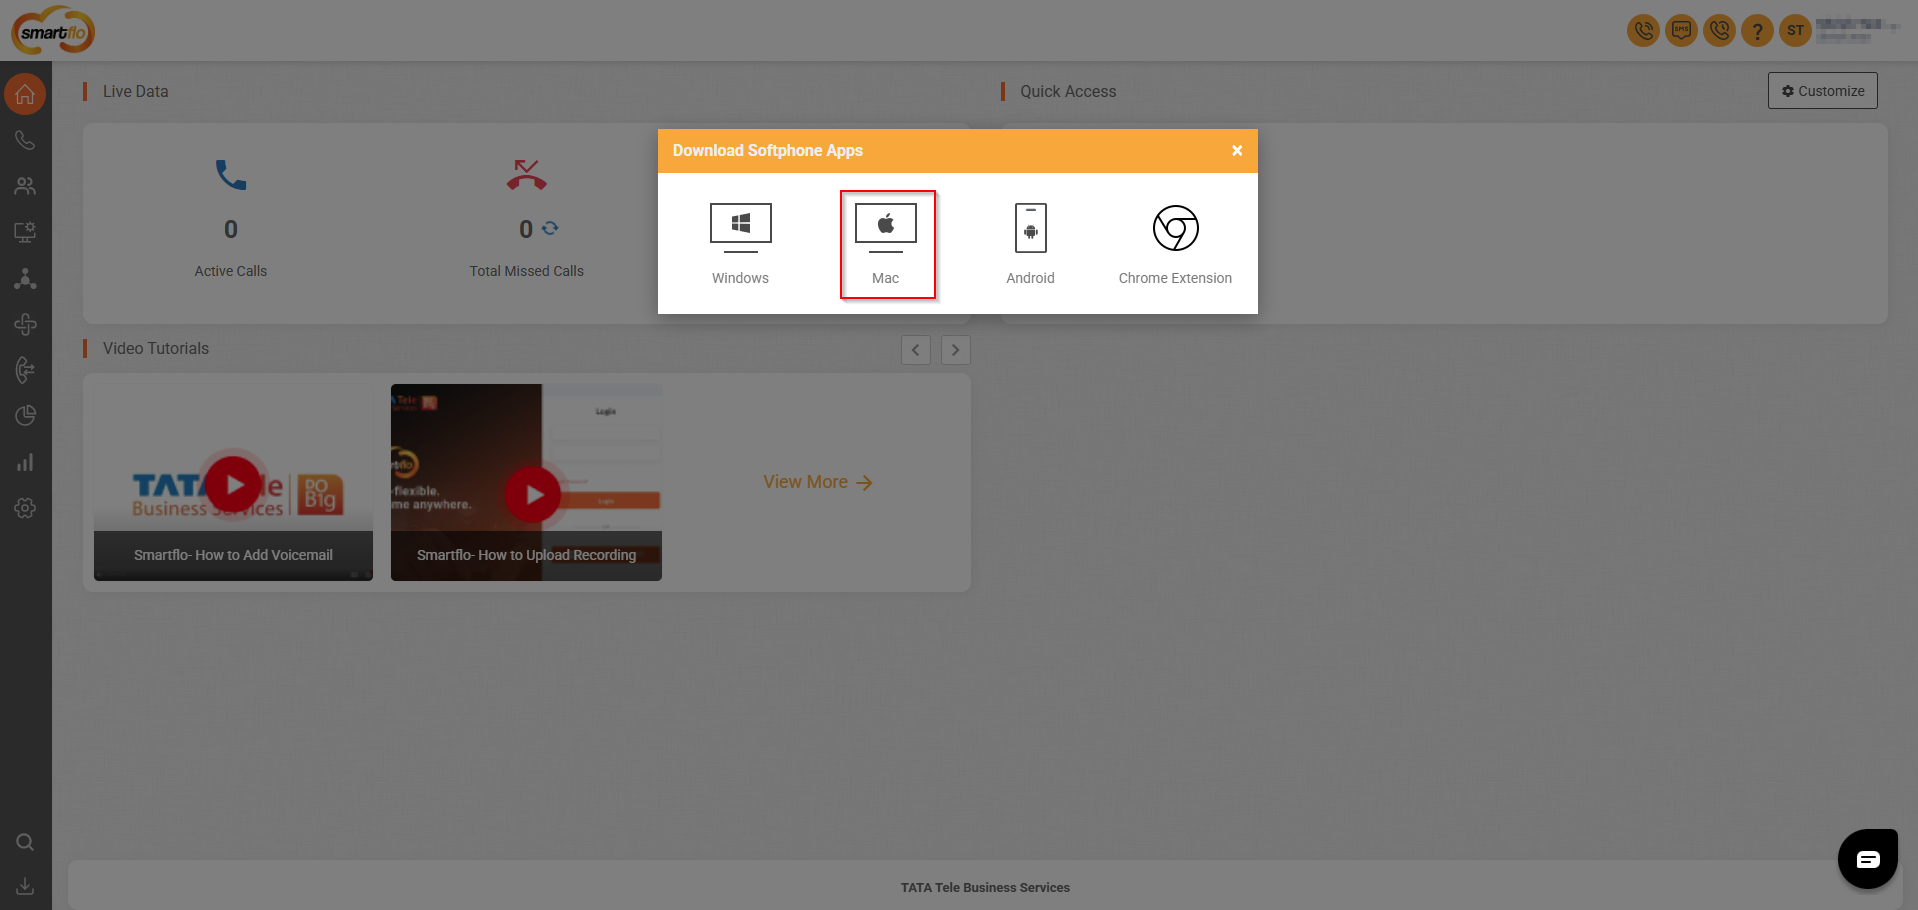
Step 4:Under Users tab, click on All User(s).
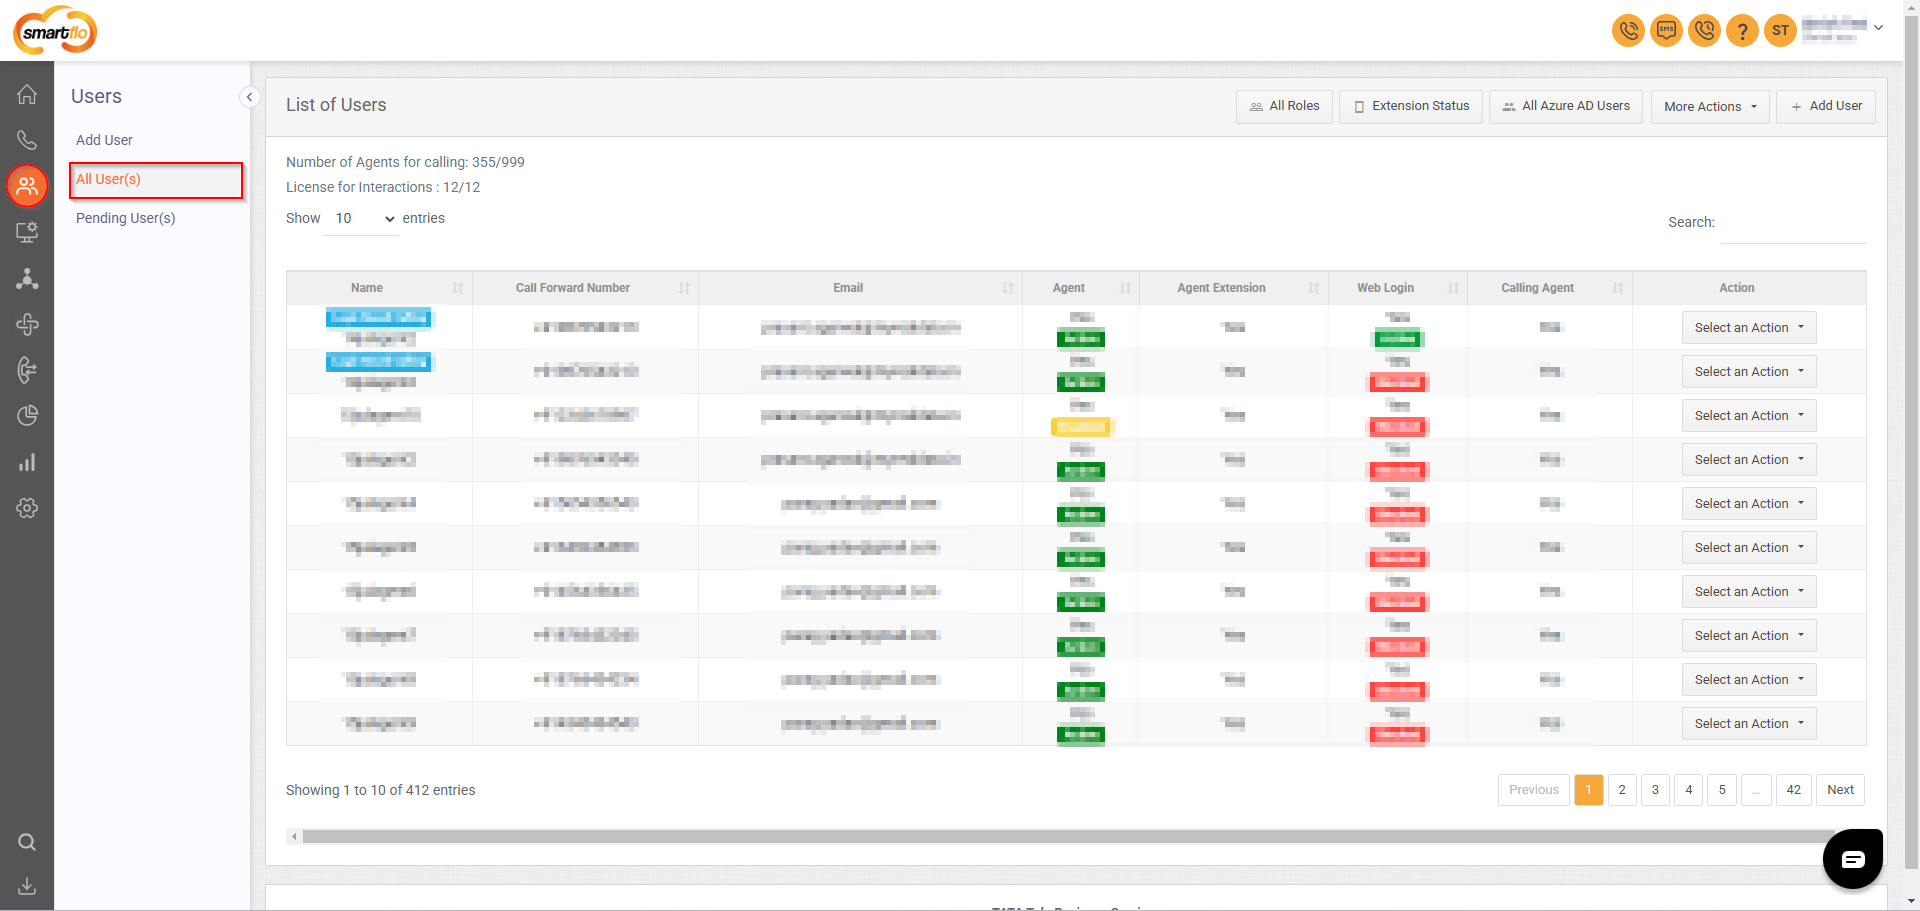
Step 5: Click Extension Status on the top-right corner of the page.
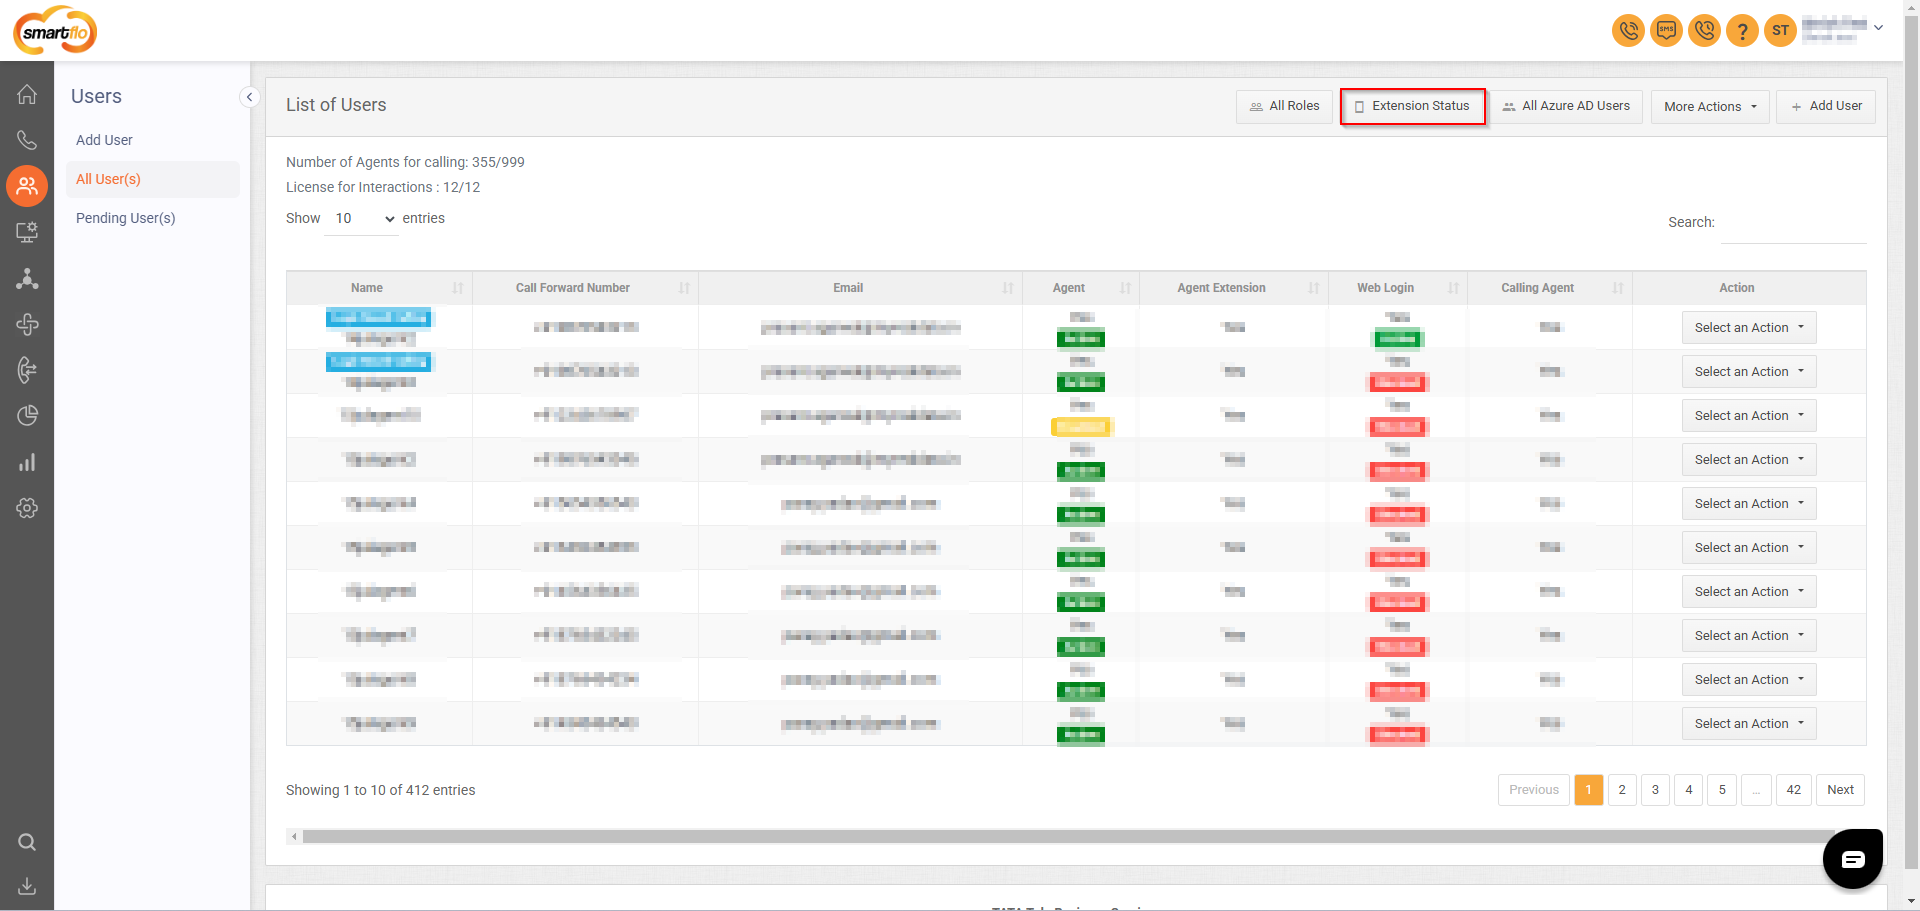
Step 6: Click on Download VPN Config File
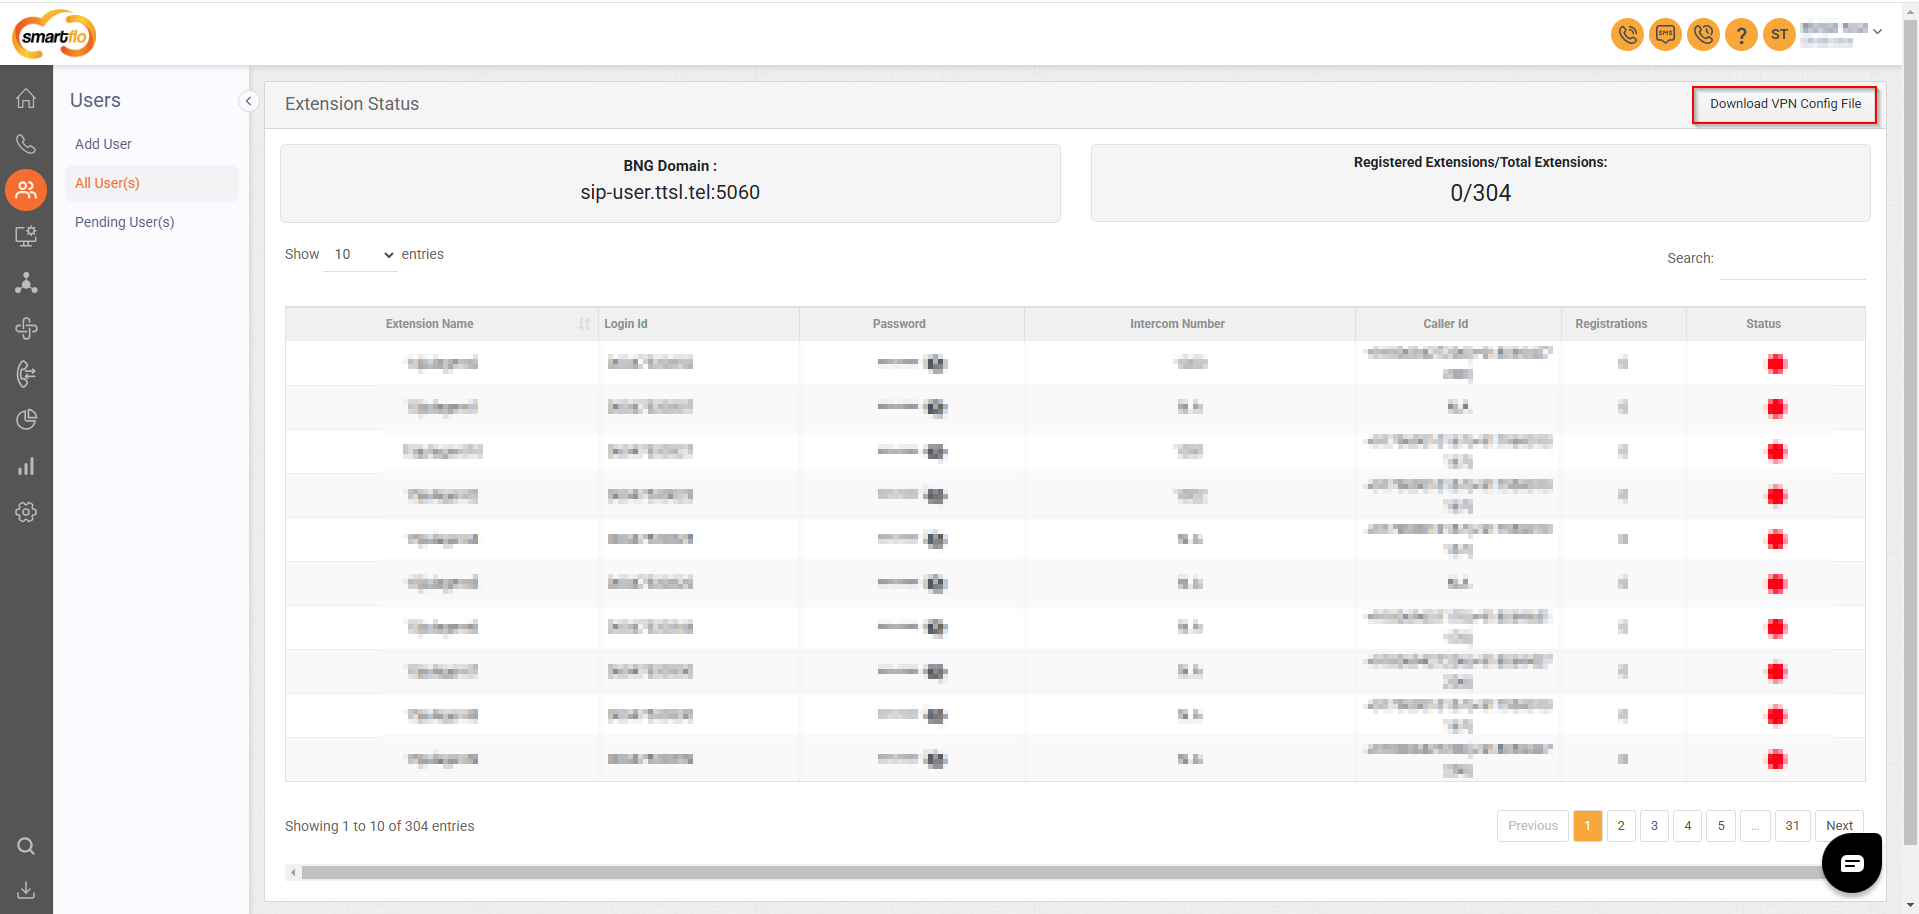
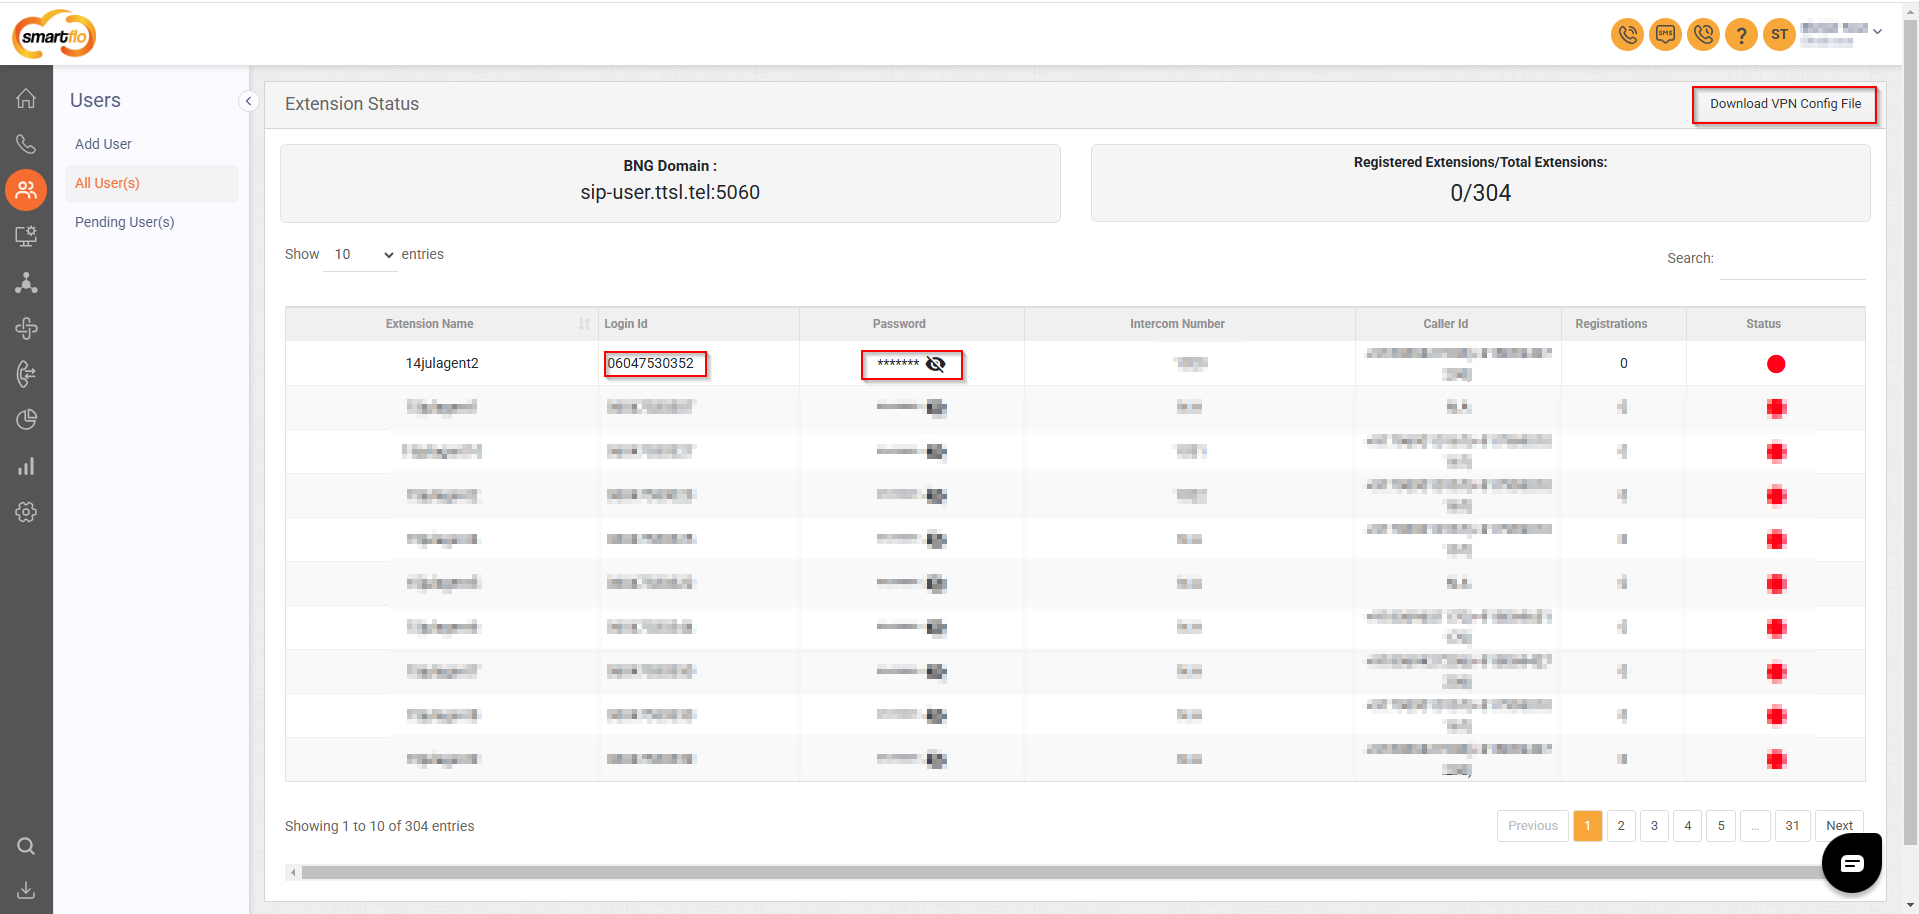
Step 7: Copy and save your agent's username and password, as they will be needed to log in to the OpenVPN Connect app.
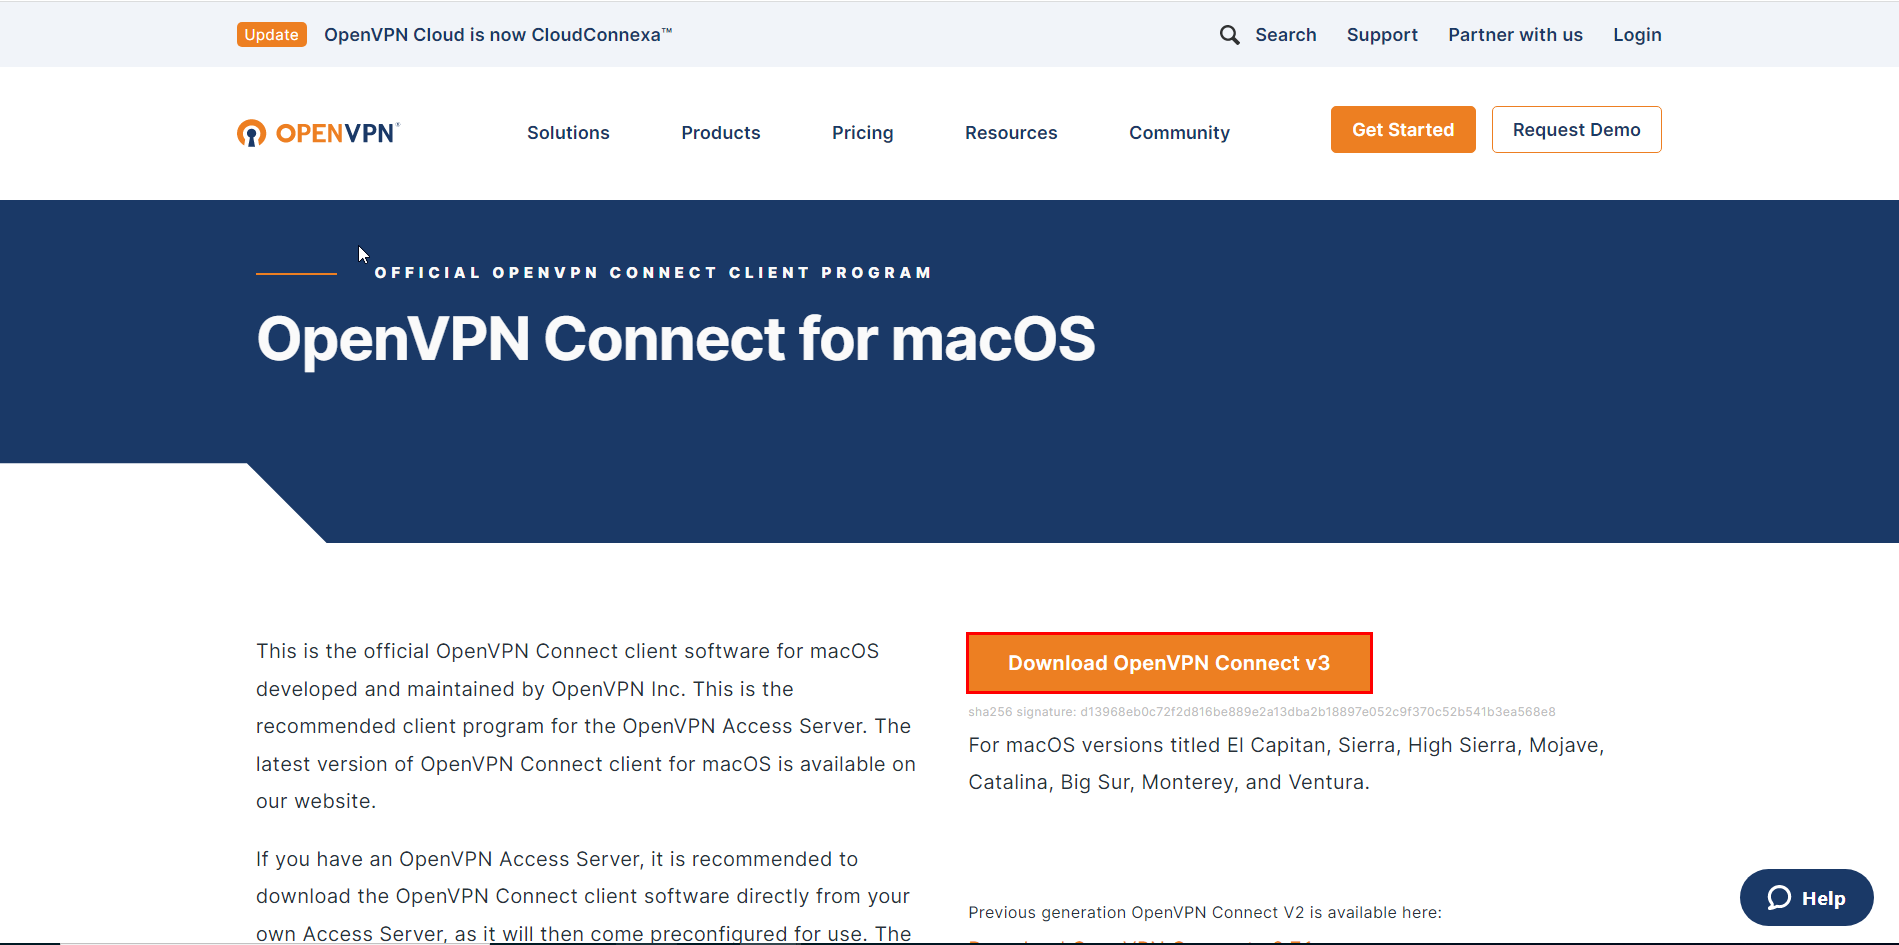
Step 8: Now you'll need to download the OpenVPN Connect app. You can get it here.
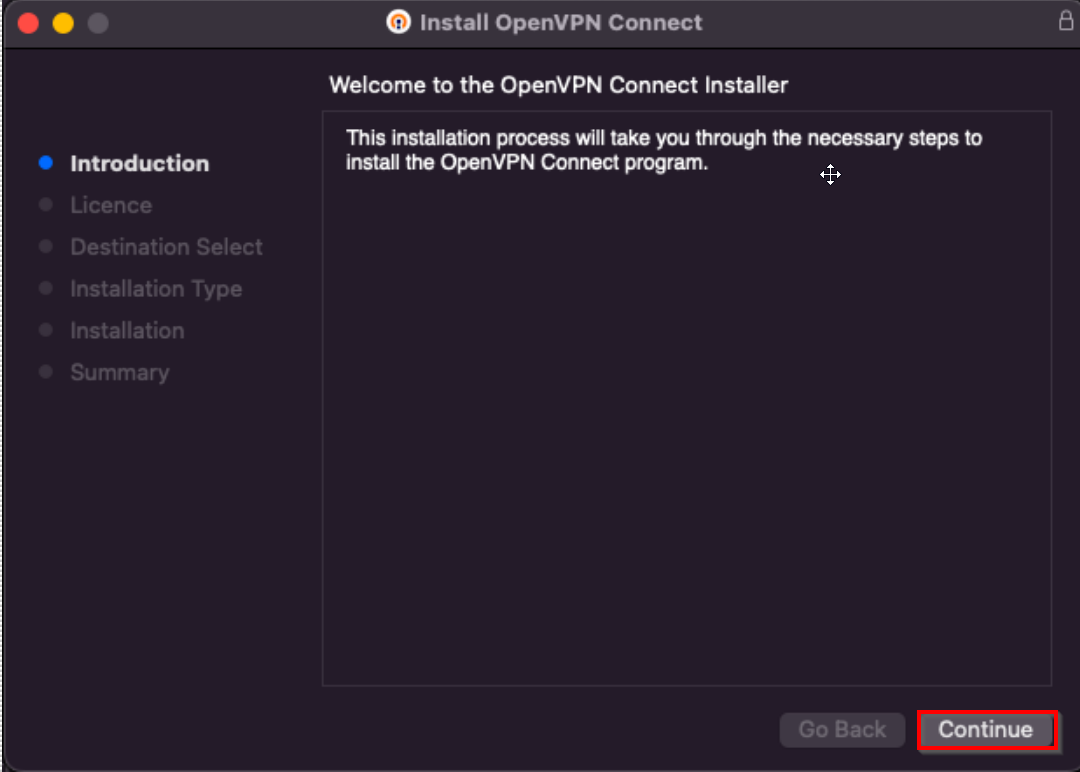
Step 9: Once the OpenVPN Connect installer opens, click Continue.
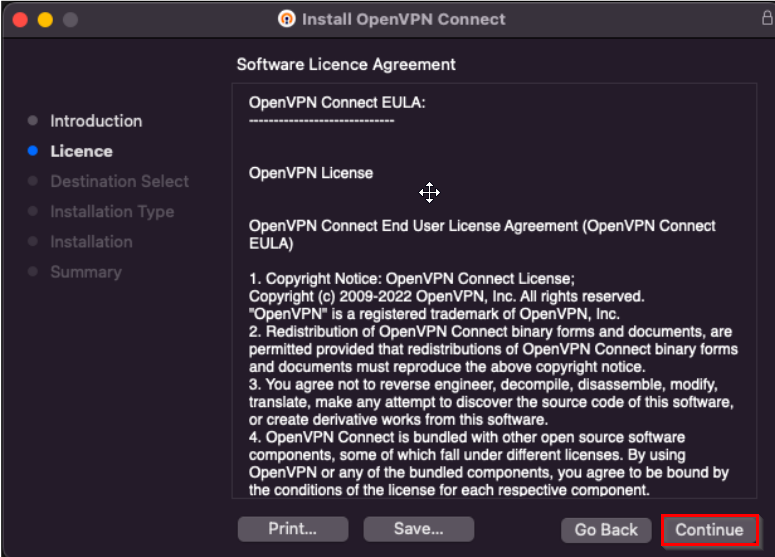
Step 10: Review the license conditions and then press Continue.
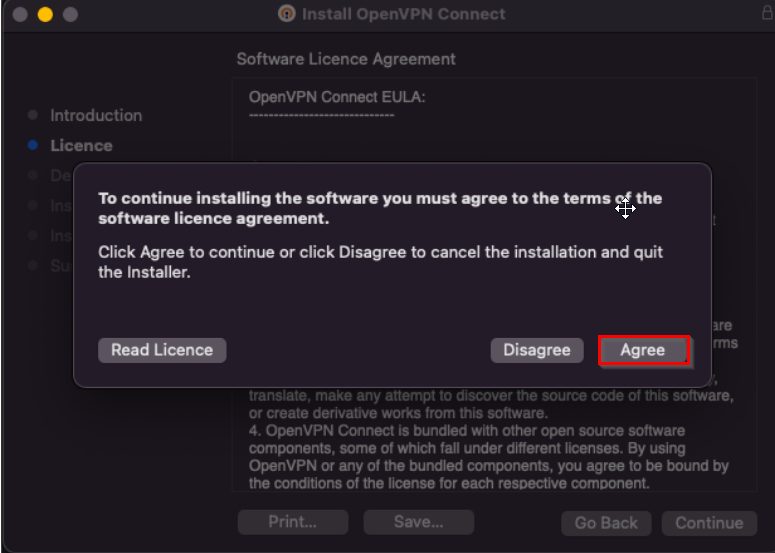
Step 11: Click Agree to proceed with the installation.
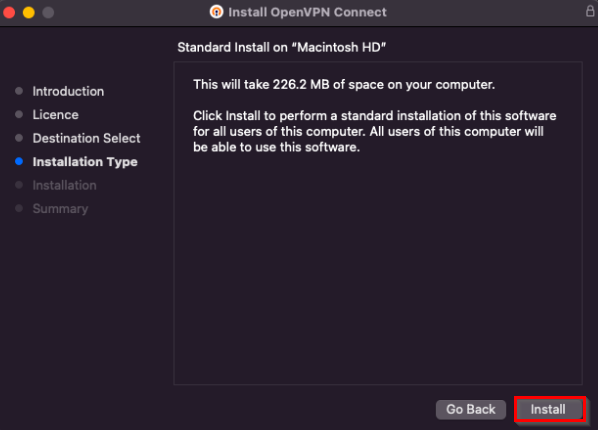
Step 12: Choose the location and type of installation then press Install.
Step 13: If you have set up a device password, type it in and select Install Software.
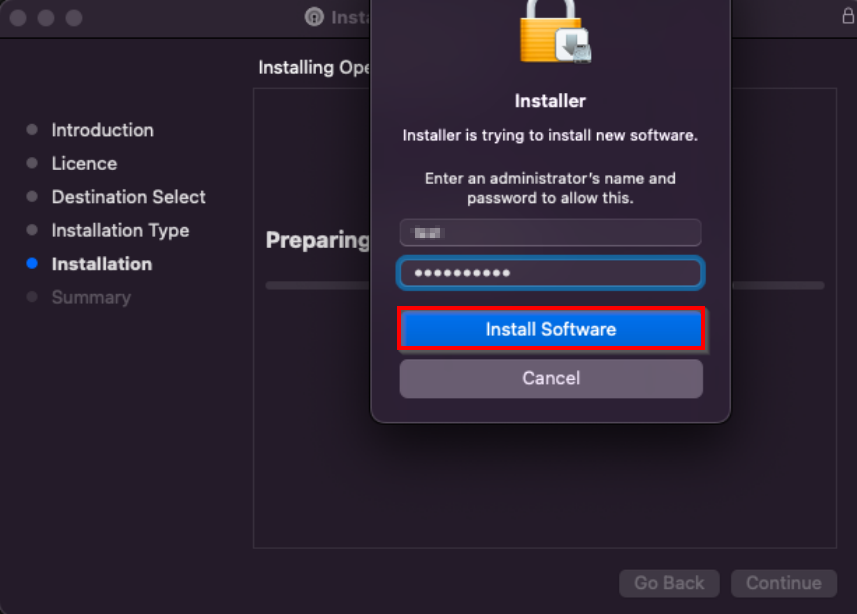
Step 14: Watch for the installation process to finish.
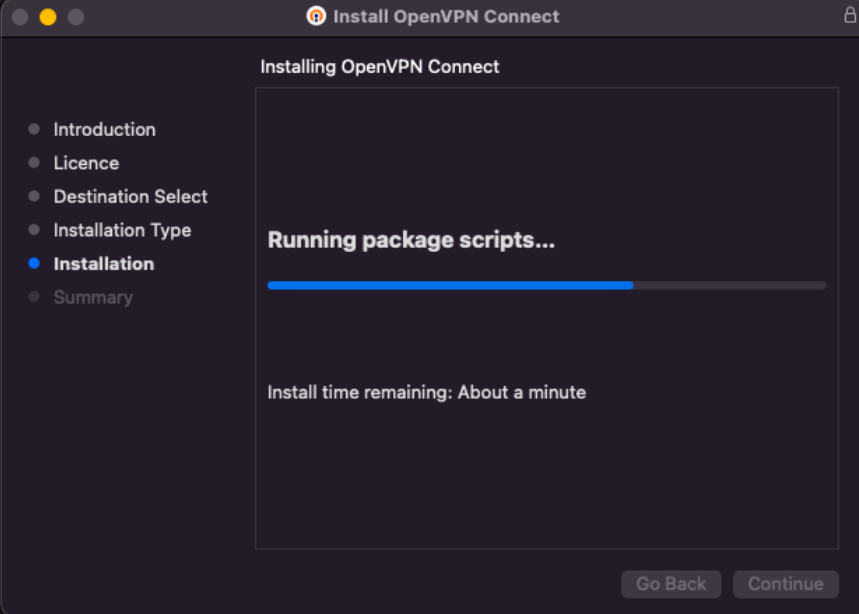
- Once the setup is successfully installed, you will get an acknowledgment for the same.
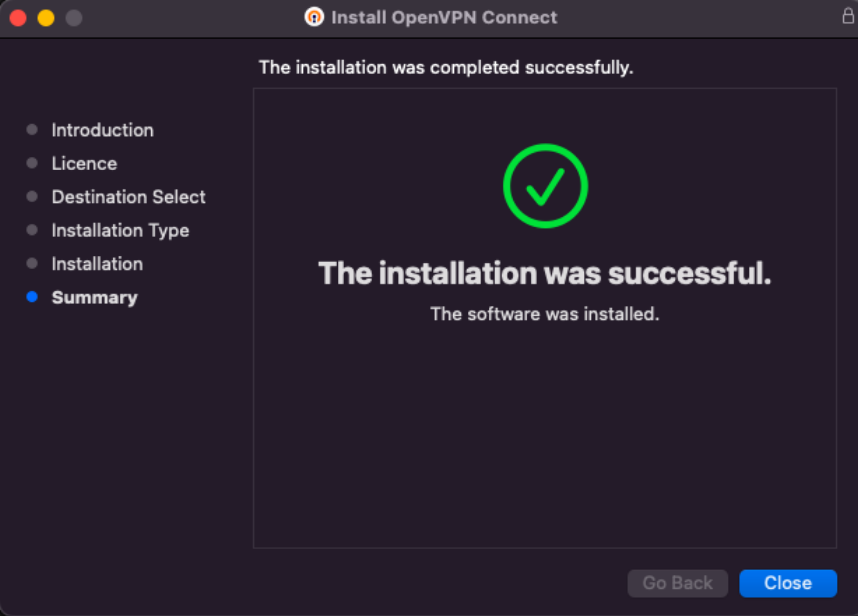
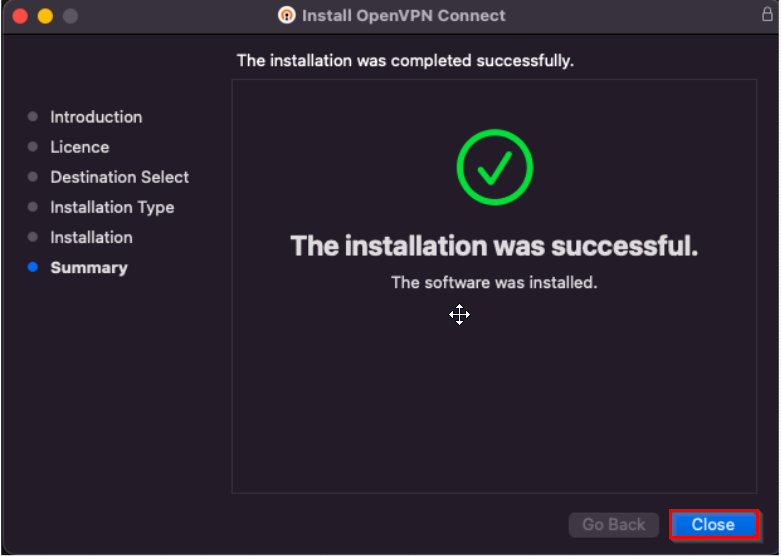
Step 15: After the installation is finished, click Close.
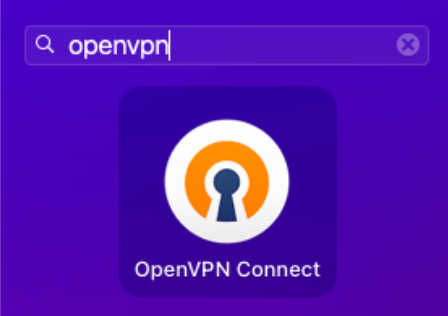
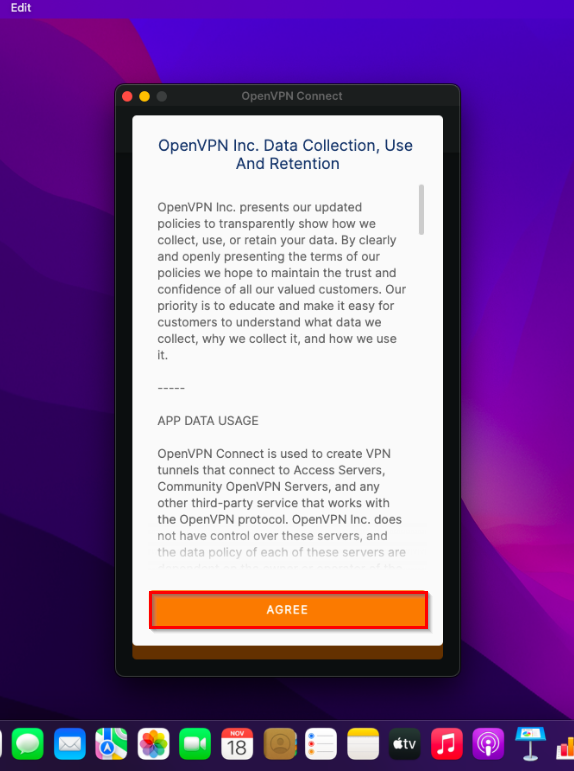
Step 16: Search for OpenVPN Connect app on your Mac and Agree to the terms and conditions. At last, click OK.
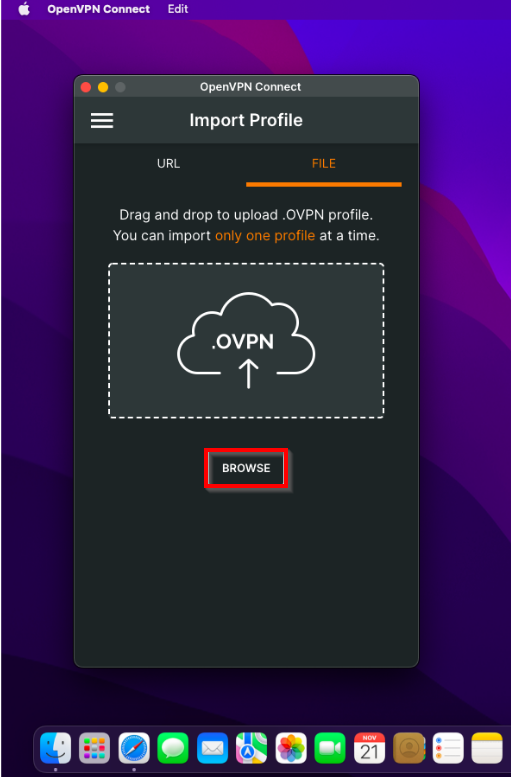
Step 17: Click the File tab and click on Browse to upload the VPN config file.
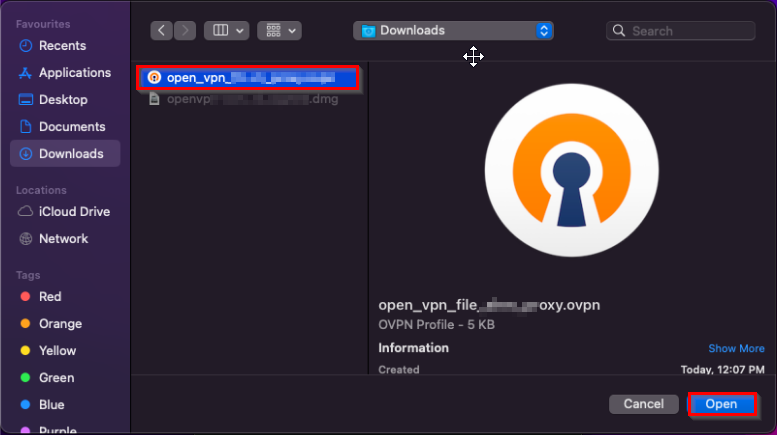
Step 18: Select the file downloaded in Step 6 and click on Open.
Step 19: Enter the extension Username, tick the checkbox for entering the Password and click on Connect.
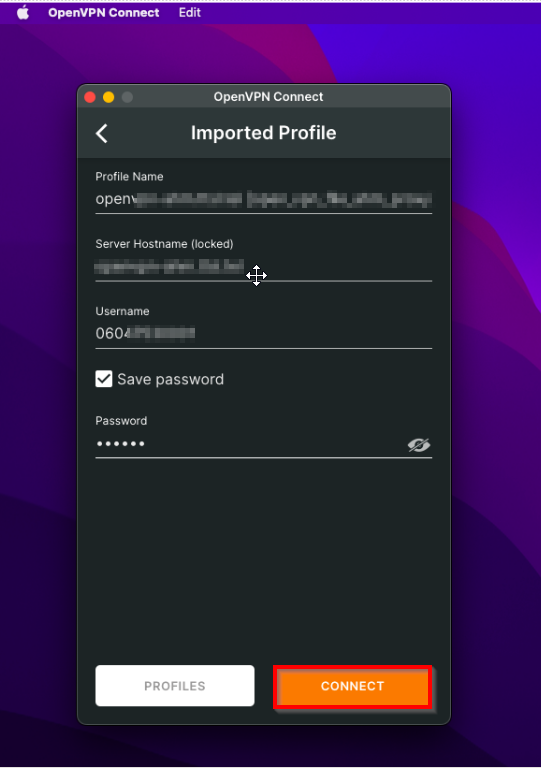
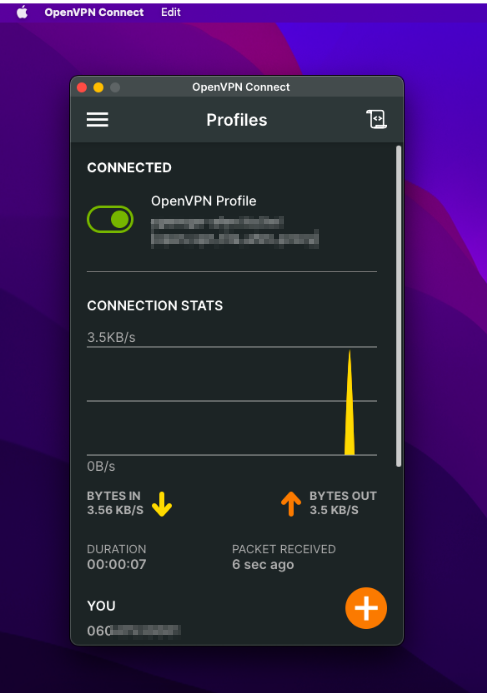
Step 20: Now, your VPN is connected and you can proceed with the Smartflo extension login.
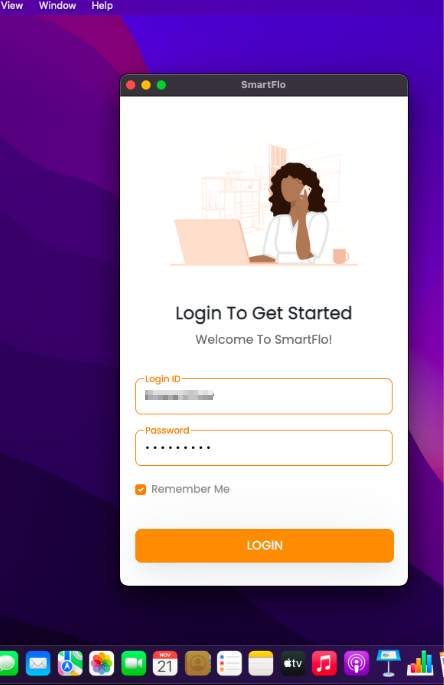
Step 21: Open the Smartflo Softphone app, enter your Smartflo Username and Password and click on Login.
Note: The Agent Extension should be enabled.
Step 22: Now, you can start calling. Refer to the below screenshot to learn more about the Smartflo softphone feature.
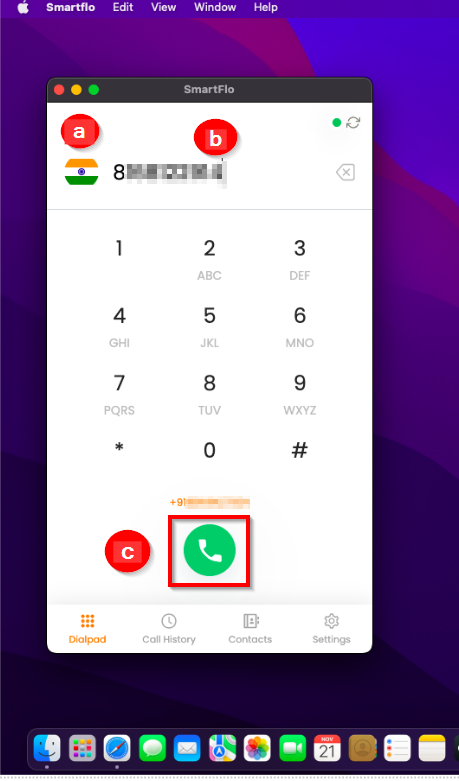
a. Change your country.
b. Enter the number you want to dial.
c. Click to dial the number.
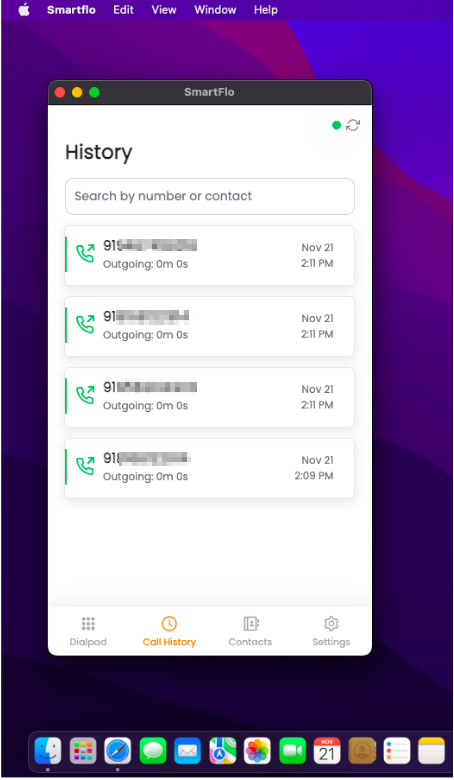
- Click on Call History to view the past dial numbers.
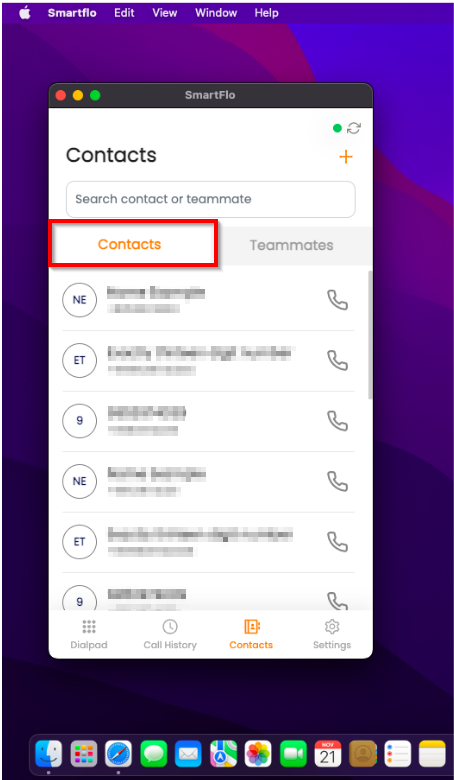
- Click on Contacts to view your saved numbers.
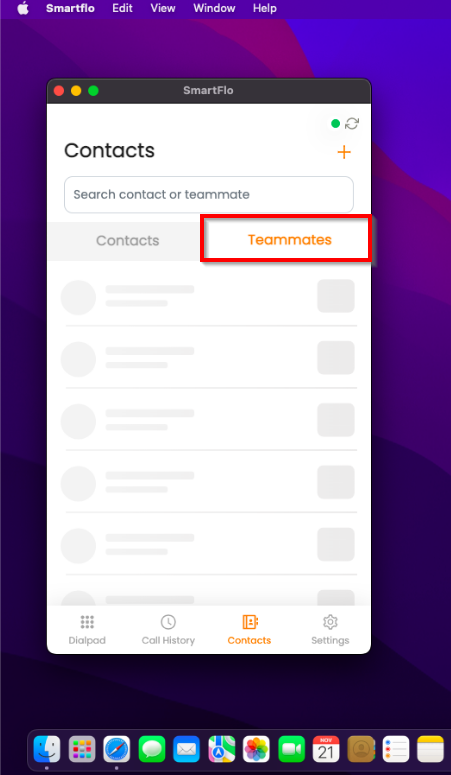
- Click the Teammates tab to view your team member number.
Note: Assigned agent should have the permission of Manage Extension to view the teammates.
- Click on Settings to view your profile, get help, and log out from the Smartflo softphone.
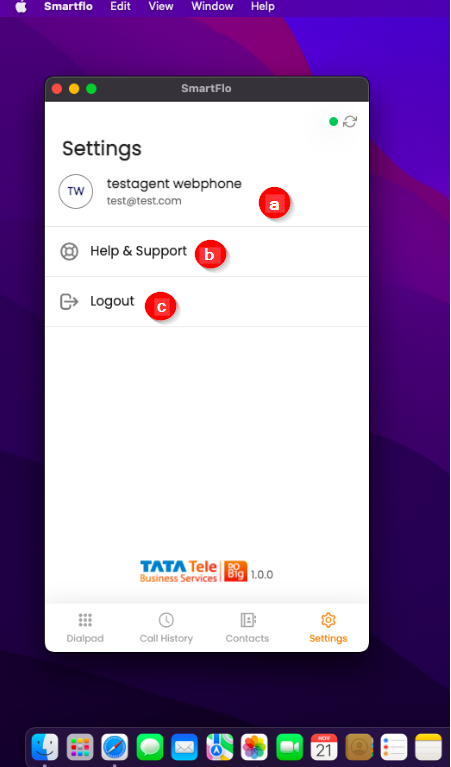
a. View your Username and Email ID.
b. View FAQs to clear common doubts.
c. Click to log out from the Smarflo Softphone
FAQs
❓I have logged in to the application, but I am stuck on the login screen.
- Our applications are region-specific, and if your system time zone is different the site on which you are attempting to log in, it will be stuck on the loading screen, waiting for your to change your system’s timezone.
❓What should I do if I change networks during a Softphone session?
- If you switch networks while using the Softphone:
Do not refresh the application.
- Refreshing causes an IP mismatch and triggers a permission error.
Immediately log out and log back in.
- This ensures a new session is created with the updated IP address, keeping your Softphone fully authenticated and functional.
Important: Always log out and re-login after any network change to avoid disruption.
Updated 10 months ago