System Recordings
System Recording Overview
A System Recording can be used as a pre-recorded message in various features such as Auto-Attendant, IVR, Voicemail, and Music on Hold, providing a consistent and professional experience for callers.
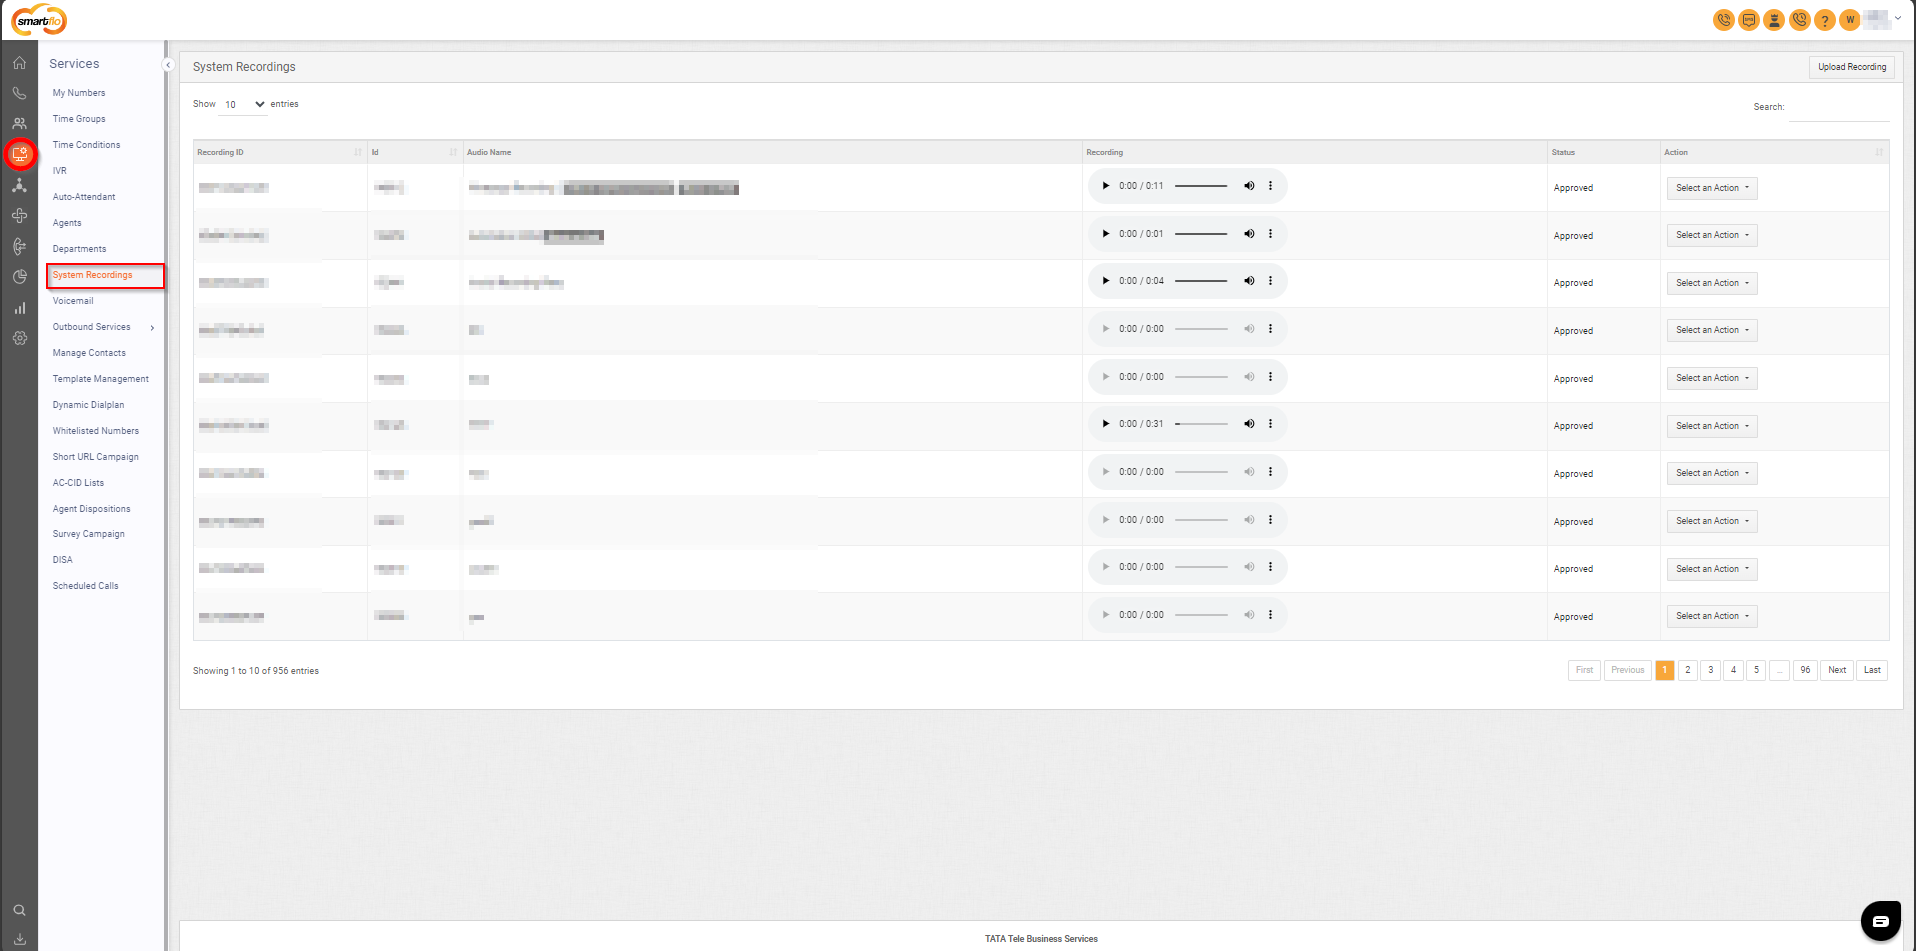
Getting Started with System Recording
To go to System Recording to your Smartflo account, first log in using your unique User ID and Password. Once logged in, you will be directed to the main dashboard. From there, locate the navigation menu on the left-hand side of the screen and click on "Services." A set of options opens up. One of these options is the “System Recording".
- List of System Recordings
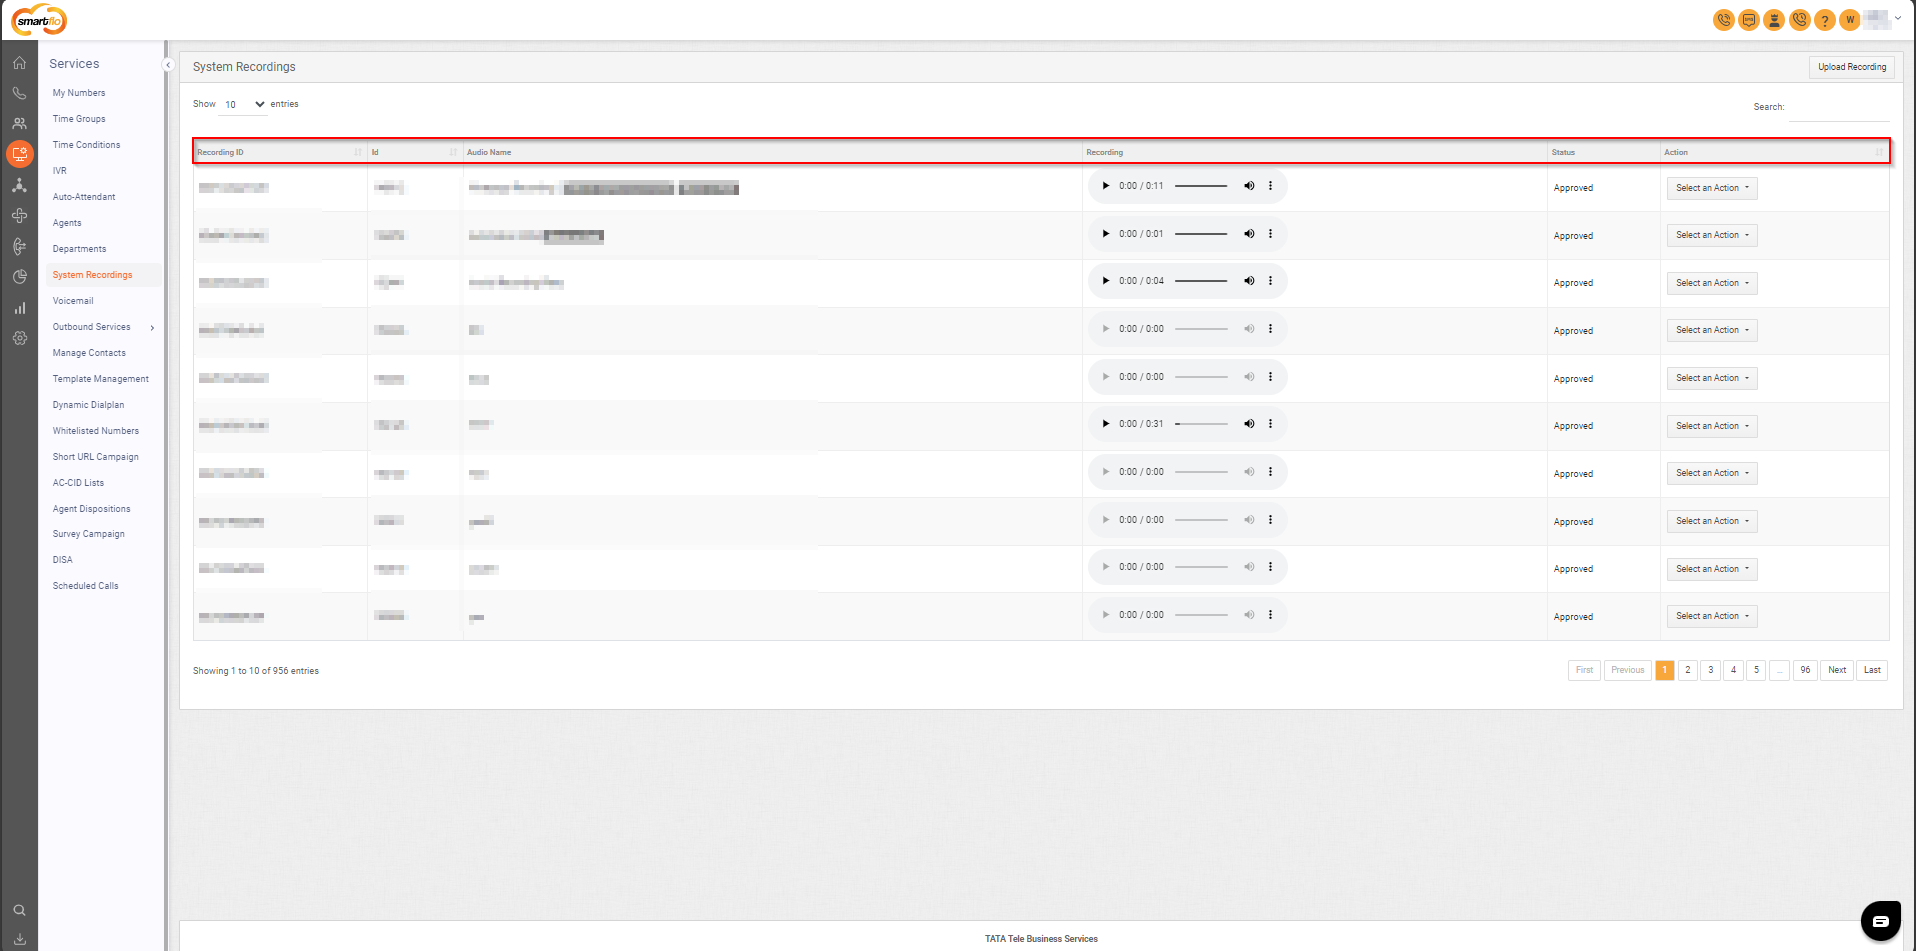
The table displays a list of all recordings with the following information:
| Field | Description |
|---|---|
| Recording ID | A unique identifier assigned to the system recording. |
| ID | A secondary identifier or reference number for internal tracking. |
| Audio Name | The name of the audio file, used for easy identification. |
| Recording | The actual audio file that is used for various purposes such as Auto-Attendant, IVR, Voicemail, or Music on Hold. |
| Status | The current status of the recording (e.g., Approved). |
| Action | Options to manage the recording: Edit, Mark as Music on Hold, Unmark from Click-to-Call Announcement, or Delete. |
- Upload Recording
- To upload a recording, follow the below steps:
- Click on the Services tab on the side navigation.
- Click on System Recording.
- A list of all system recordings is displayed along with the relevant details.
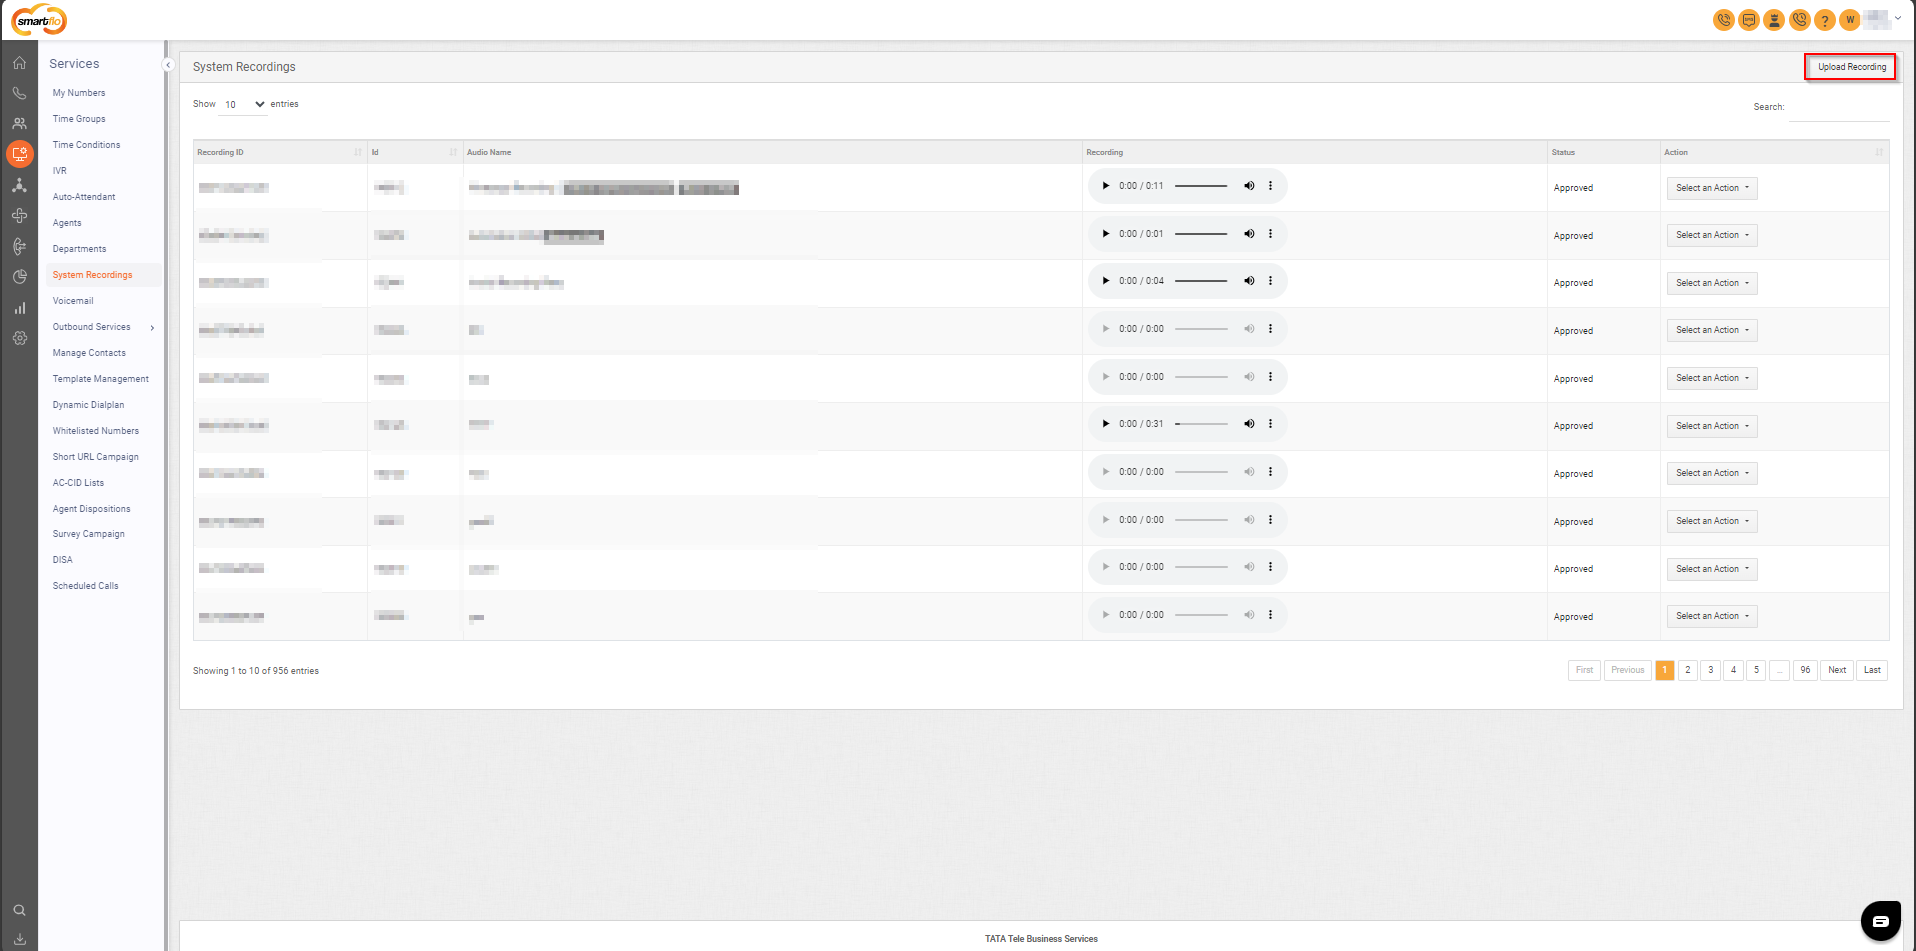
- Click on Upload Recording.
- Enter the File Name of the system recording.
- Browse & select the audio file from your local drive, in case you wish to upload an existing recording.
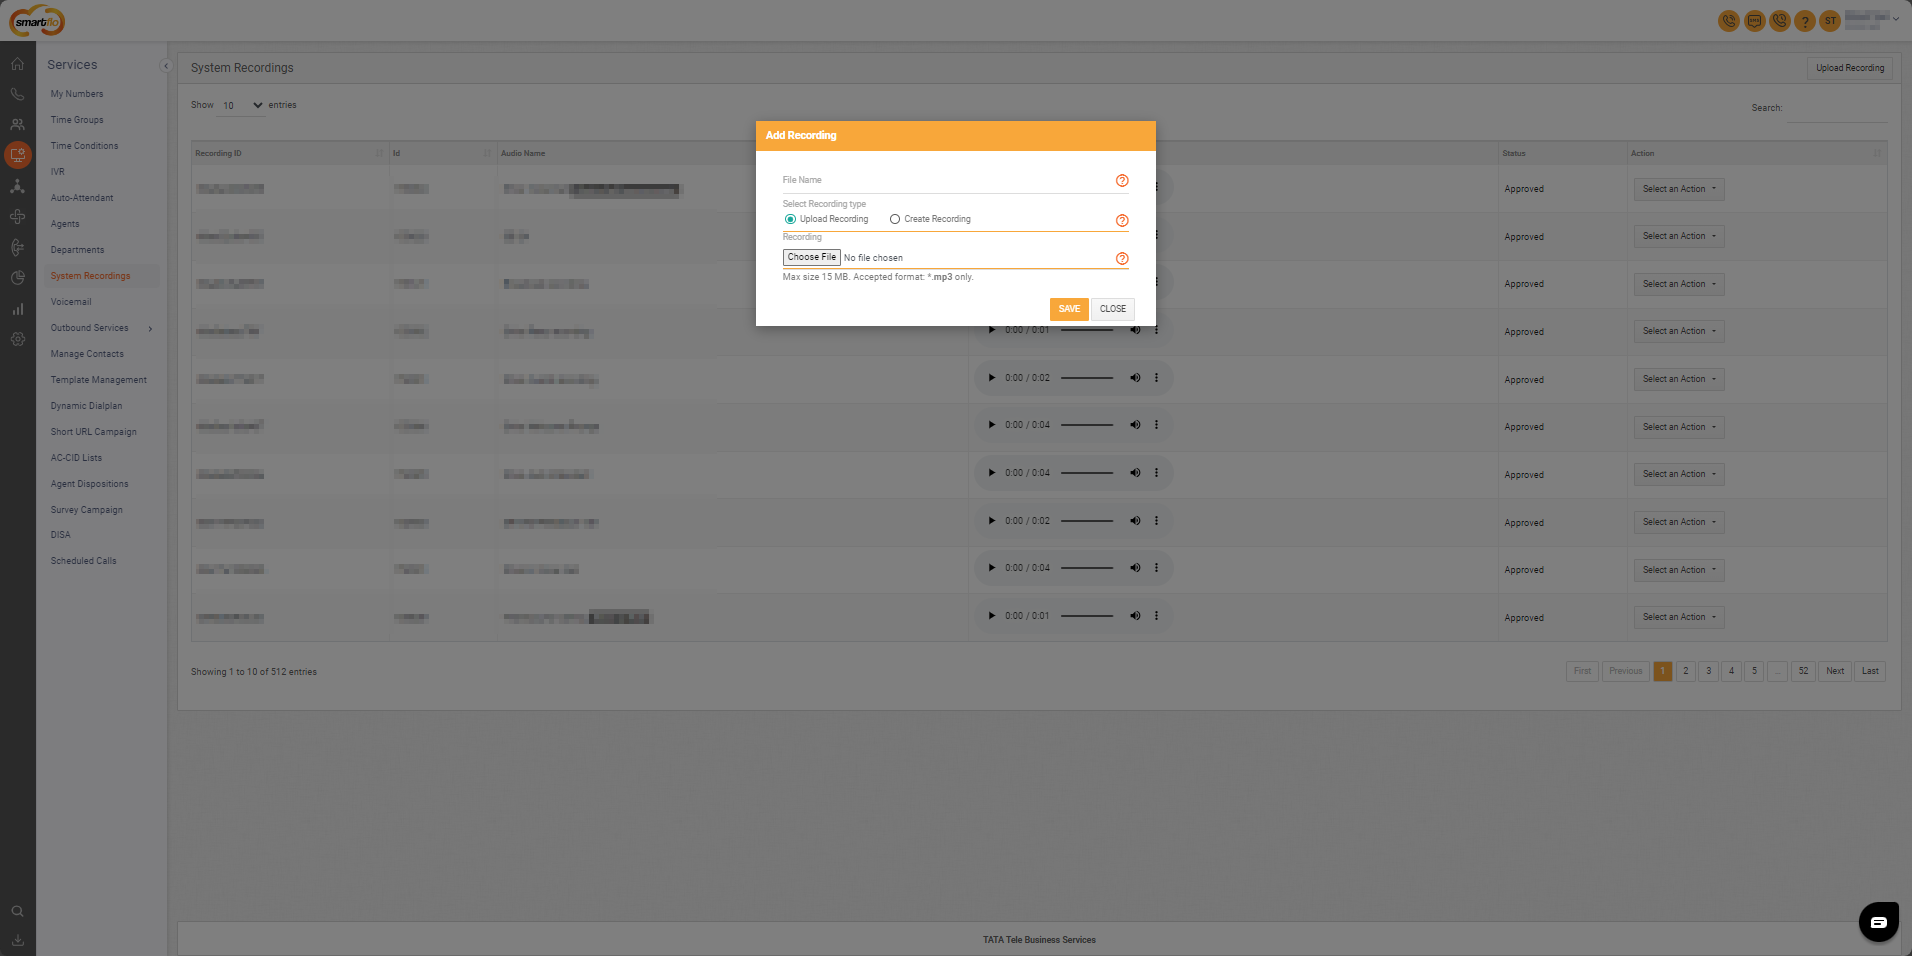
- Select Create Recording in order to create a new recording.
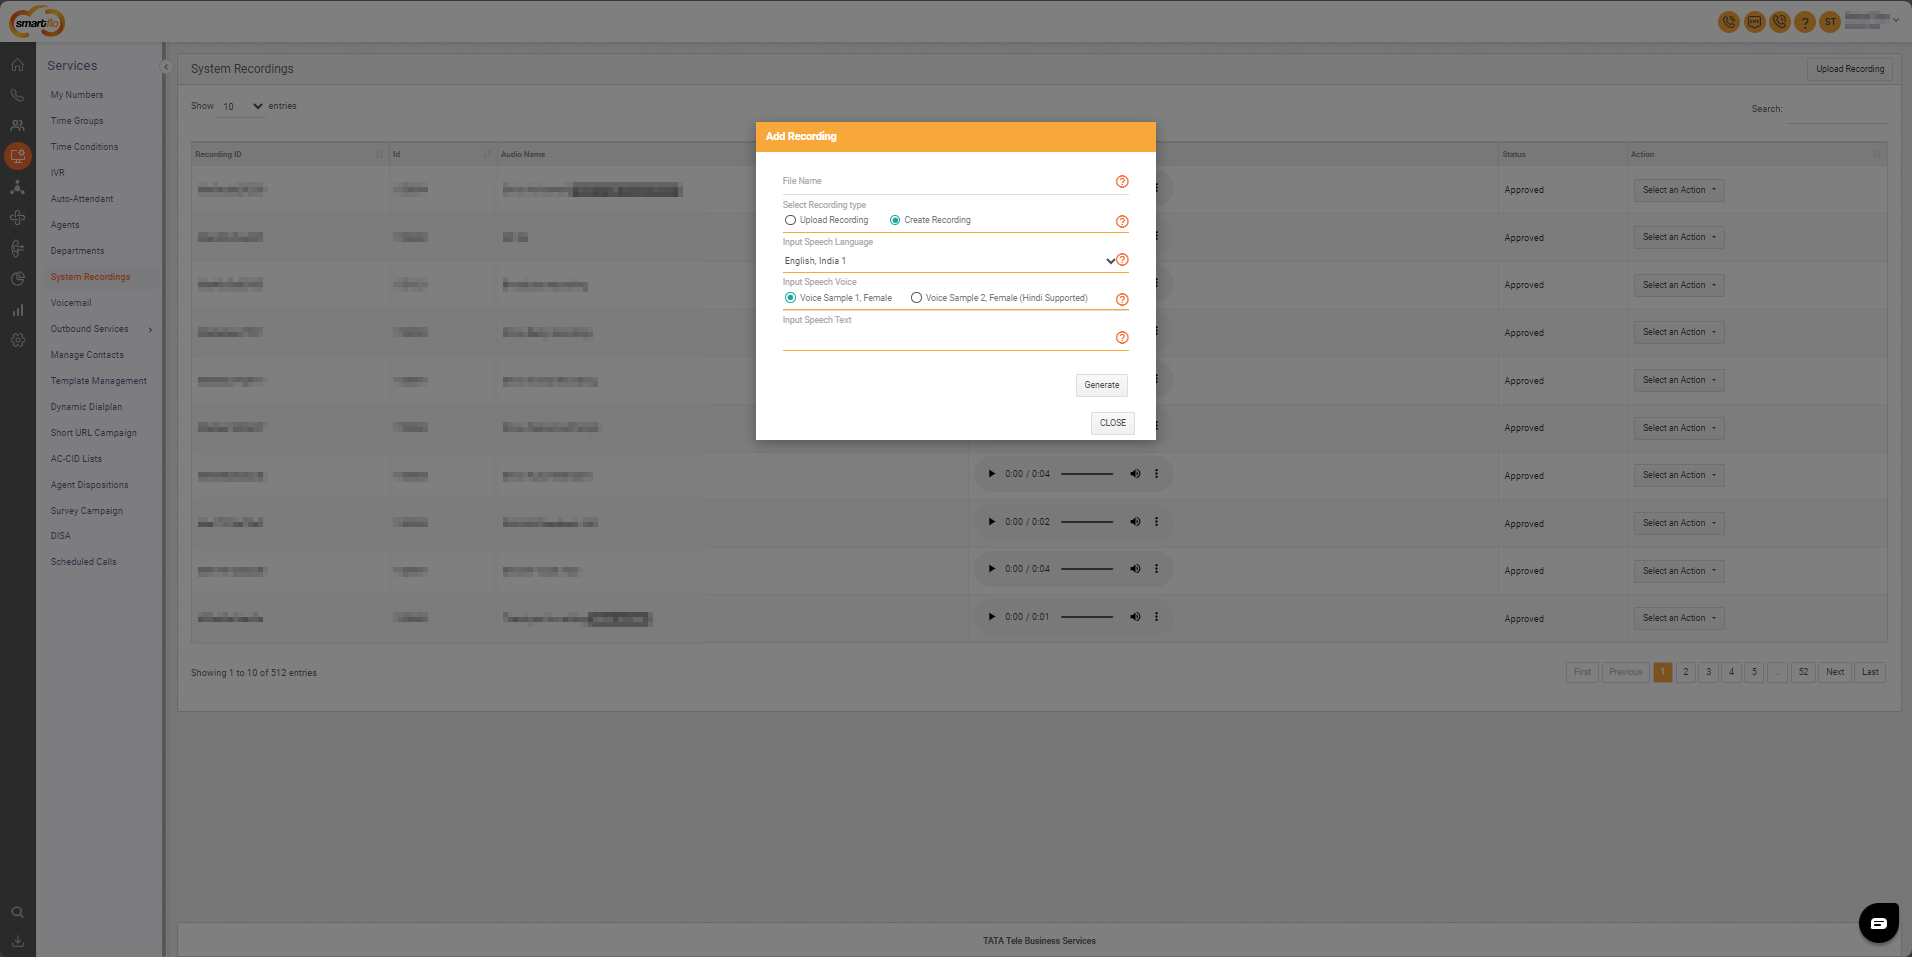
- Choose the desired language for speech from the dropdown menu.
- Choose the desired voice sample for input, either from a female or male voice option.
- Enter the text to be converted to voiceover & click the Generate button.
- Click the Save button.
Updated about 1 year ago