Bitrix24
Bitrix24 integration will help you manage your business and analyze its interactions with current and potential customers.
📘 Get Started
Follow the below-mentioned steps to successfully integrate your Bitrix24 CRM with Smartflo.
-
Log into your Smartflo Account.
-
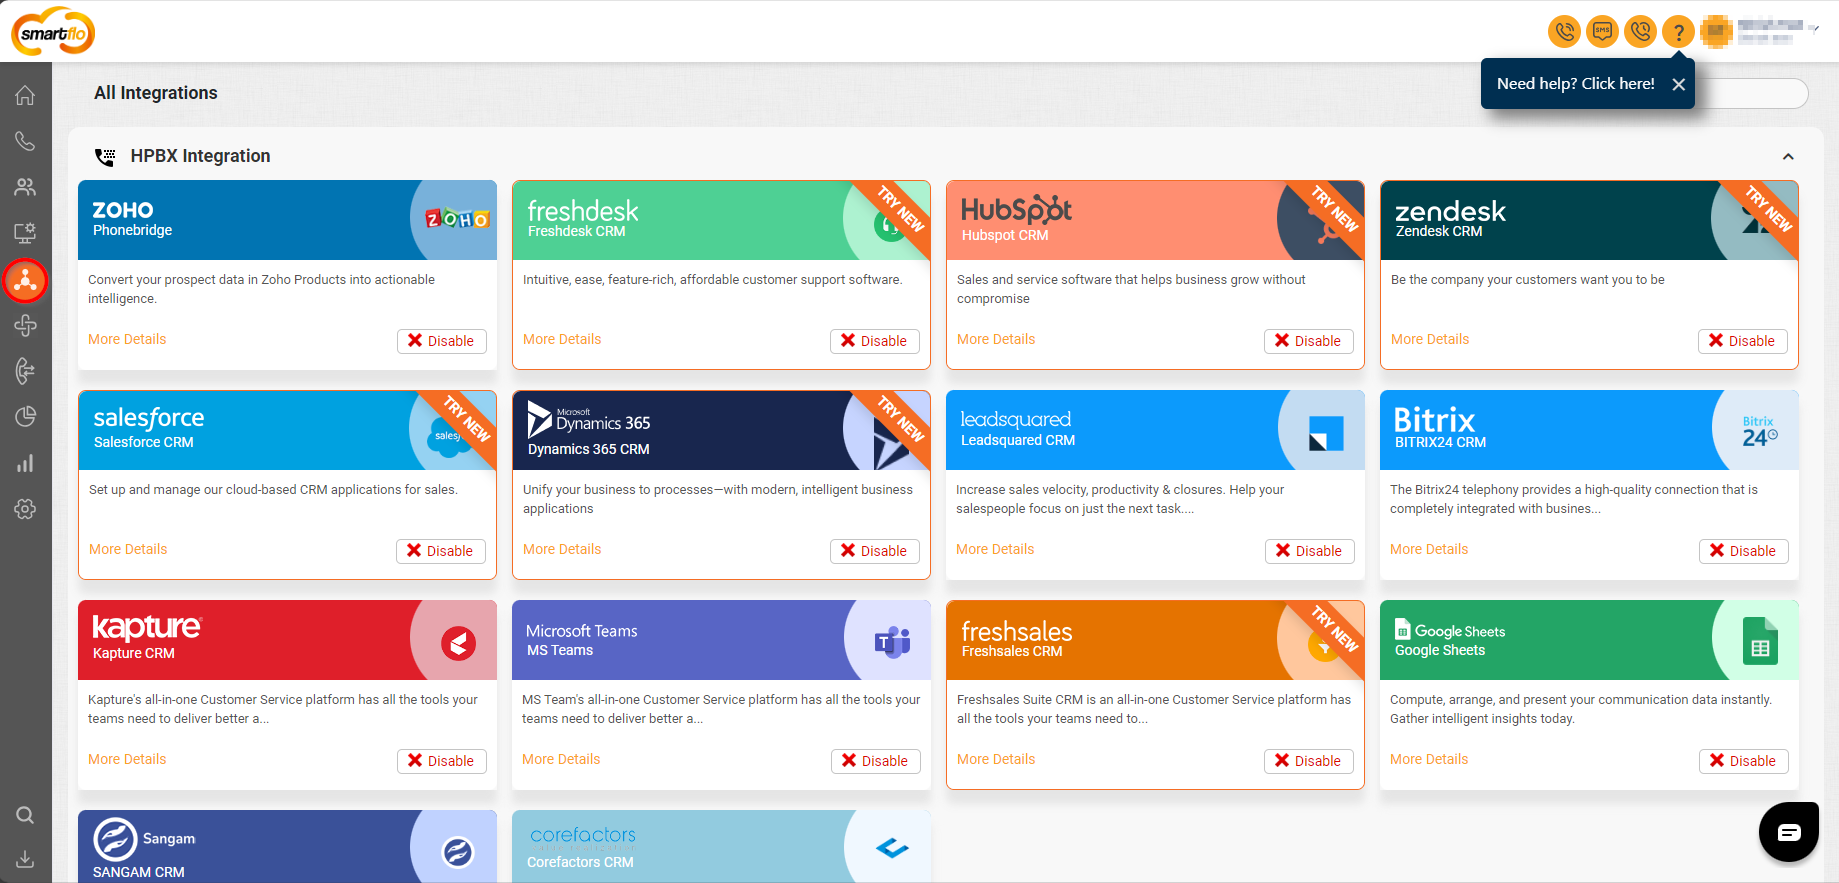
Navigate to the Integrations Tab from the side-navigation panel.
-
In HPBX integration, click on enable for Bitrix24 CRM integration.
-
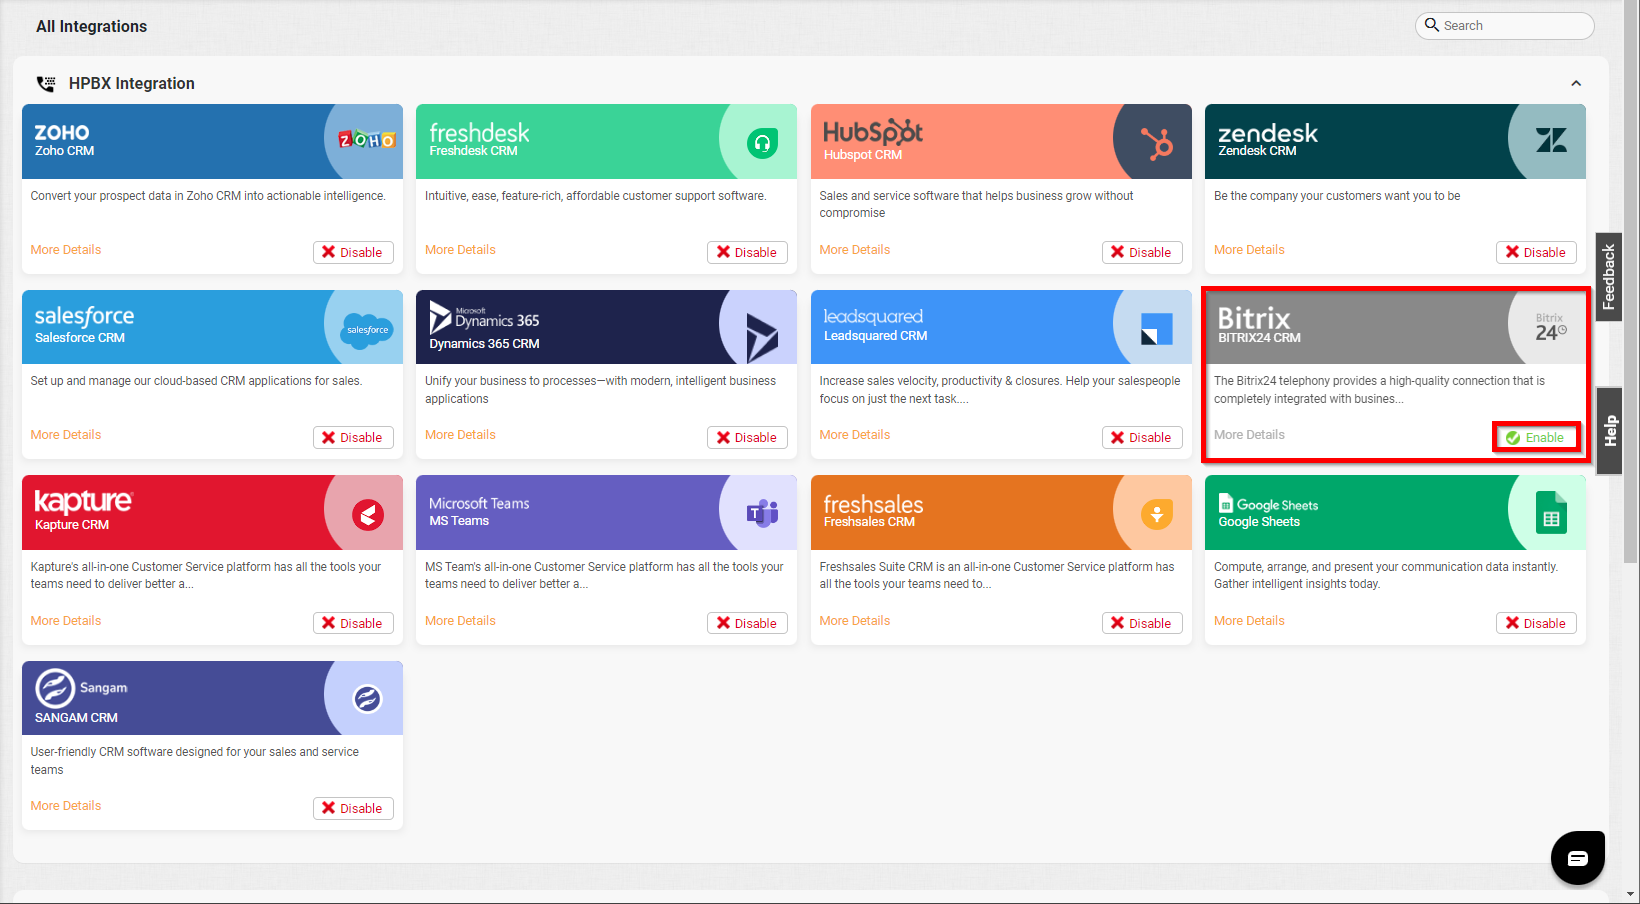
Click on More Details in the Bitrix24 CRM option.

-
Click on Enable and select your desired agent for the integration.
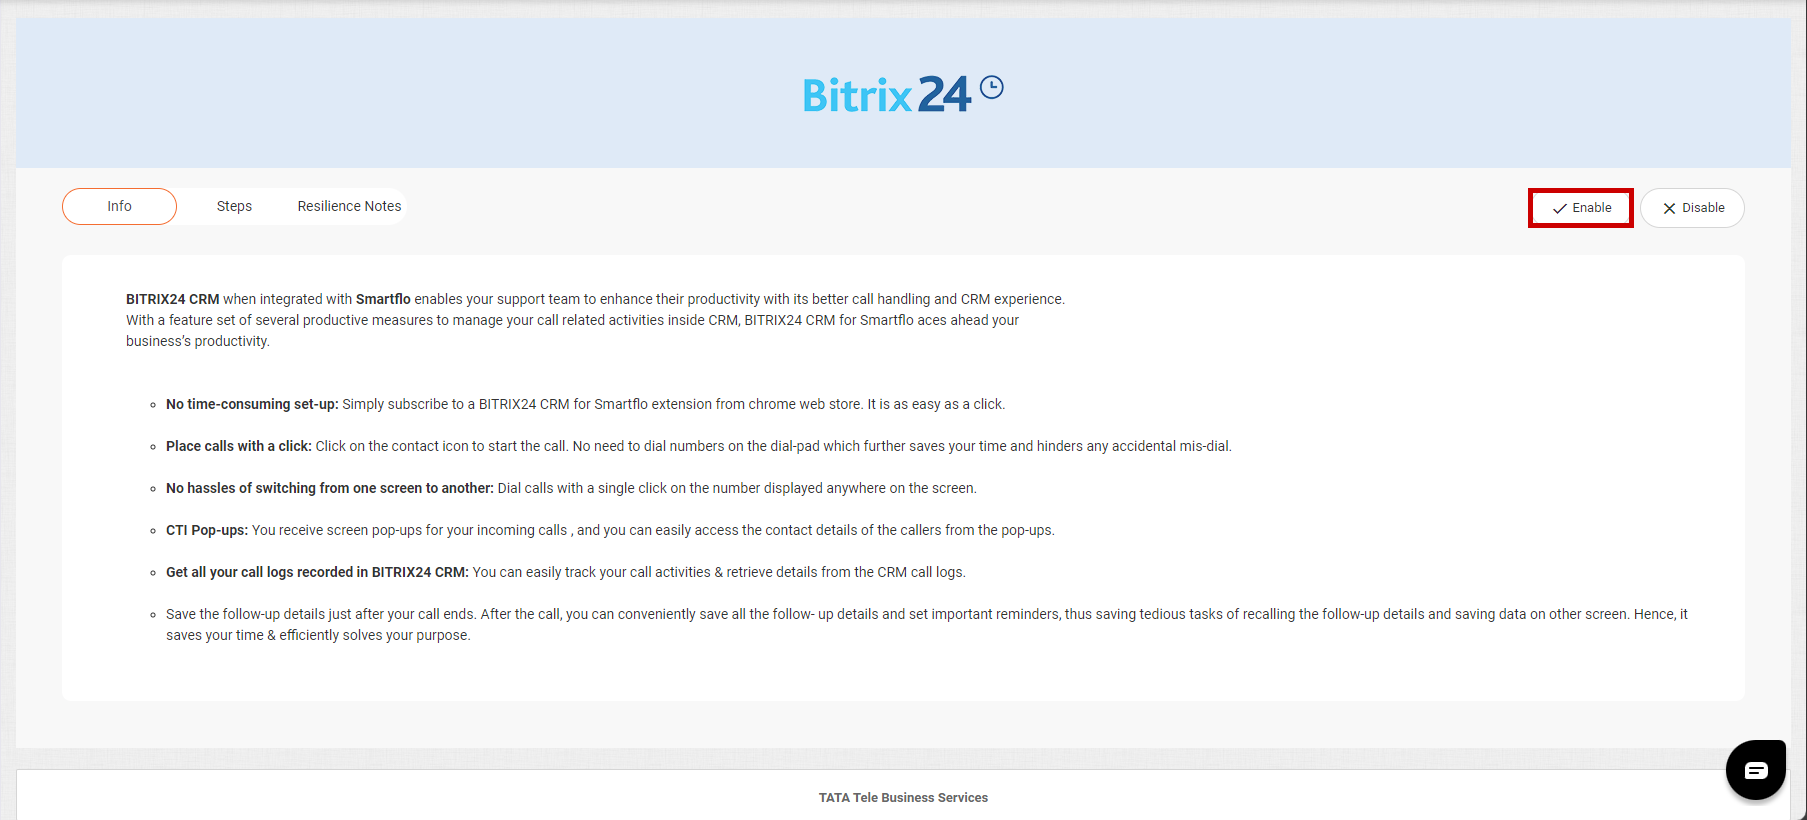
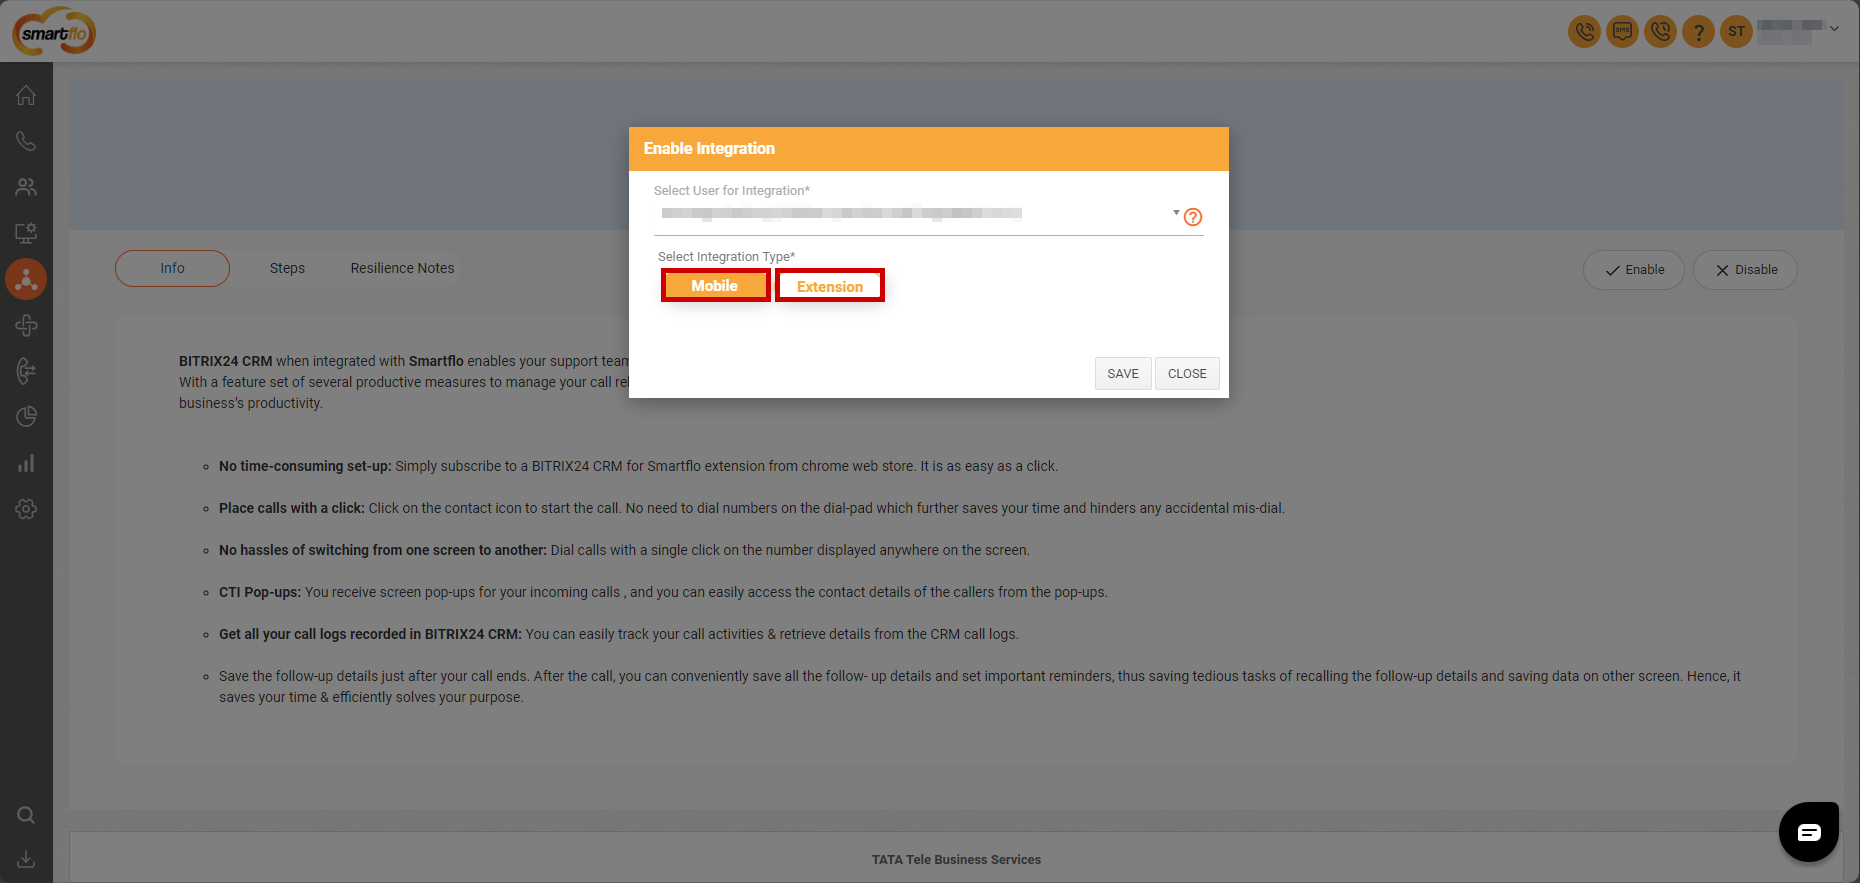
Note: You can select either mobile or extension number for the user, if the user has created his own extension on the portal.
-
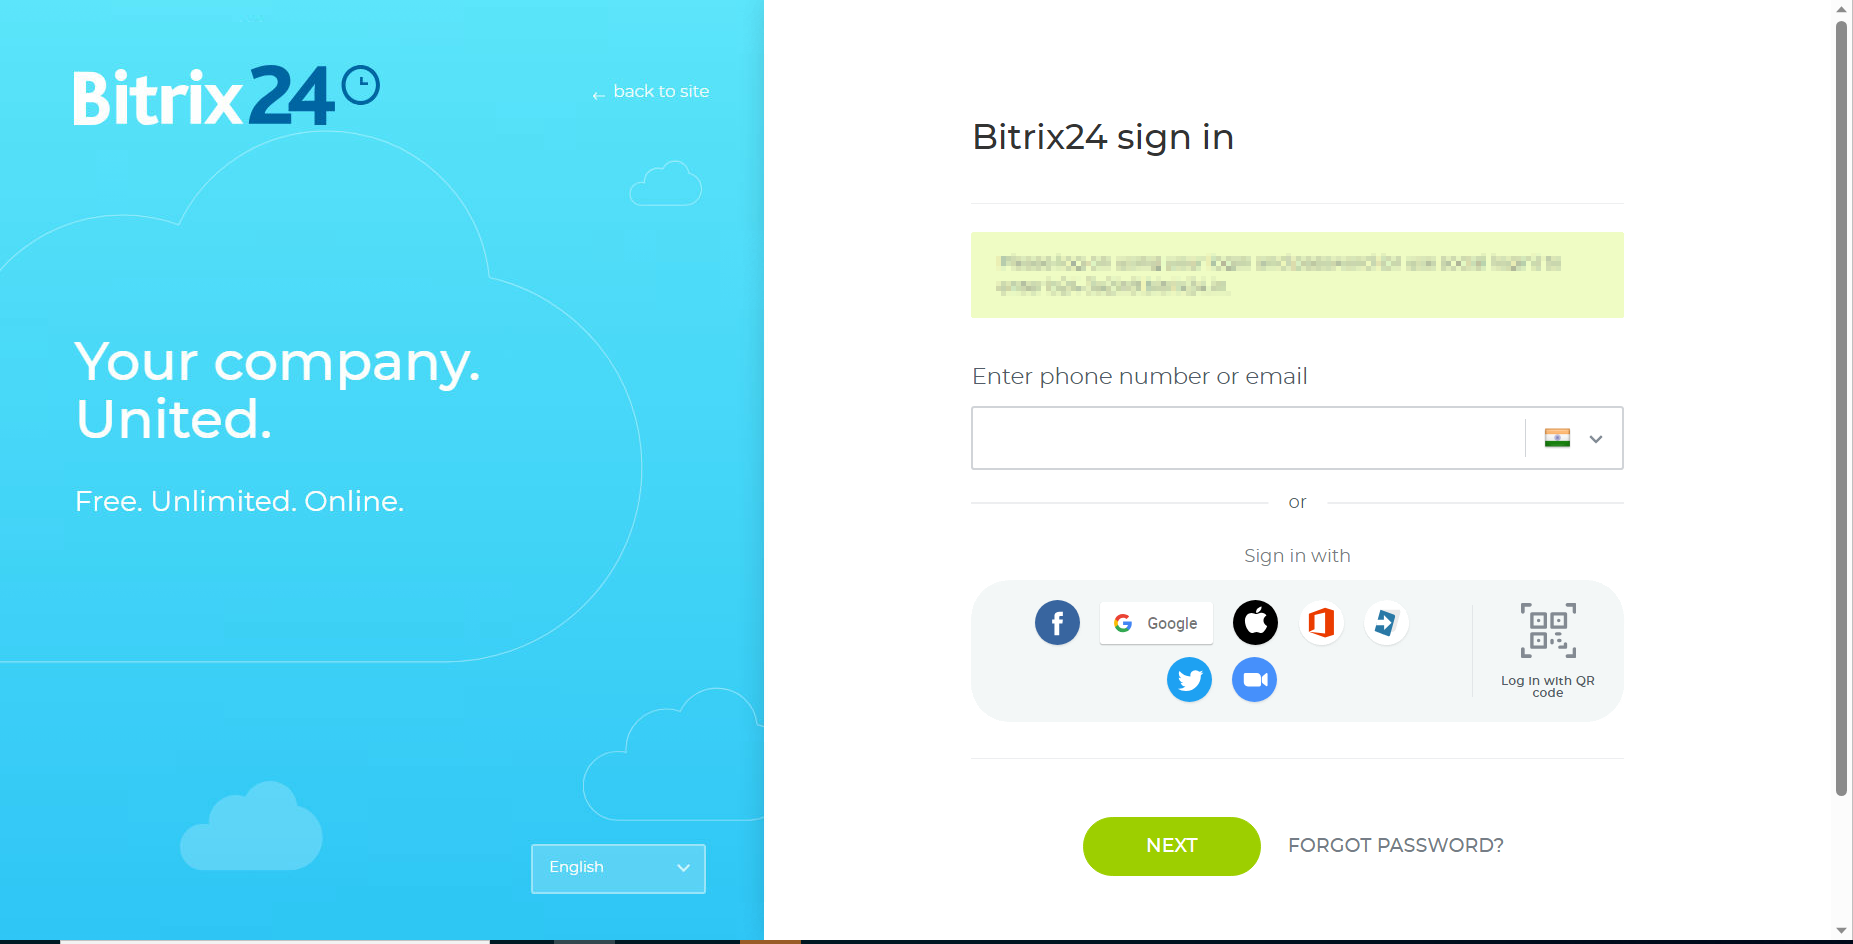
Navigate to a new tab and log in to your Bitrix24 CRM Account.
-
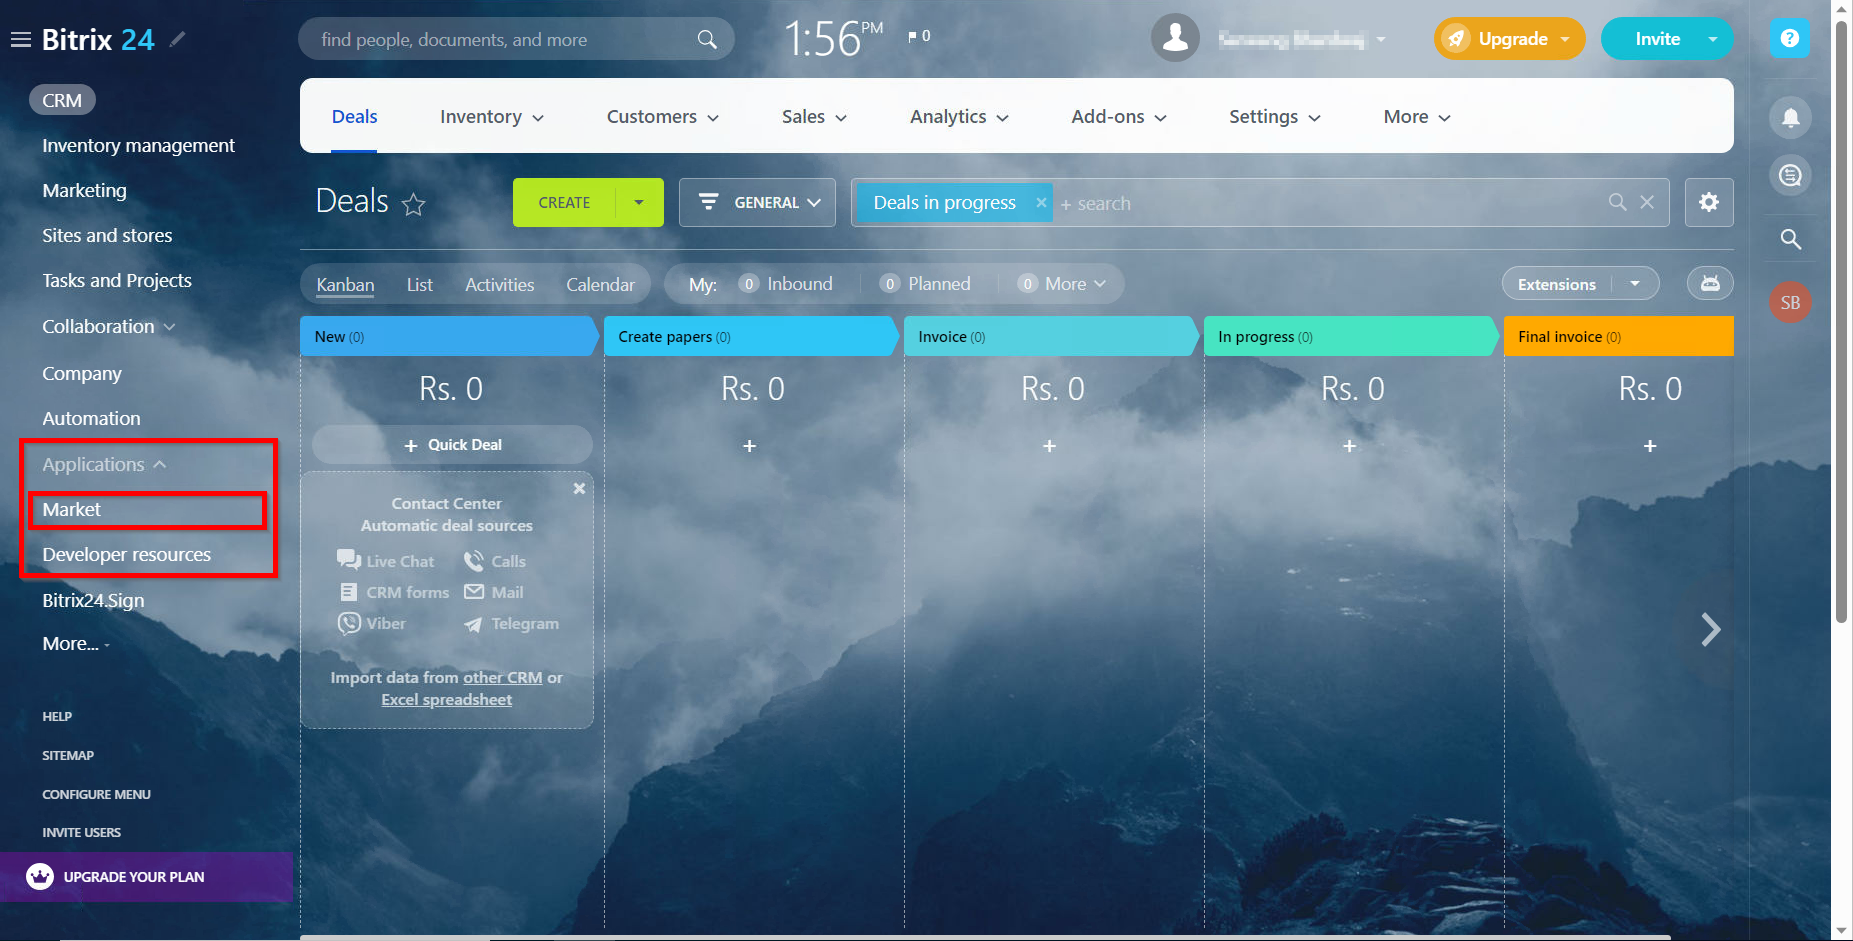
Go to Applications>Market Tab from the side navigation panel.
-
Search for the Smartflo application and install it in your Bitrix24 CRM account.
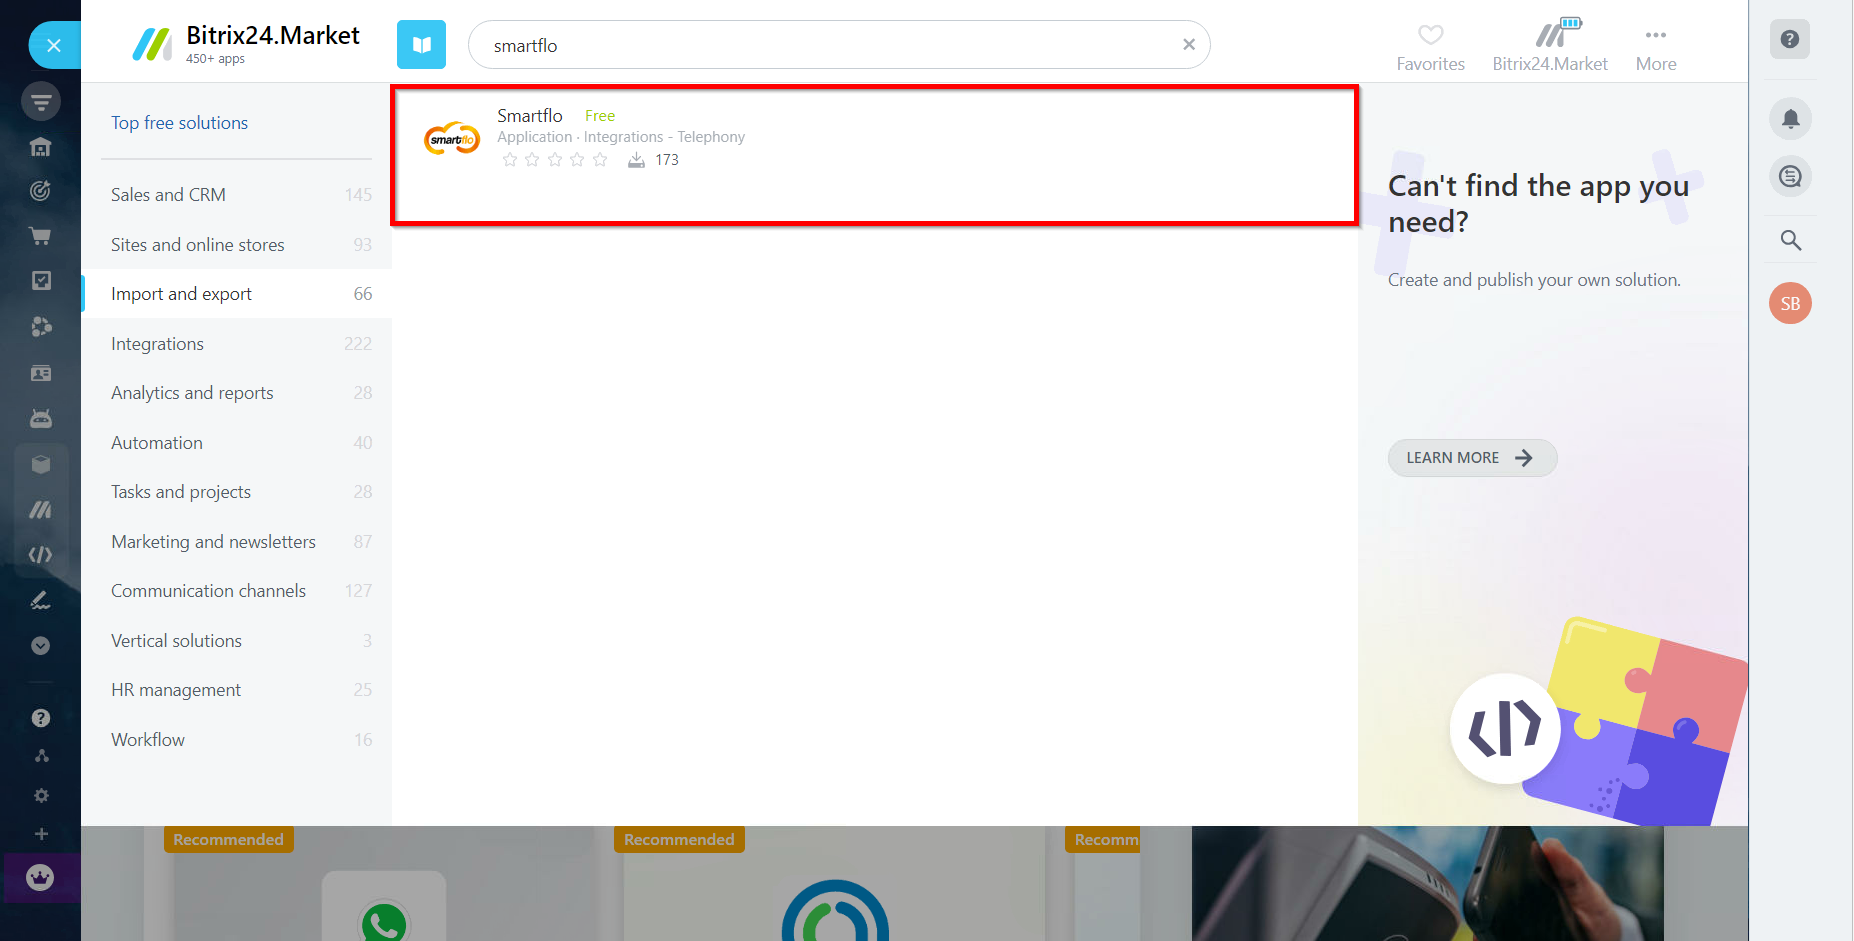
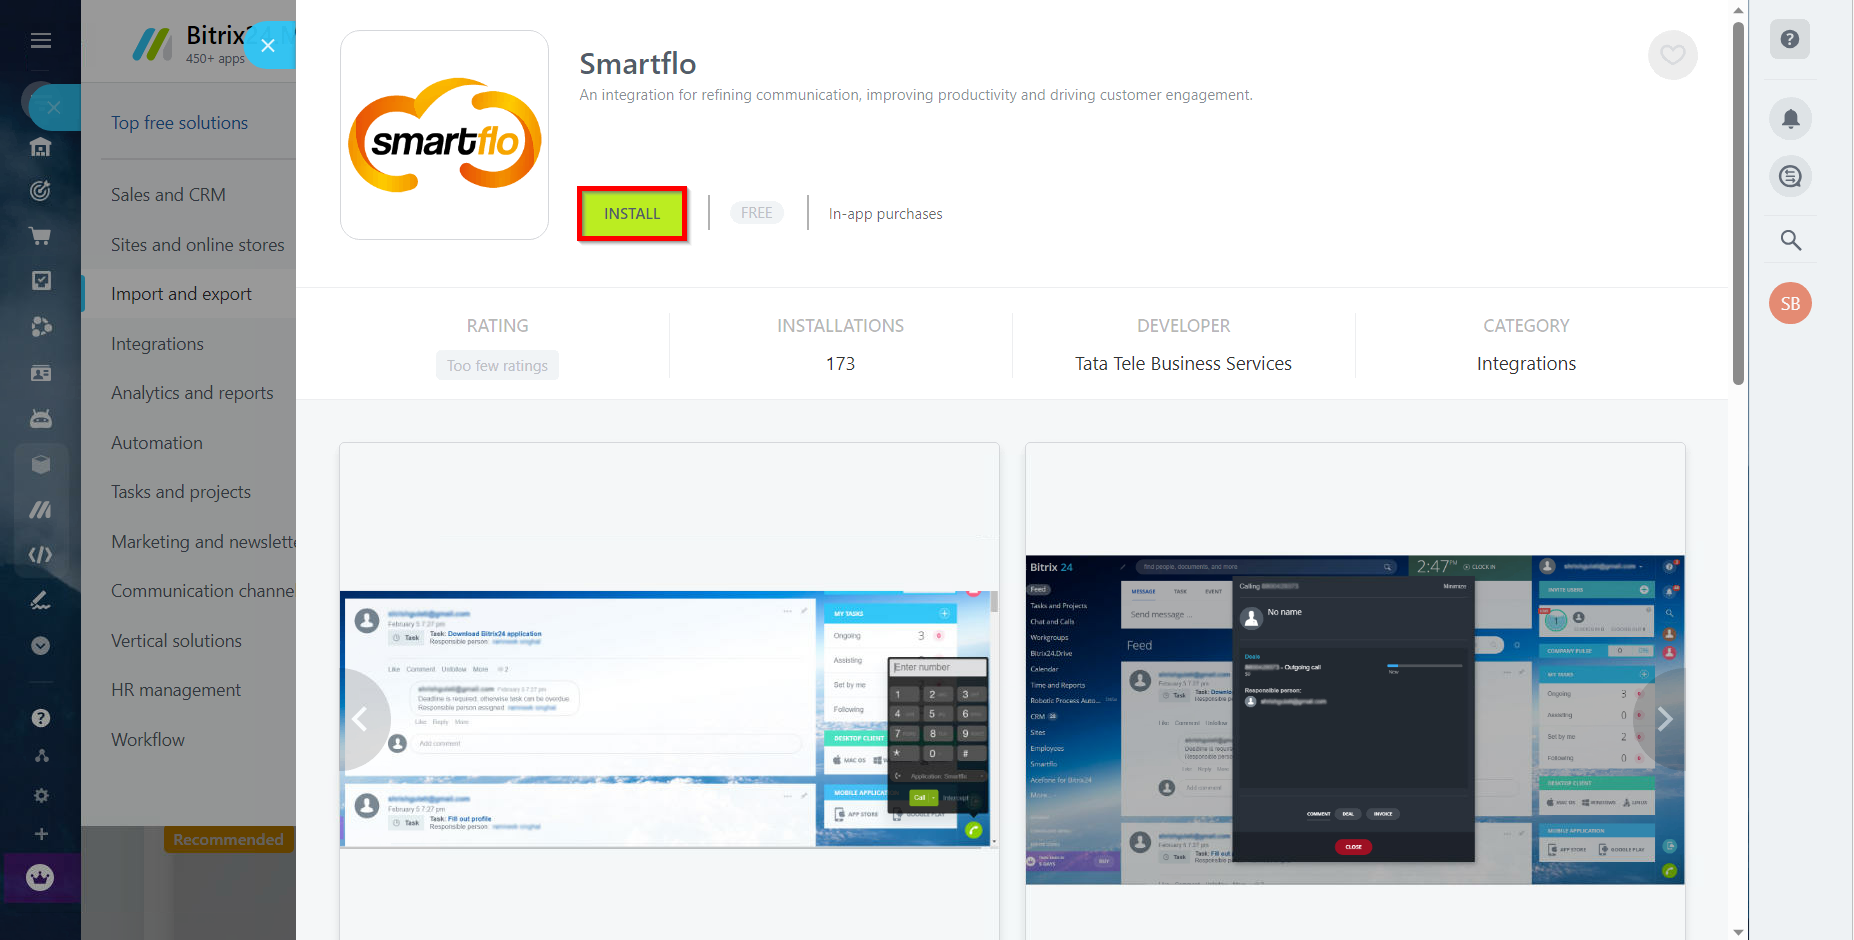
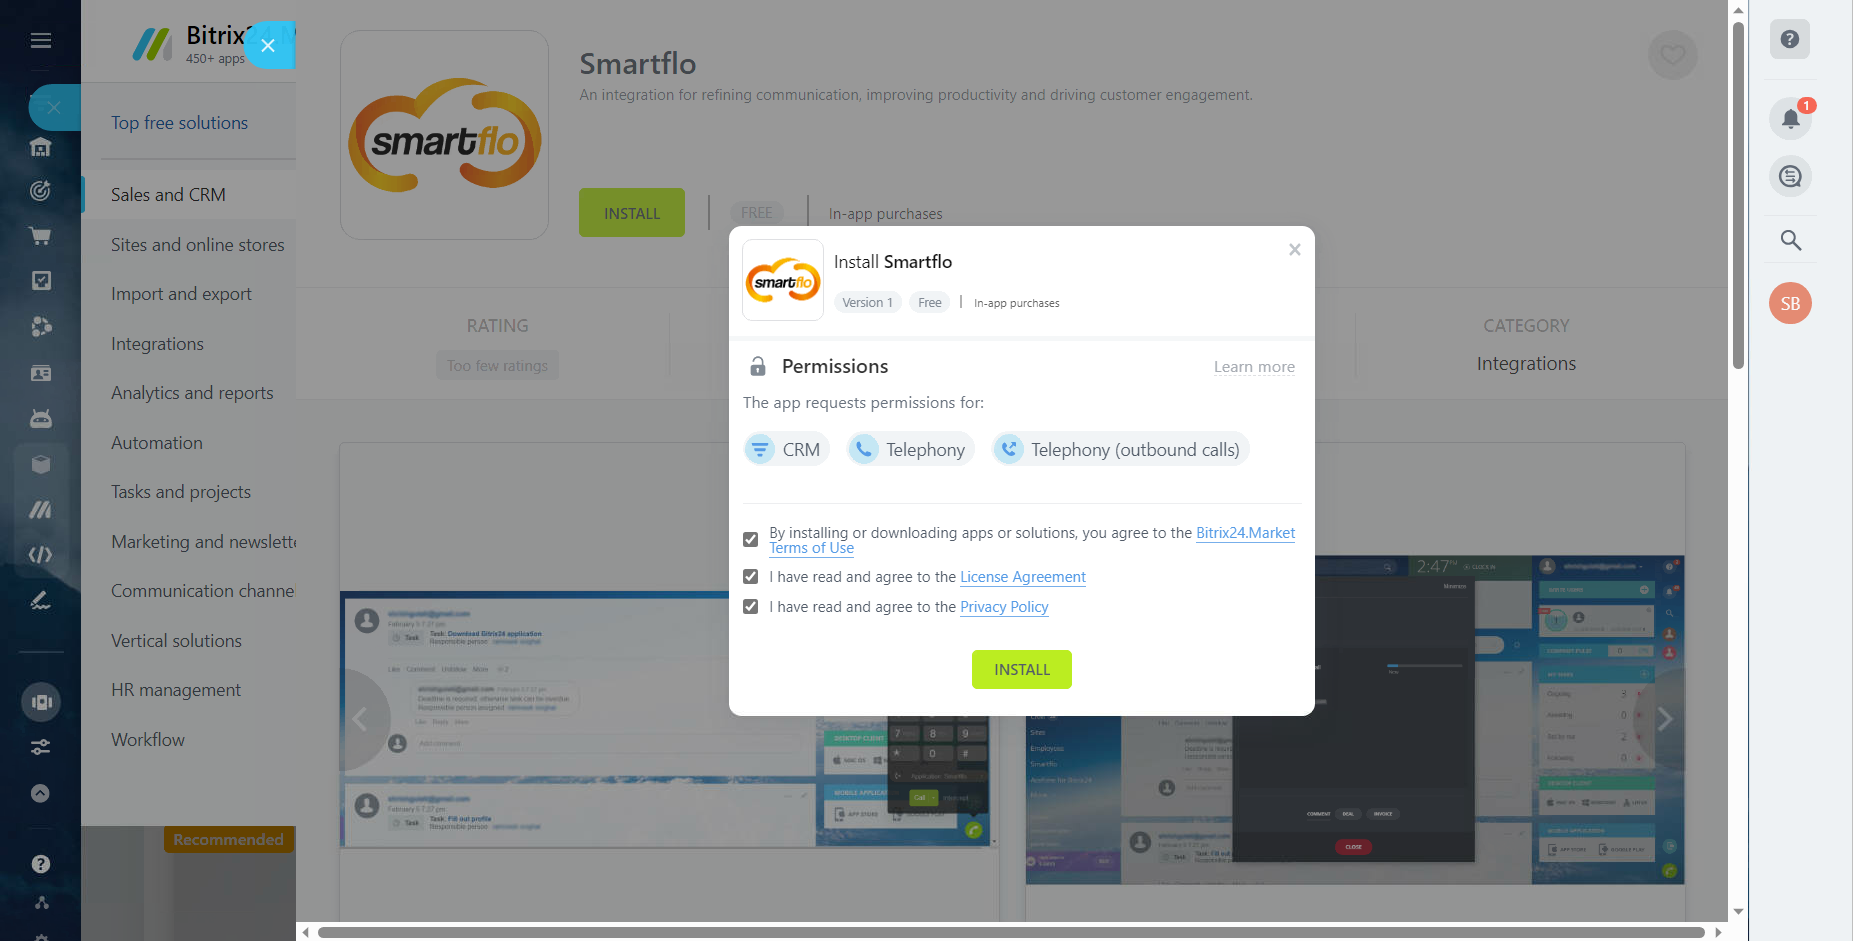
- Accept all the necessary terms and conditions and click on install.
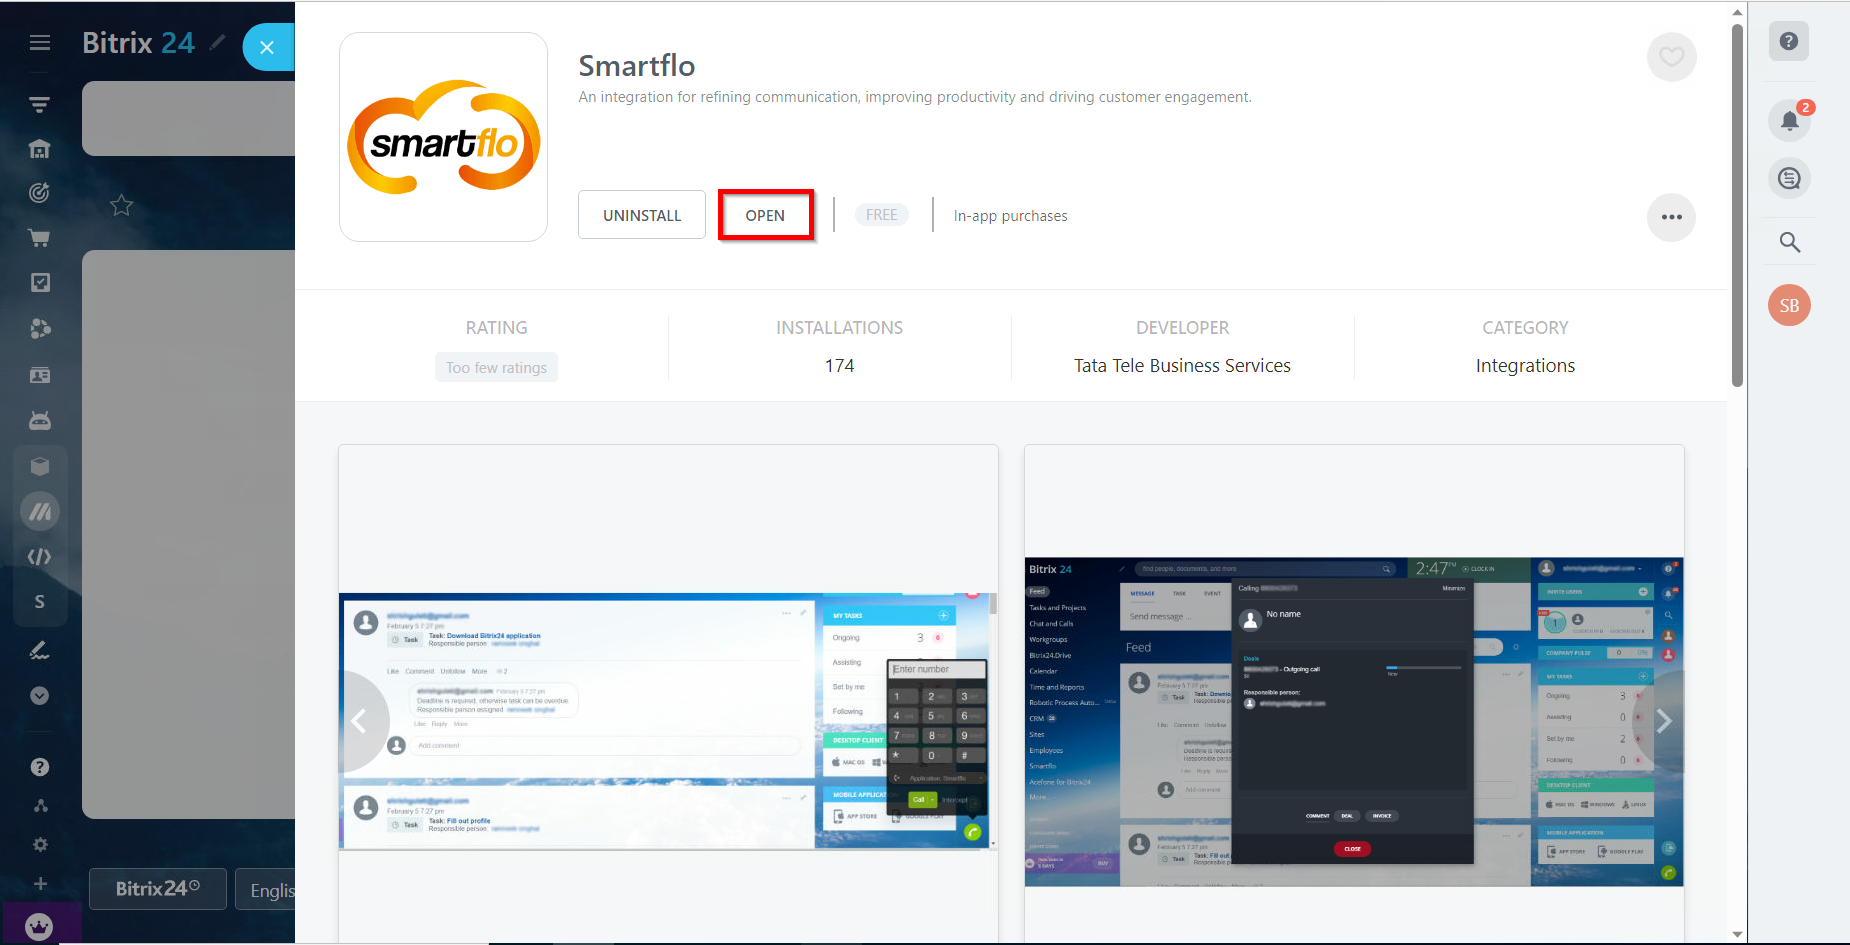
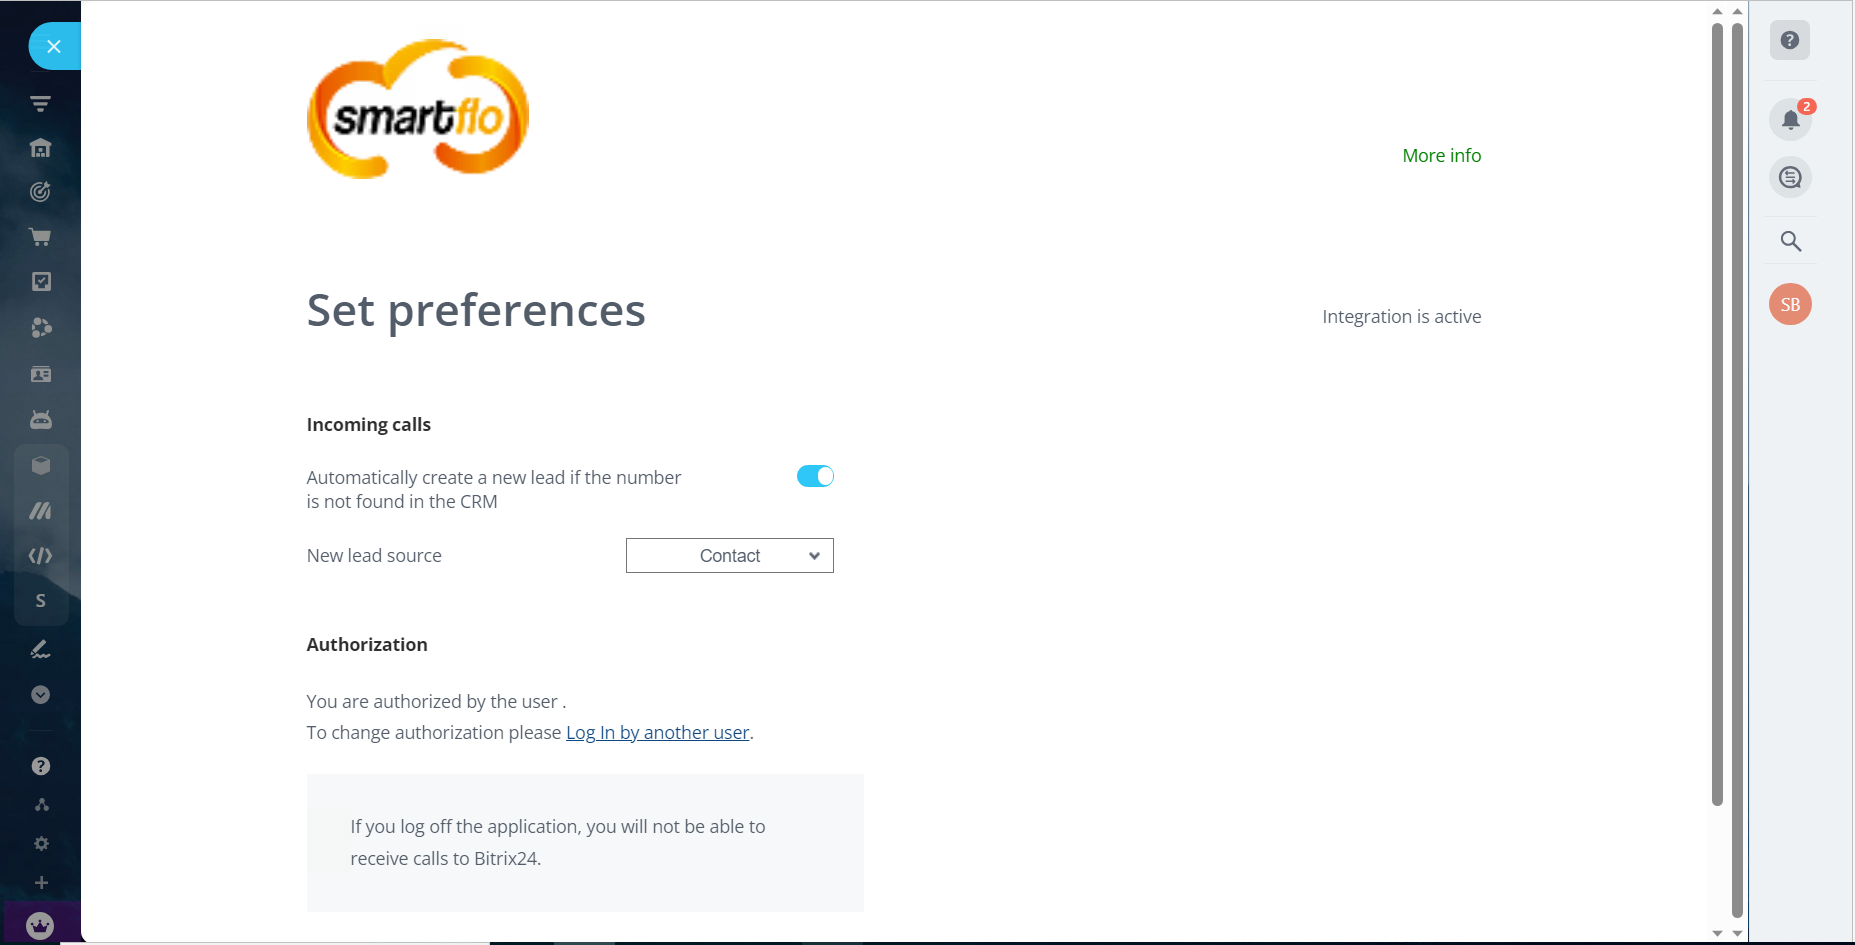
- Click on Open and launch the Smartflo application.
- Click on Login in the application and accept the required terms and conditions.
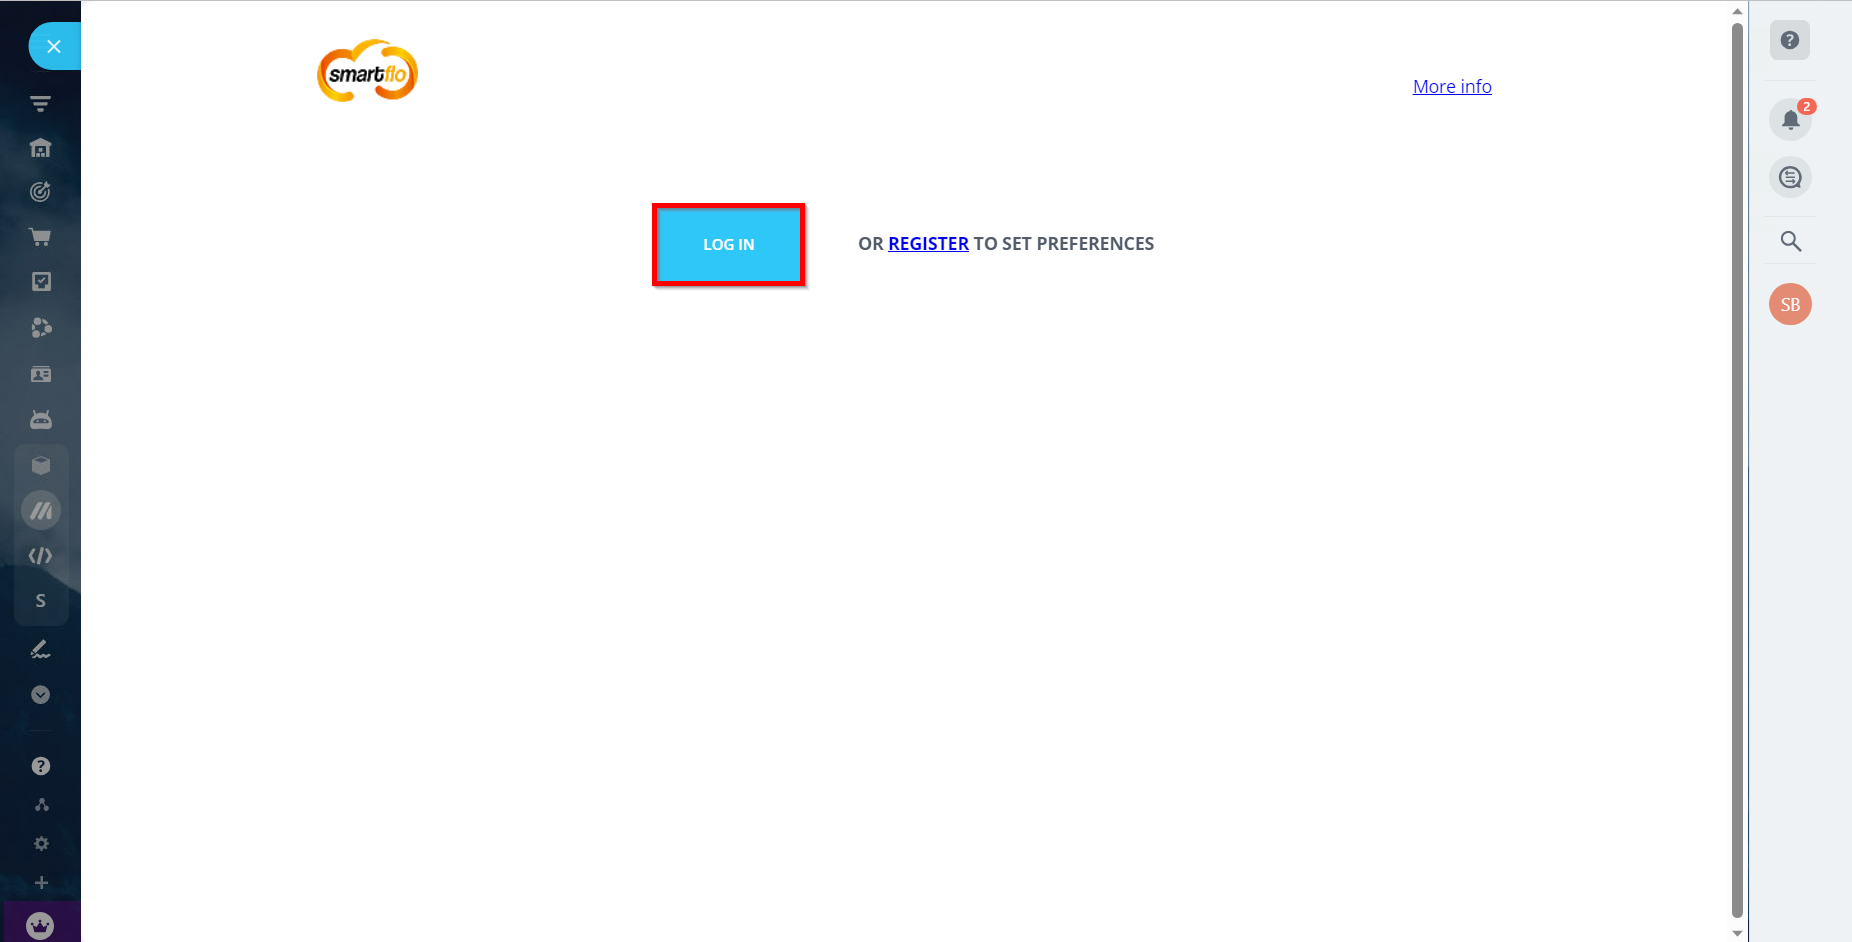
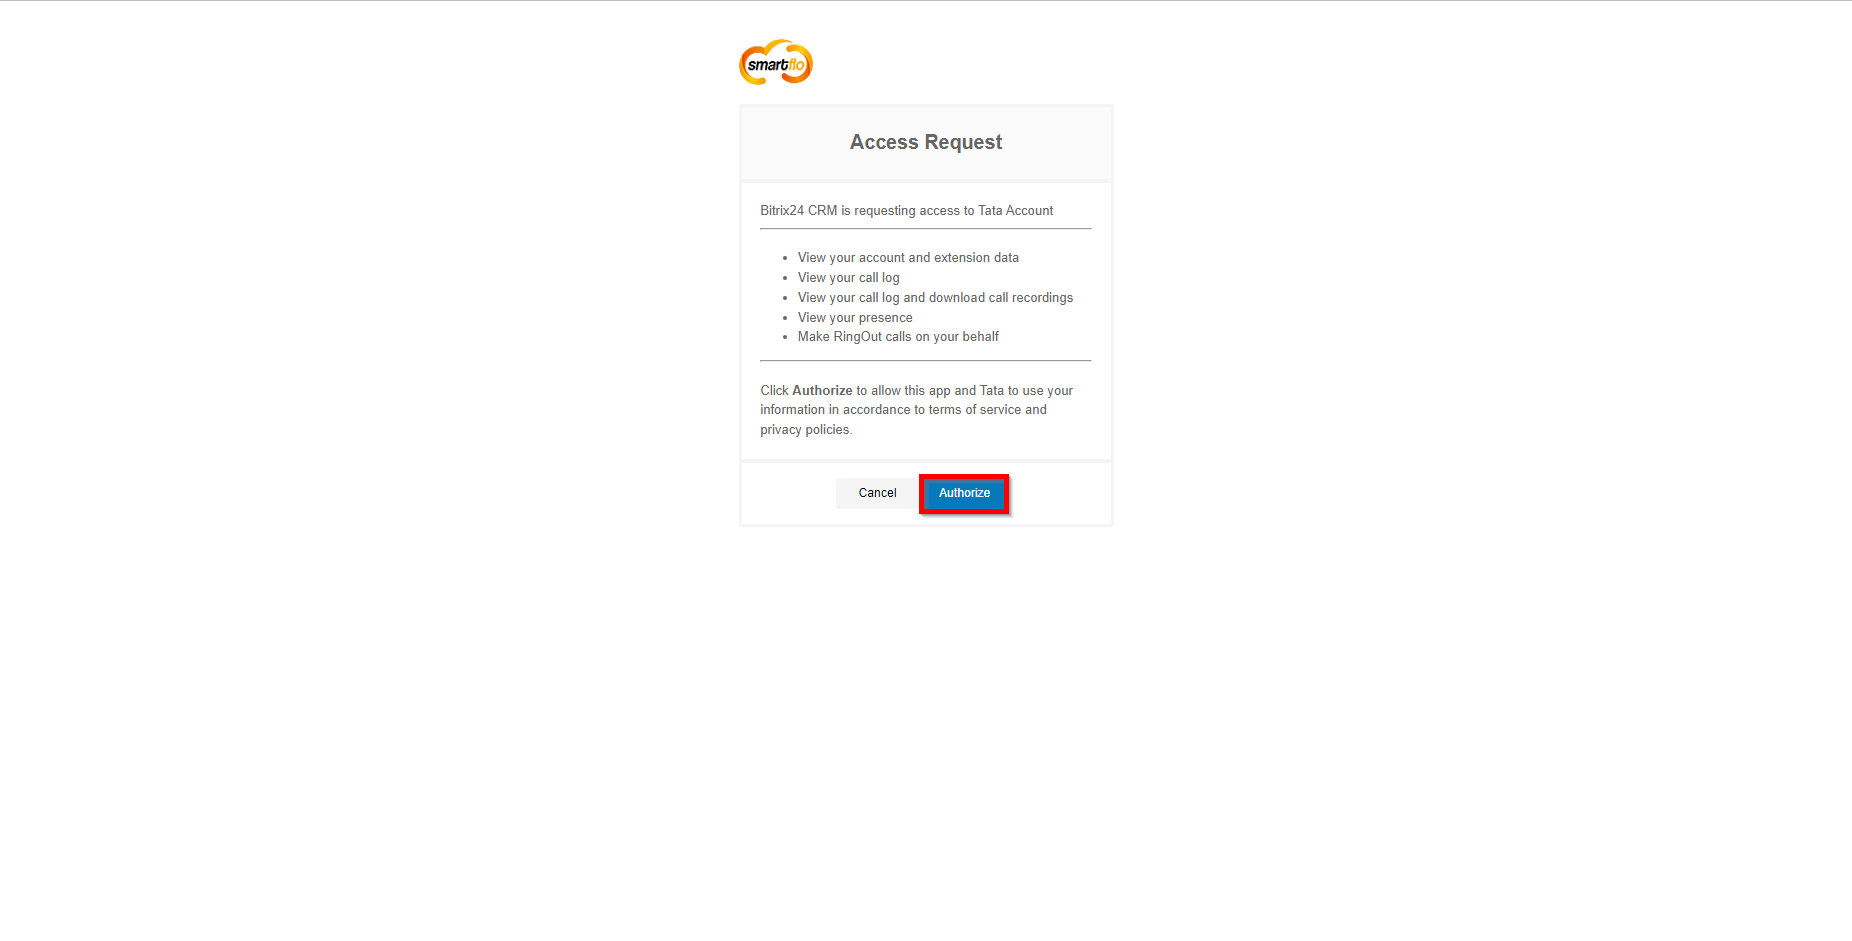
Note: Keep your agent logged in, in a new tab on the same browser before clicking on login in Bitrix.
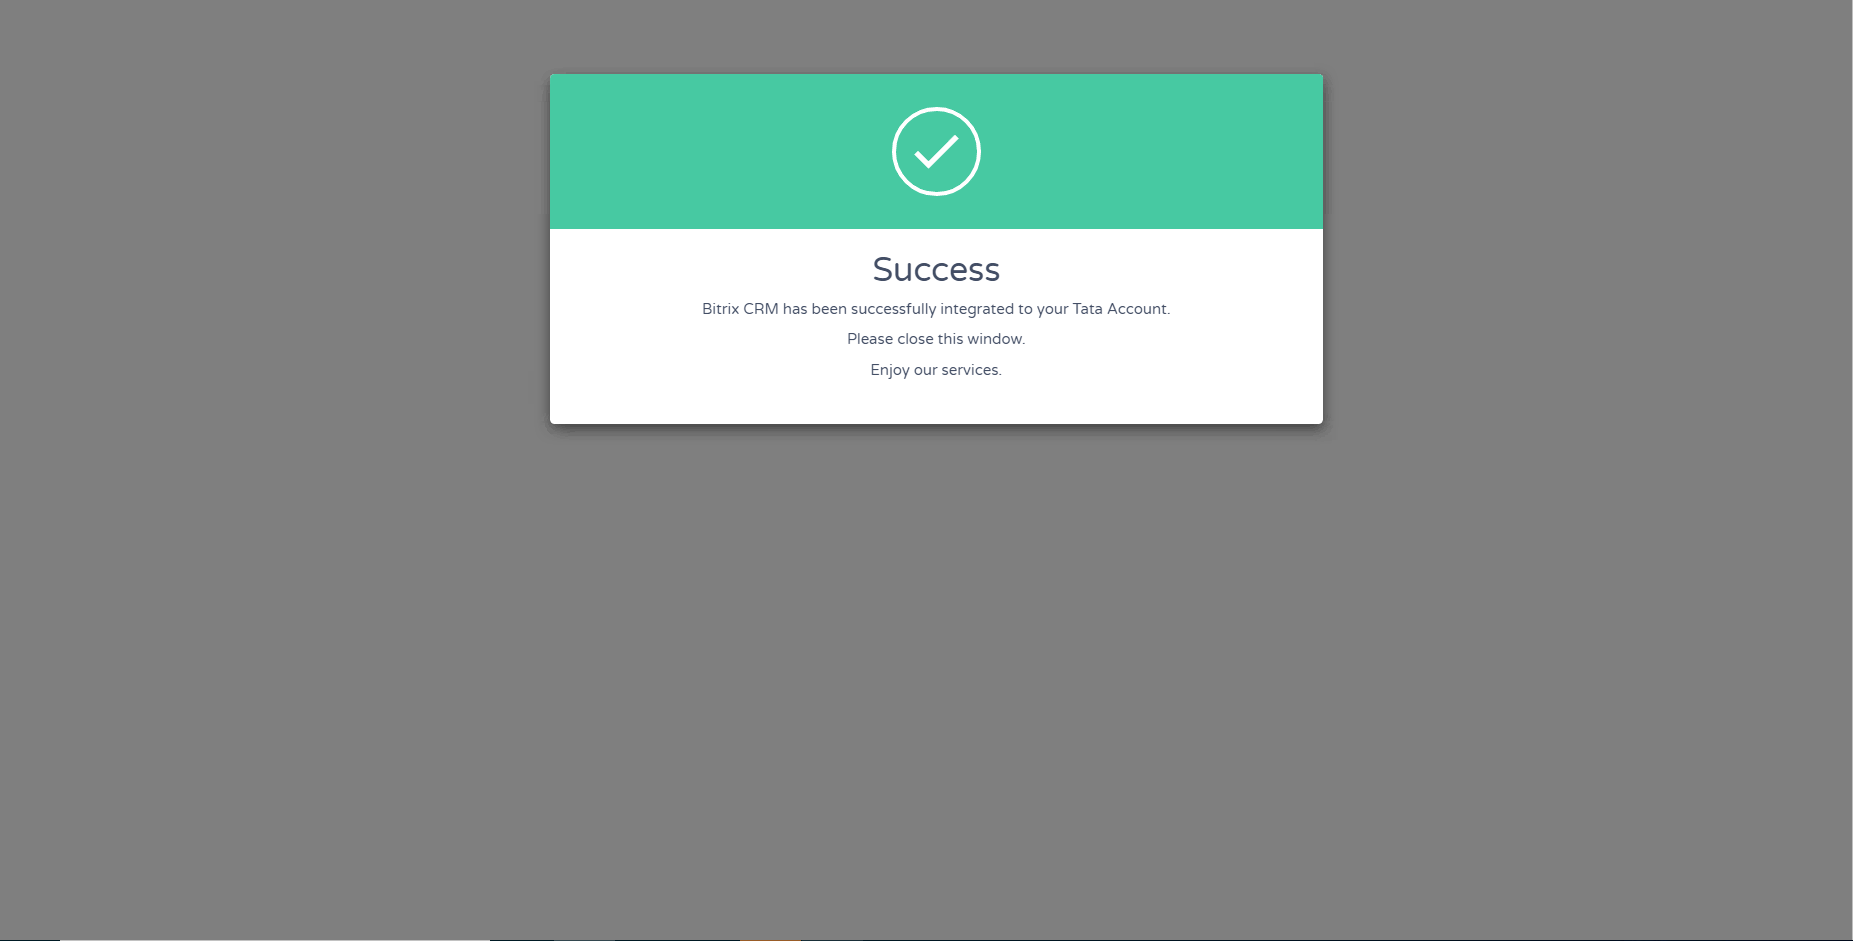
- You have successfully integrated your Smartflo Account with Bitrix24 CRM.
-
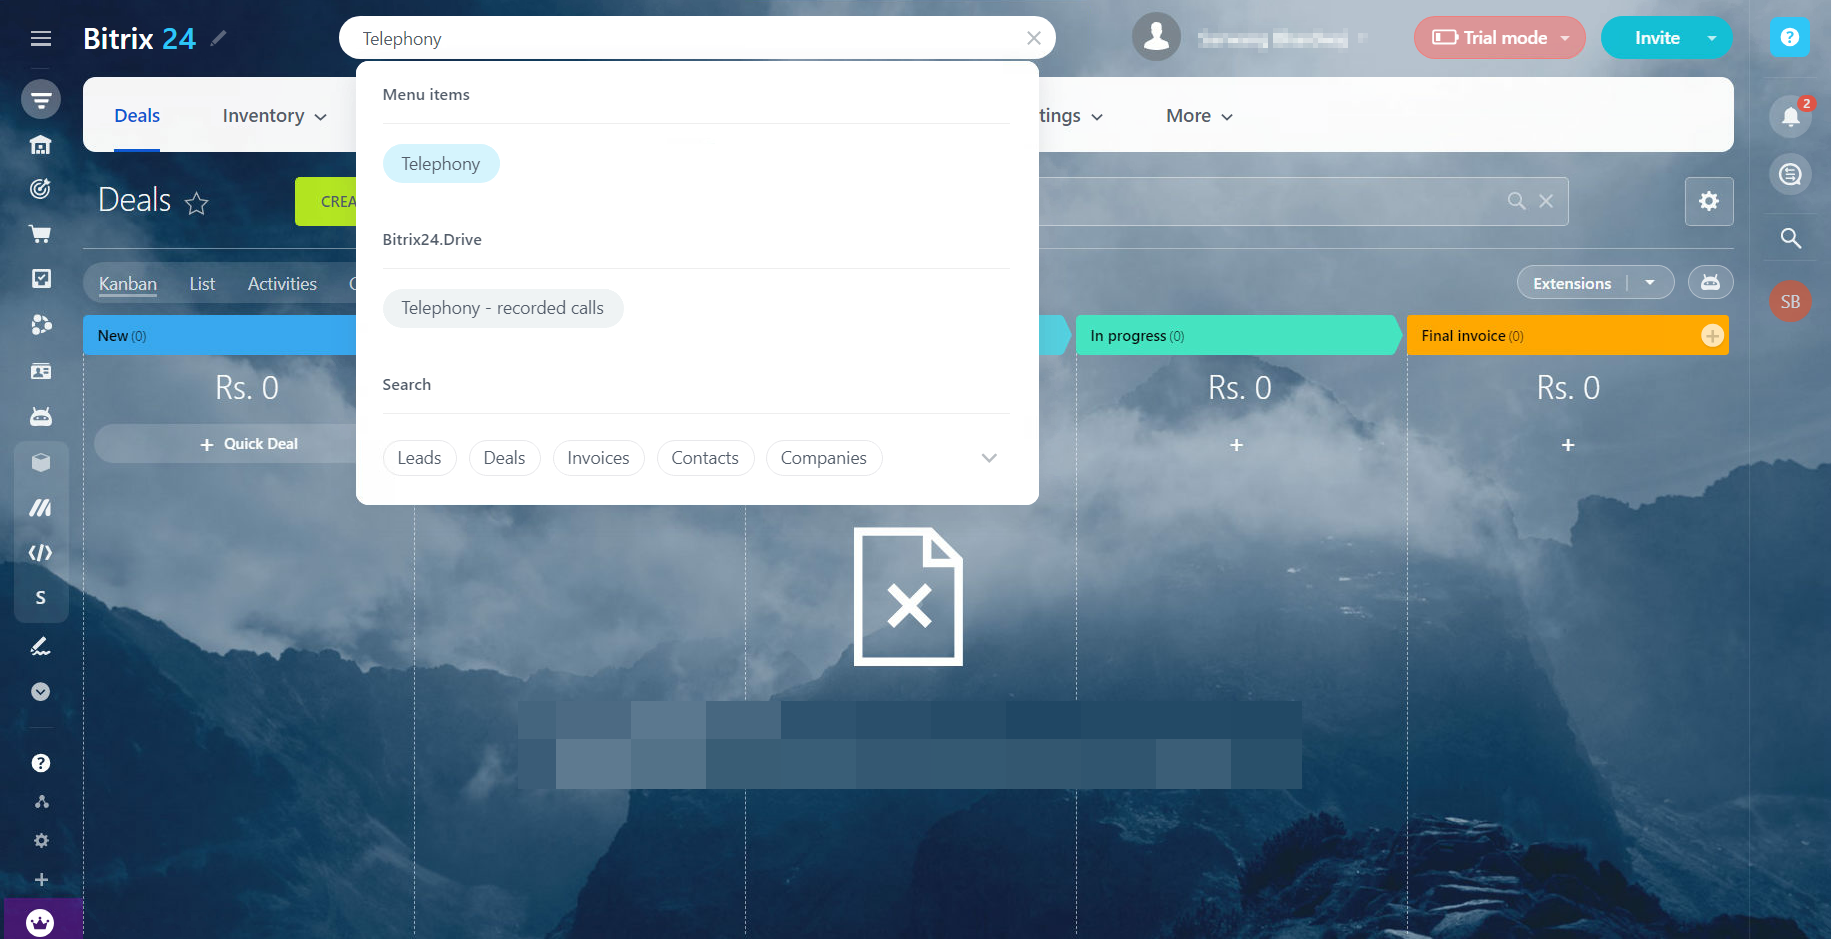
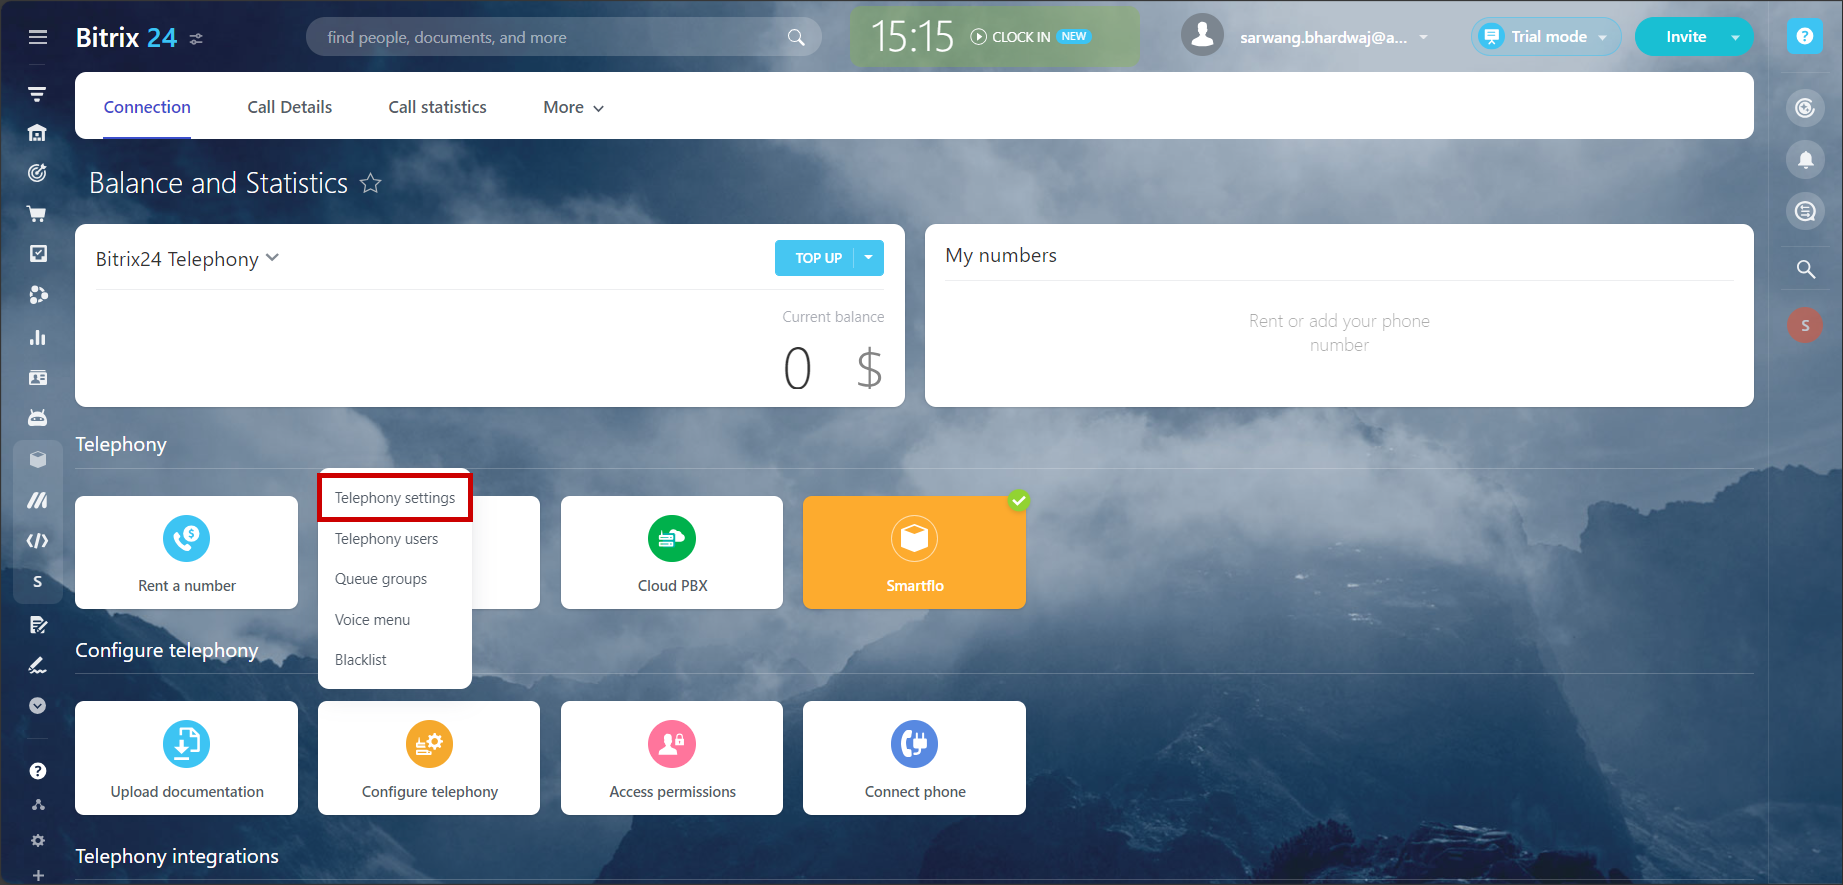
Now, search for Telephony from the Bitrix24 dashboard.
-
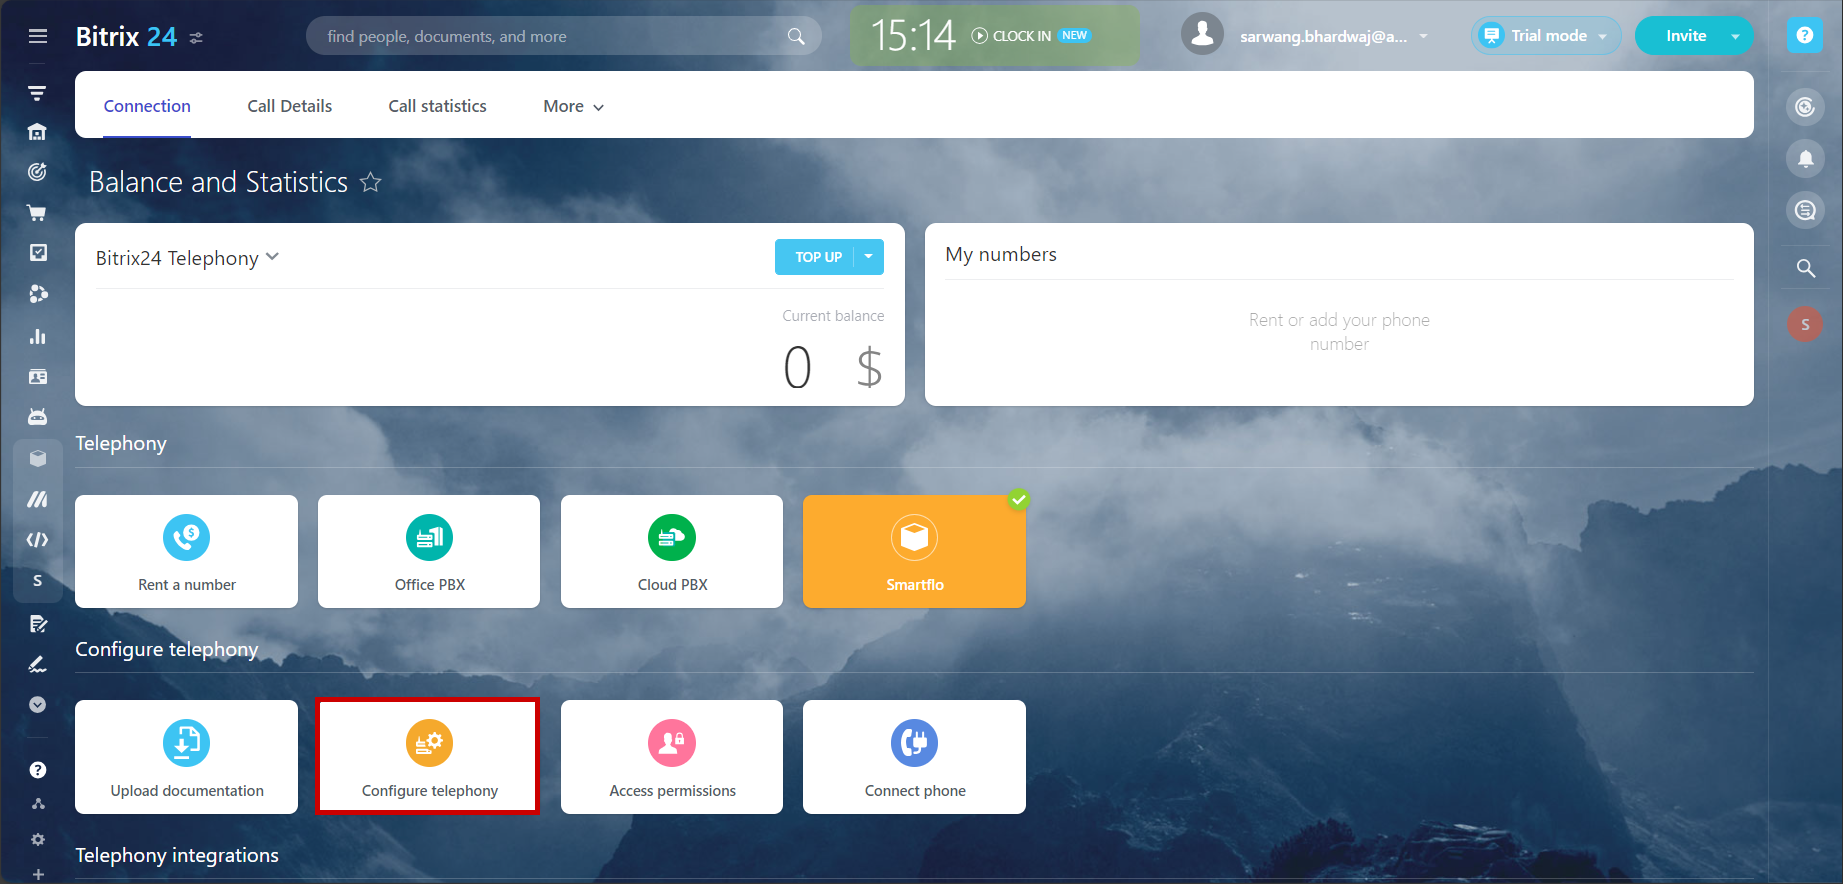
Scroll down and click on Configure Telephony in the telephony tab.
-
Click on the Telephony Settings in the Configure Telephony option.
-
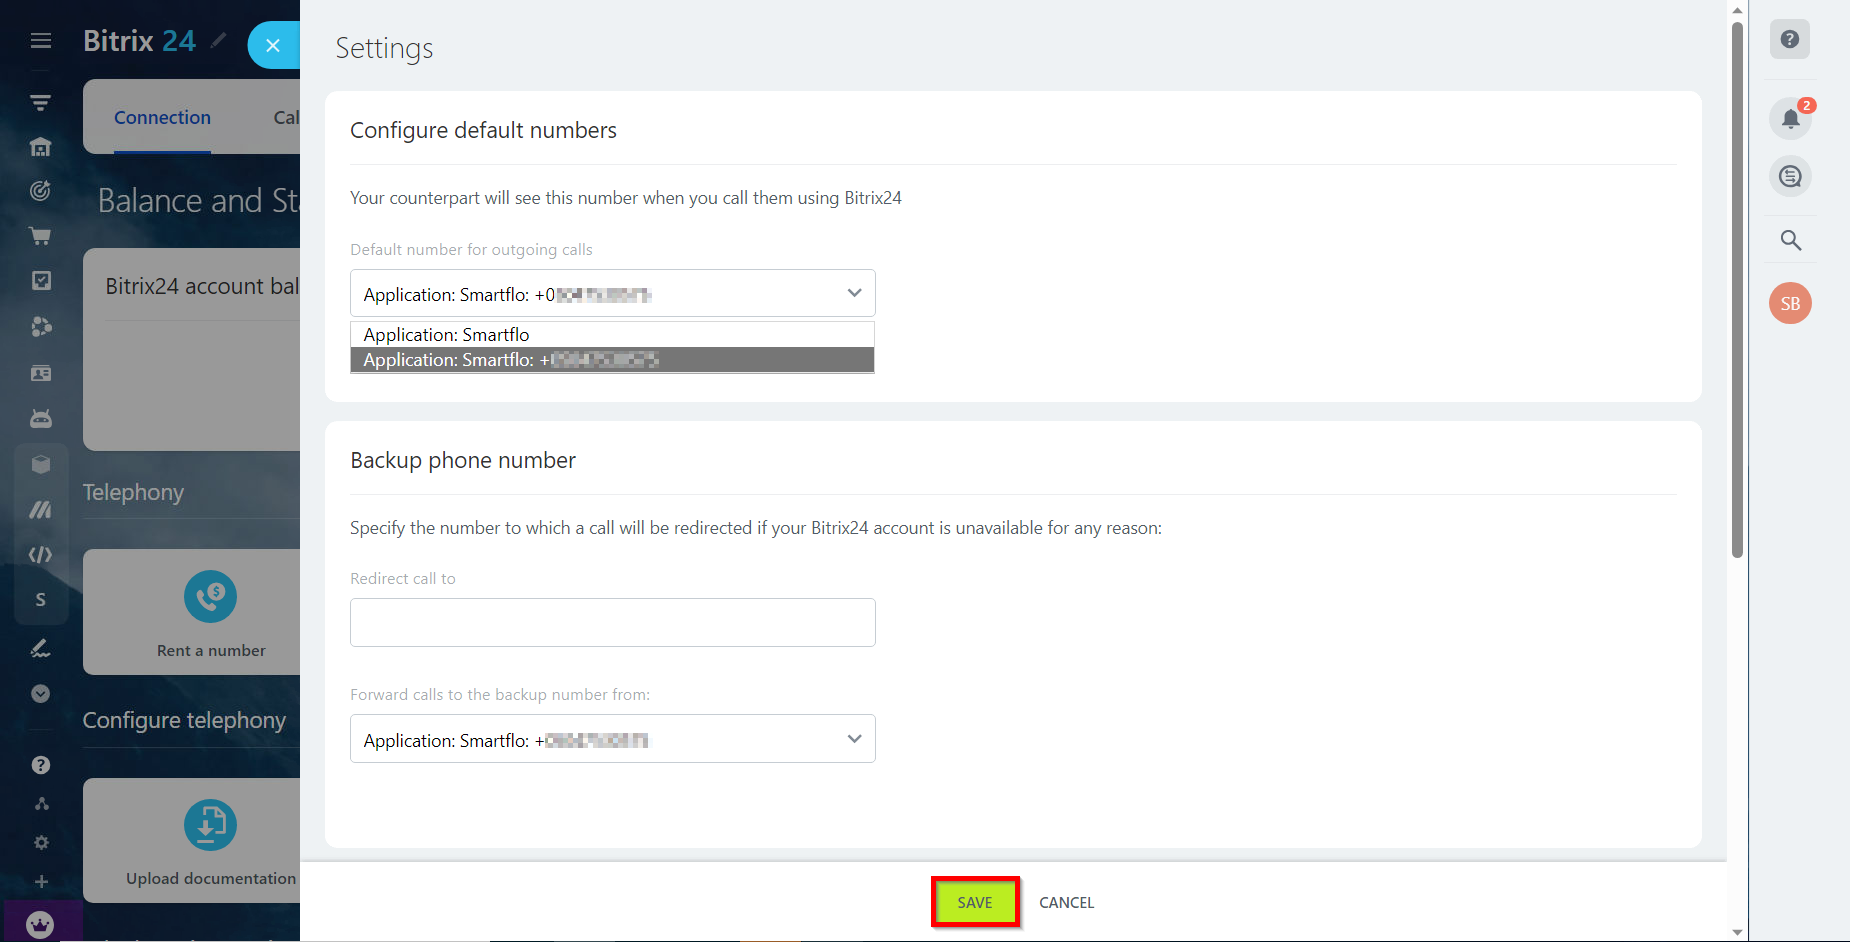
Select Application: Smartflo: {Agent Id} in the “Default number for outgoing calls” and “Forward calls to the backup number from” and click on Save.
-
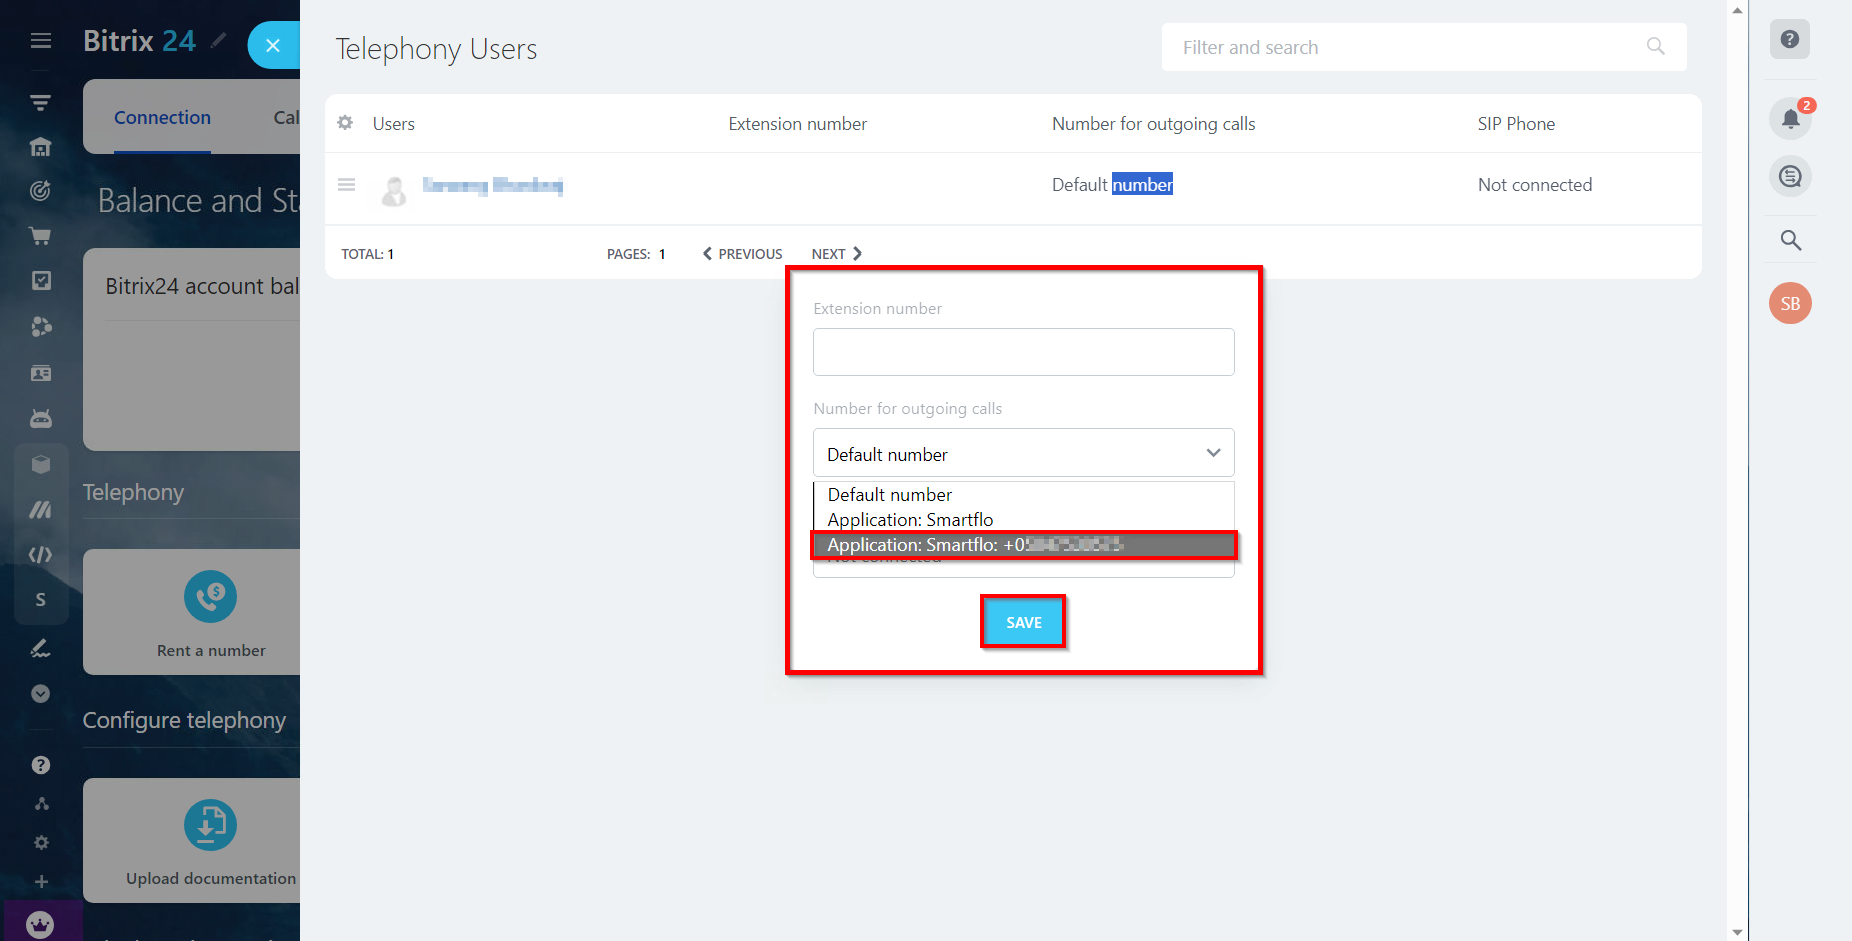
Go to Telephony users in the Configure Telephony option.
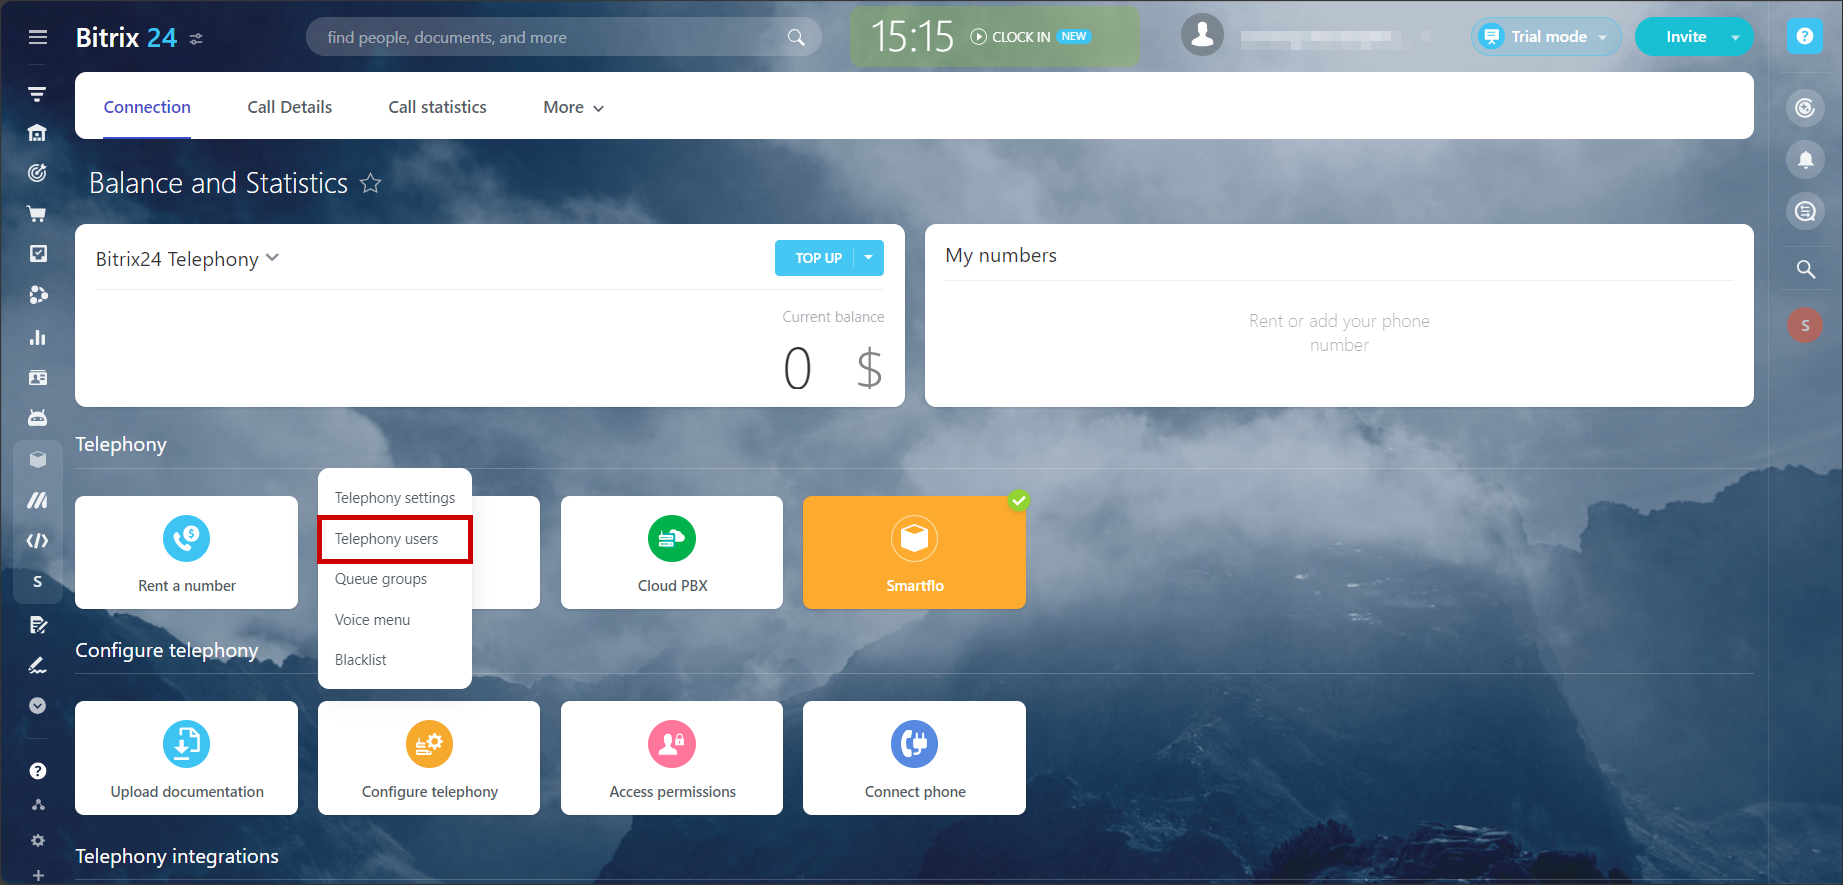
Contains list of all users that are currently integrated with the bitrix24 CRM account.
- Double-Click on Number for outgoing calls>Default number and select Application: Smartflo: {Agent Id} in the dialog box then click on save.
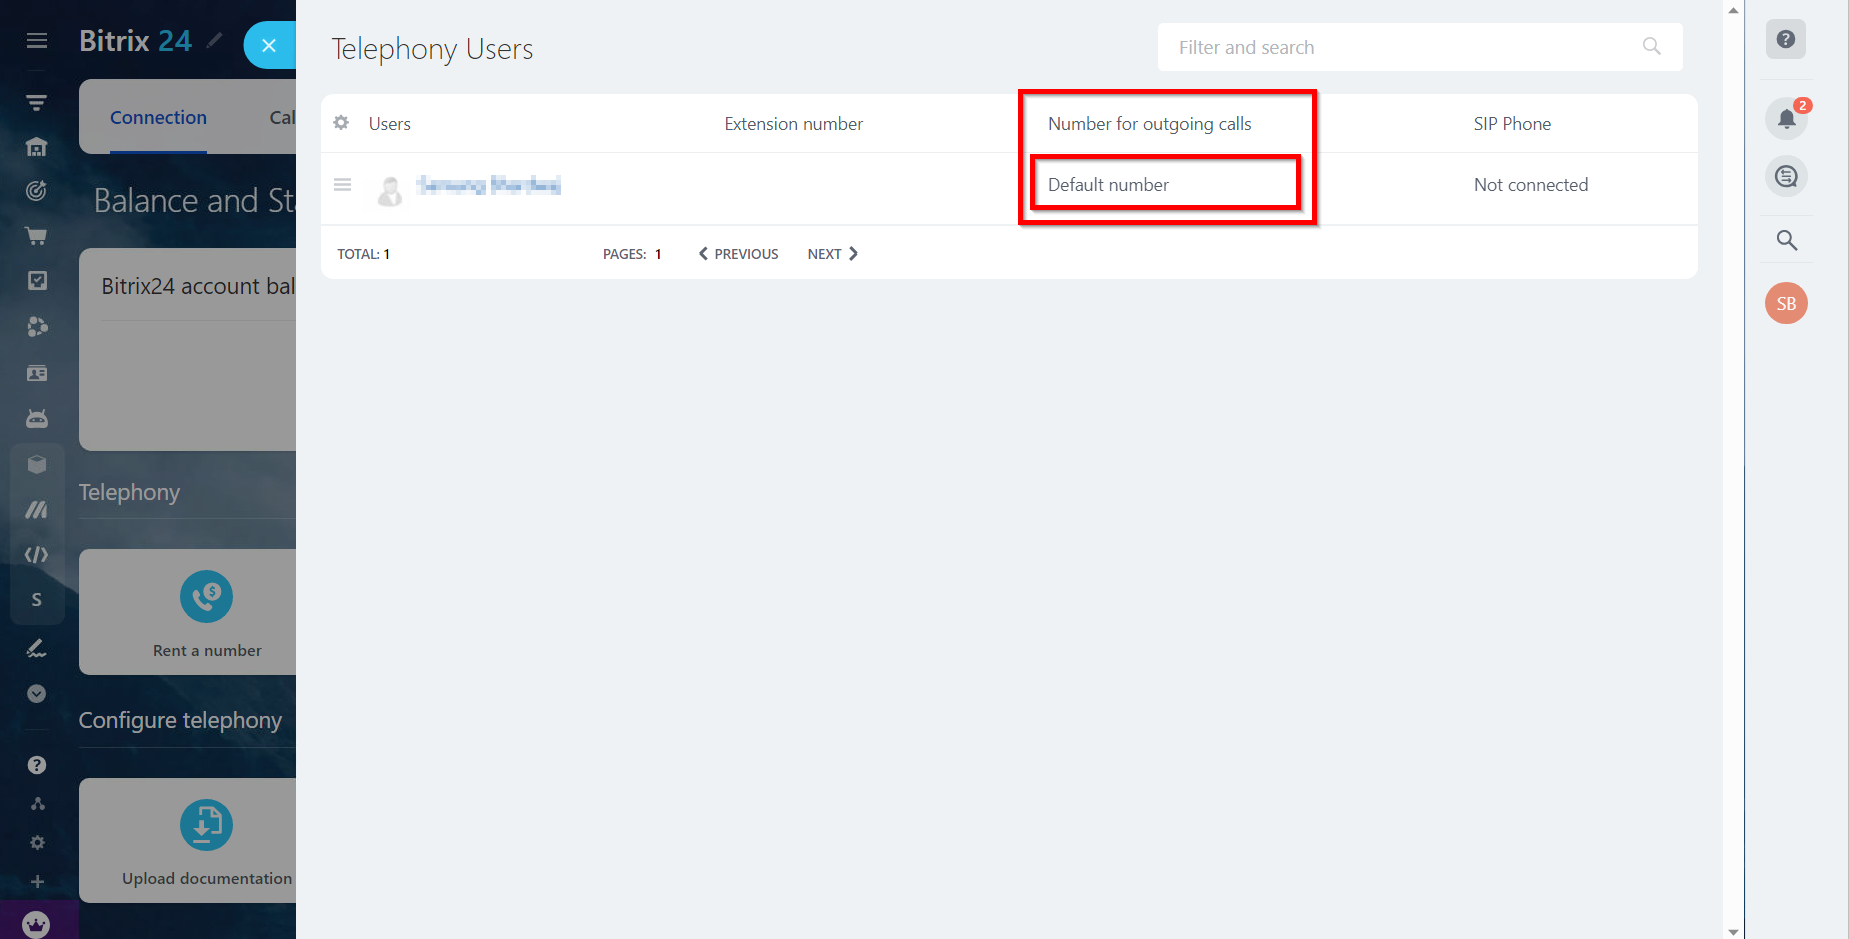
- Your configurations are complete, and the app is ready to use.
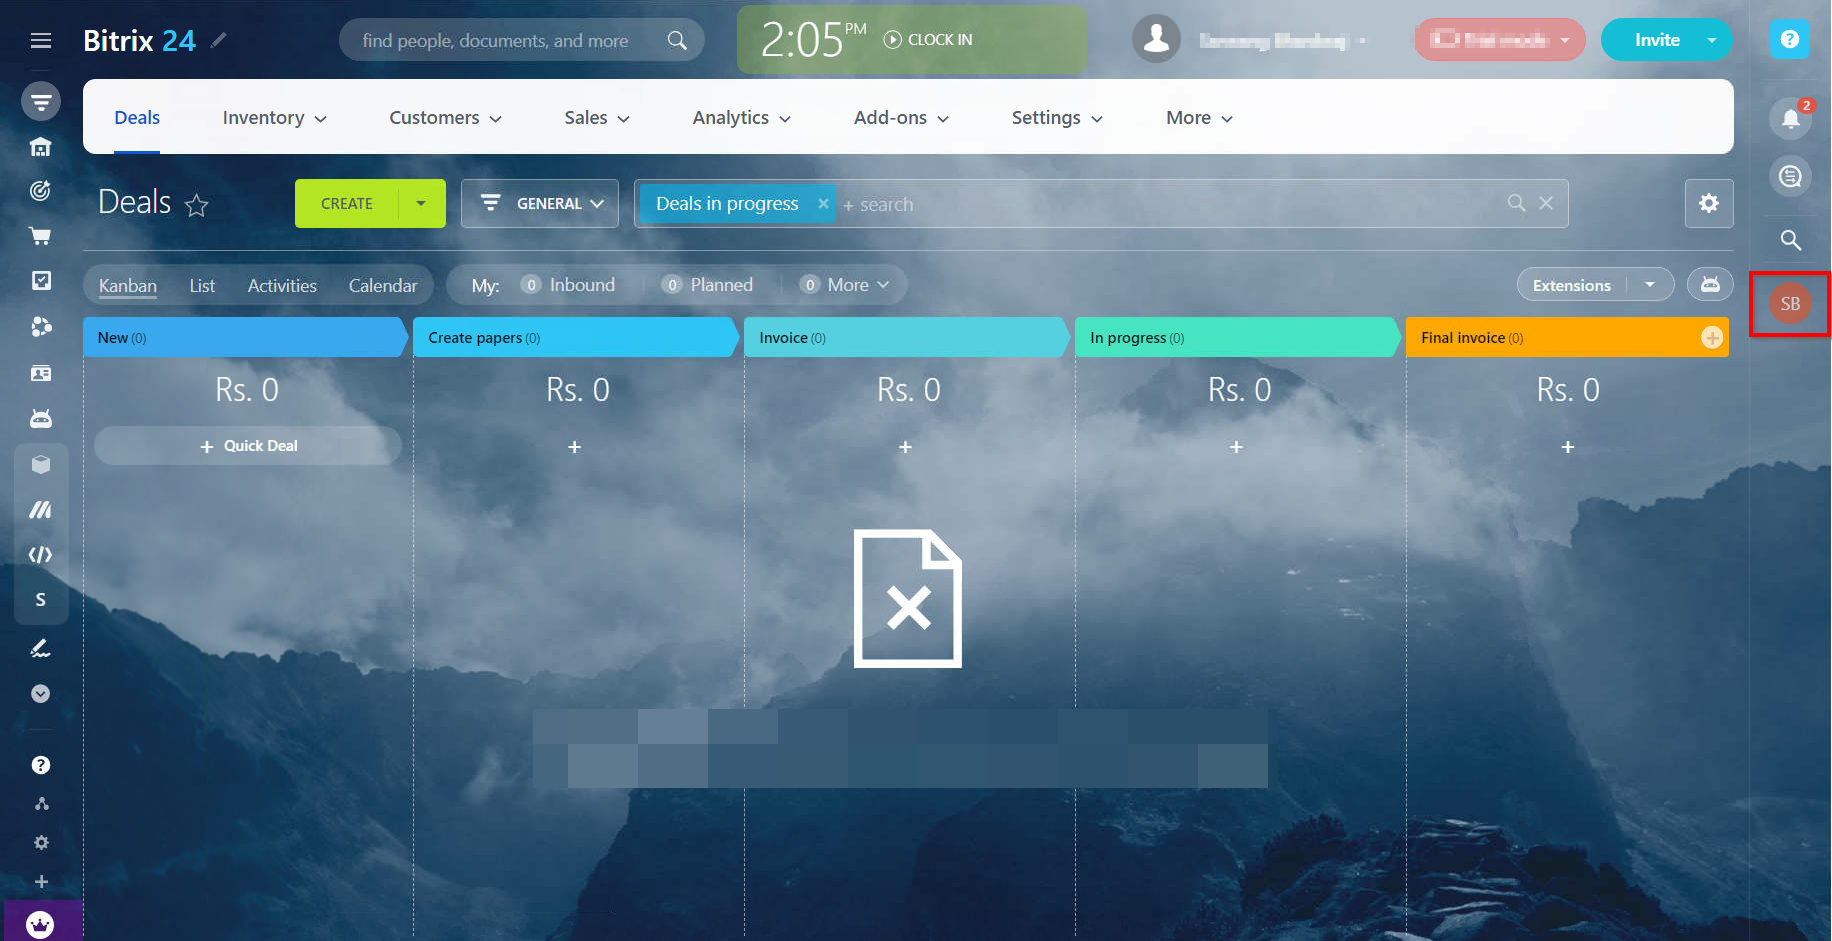
- To start calling and using other functionalities, go to your profile page from the right navigation panel and click on telephony.

- This app integration provides the below-listed functionalities of Smartflo through Bitrix24 CRM.
- Click To Call (Outbound Calls)
- Click To Dial
- Call Detail Records (show duration, status, disposition status, etc)
- Call Notes or Call Description
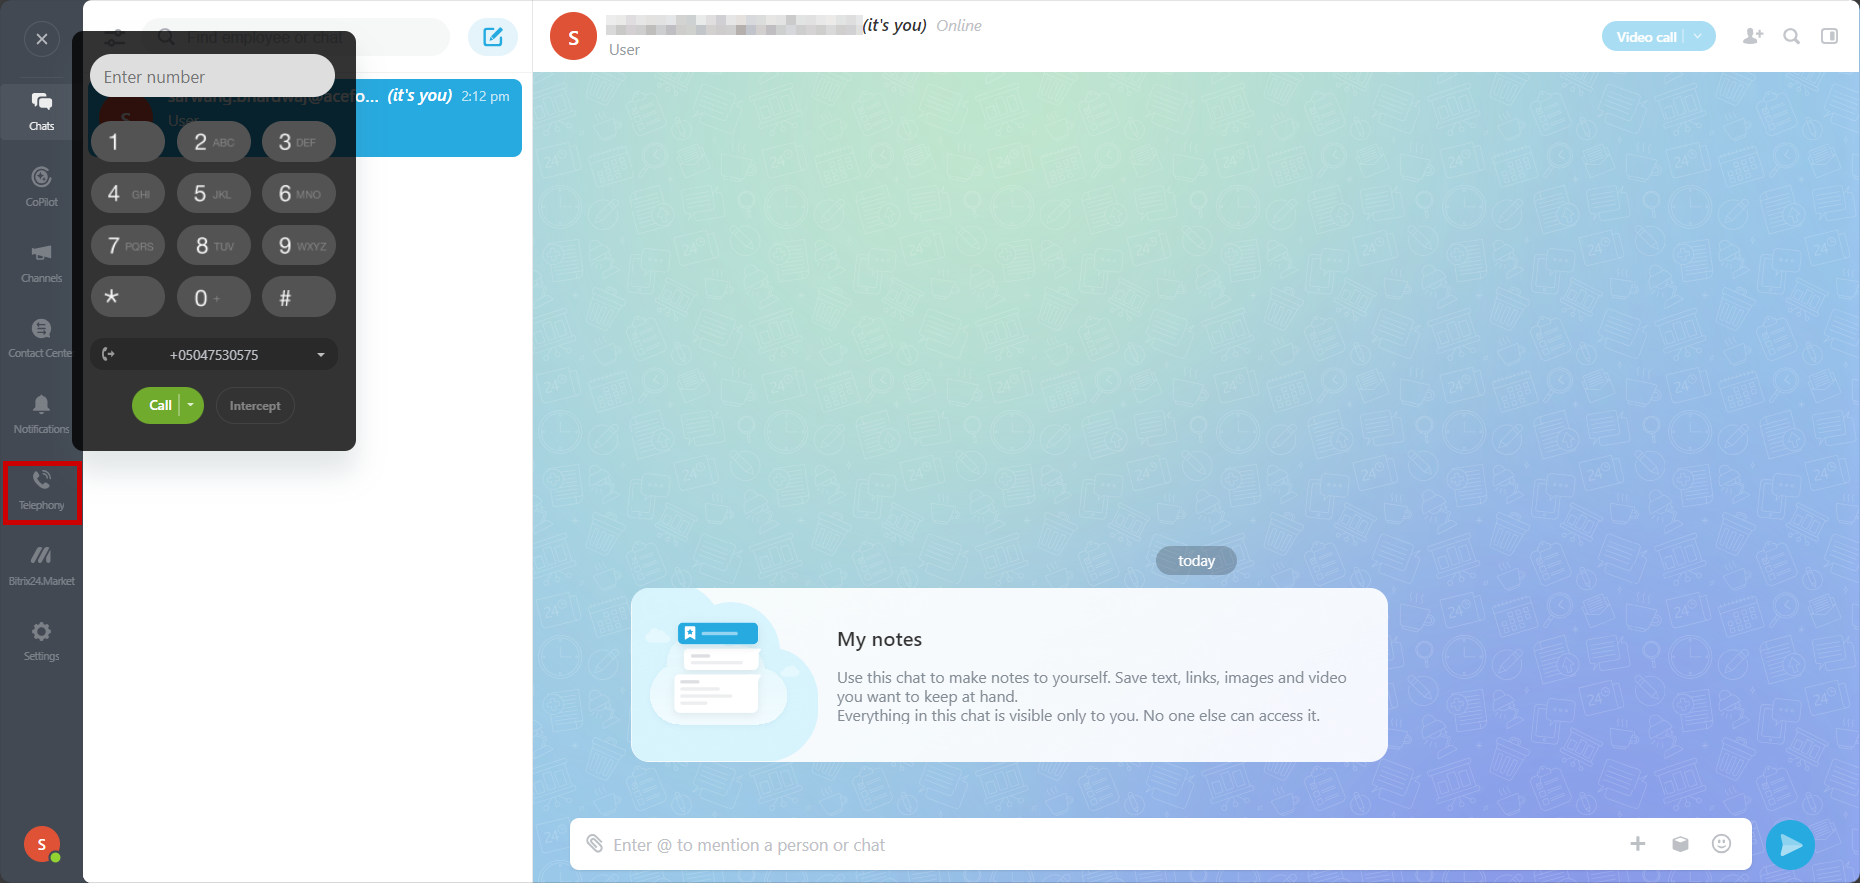
- To use the Click to Call functionality, go to your profile and click on the Telephony to access the dial pad, then dial the number of your choice.

- While in between a call, the user gets a separate tab to write down call notes during the call. Click on the comment tab and the user can add their respective comments for the call.

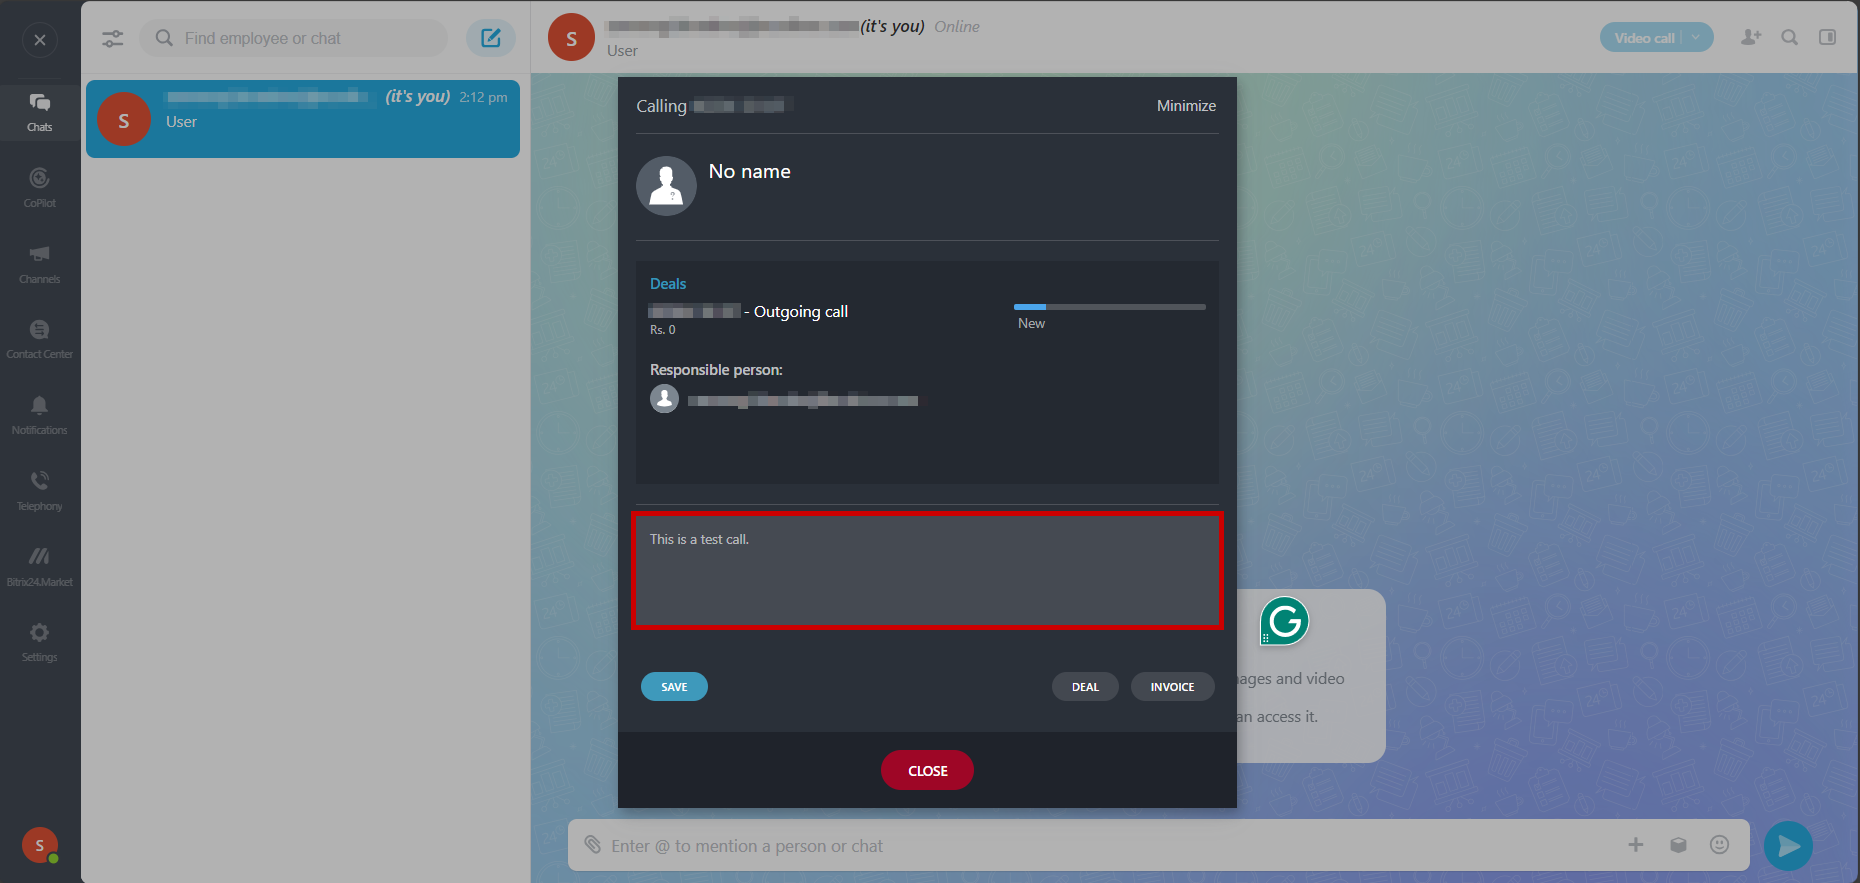
click on save to add any comment to your call records for each call. When the call is completed, there’s a log stored for each call with all the necessary fields fetched from Call Detail Records.
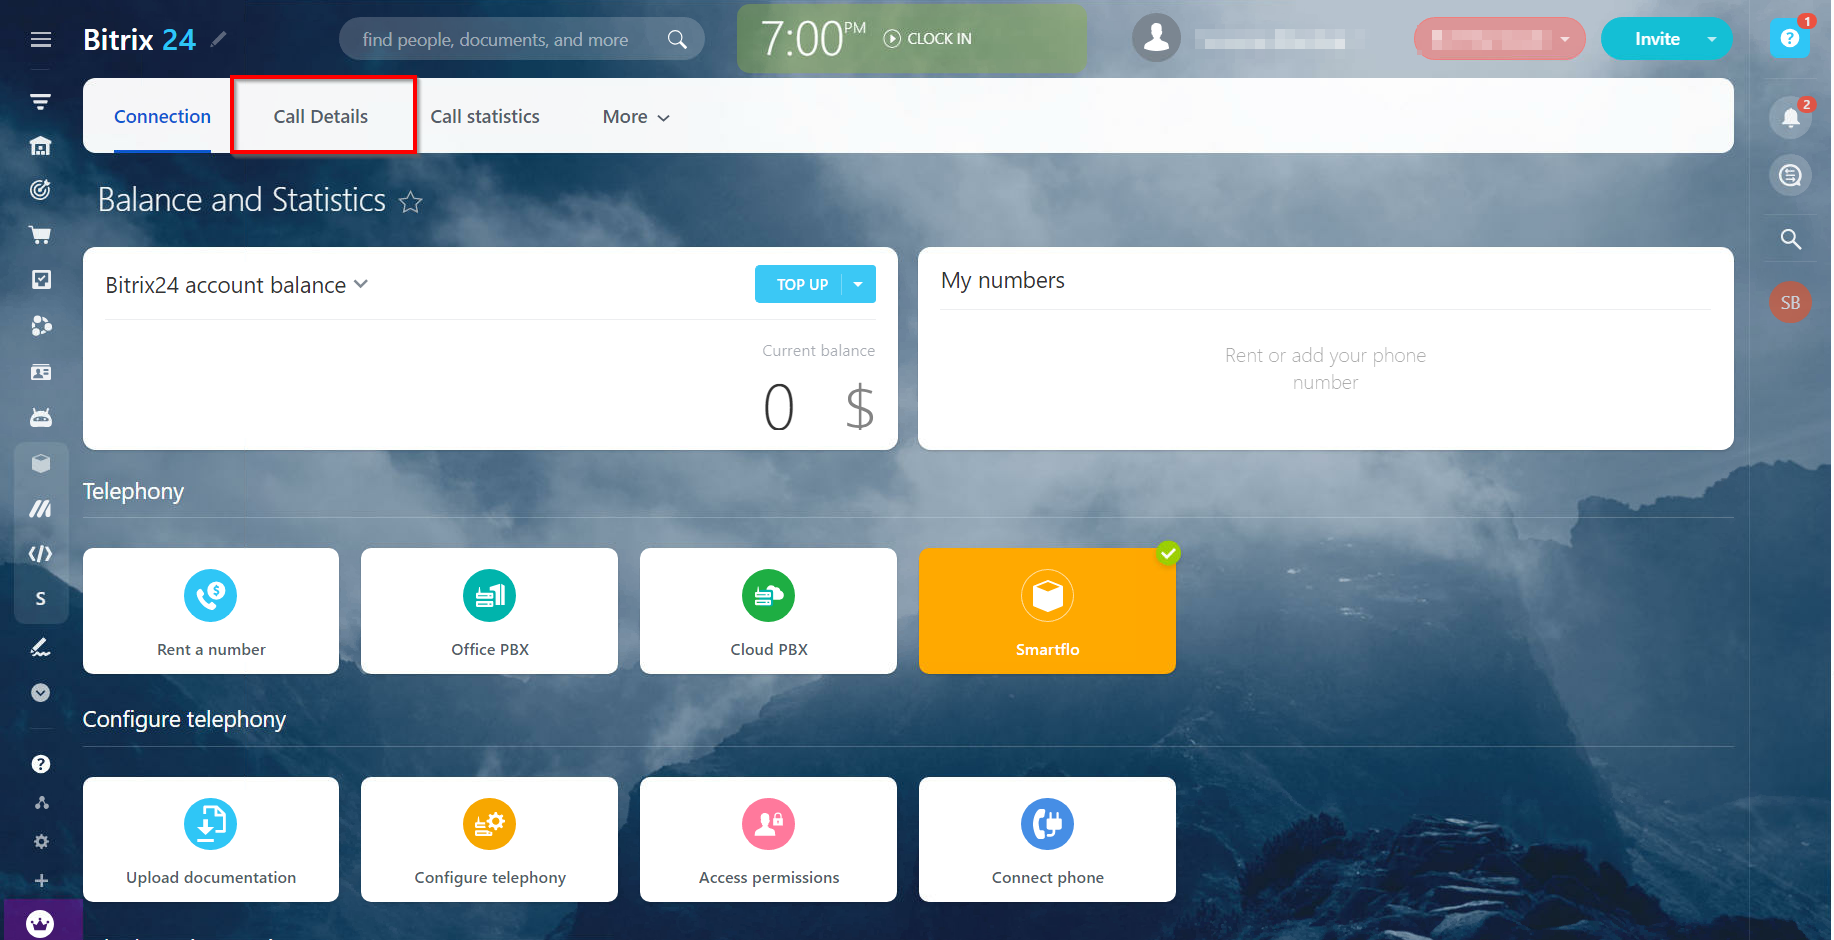
- To access the logs, Search for Telephony and Click on Call Details from the top navigation panel.

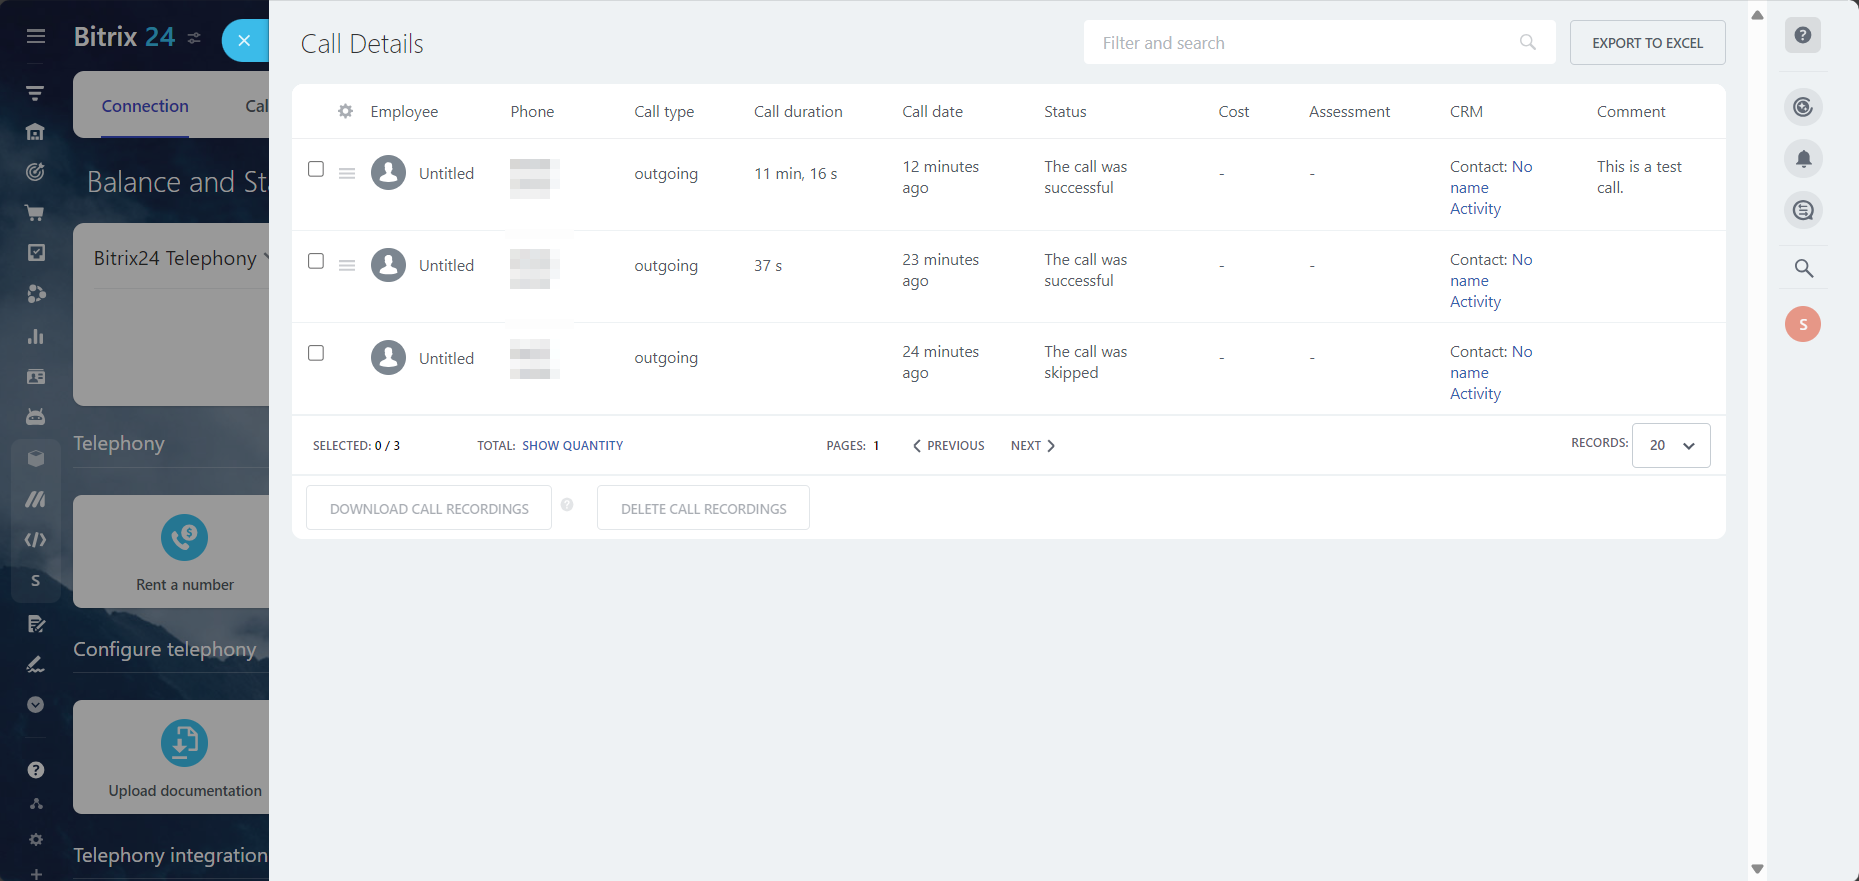
Here you can find the details of all the incoming and outgoing calls made through the Smartflo application. below are the fields included in the call logs.
| Field | Description |
|---|---|
| Employee | The user account from which the call has been initiated. |
| Phone | The contact number on which the outbound call has been made. |
| Call type | The type of call that has been made, such as incoming or outgoing. |
| Call duration | The total time of the call |
| Call date | Date on which the call was recorded. |
| Status | Whether the call was successful or not. |
| CRM | Here, you can find the lead detail if it was saved previously and by clicking on Activity you can get a detailed view of the log recorded. |
| Comment | The comment that was added by the agent on the call. |
After accessing the activities tab, you will get a detailed view of your call with all the necessary information along with an area to write down the call description and edit comment information. The activities tab also includes the call recording for any given call.
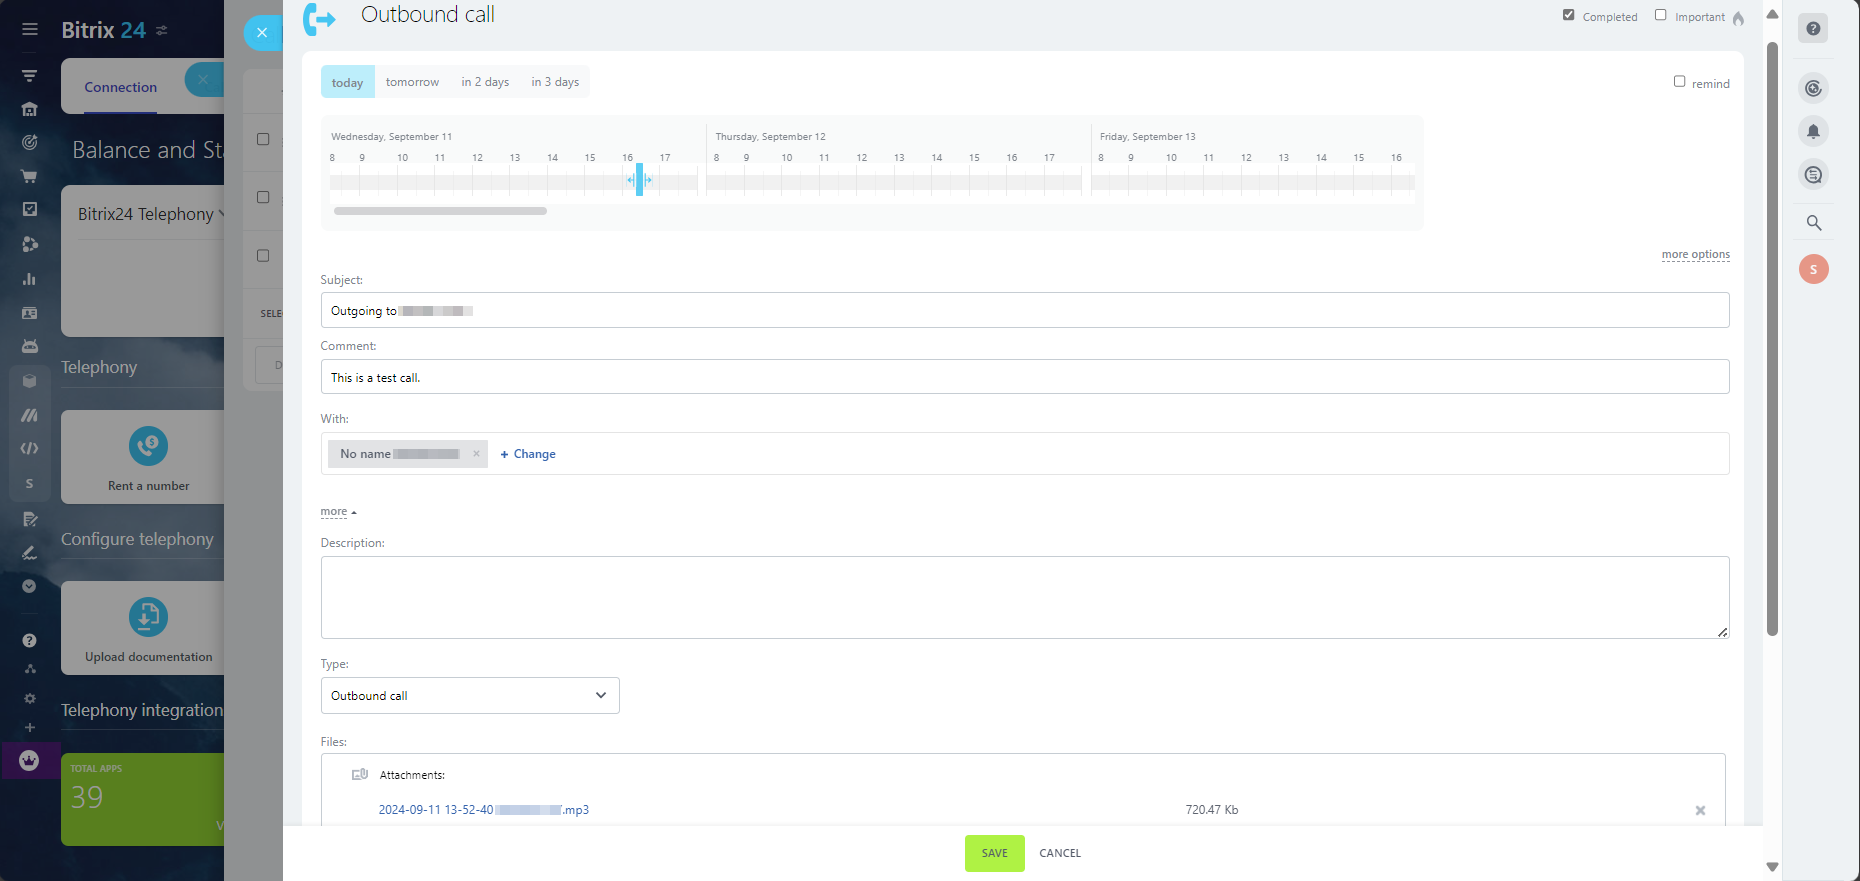
Call recording is uploaded on the portal at every 20th minute of every hour in a day. For instance, if a call was hung up at 11:05 then its recording will be updated on the portal at 11:20 sharp.
Updated 3 months ago