Manage Contacts
Manage Contacts Overview
The Manage Contacts feature enables you to manage contacts efficiently. You can group multiple contacts into a Contact Group for better organization and perform bulk operations, such as editing and deleting, all with a single click. This simplifies contact management and enhances operational efficiency.
Getting Started with Manage Contacts
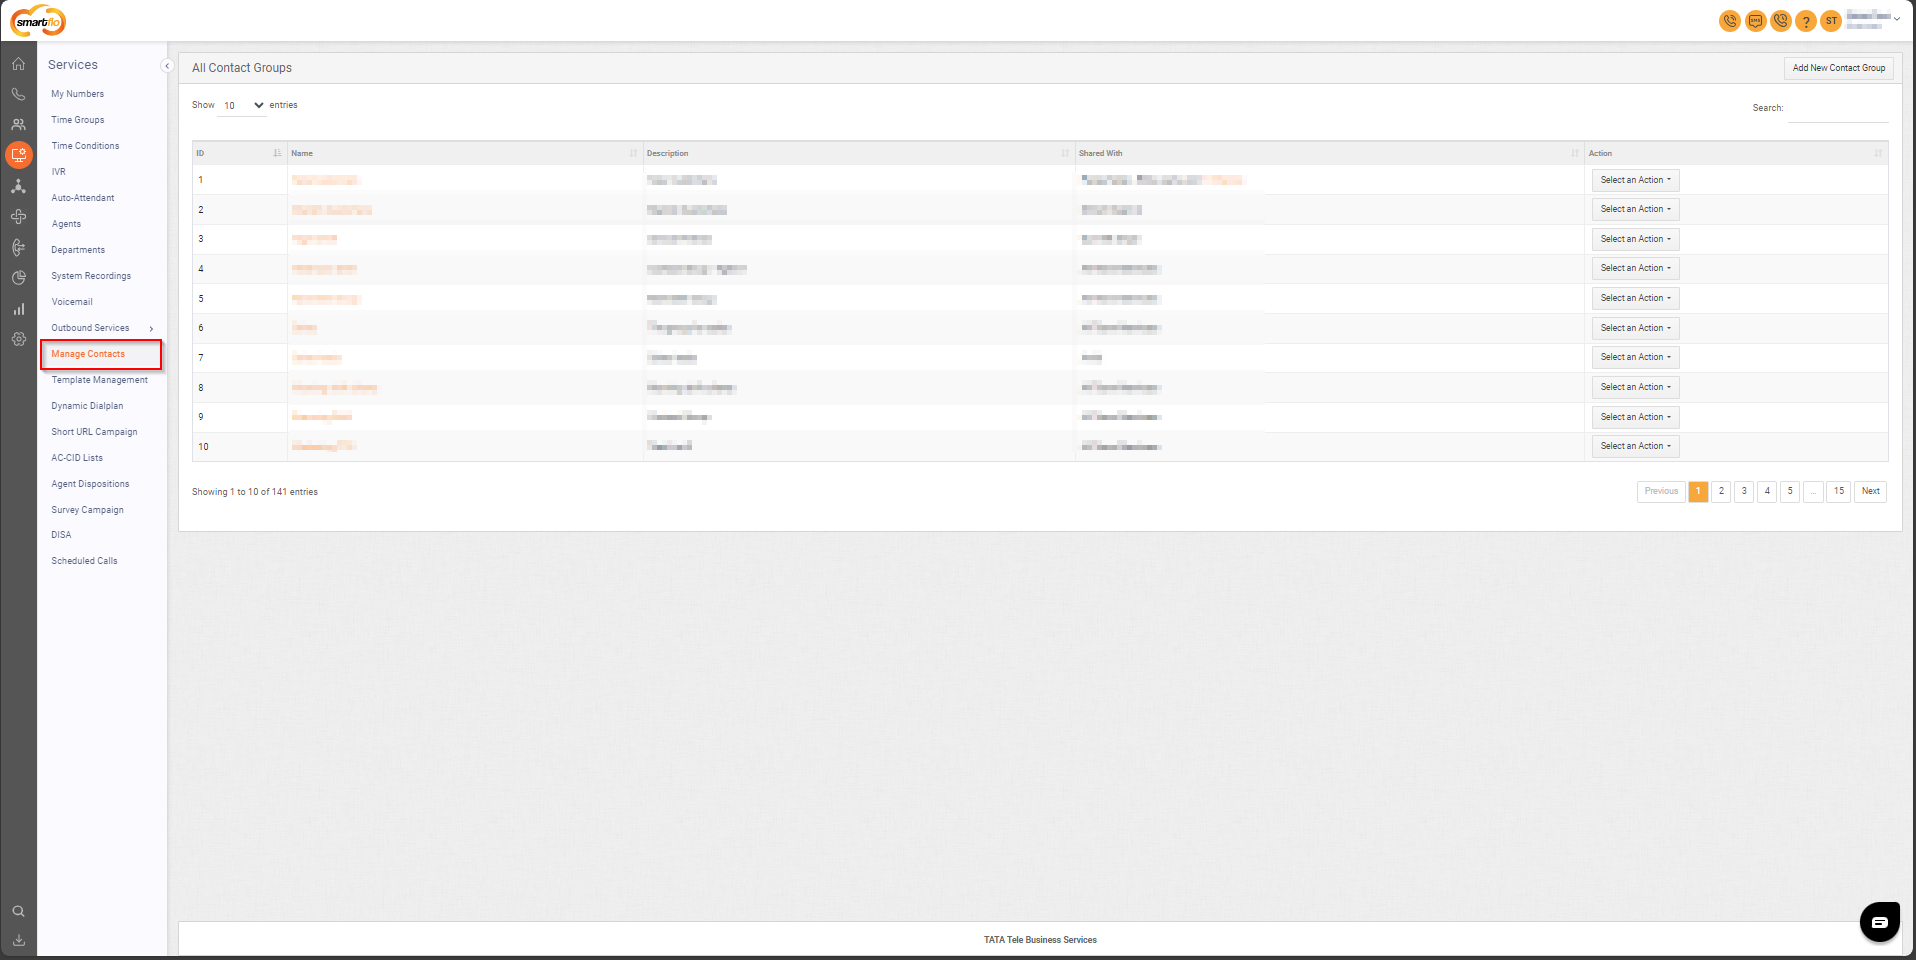
To go to Manage Contacts to your Smartflo account, first log in using your unique User ID and Password. Once logged in, you will be directed to the main dashboard. From there, locate the navigation menu on the left-hand side of the screen and click on "Services". A set of options opens up. One of these options is the “Manage Contacts".
- List of all Contact Groups
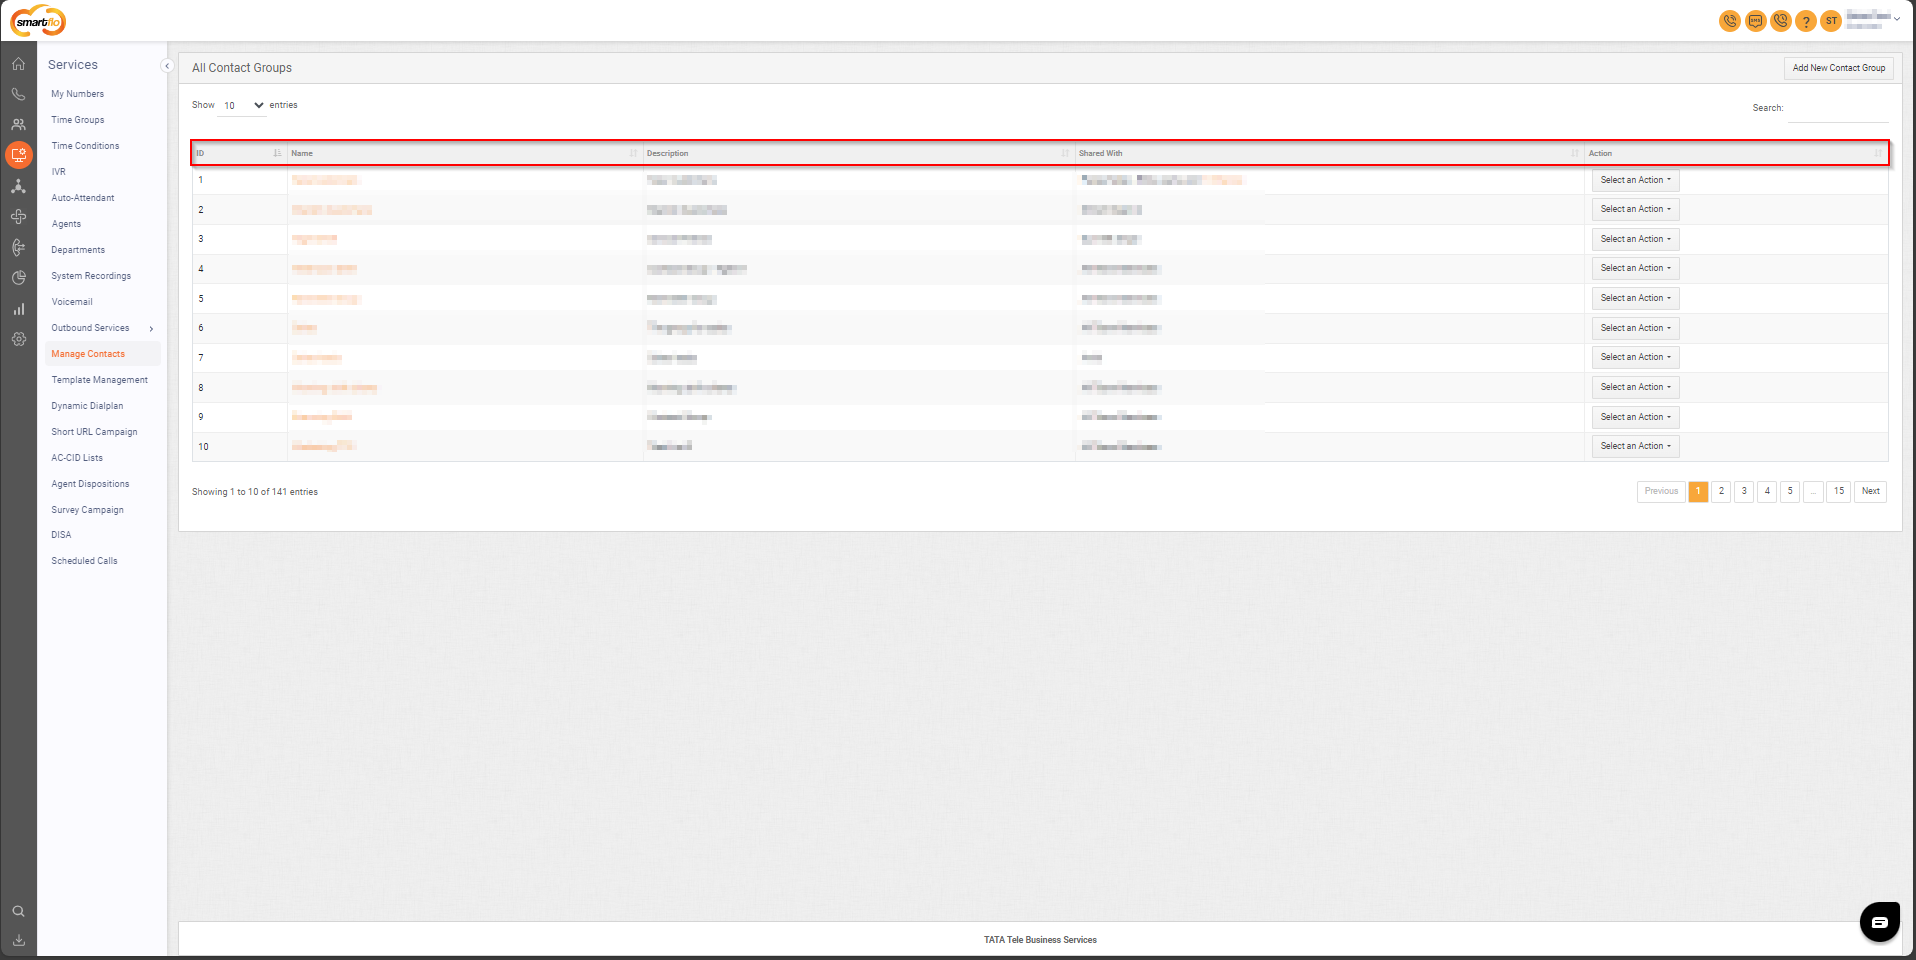
The table displays a list of all Disposition Lists with the following information:
| Field | Description |
|---|---|
| ID | A unique identifier assigned to each contact group for easy reference and management. |
| Name | The assigned name for the contact group reflects its purpose or category. |
| Description | A brief explanation of the contact group. |
| Shared With | Shows who can access the contact group, like specific users or an agent group. |
| Action (Add Contacts, Download Sample CSV, Upload Contacts (CSV), View Contacts, Edit, Delete) | Options to add new contacts, upload or download contact data via CSV, view, edit, or delete the contact or group. |
- Add New Contact Group
To add a new contact group, follow the below steps:
- Click on the Services tab on the side navigation.
- Click on Manage Contacts.
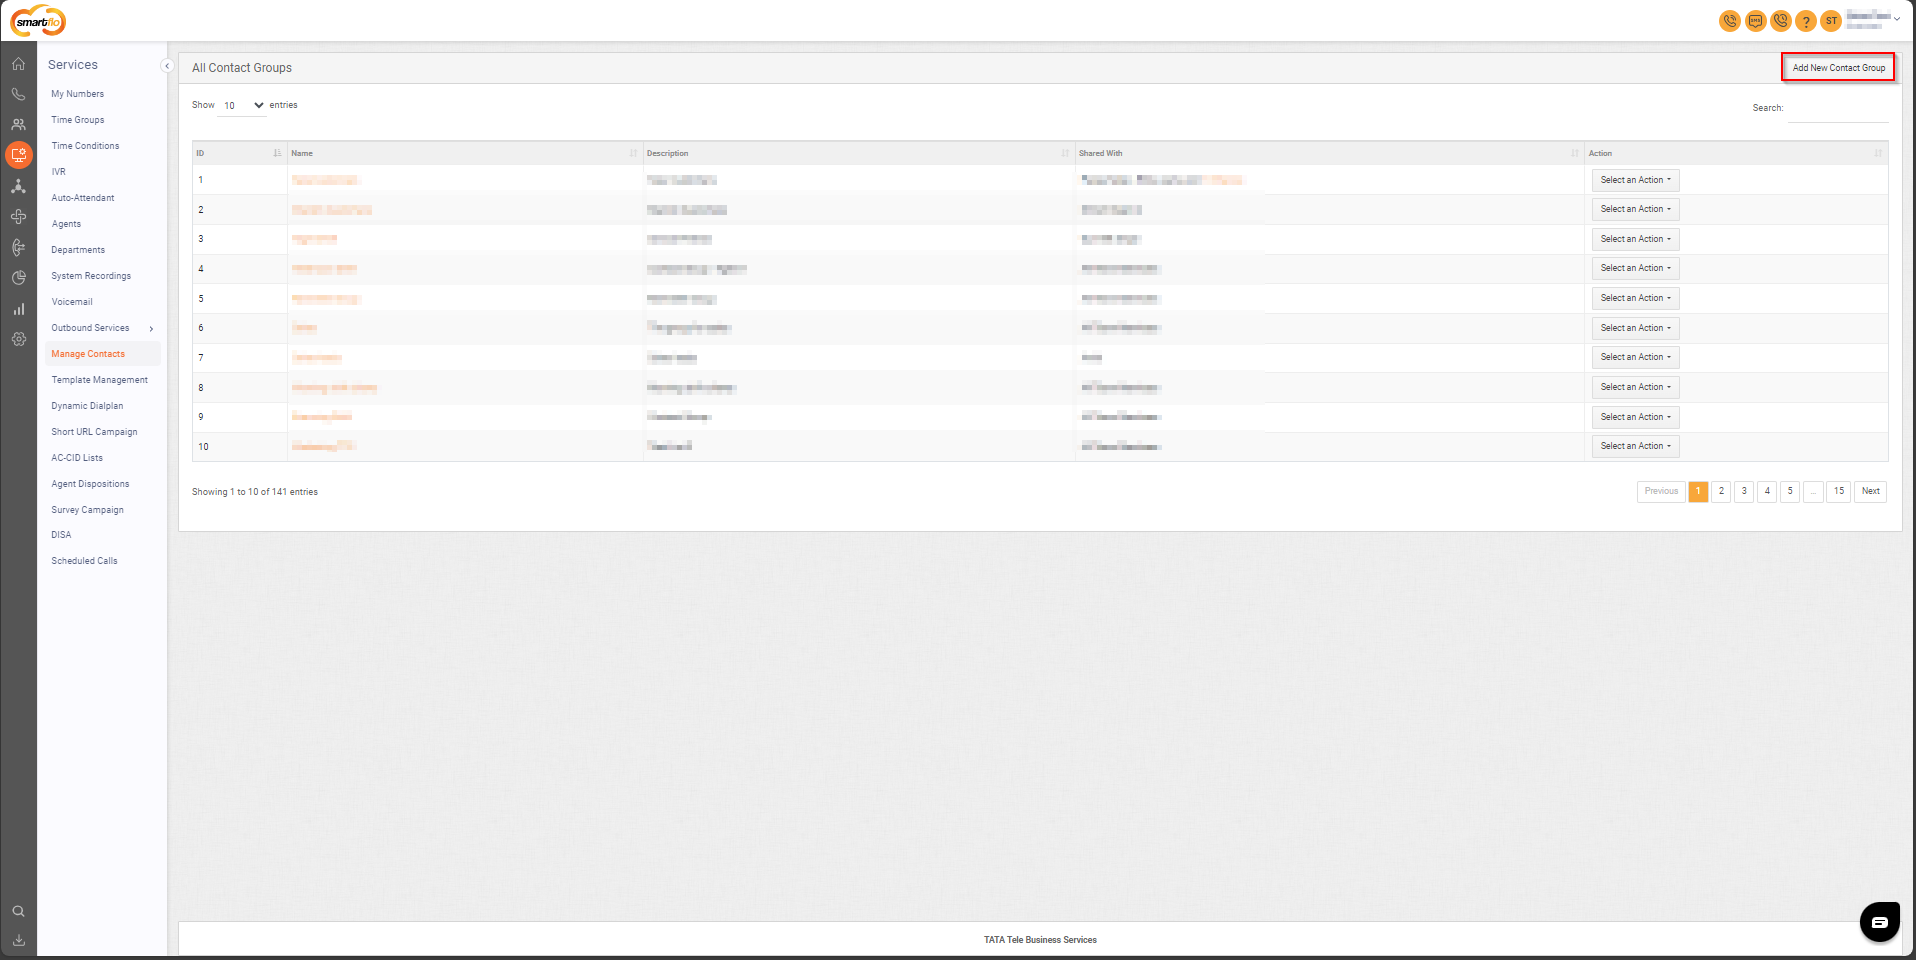
- A list of all the Contact Groups appears along with the relevant details.
- Click on Add New Contact Group.

- The following screen will appear, prompting you to complete the necessary fields as shown in the screenshot below.
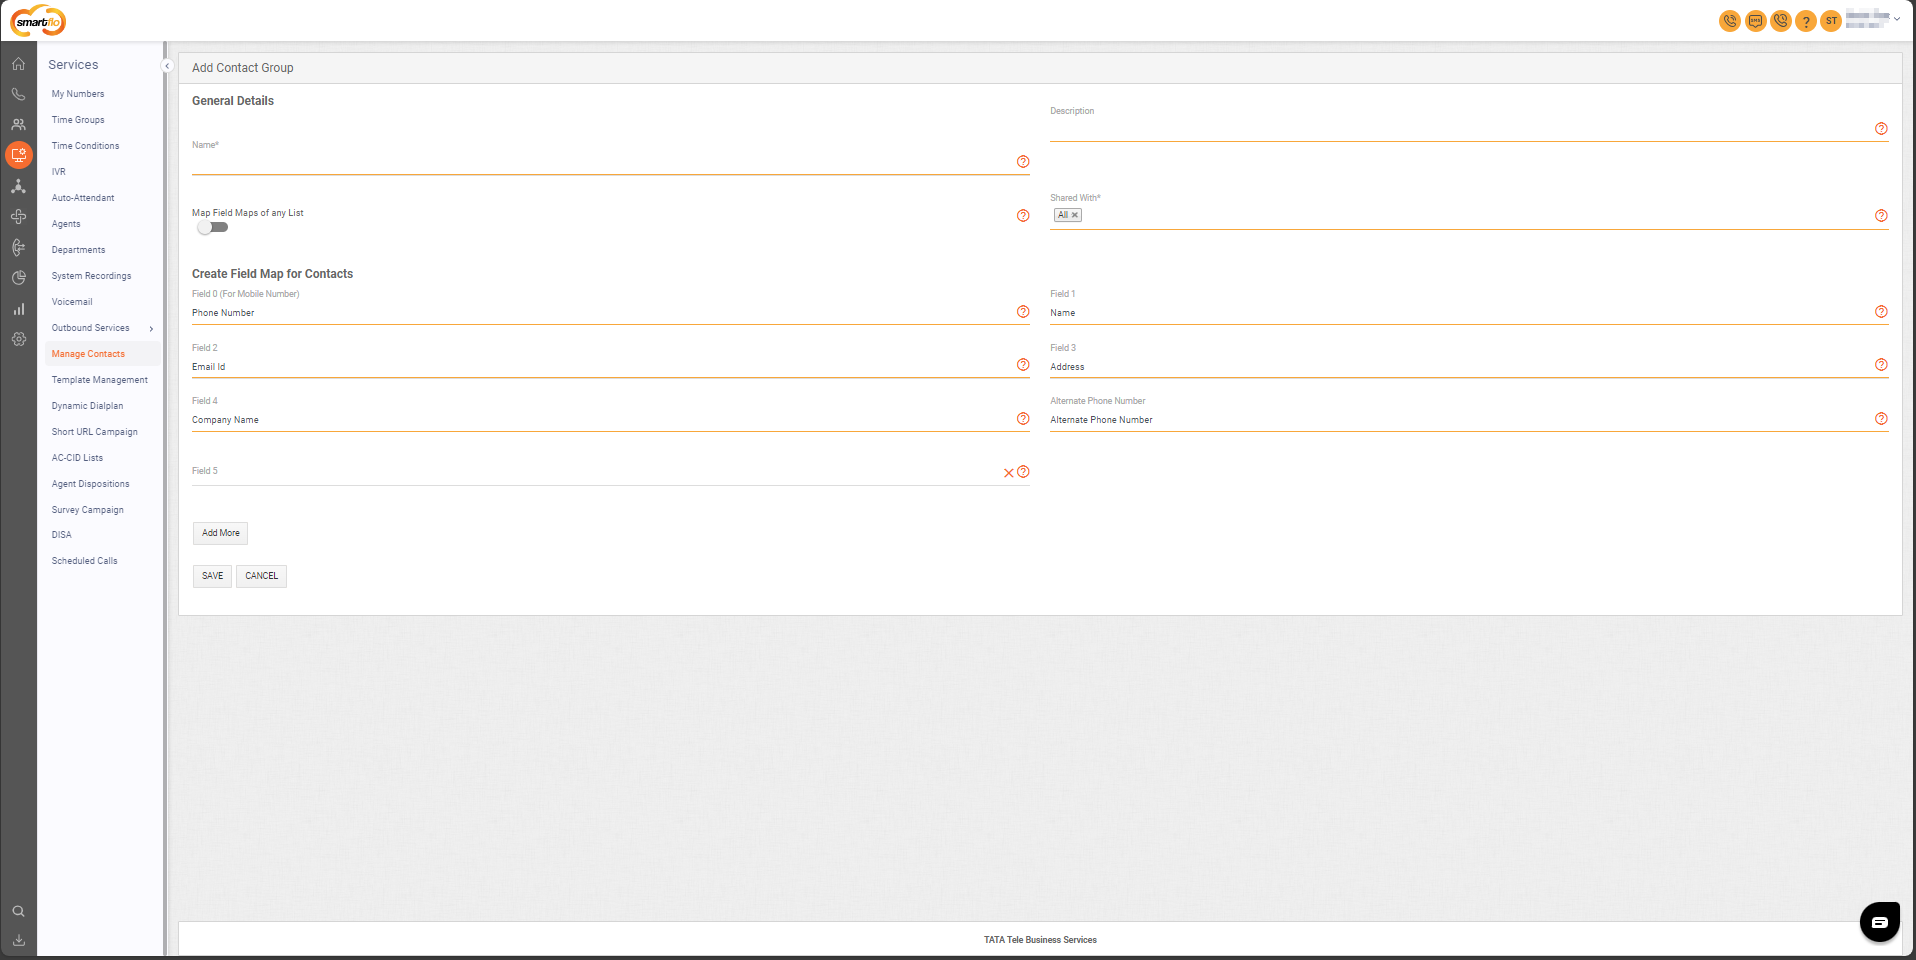
Here is a table explaining the fields from the Add Contact Group interface based on the screenshot:
| Field | Description |
|---|---|
| Name | Enter the name of the contact group |
| Description | A brief description of the contact group to specify its purpose or details. |
| Shared With | Select who can access the contact group, like specific users or an agent group. |
| Map Field Maps of Any List | Toggle to enable mapping fields from an existing lead list for easier organization. Note: This will create the contact group fields exactly as they appear in the selected lead list. |
| Field 0 (Phone Number)* | Enter the primary phone number for the contact, which is mandatory for the contact group. |
| Field 1 (Name) | Enter the name of the contact. |
| Field 2 (Email ID) | Enter the email ID of the contact. |
| Field 3 (Address) | Enter the address of the contact. |
| Field 4 (Company Name) | Enter the company name associated with the contact. |
| Alternate Phone Number | Enter an alternate phone number for the contact if available. |
| Field 5 (Custom Field) | Allows the addition of more fields to include extra contact details as needed. |
| Field 6 (Custom Field) | Allows the addition of more fields to include extra contact details as needed. |
| Field 7 (Custom Field) | Allows the addition of more fields to include extra contact details as needed. |
| Field 8 (Custom Field) | Allows the addition of more fields to include extra contact details as needed. |
| Field 9 (Custom Field) | Allows the addition of more fields to include extra contact details as needed. |
| Field 10 (Custom Field) | Allows the addition of more fields to include extra contact details as needed. |
The account admin can add up to 29 custom fields. By clicking "Add More," a new custom field is created, which can be named to include additional contact details as needed.
- Once done, click the Save button.
- Select an Action
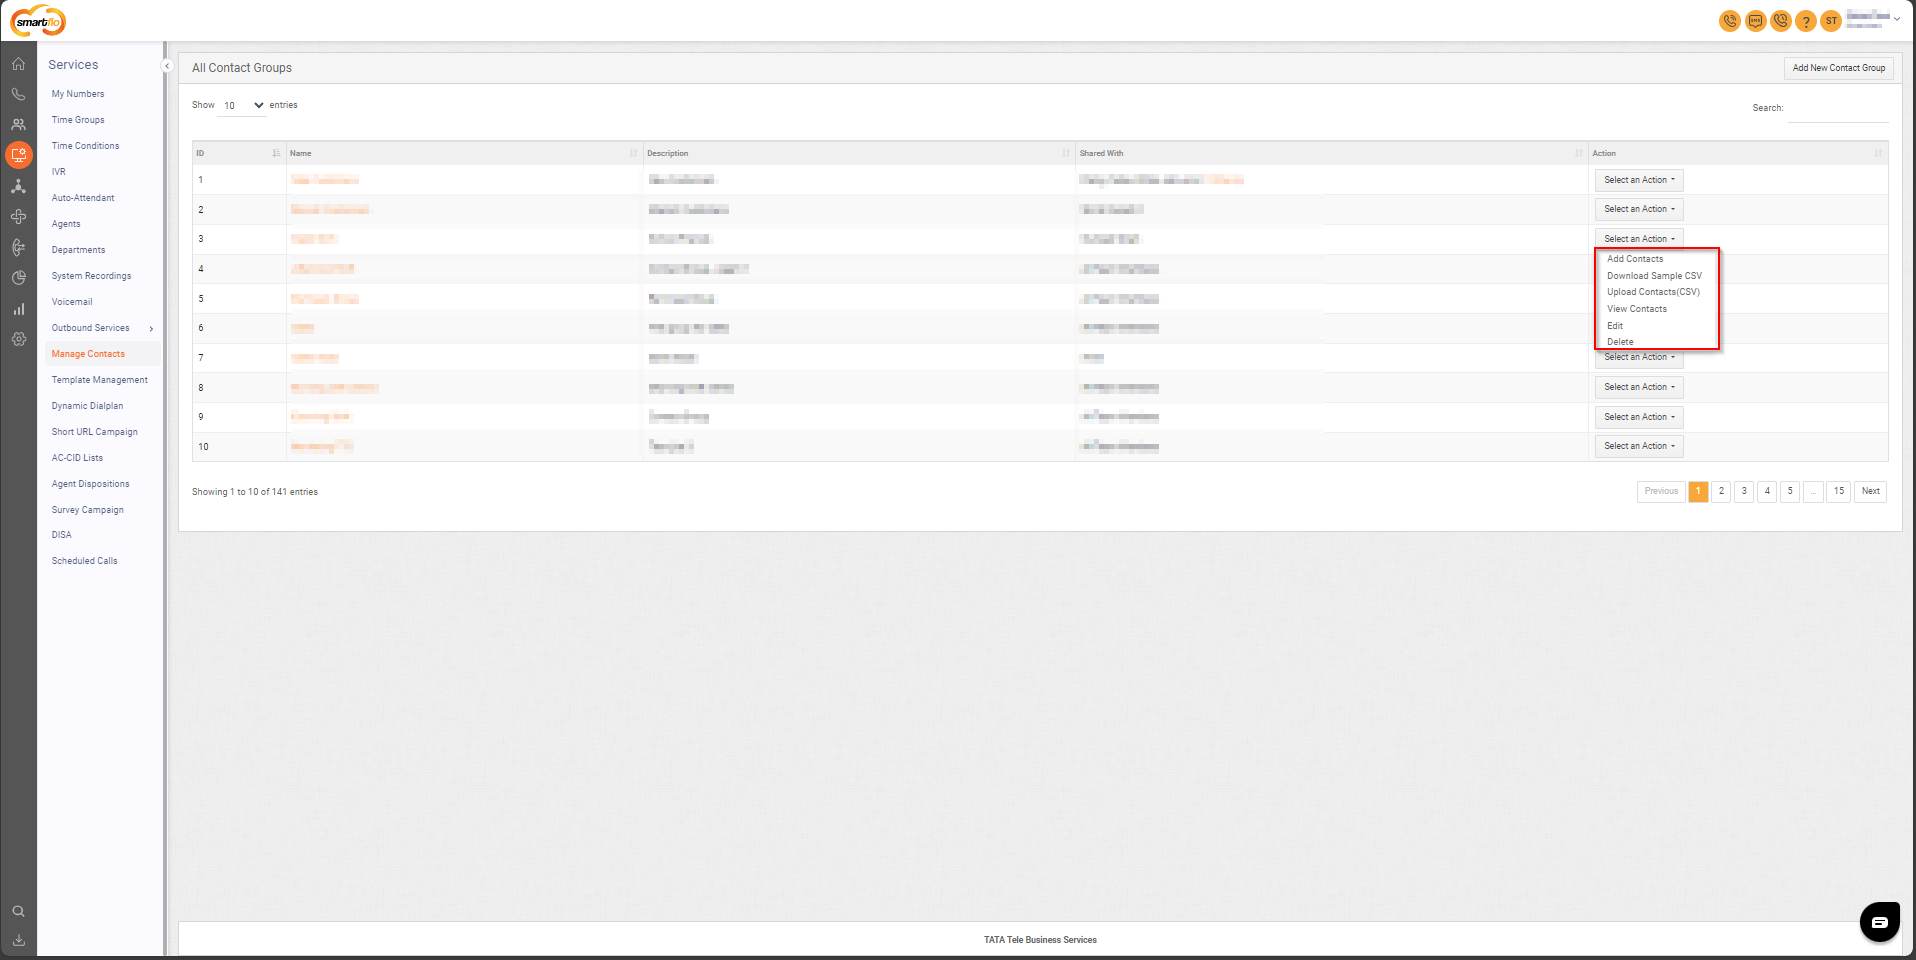
- Add Contacts
Fill in the required contact details to be added to the contact group and click on the Save button.
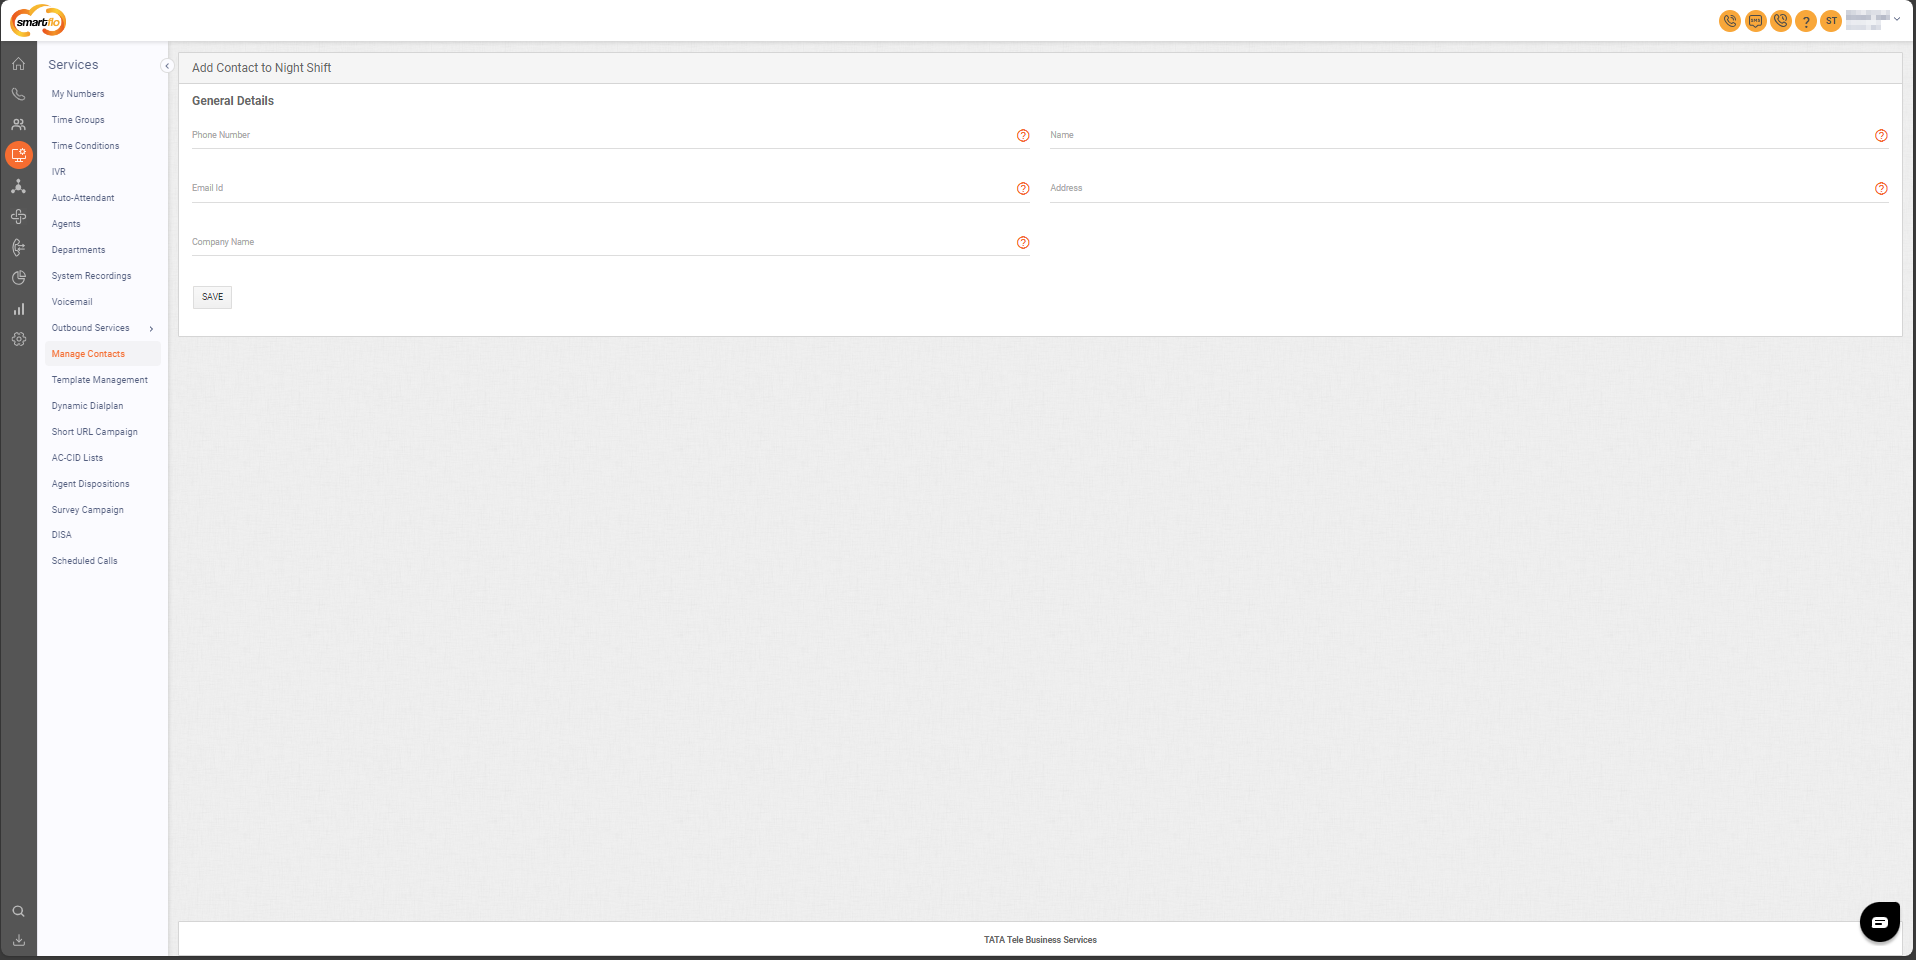
Please ensure that '91' is added as a prefix for Indian phone numbers if international Calling is enabled. If not, use '+91' for Indian numbers.
- Download (CSV) Contacts
- Click this option to download a sample CSV file for bulk contact upload, which includes the fields you've created for the contact group, such as Phone Number, Name, Email ID, Address, Company Name, or any custom fields you've added.
- Upload(CSV) Contacts
- Click this option to upload contacts in bulk using the same format as the file you downloaded with "Download (CSV).
- Skip: This option lets you skip numbers that are already present in the contact group and prevent them from being uploaded again.
- Overwrite: This option allows you to replace an existing number in the contact group with the new one.
- Clone: This option creates a duplicate entry for a number if it’s already in the contact group, allowing the same number to appear twice.
- View Contacts
- Click this option to view the full list of contacts within the selected contact group.
- Edit
- Click this option to update the contacts in the selected contact group.
Note: You can only edit the name, description, and the users or groups it's shared with.
- Delete
- Click this option to delete the selected contact group.
Updated about 1 year ago