Agent Disposition
Agent Dispositions are used for Incoming calls and Click-to-call (HPBX).
Agent Dispositions Overview
A disposition list is a record of the outcomes or dispositions of all the calls made by sales representatives or customer service agents. The list provides a summary of the calls made, the responses received from customers or prospects, and the next steps to be taken in the sales process.
Typically, a disposition list includes the following information:
- The outcome or disposition of the call, such as "interested in the product," "not interested," "call back later," "left message," or "closed sale."
- Any notes or comments regarding the call, such as the customer's objections or questions, or details about the next steps in the sales process.
- Any follow-up actions or tasks to be completed by the sales representative or customer service agent.
The Agent disposition list is an important tool for tracking and analyzing the effectiveness of sales and customer service efforts, identifying areas for improvement, and optimizing the sales process. It allows managers to monitor the performance of their team, identify trends, and adjust strategies accordingly.
In this guide, we’ll guide you on how to dispose of the call with appropriate disposition codes for future reference. This whole process will work for the Incoming and Click to Call functionality.
Getting Started with Agent Disposition
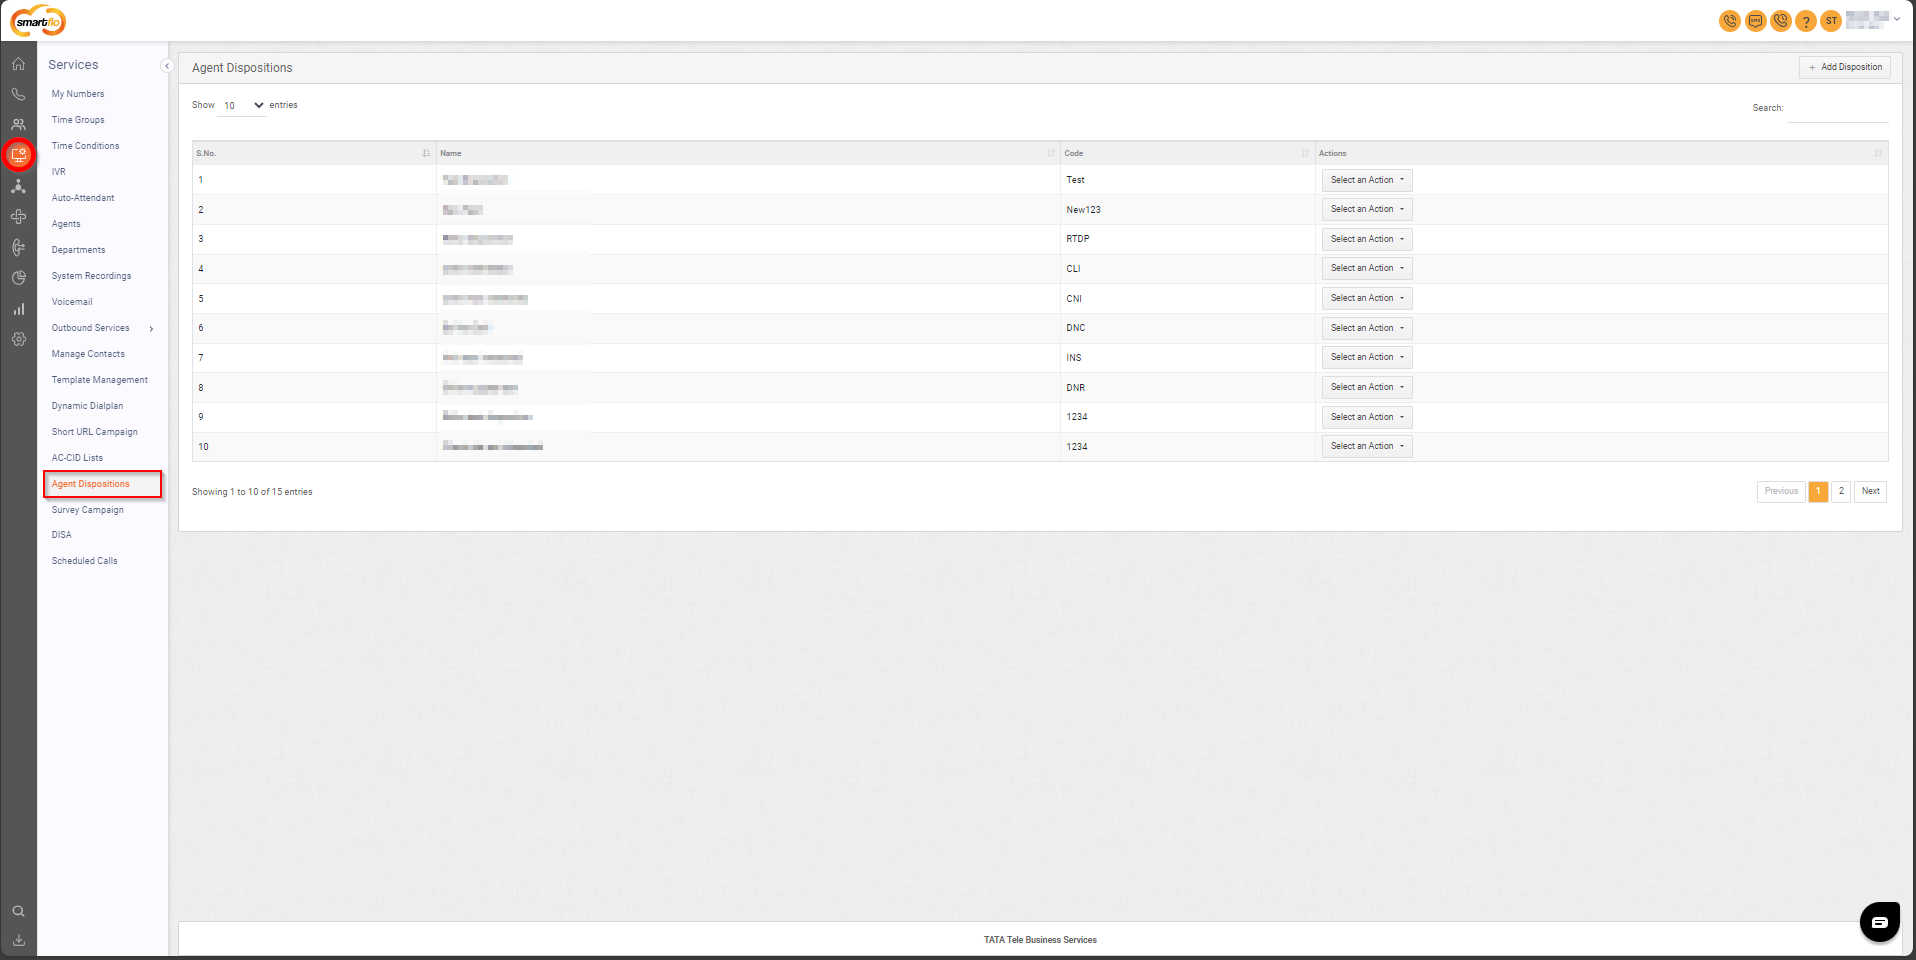
To go to Agent Dispositions to your Smartflo account, first log in using your unique User ID and Password. Once logged in, you will be directed to the main dashboard. From there, locate the navigation menu on the left-hand side of the screen and click on "Services". A set of options opens up. One of these options is the “Agent Dispositions".
- List of all Agent Dispositions
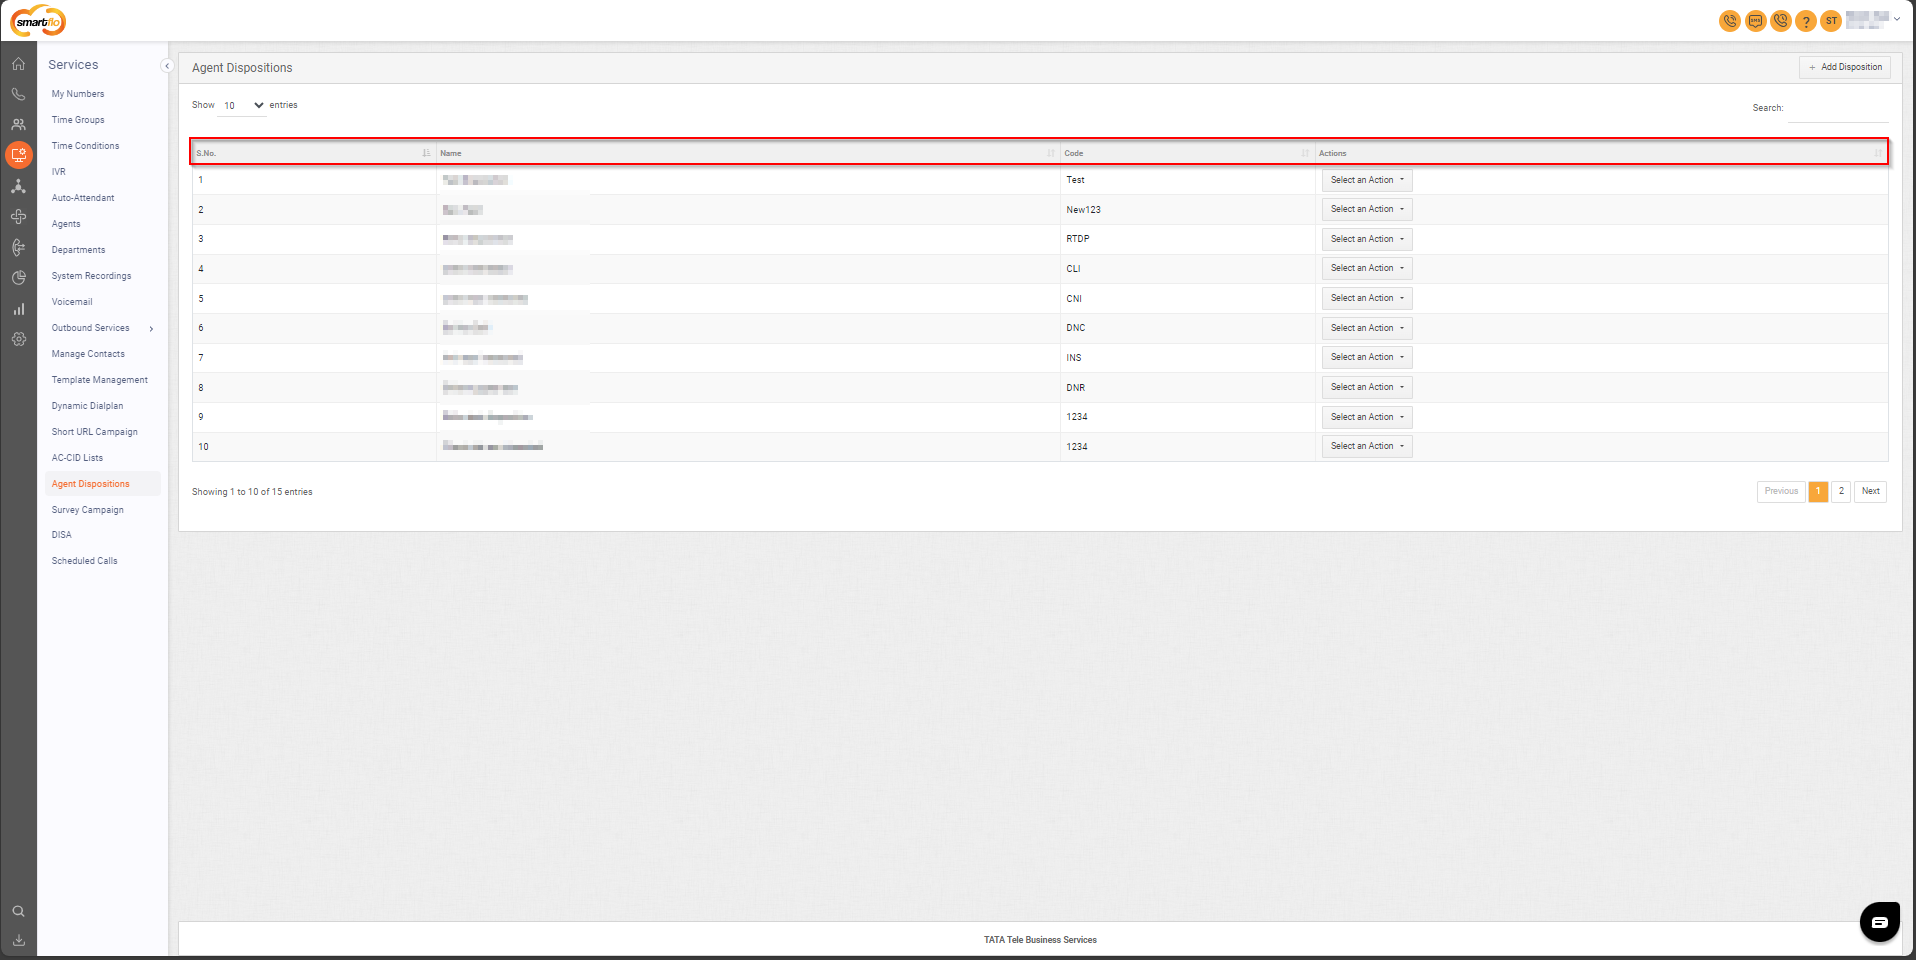
The table displays a list of all Dynamic Dial Plans with the following information:
| Field | Description |
|---|---|
| S.No. | Serial number used to uniquely identify or order each disposition. |
| Name | The name of the disposition. |
| Code | A unique code assigned to each disposition for easy reference and tracking.
|
| Action | Options to Edit Disposition or Delete Disposition as needed. |
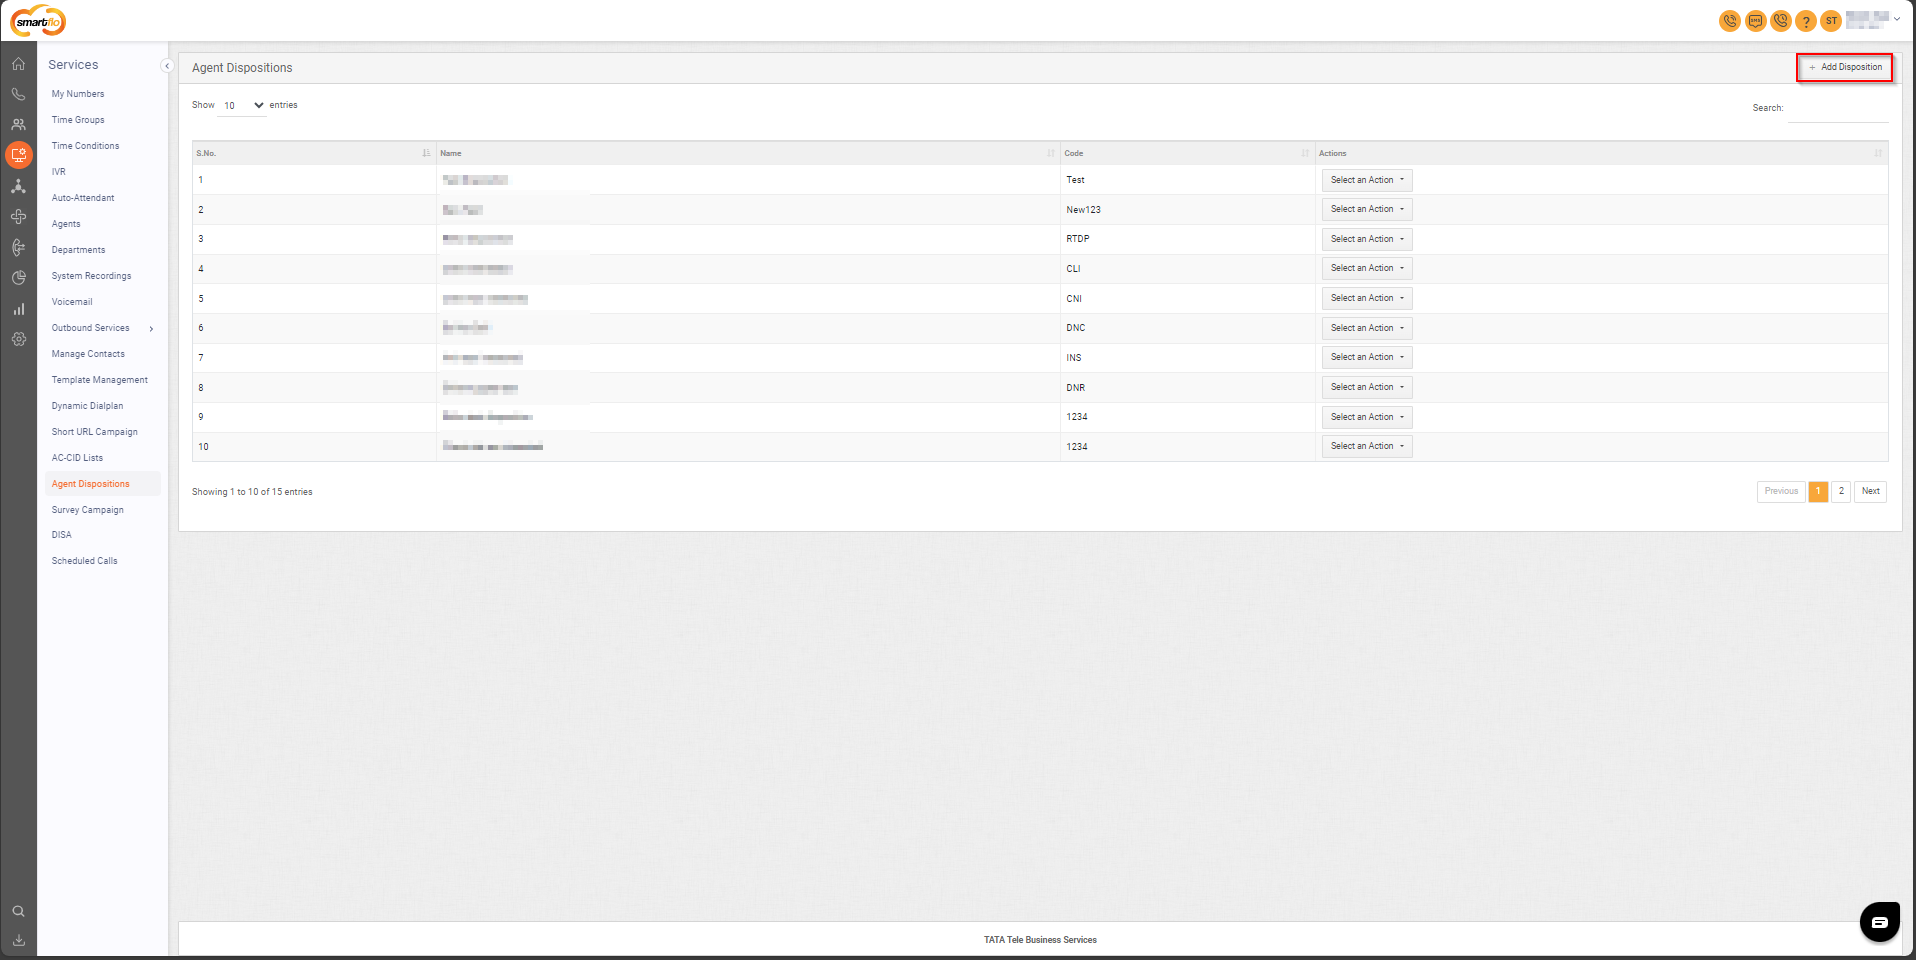
- Add Disposition
- To add Disposition, follow the below steps:
- Click on the Services tab on the side navigation.
- Click on Agent Dispositions.
- A list of all the Agent Dispositions appears along with the relevant details.
- Click on Add Disposition.
- The following screen will appear, prompting you to complete the necessary fields as shown in the screenshot below.
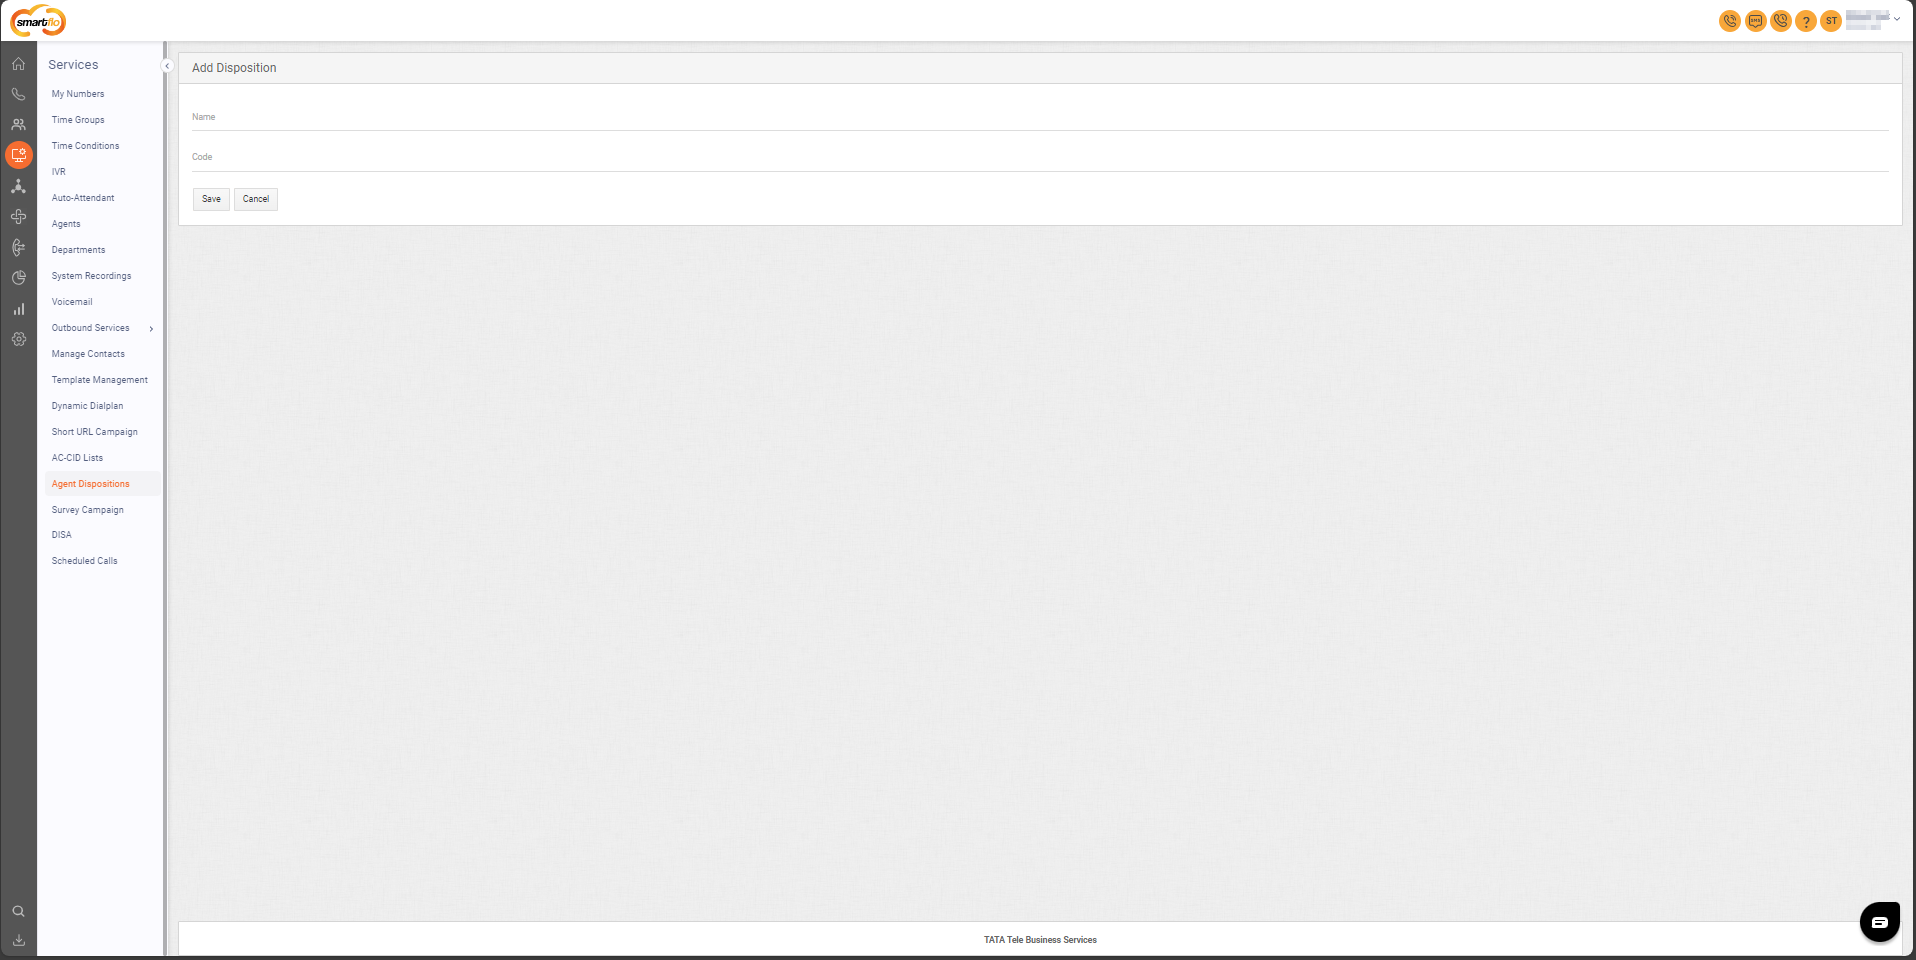
- Enter the Name and Code for the Disposition.
- click on the Save button.
Note: A code is a shorthand or reference to help the agent quickly log call details during a live call.
- Enabling Agent Disposition for Agents
- The agent can access the call disposition option in the Agent panel during a live call, but only if the account admin has enabled the disposition option in the user's web login settings.
a. In the left- navigation-pane, click on Users, then go to All User(s) option.
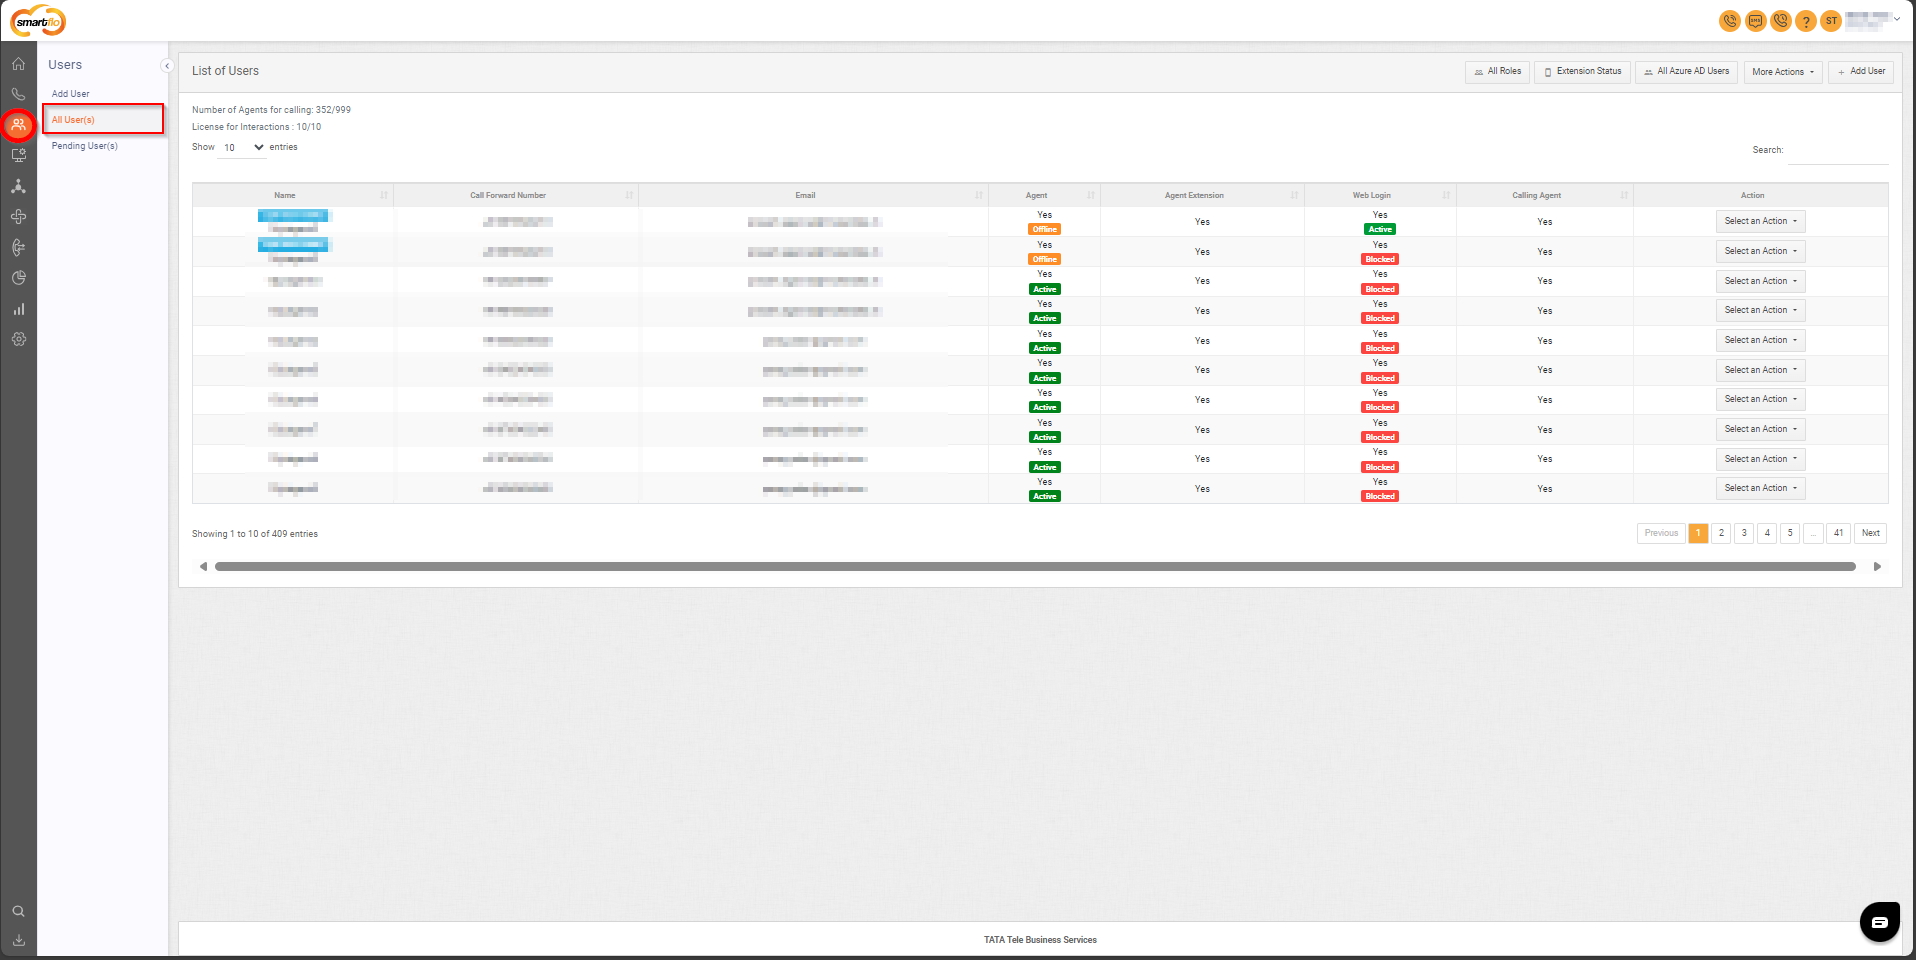
b. Next to the specific Agent, click on Select an Action, then click on Edit User.

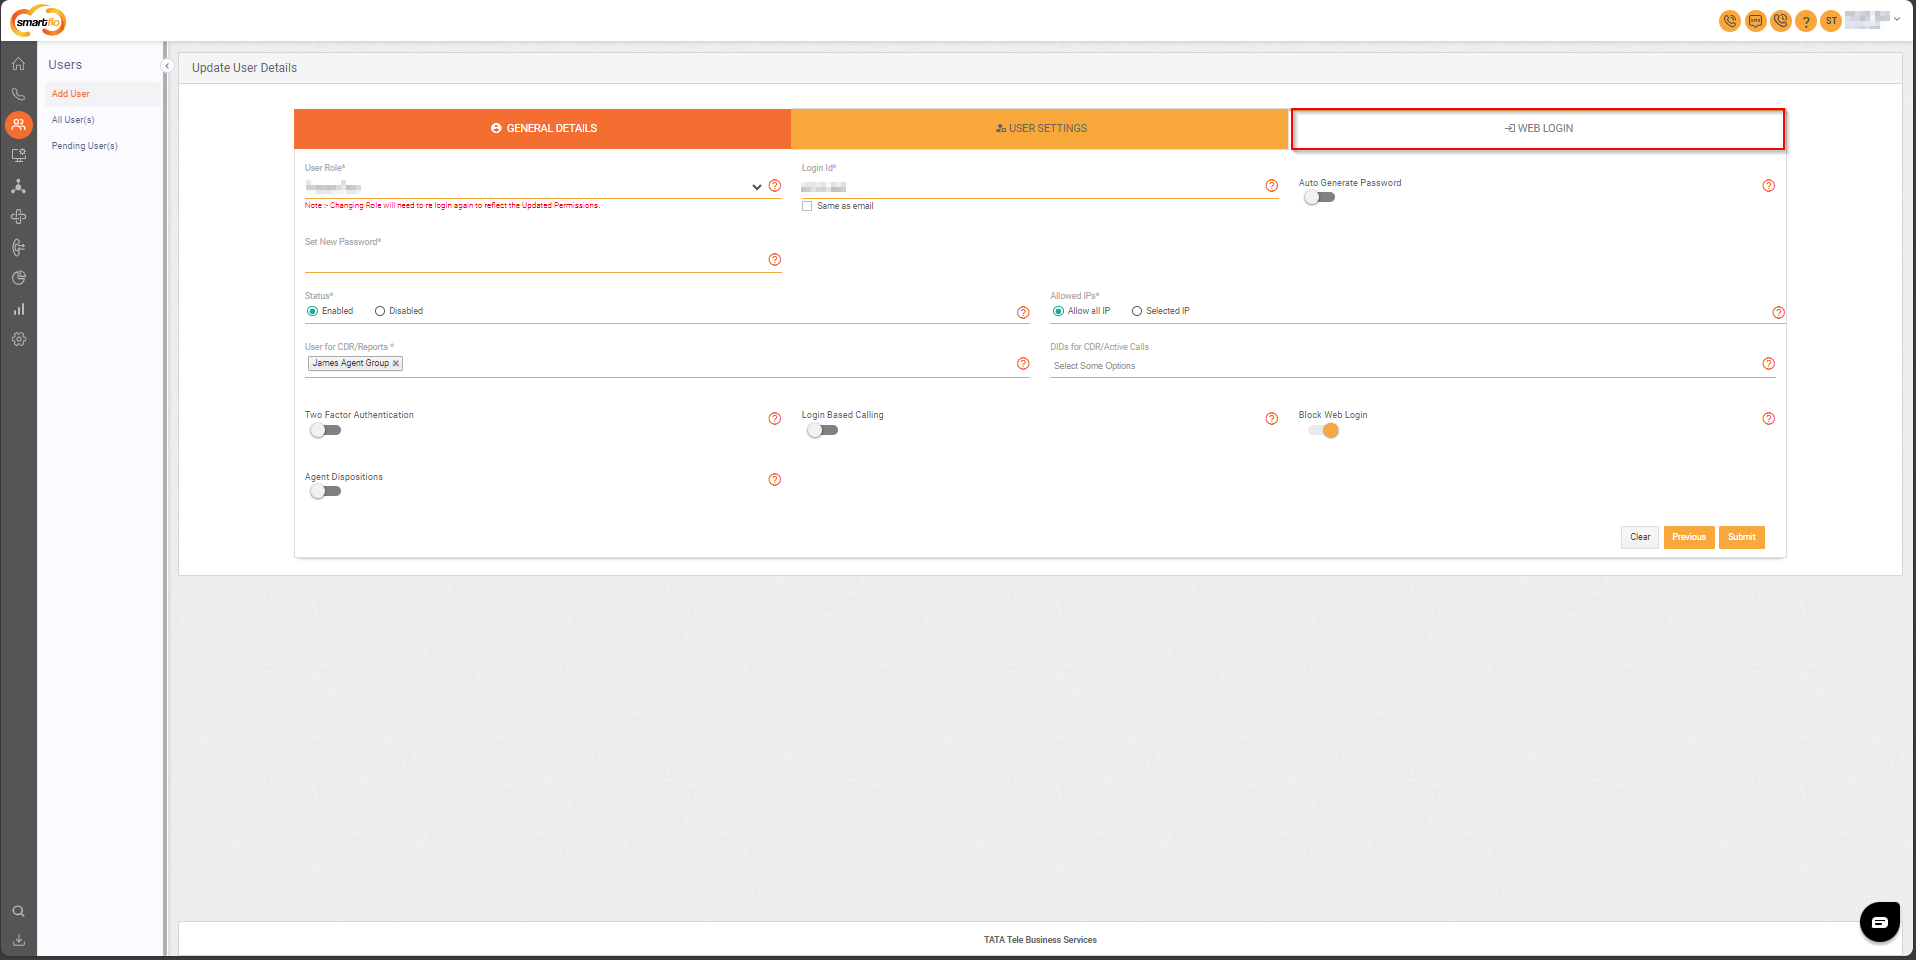
c. Now go to Web Login, as highlighted in the below image.
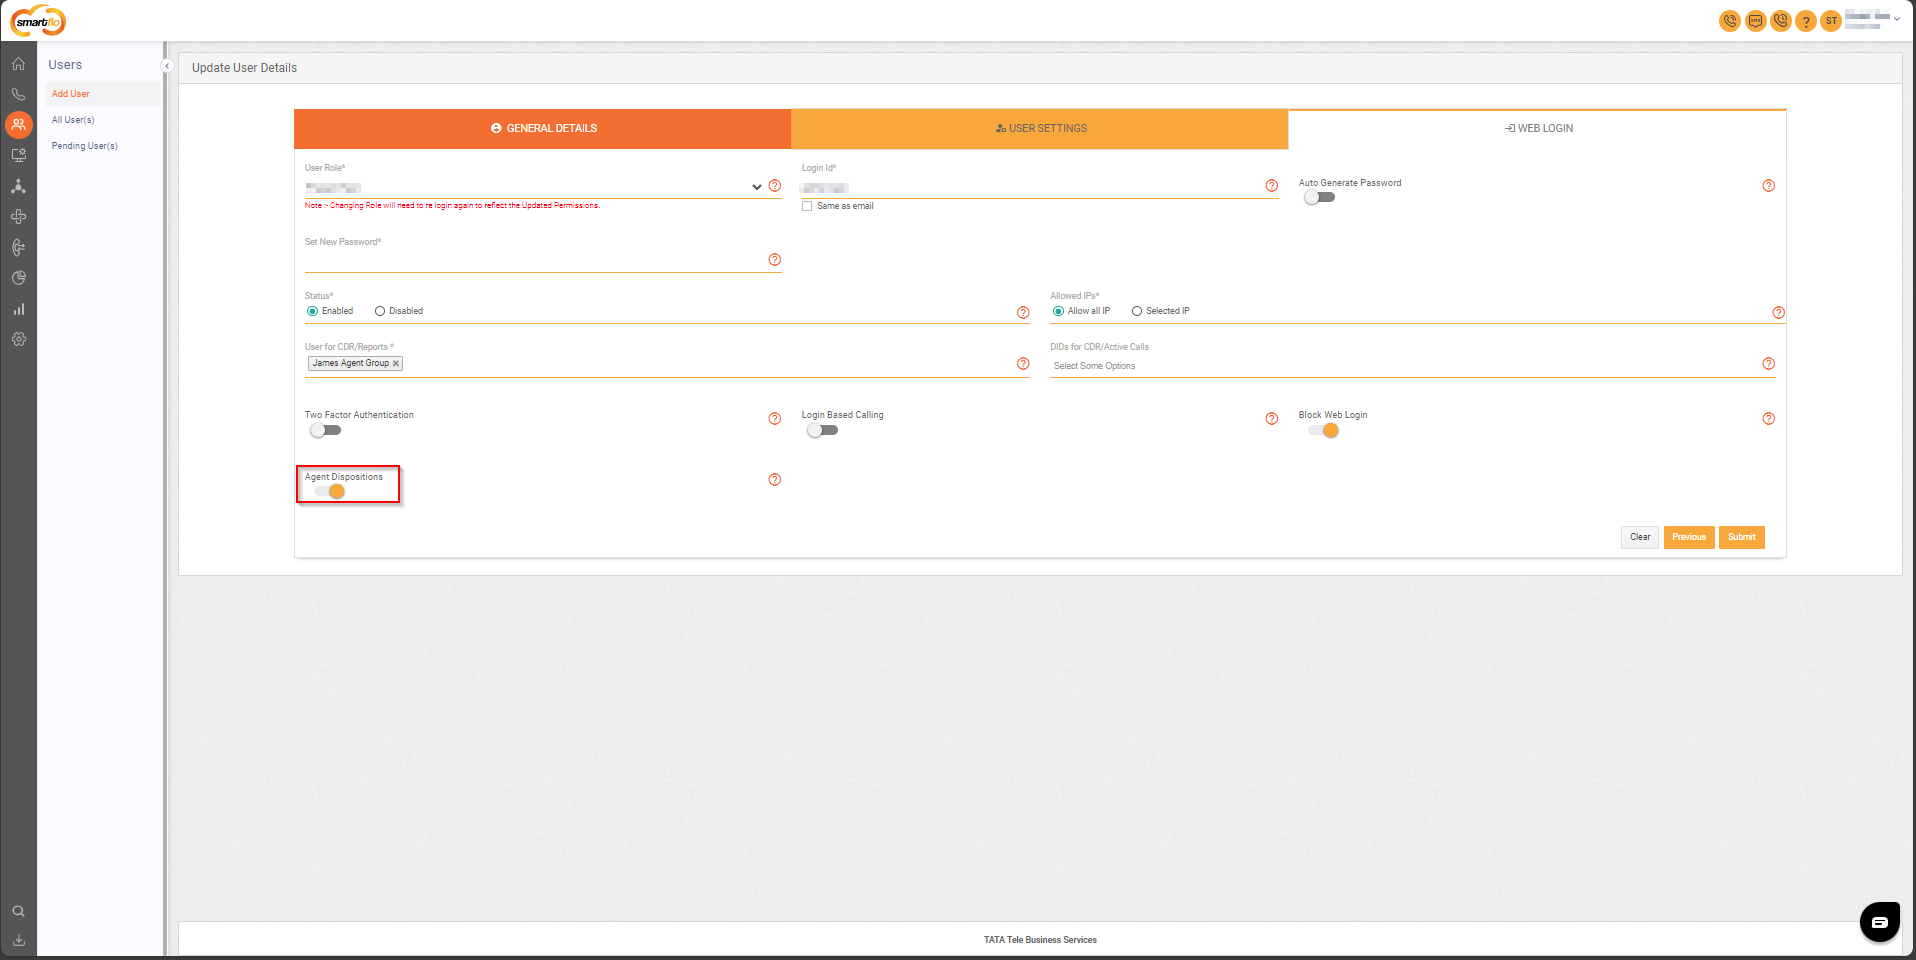
d. Enable the toggle of Agent Disposition, as highlighted in the below image.
- Call Disposition by Agents
- The following steps apply when an agent makes a call using the Click to Call feature.
The agent can also use the disposition feature for Incoming calls.
- Log in to the portal with your agent credentials..
- Initiate outbound calls by clicking the Click to Call button on the top-right corner.
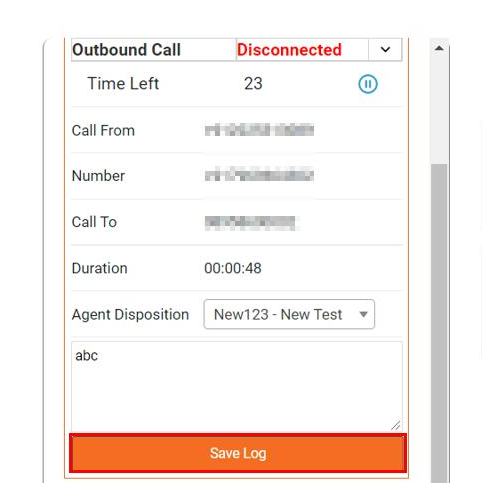
- In the pop-up box, click on the Active Calls tab to fill up the necessary call details once the call is complete.
- Select the appropriate Agent Disposition Name and Code from the drop-down list.

- Fill in any other additional details in the description box and then click the Save Log button.
-
Accessing Disposition in the Call Detail Records
-
Click on the Call Detail Records from the left-navigation menu.
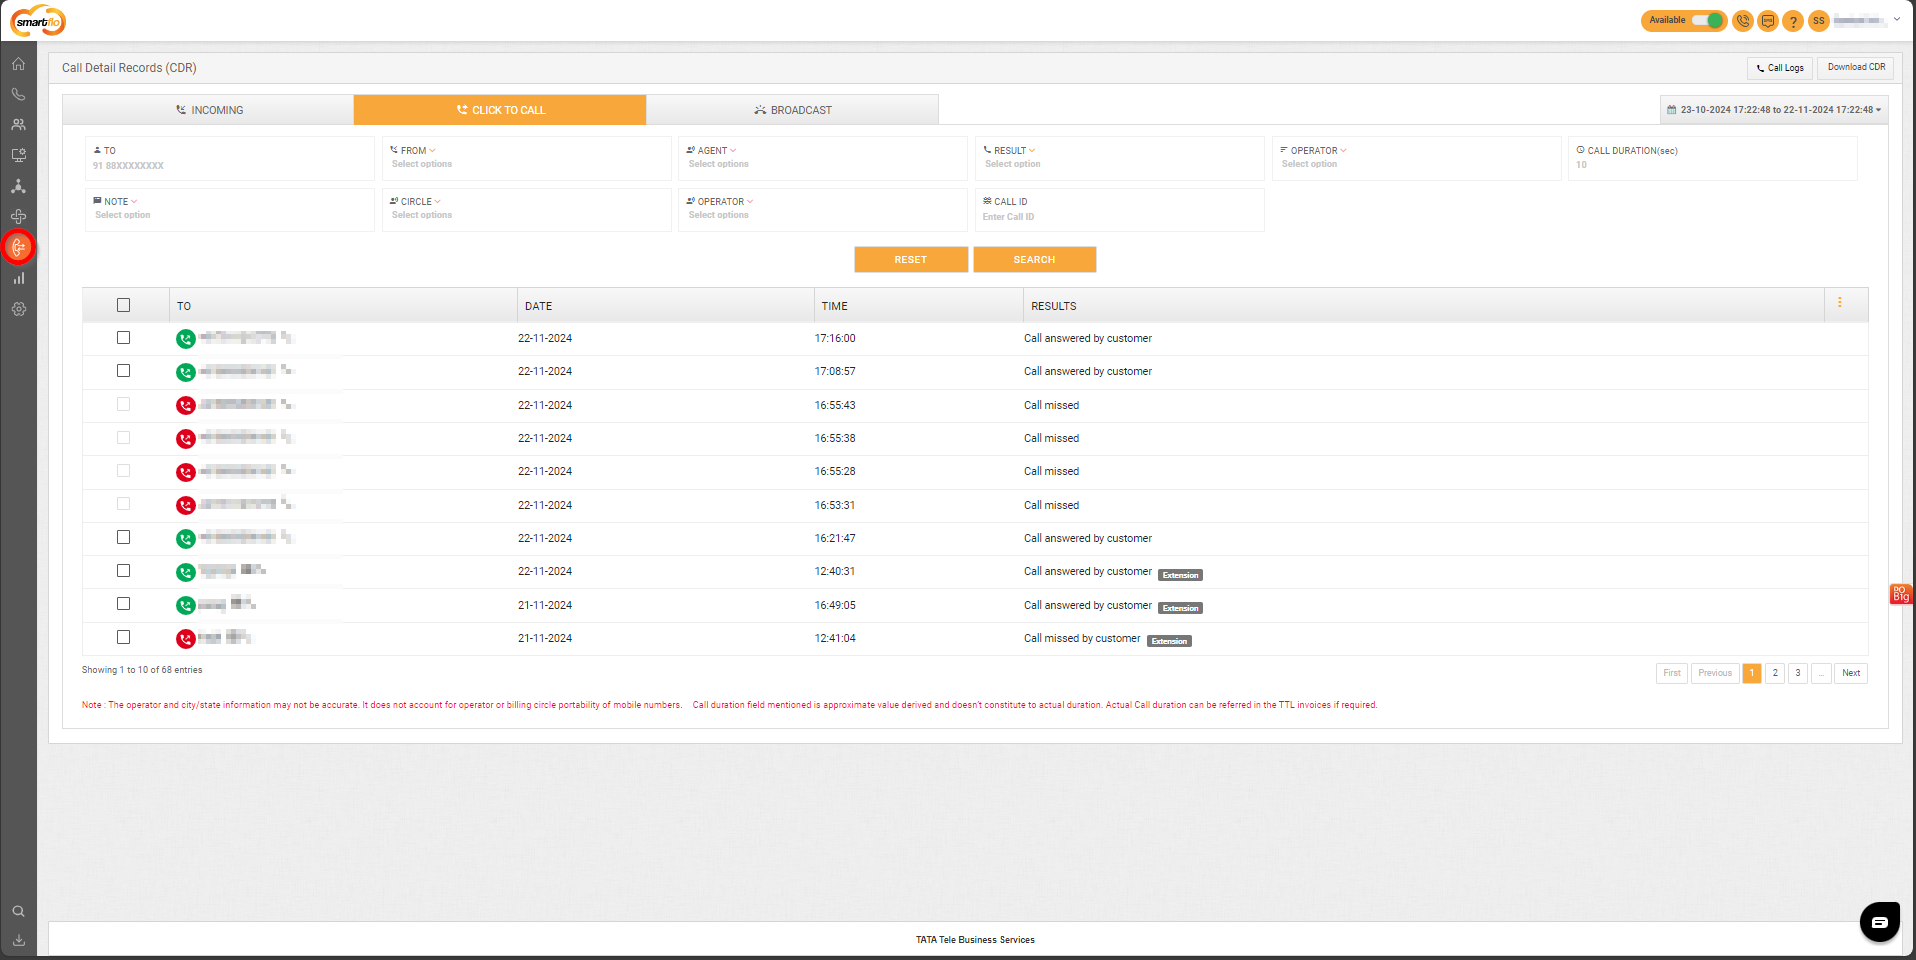
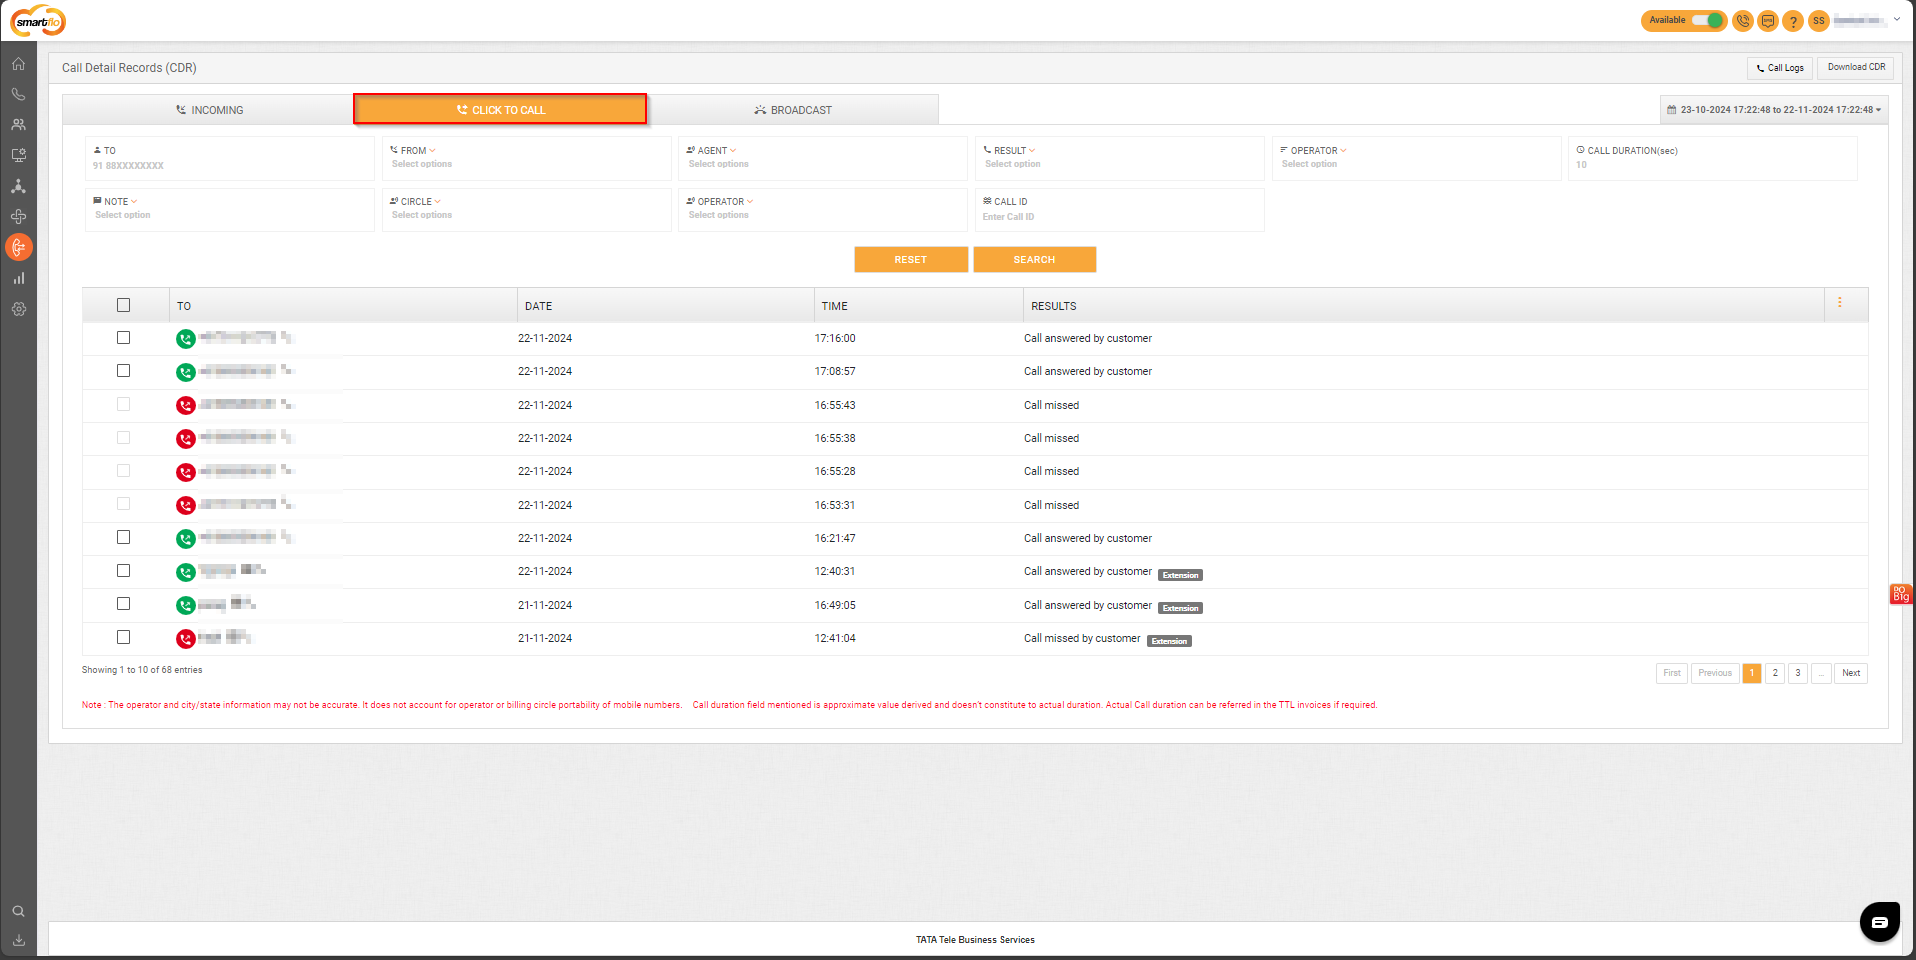
- Now go to Click to Call.
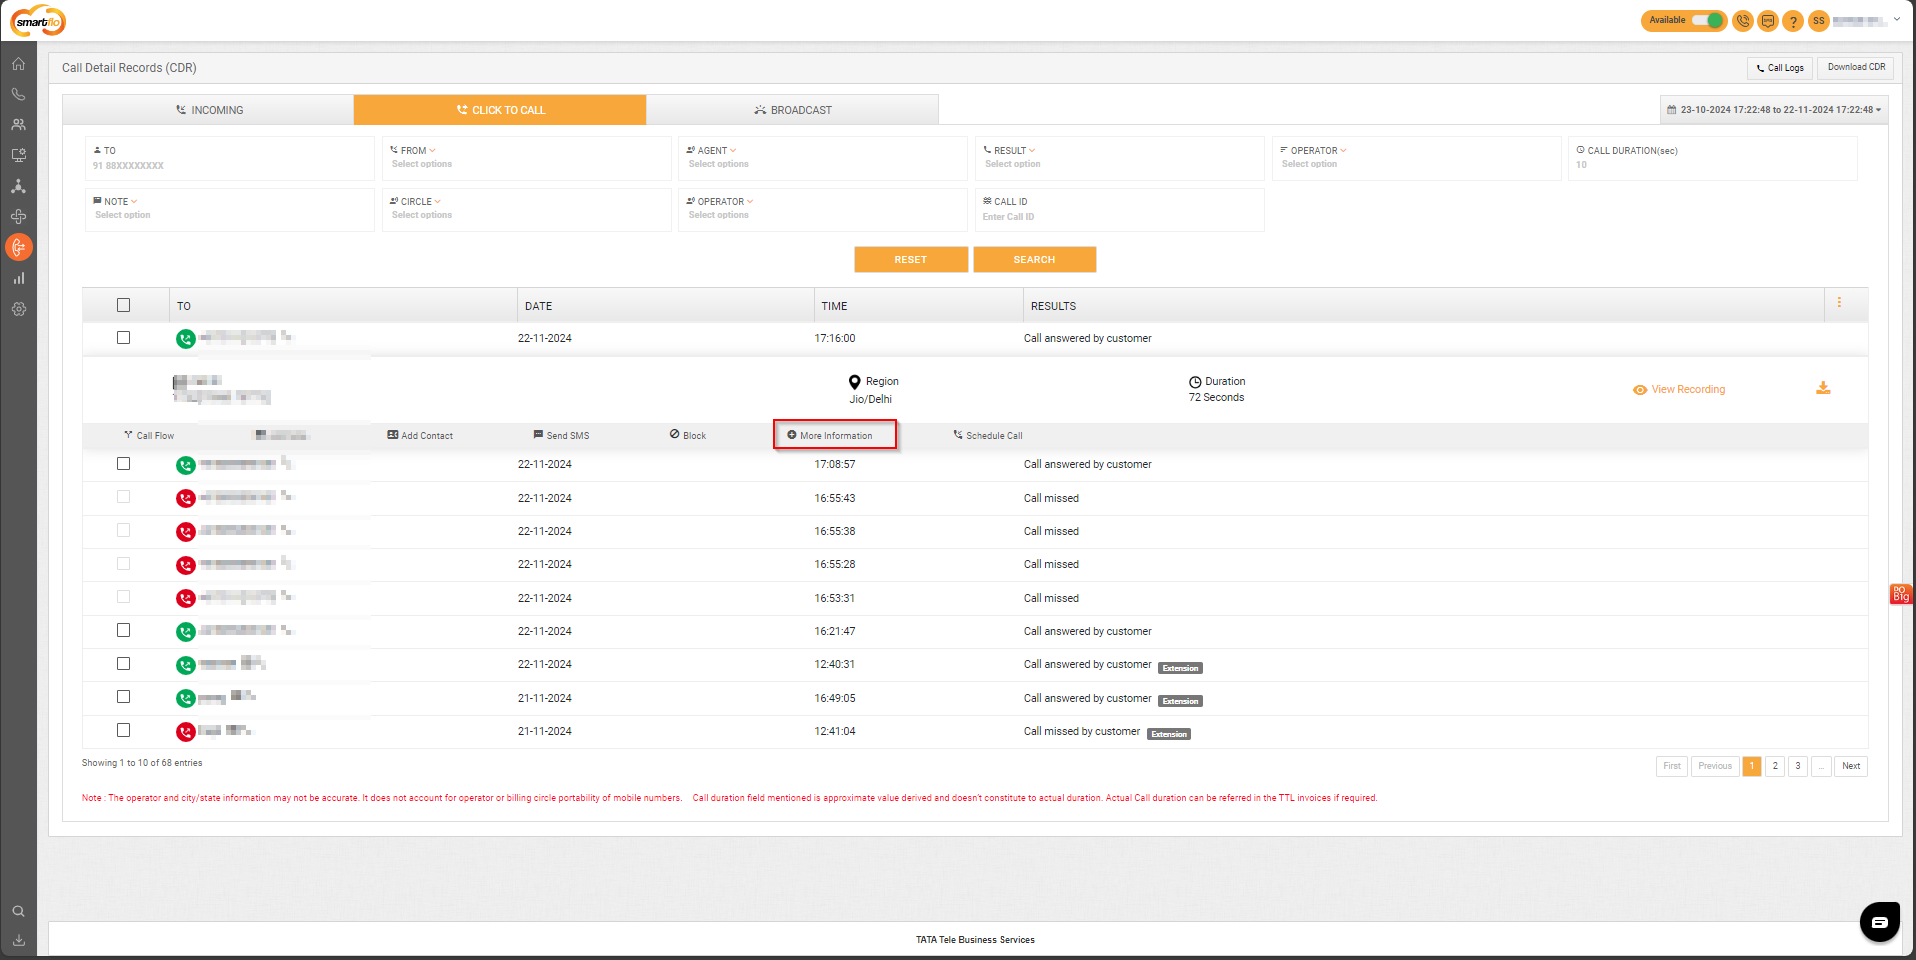
- Select the respective phone number, you want to access the details of and click on More information tab.
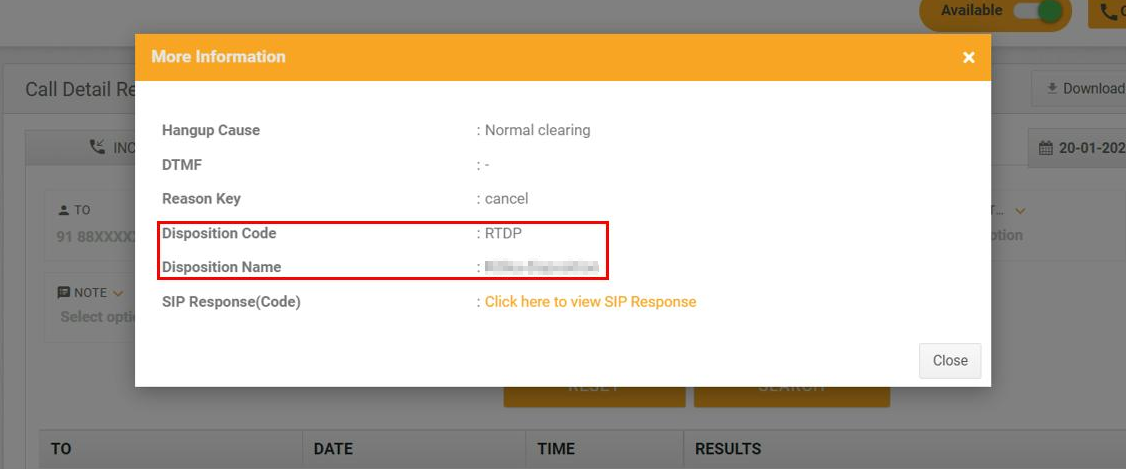
- As highlighted in the below-attached image, you can find the Disposition Code and Disposition Name for the selected call record.
Updated over 1 year ago