IVR
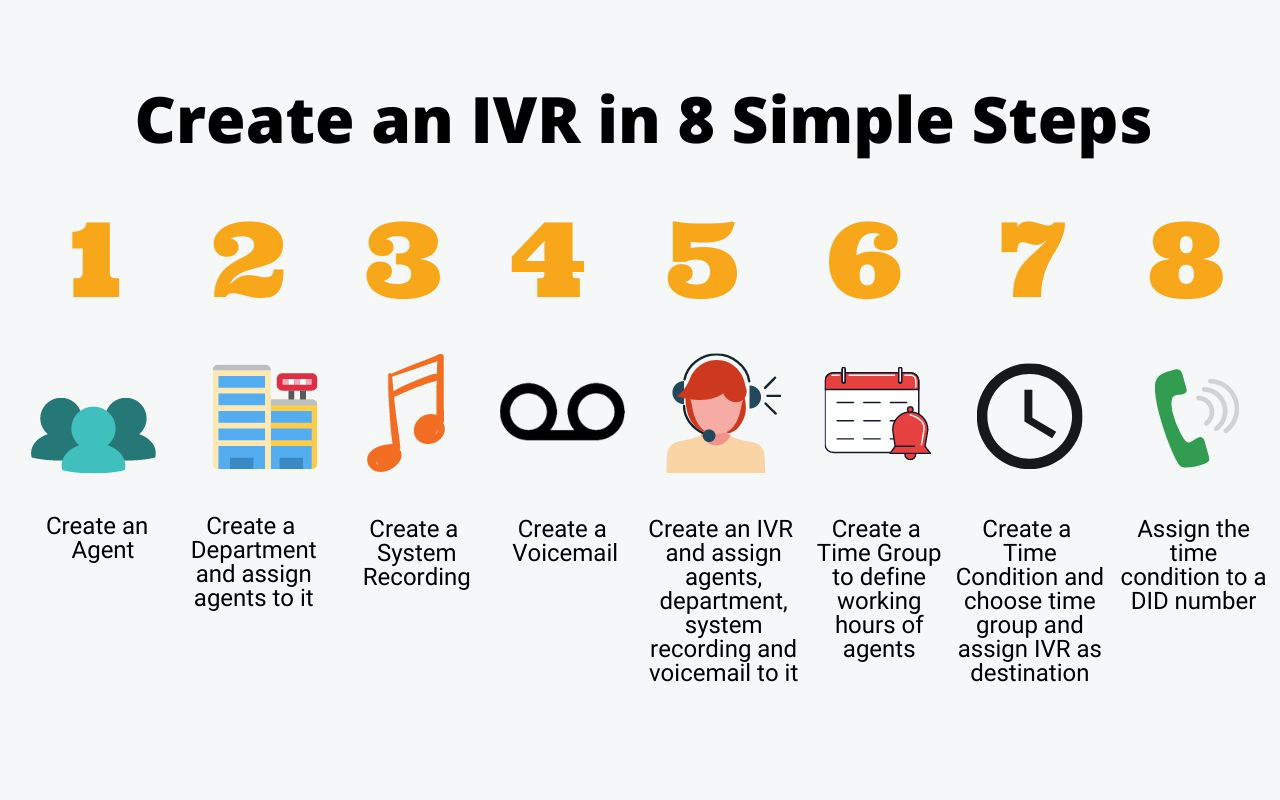
IVR Overview
An IVR (Interactive Voice Response) is an automated telephony system that enables interaction between a computer and humans using voice recognition and touch-tone input. It allows callers to navigate through a menu of options or perform actions, such as checking account balances or routing calls, without the need for a human operator. This system enhances efficiency and provides a seamless experience for users, especially in customer service environments.
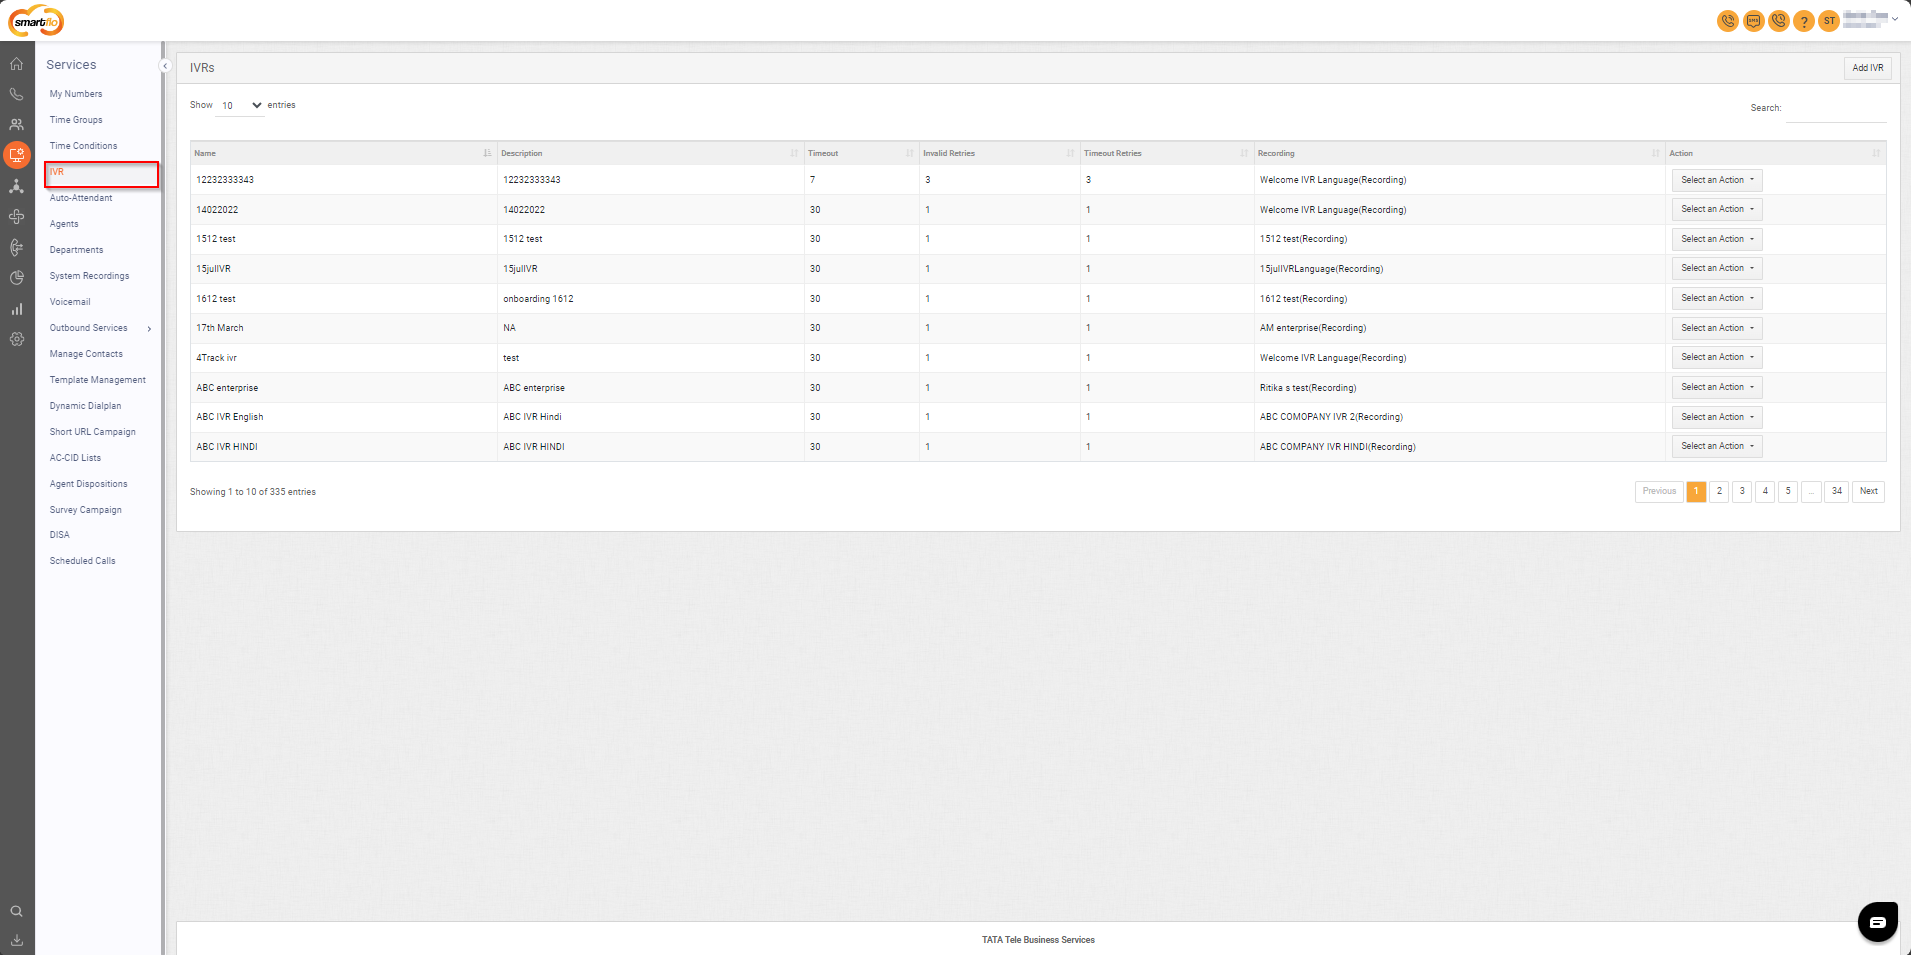
Getting Started with IVR
To go to IVR to your Smartflo account, first log in using your unique User ID and Password. Once logged in, you will be directed to the main dashboard. From there, locate the navigation menu on the left-hand side of the screen and click on "Services." A set of options opens up. One of these options is the “IVR".
- List of IVRs
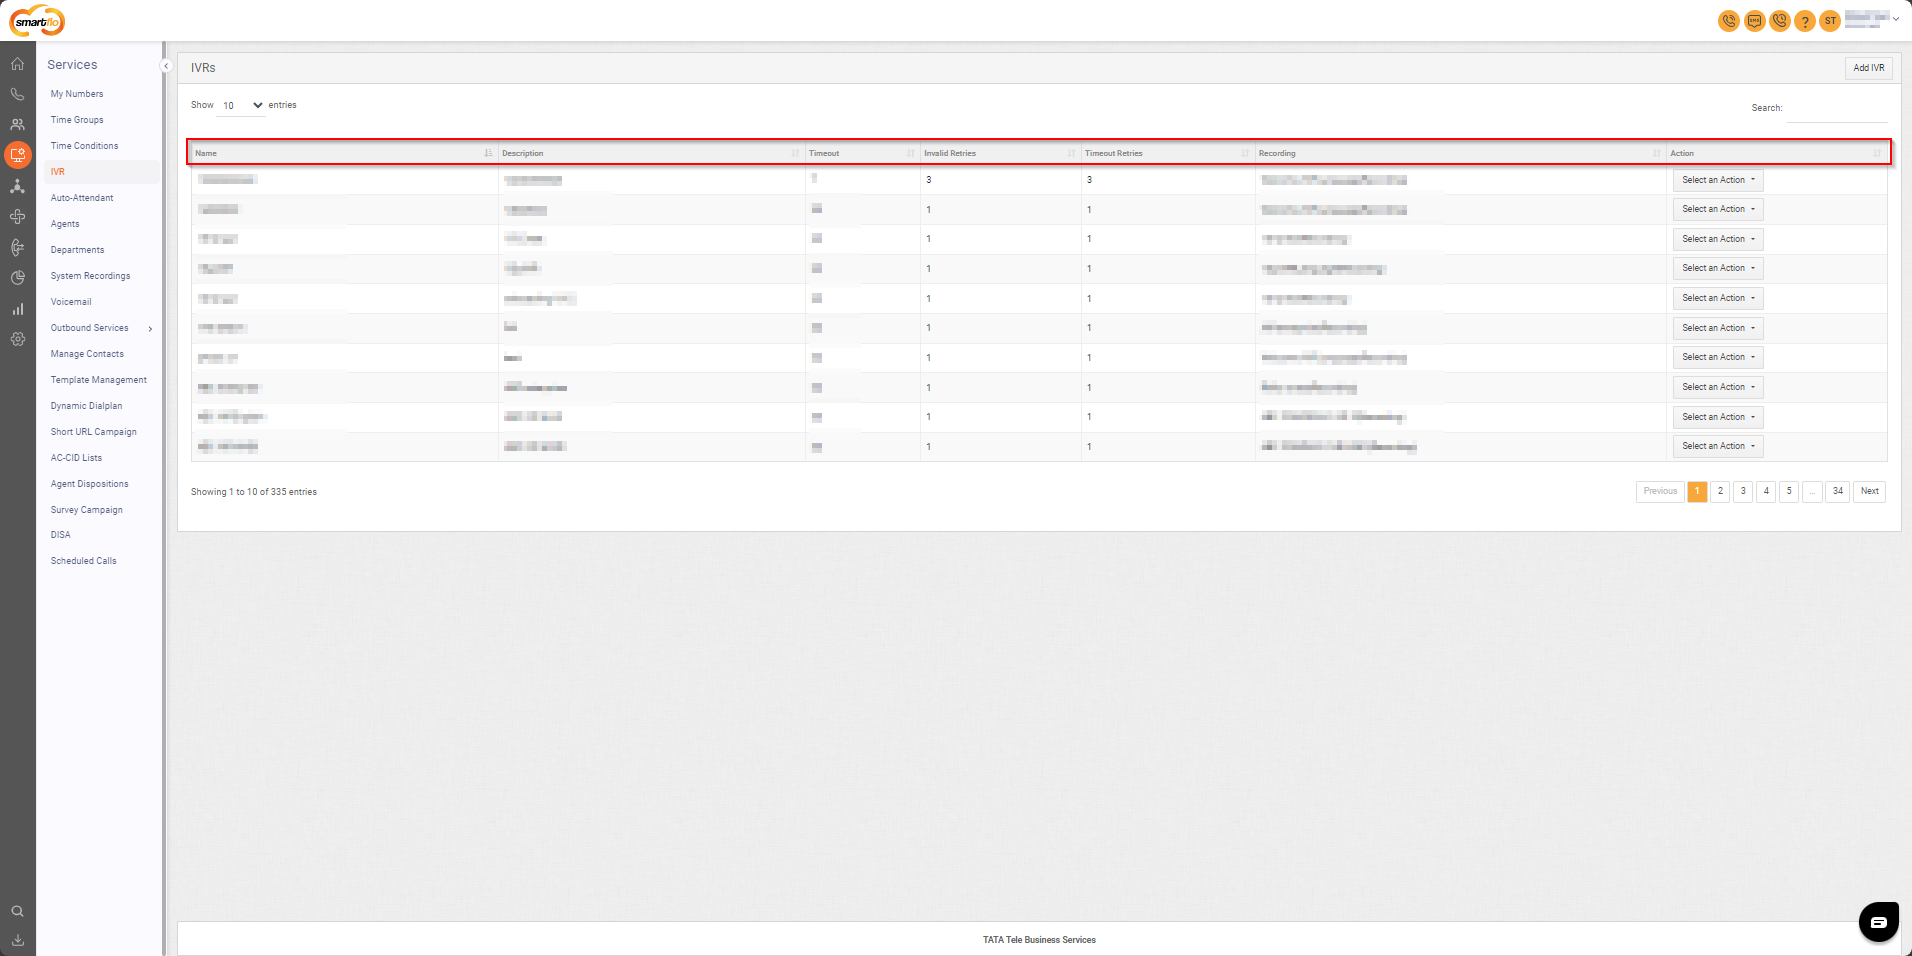
- The table displays a list with the following information:
| Field | Description |
|---|---|
| Name | The name of the IVR, used to identify the specific IVR configuration. |
| Description | A brief explanation of the purpose or functionality of the IVR. |
| Timeout | The Timeout period specifies how long the system waits for a response from the caller before executing the timeout action. |
| Invalid Retries | The number of attempts allowed the caller to provide valid input after entering an invalid response. |
| Timeout Retries | The number of retries allowed if the caller fails to respond within the defined timeout period. |
| Recording | The audio file or message that the IVR plays, like a welcome greeting or menu options. |
| Action | Provides options to edit or delete the IVR configuration. |
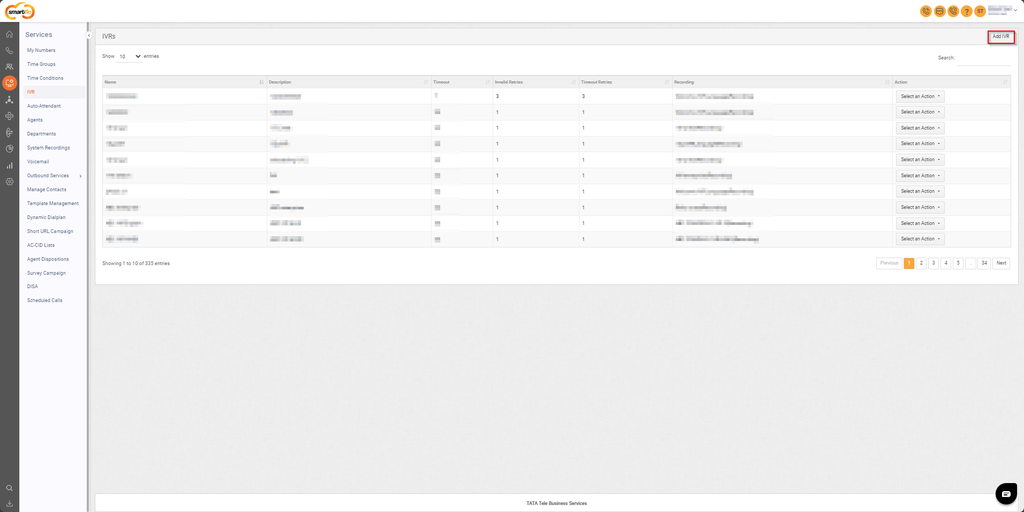
- Add IVR
To add an IVR, follow the below steps:
- Click on the Services tab on the side navigation.
- Click on IVR.
- A list of all IVRs is displayed along with the relevant details.
- Click on Add IVR.
Note: (*) marked options are compulsory to fill.
- Enter the General Details as per the fields described below.
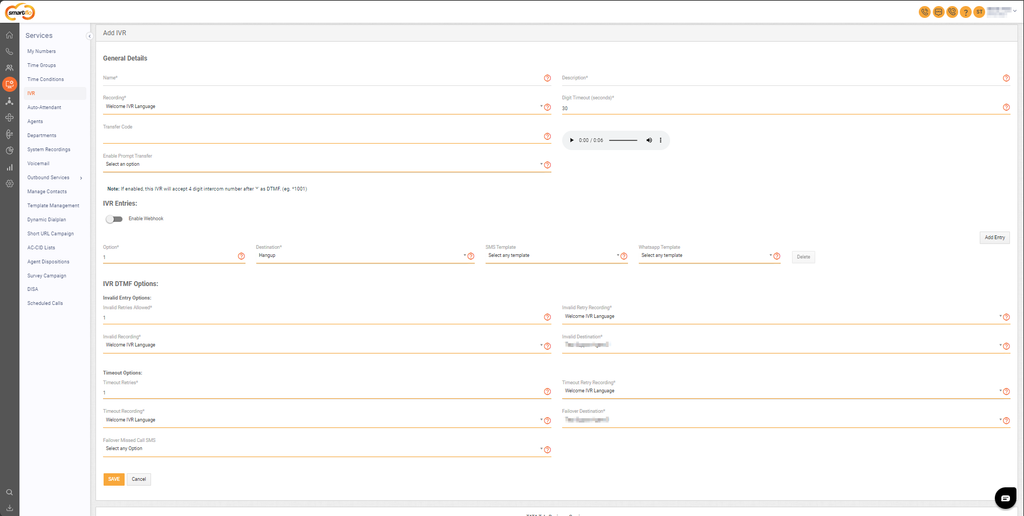
Field | Description |
|---|---|
Name | Give a name to IVR. |
Description | Give a short description of what IVR does. |
Recording | Select the recording you created from the System Recordings. |
Digit Timeout | Enter the timeout duration. After this duration expires, the call will follow the configured timeout options for routing. |
Transfer Code | Assign a 5-digit transfer code to the IVR. Agents can dial this code, prefixed with #, to transfer the call to the designated IVR, This can be used to fetch feedback from customers. |
Enable Prompt Transfer to Agent | This feature allows customers to be prompted to enter a 4-digit intercom ID of the agent they wish to speak to. Once enabled, you will have two options:
|
Webhook toggle | When enabled, the account admin can assign a pre-configured webhook to specific IVR options. For example, if "Option 1" is selected, the admin can assign a webhook to trigger whenever that digit is pressed. Note: The webhook must be configured with the (DTMF option) trigger |
SMS Template | When enabled, the account admin can assign a pre-configured SMS template to specific IVR options. For example, if "Option 1" is selected, the admin can assign SMS template to be triggered whenever that digit is pressed. Note: The SMS template must be configured with the (IVR option (To Caller)) trigger in Template Management. |
IVR Entry: Option and Destination | Enter the option number and specify the corresponding destination to route the call accordingly. |
Invalid Retries Allowed | Enter the number of invalid retries allowed to the caller. |
Invalid Retry Recording | Choose the recording to be played to inform the caller about the invalid retry. |
Invalid Recording | Choose the recording that will be played when the number of invalid retry attempts exceeds the specified limit. |
Invalid Destination | Choose the destination where the call will be routed if the Invalid retry limit has been reached. |
Timeout Retries | Enter the number of times the timeout retry is allowed. |
Timeout Retry Recording | Choose the recording to be played to inform the caller about the timeout retry. |
Timeout Recording | Choose the recording that will be played when the number of Timeout retry attempts exceeds the specified limit. |
Failover Destination | Choose the destination where the call will be routed if the timeout retry limit has been reached. |
Failover Missed Call SMS | Choose the SMS template to be sent to the caller if the call is missed on the failover destination. Note: The SMS template must be configured with the (FAILOVER MISSED CALL (TO CALLER)) trigger in Template Management. |
- Click the Save button.
Updated about 1 year ago