Quick Transfer List
Quick Transfer Lists Overview
- A Quick Transfer List enables agents to transfer calls efficiently to pre-defined numbers, such as departments or key contacts. This feature streamlines the call transfer process by eliminating the need to manually input numbers, ensuring quicker and more accurate call routing within the system.
Getting Started with Quick Transfer Lists
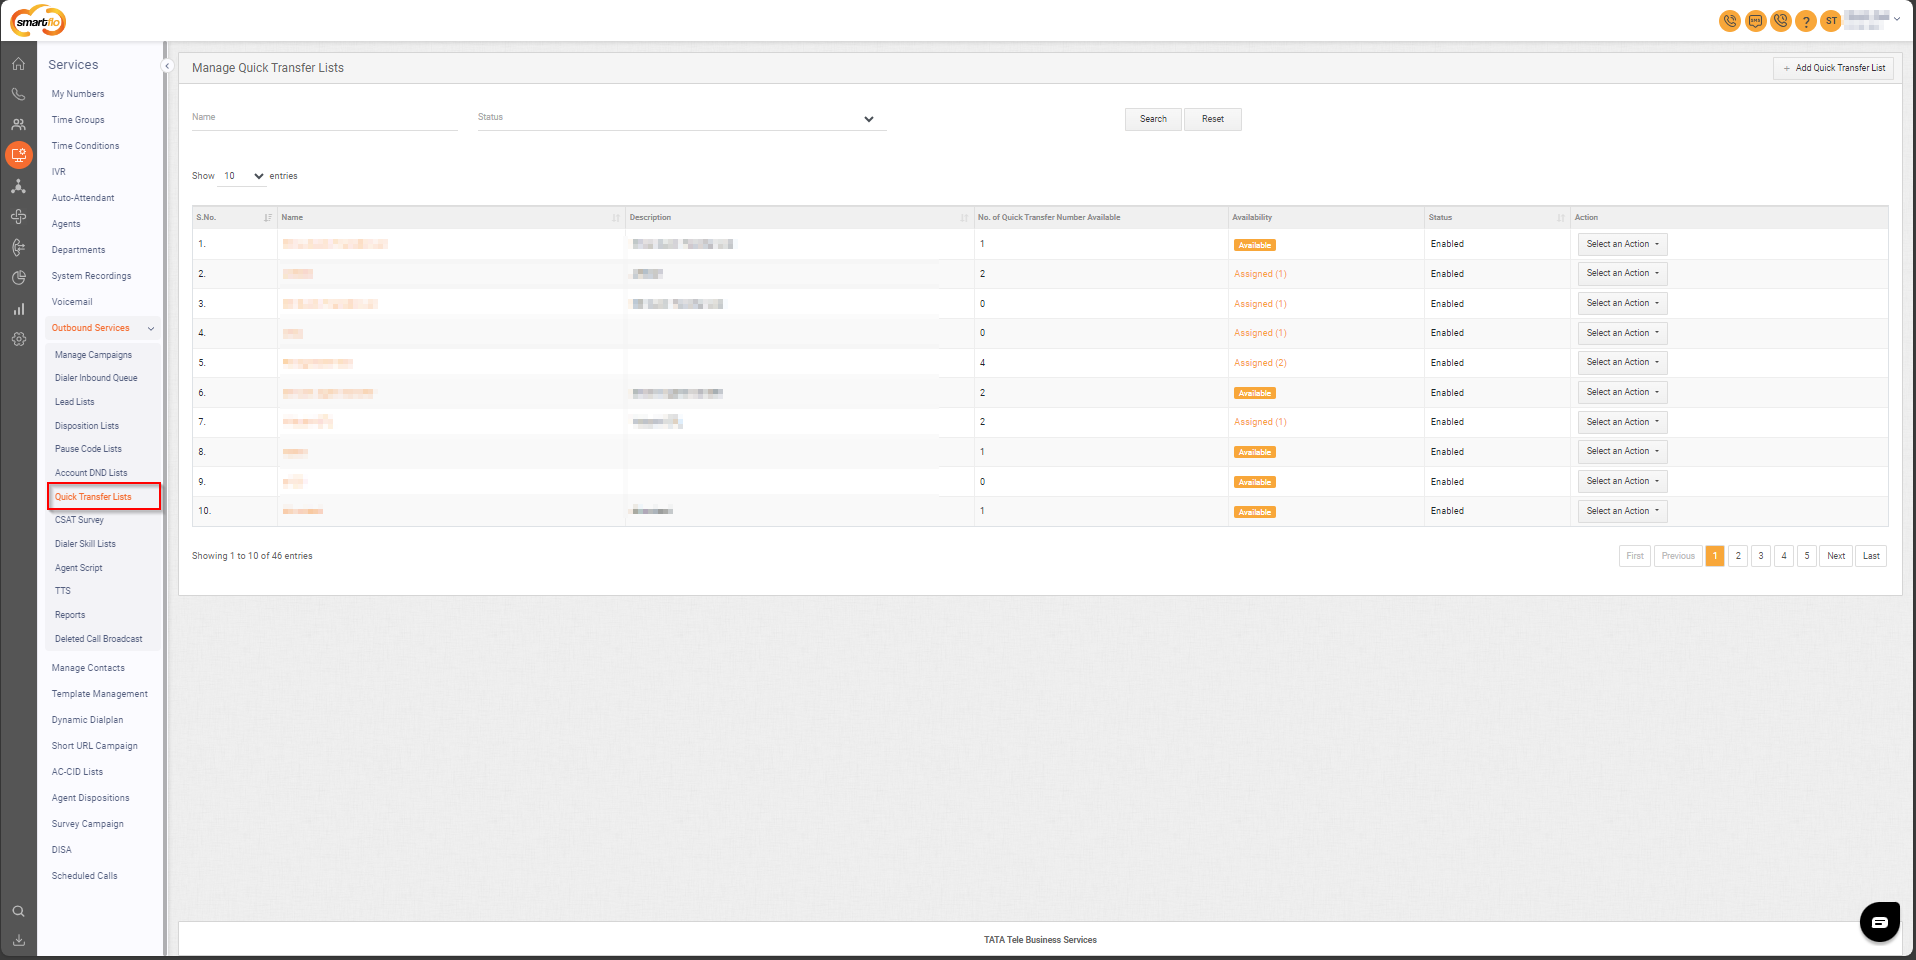
- To go to Quick Transfer Lists to your Smartflo account, first log in using your unique User ID and Password. Once logged in, you will be directed to the main dashboard. From there, locate the navigation menu on the left-hand side of the screen and click on "Services" then “Outbound Services”. A set of options opens up. One of these options is the “Quick Transfer Lists".
- List of Quick Transfer Lists

- The table displays a list of all Quick Transfer Lists with the following information:
| Field | Description |
|---|---|
| S no. | The serial number uniquely identifies or organizes each Quick Transfer List for easy reference and management. |
| Name | The name assigned to the quick transfer list, indicating its purpose. |
| Description | A brief explanation of the Quick Transfer List. |
| No. of Quick Transfer Number Available | The total number of pre-defined transfer numbers available in the Quick Transfer List allows agents to quickly access and redirect calls to the appropriate contacts or departments. |
| Availability | Indicates whether the Quick Transfer List is active and accessible for agents or specifically assigned to a designated dailer campaign. |
| Status | Shows if the quick transfer list is currently enabled and active for use. |
| Action (Edit/Clone/Delete/Disable/Add Number) | Provides options to edit, clone, delete, disable the list, or add new numbers to it. |
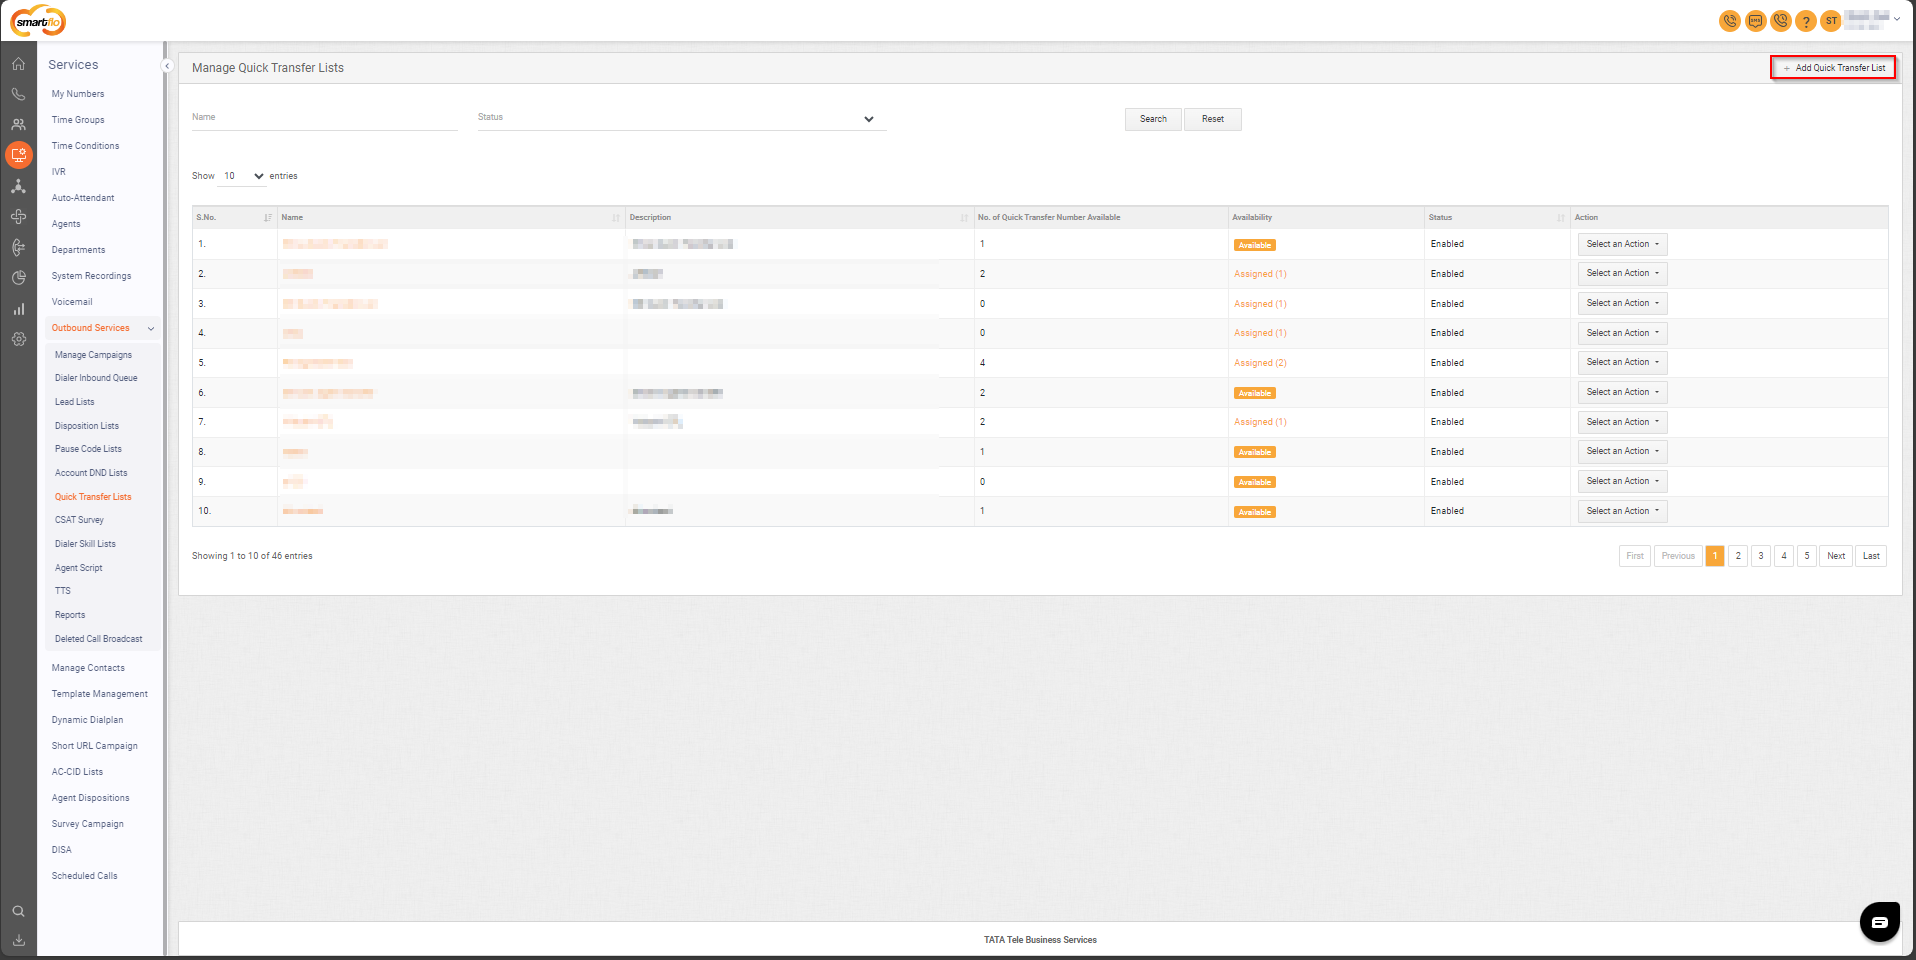
- Add Quick Transfer Lists
- To add a Pause Code List, follow the below steps:
- Click on the Services tab on the side navigation.
- Click Outbound Services and select Quick Transfer Lists.
- A list of all the Quick Transfer Lists appears along with the relevant details.
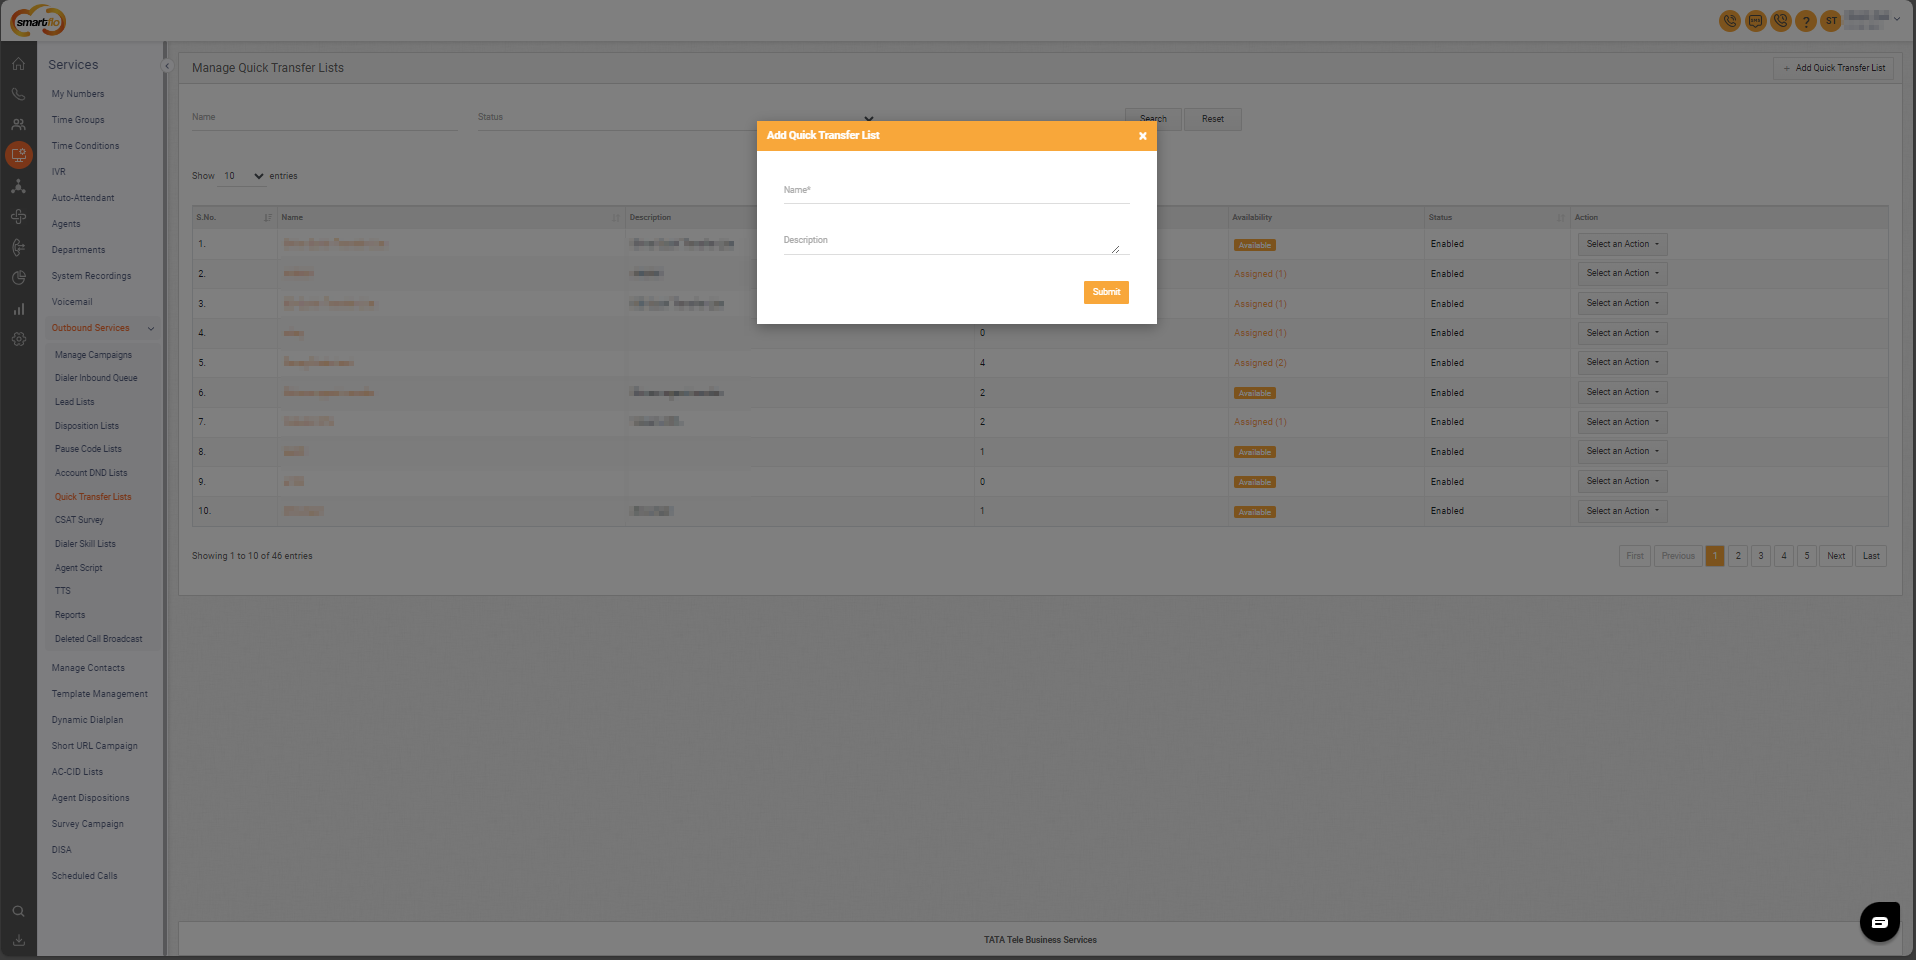
- Click on Add Quick Transfer Lists.
- Enter the Name and Description
- Click Submit.
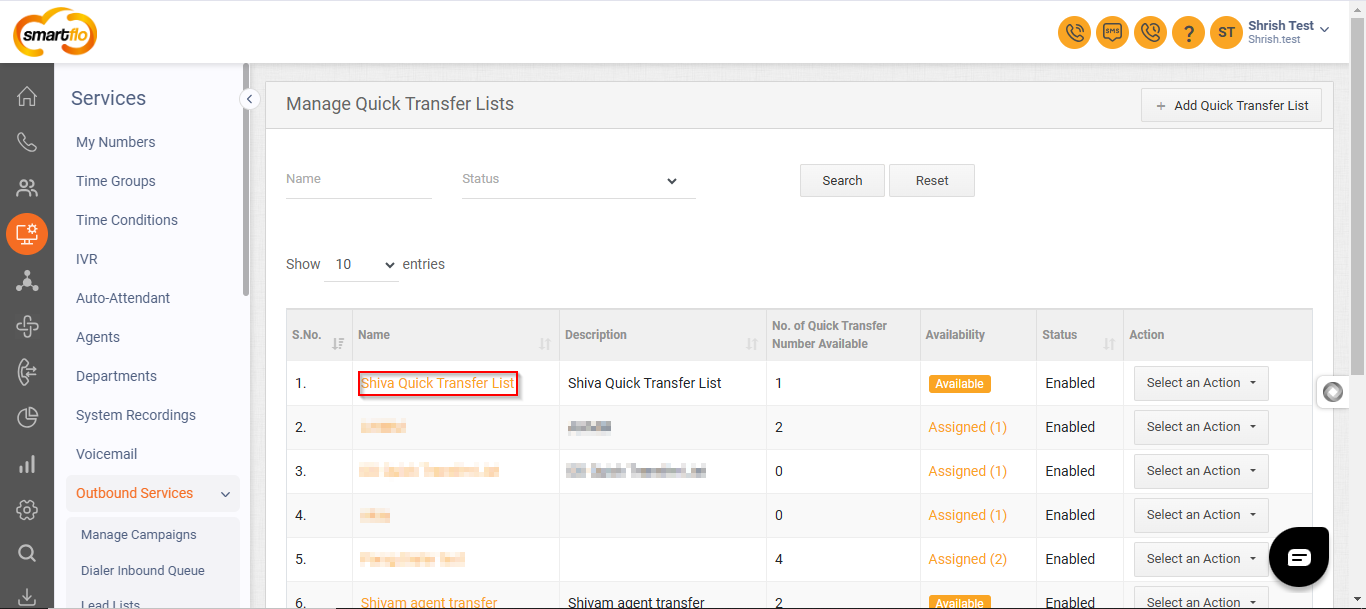
- Once the Quick Transfer List is created, you can add numbers either one by one manually or in bulk. Follow the steps below for each method:
- To Add Numbers One by One Manually:
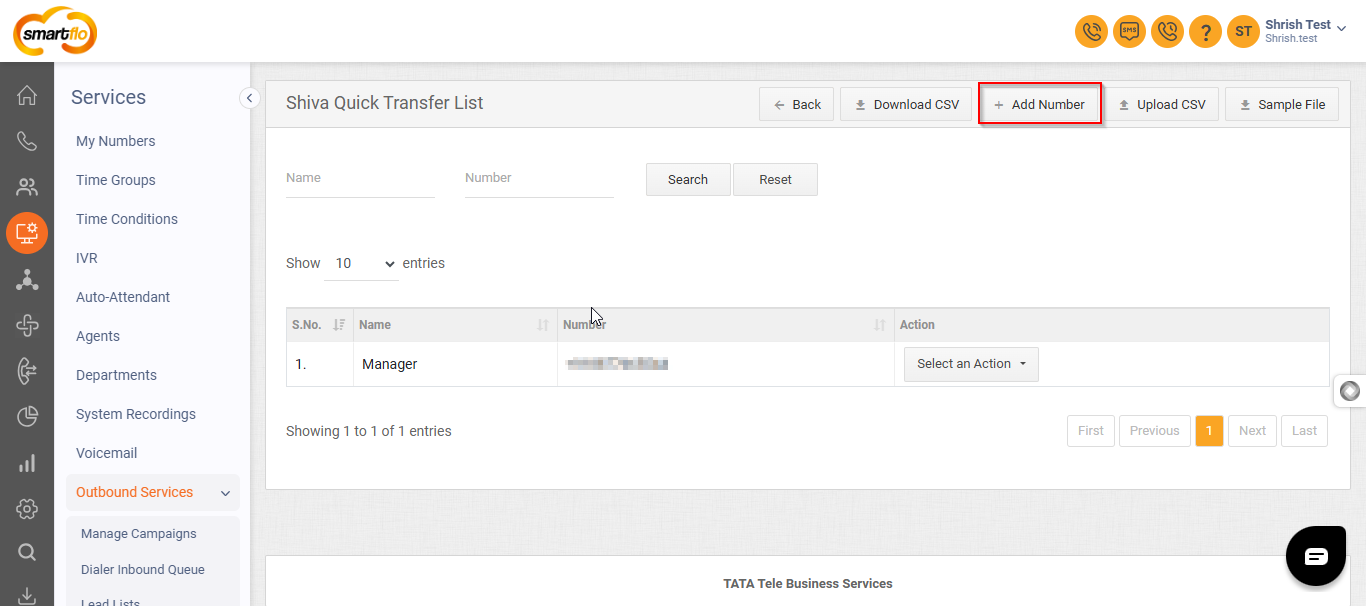
- Select the created Quick Transfer List.
-
Click on Add Number.
-
Enter the Name or Label for the number (e.g., Department Name or Contact Name) and Enter the Number you wish to add.
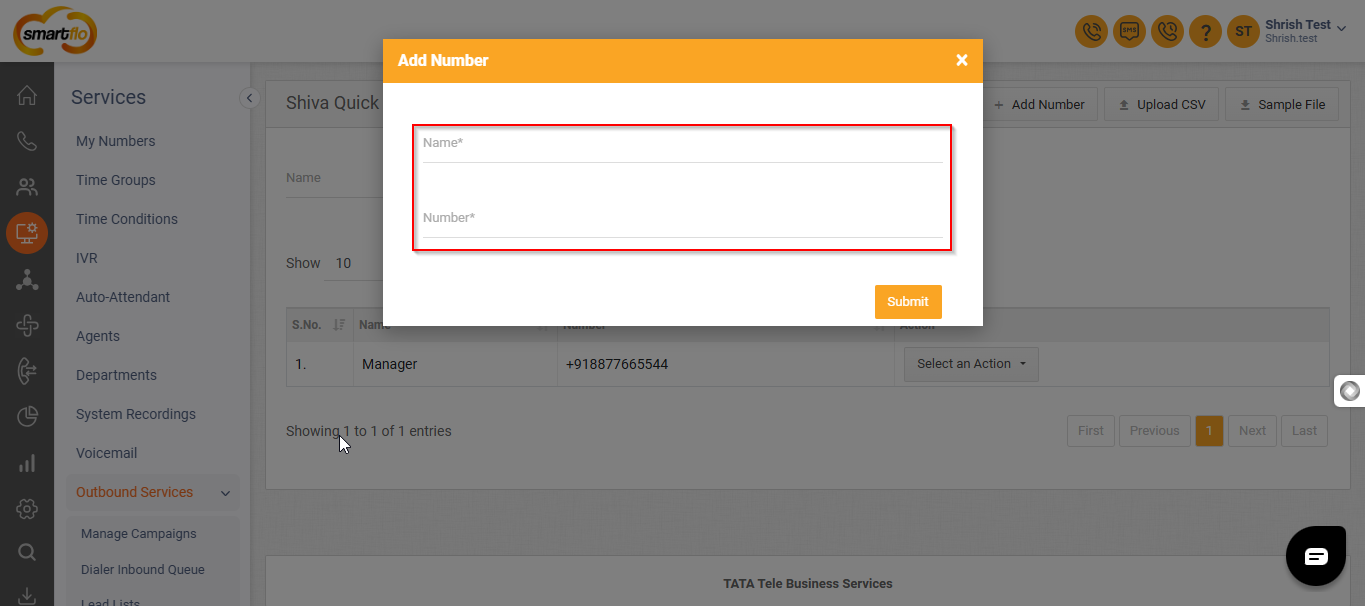
-
Click on Submit to add the number to the list.
- To Add Numbers in Bulk:
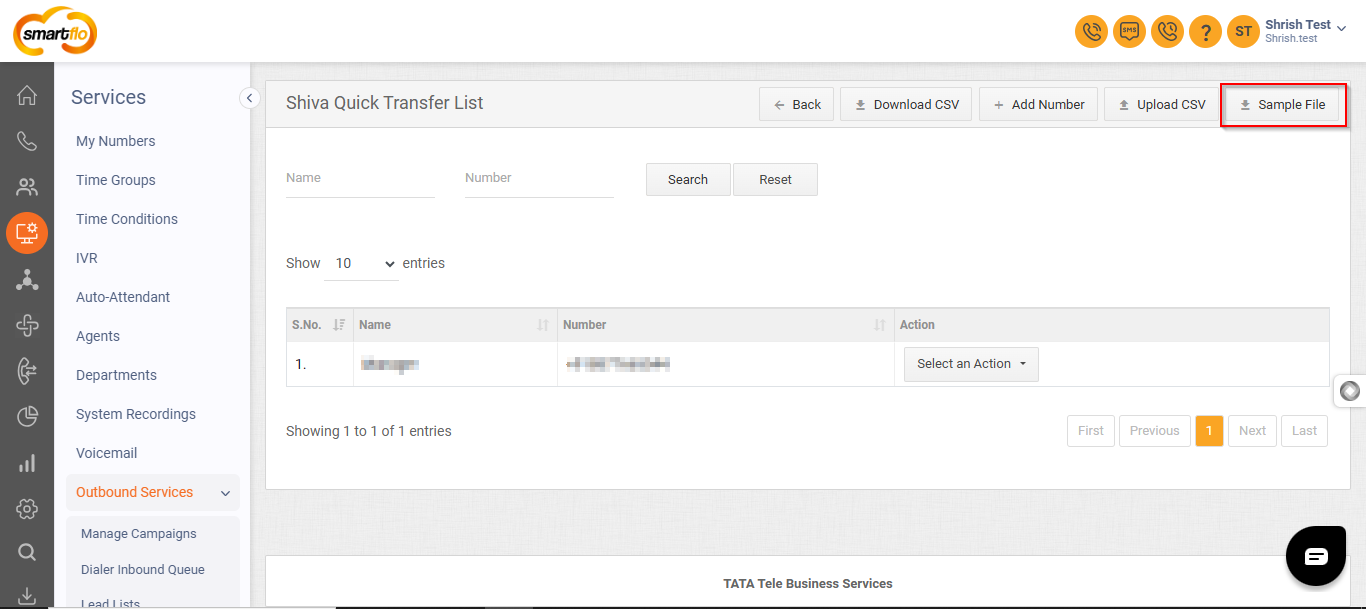
- Select the created Quick Transfer List.
- Click on Sample File to download a sample CSV file.
- Open the CSV file and input the Name and Number details for each entry.
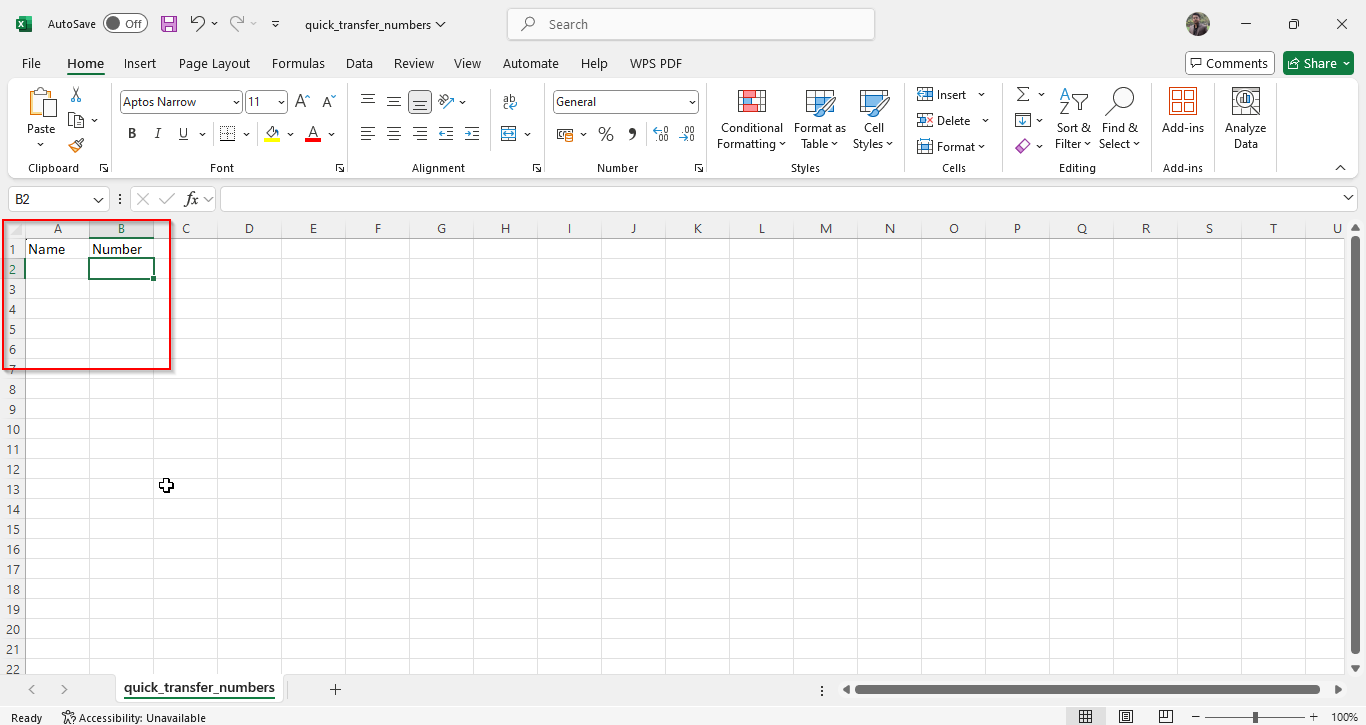
- Save the file and return to the portal.
- Click on Upload CSV, then select the updated file from your system.
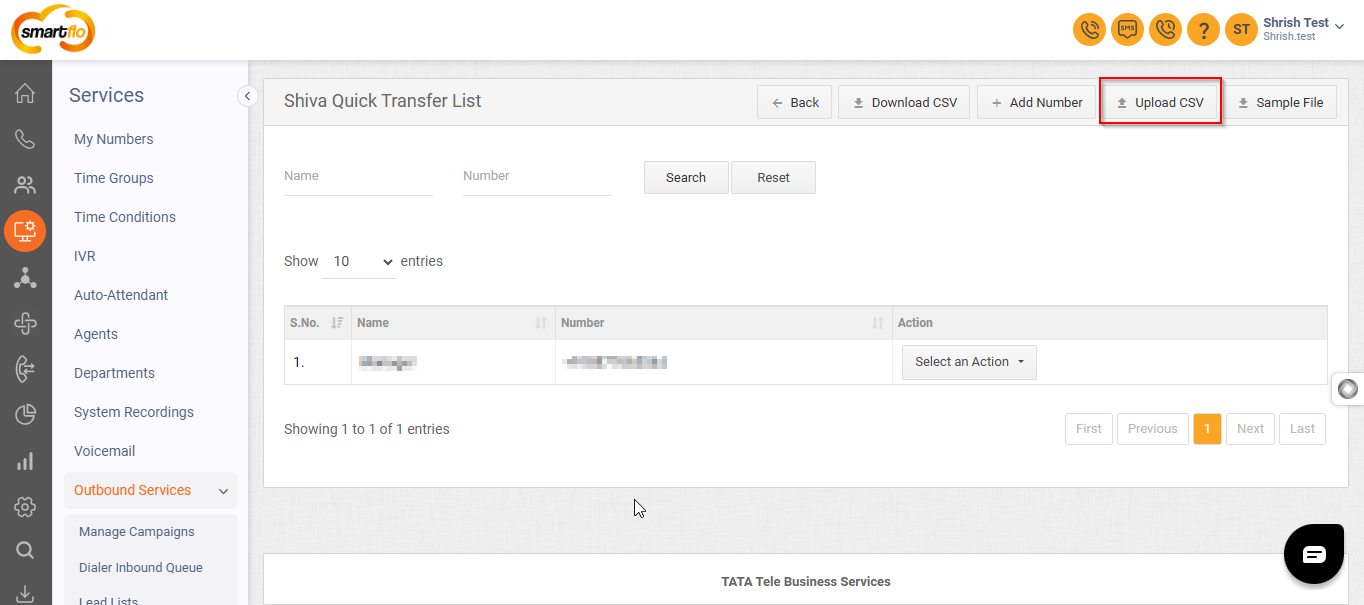
- Review the data and confirm the upload.
- By following these steps, agents can have quick access to pre-defined numbers, improving call transfer efficiency.