Zoho CRM Integration Guide
📘 Integration Guide: Zoho CRM with Smartflo Dialer
This document provides a step-by-step guide to integrating Zoho CRM with the Smartflo Dialer for a seamless communication experience.
With this integration, users can:
- Initiate calls directly from Zoho CRM.
- Automatically log call details within the CRM.
- Access call recordings linked to the corresponding leads or contacts.
This setup enhances productivity by streamlining workflows between your CRM and calling system.
✅ Prerequisites
Before starting the integration, ensure you have the following:
1. Smartflo Requirements:
- Smartflo Admin Account (for setting up telephony integration)
- Smartflo Agent Account (for making/receiving calls)
- Smartflo API Token (needed for authentication and API access)
- Dialer Campaigns Setup:
- At least one empty lead list assigned to the campaign throughout the campaign duration
2. Zoho Requirements:
- Zoho Account with active Telephony Integration module
- Zoho API Permissions (enabled for telephony, leads, and marketplace access)
- Marketplace Access (to install and configure Universal Telephony Connector)
Integration Steps
Follow the steps below to set up the integration.
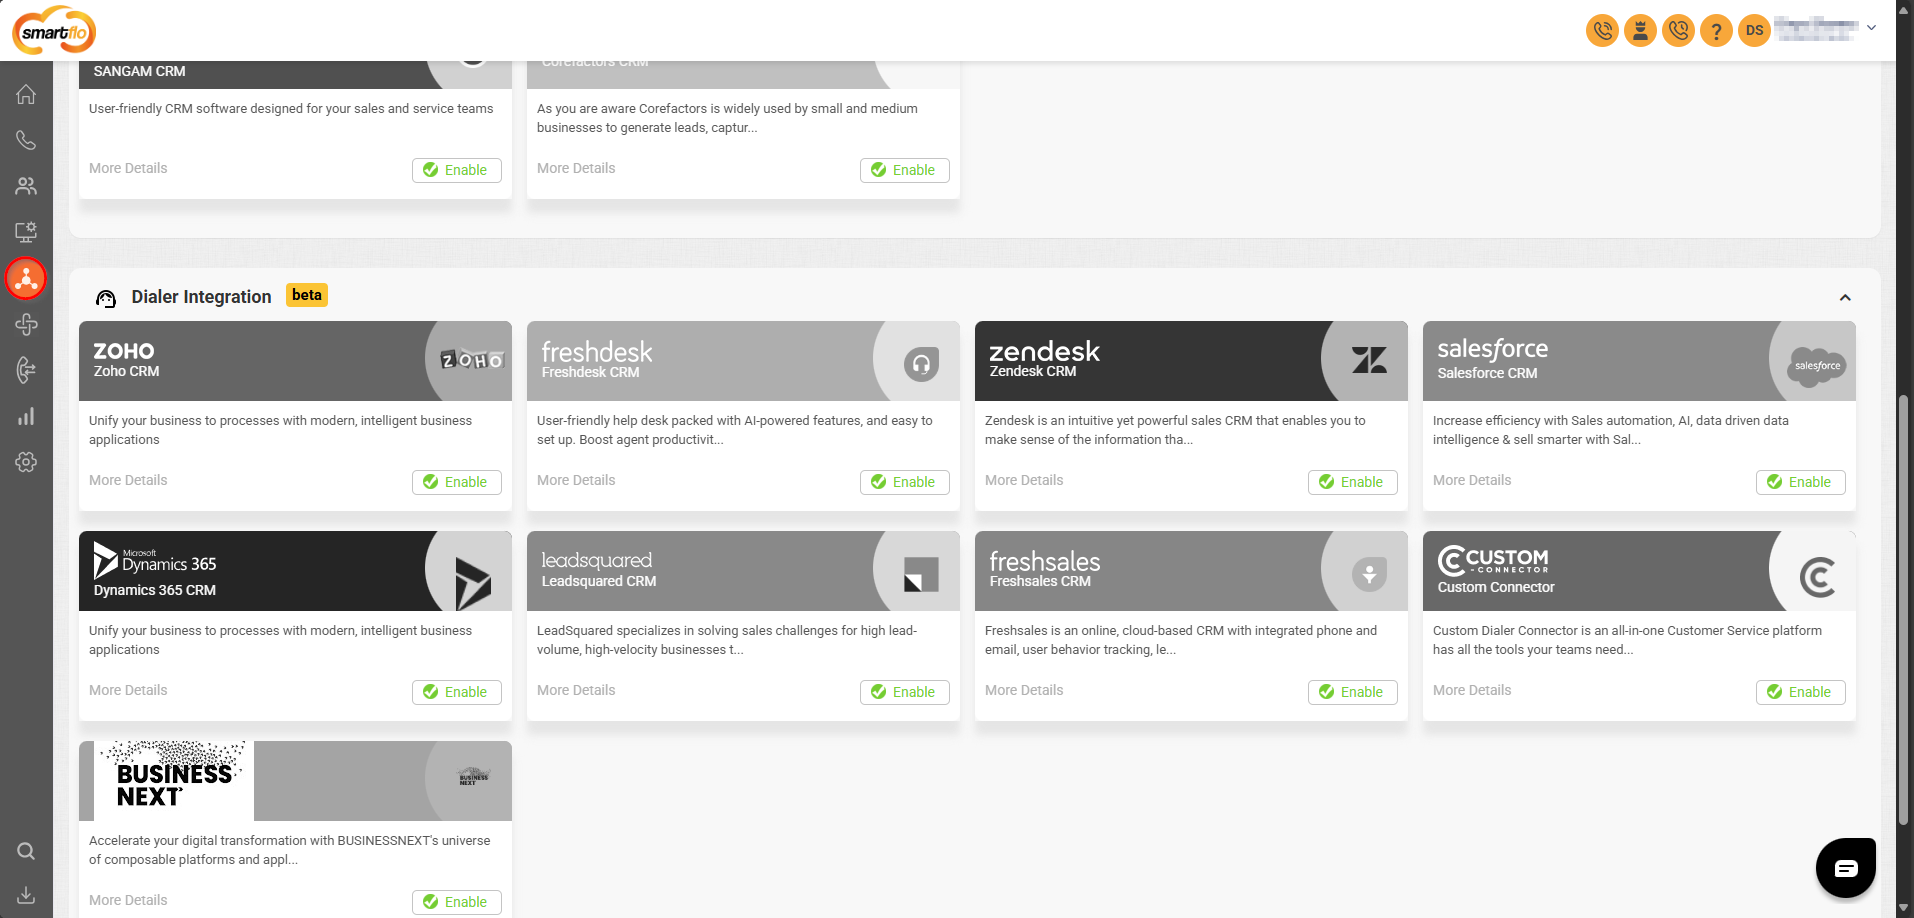
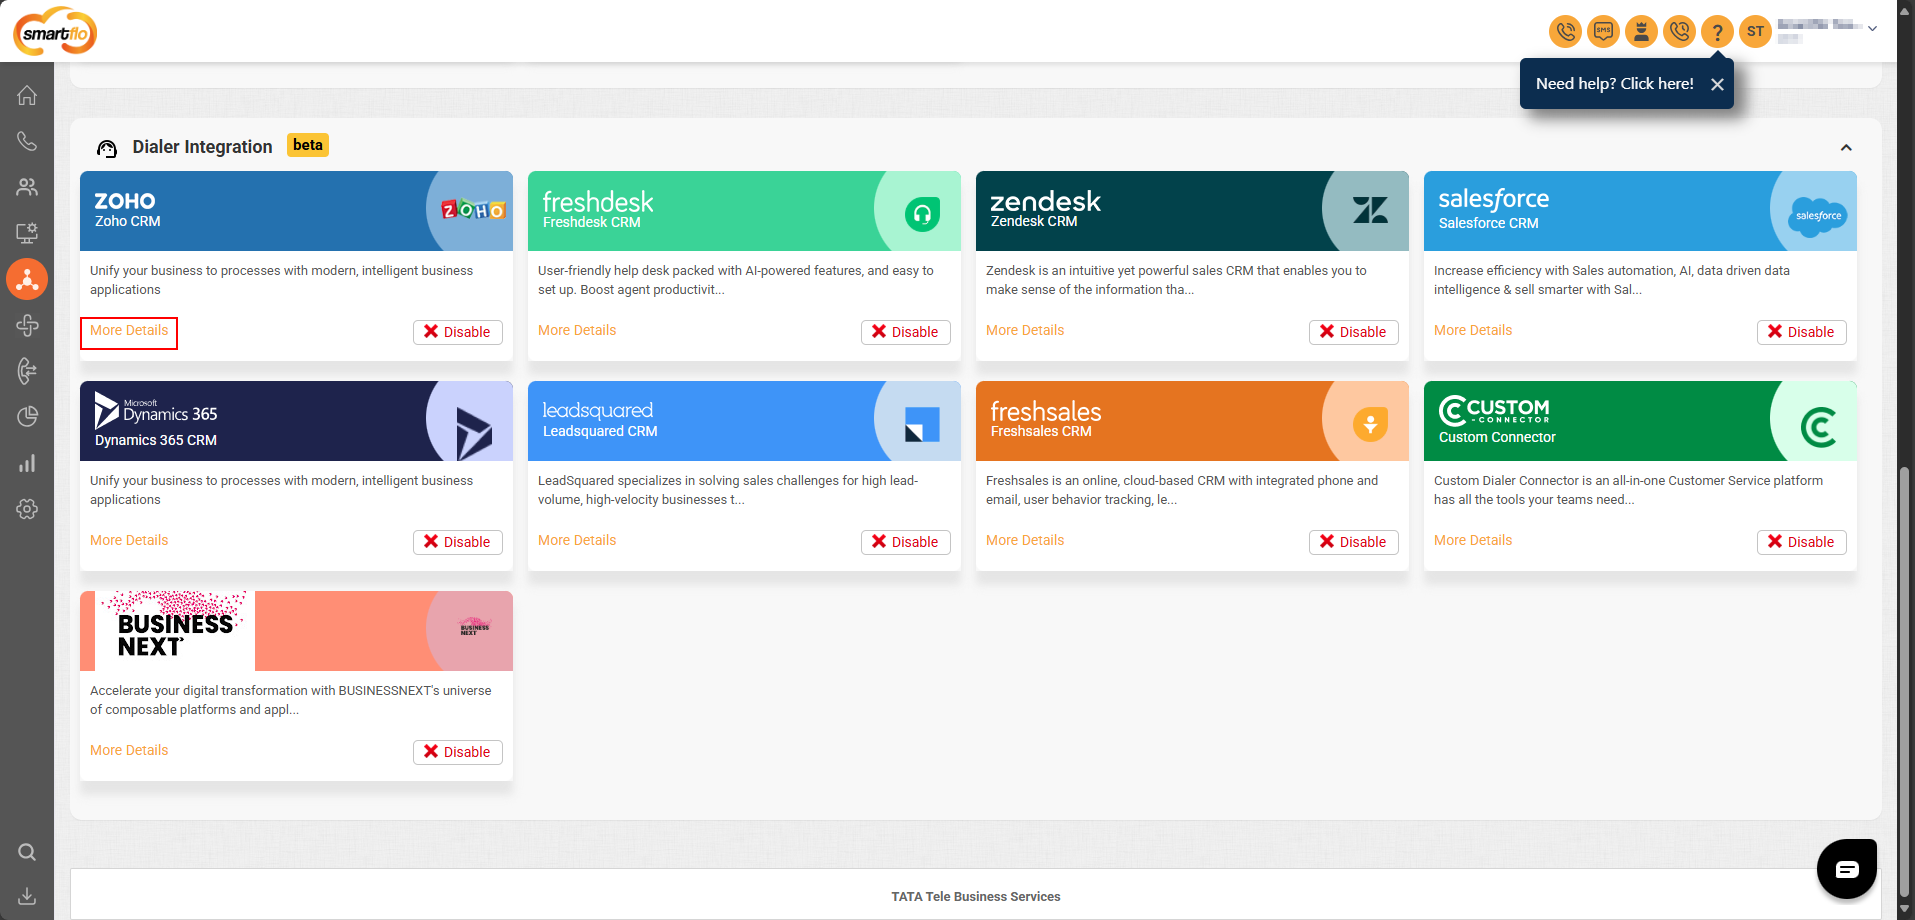
Step 1: Enable Zoho Dialer Integration with Smartflo
-
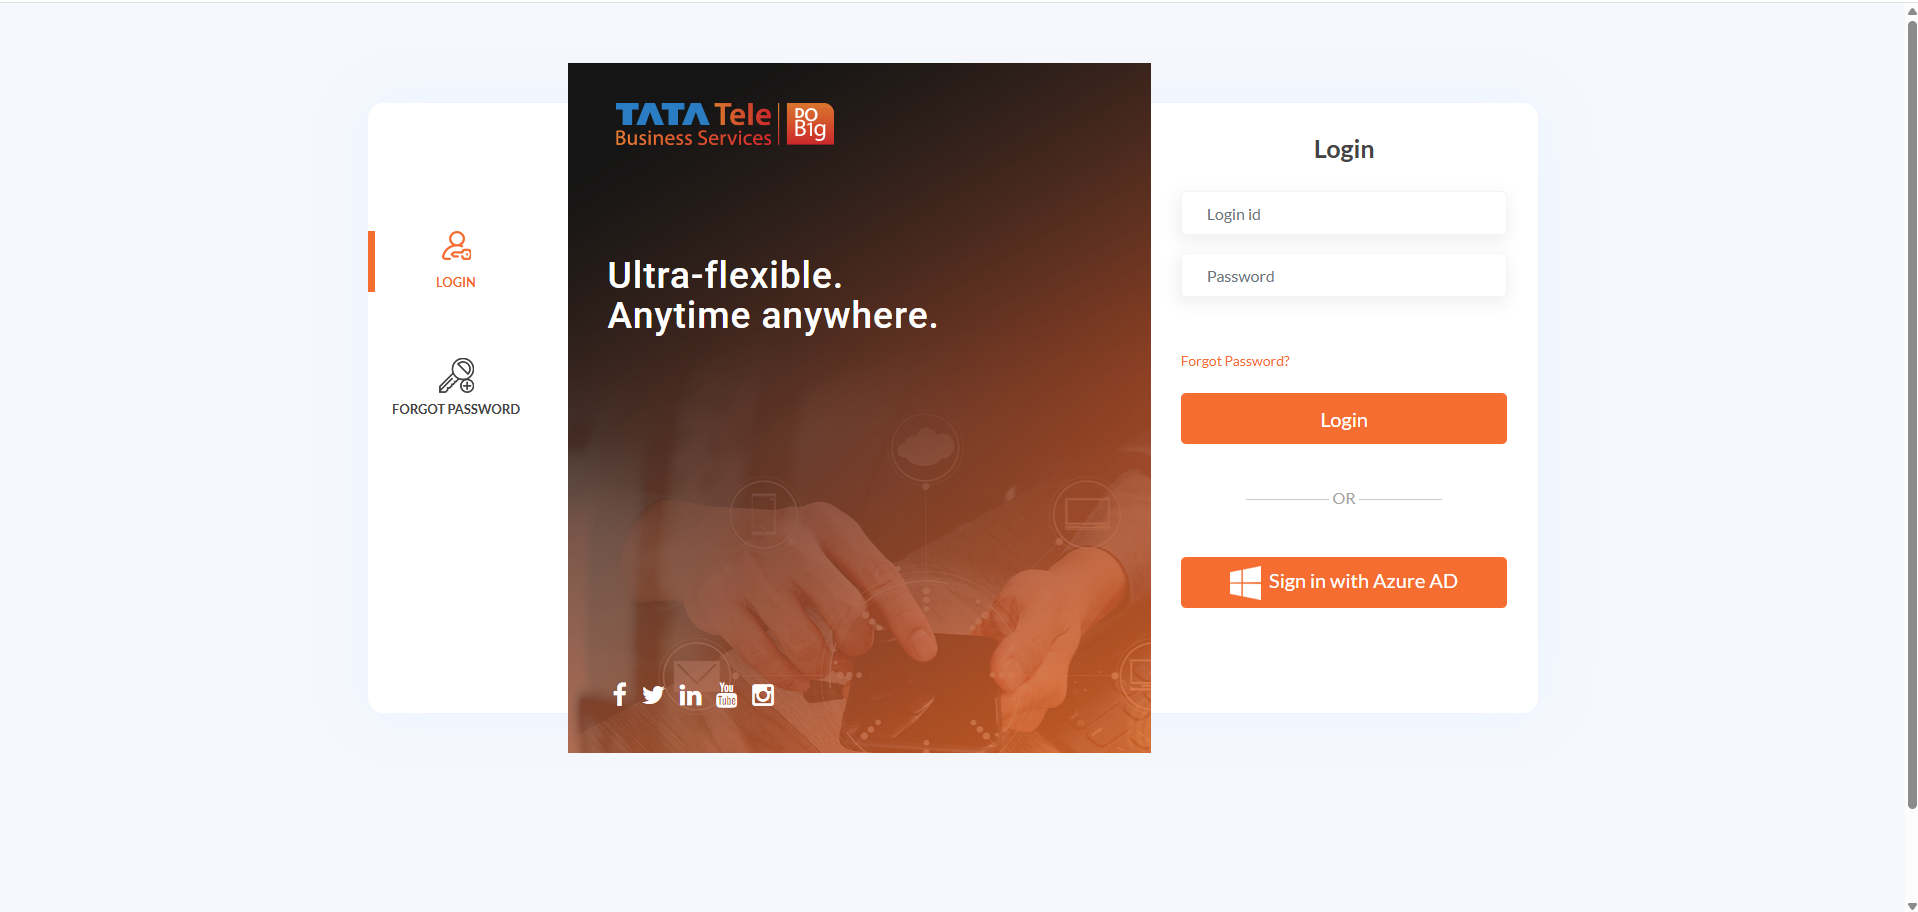
Log in to your Smartflo India account.

-
Navigate to the Integrations Tab from the side navigation panel.
-
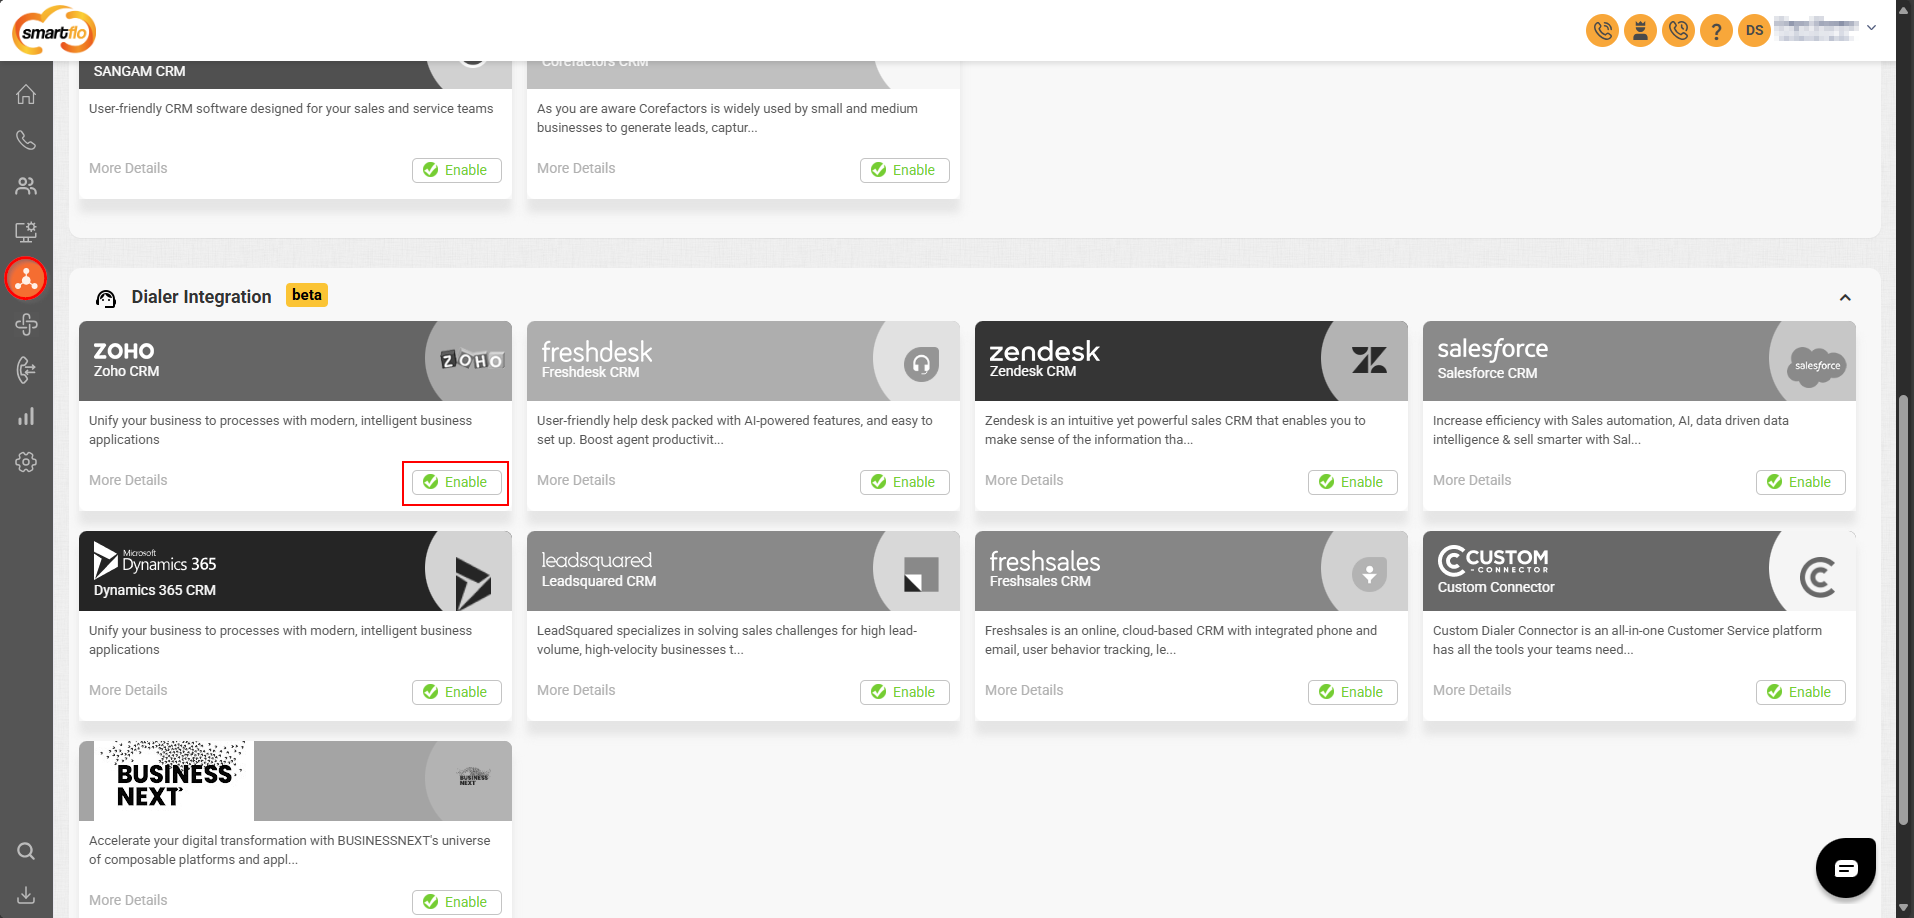
In the Dialer Integration section, click Enable for Zoho CRM integration.
-
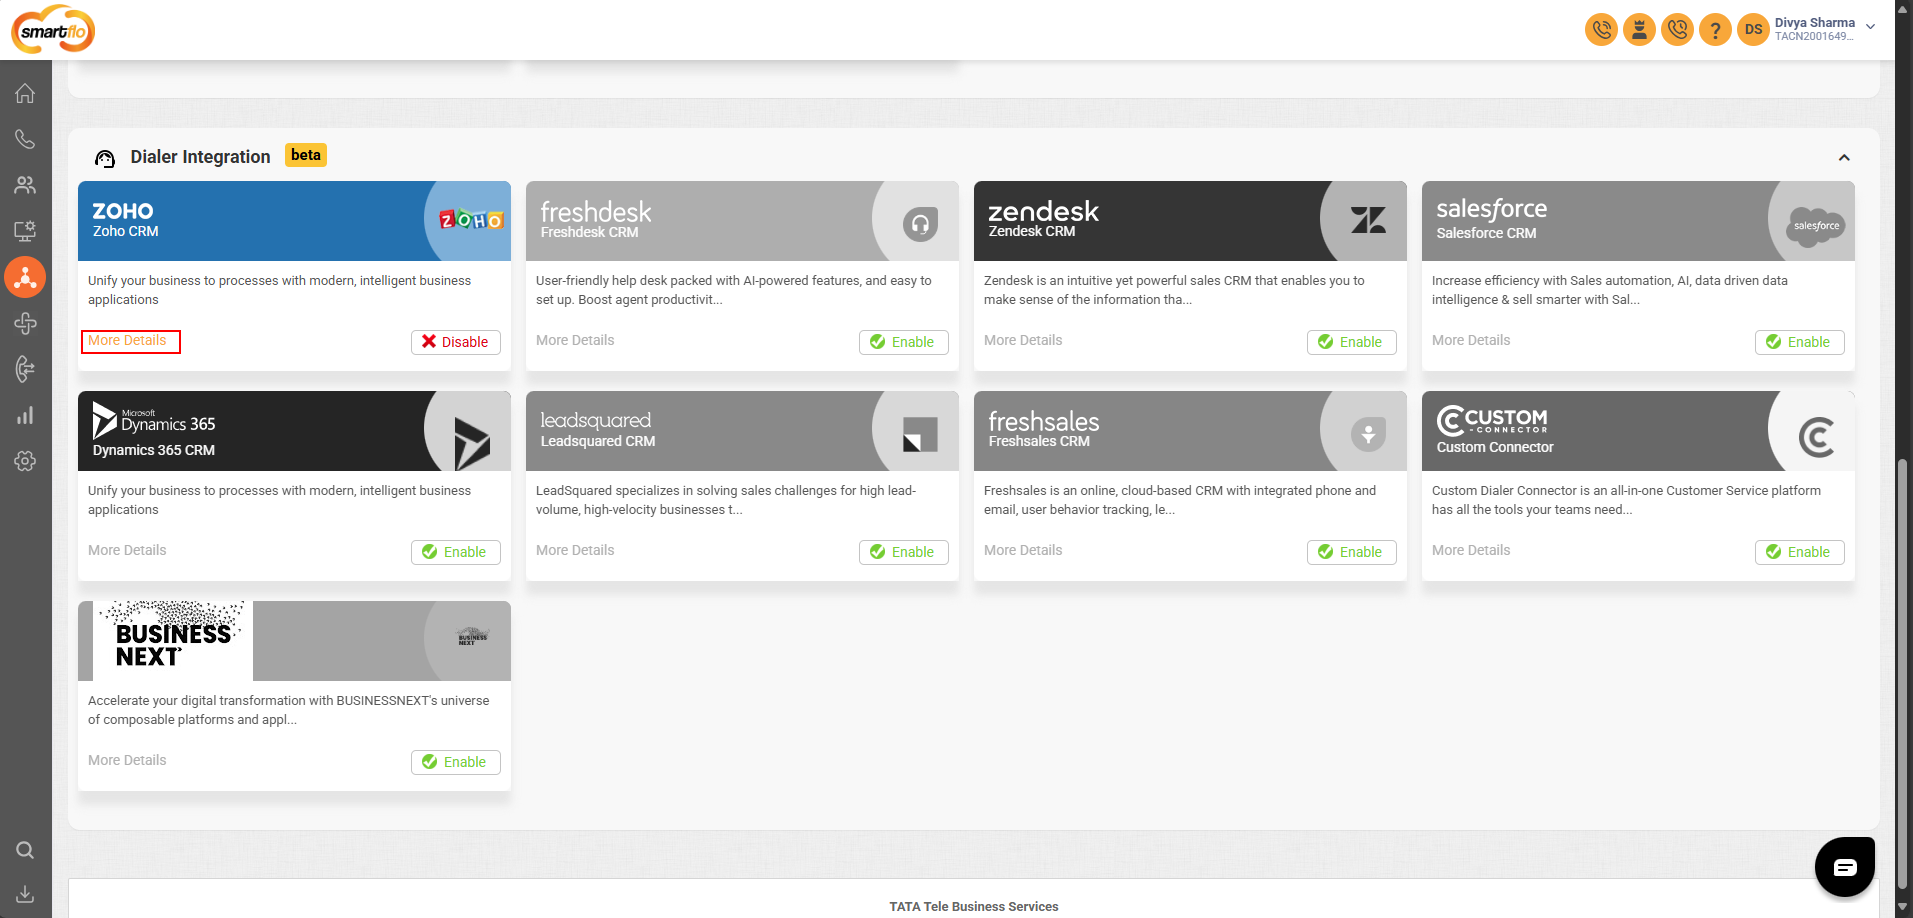
Click on More Details in the Zoho CRM integrations option.
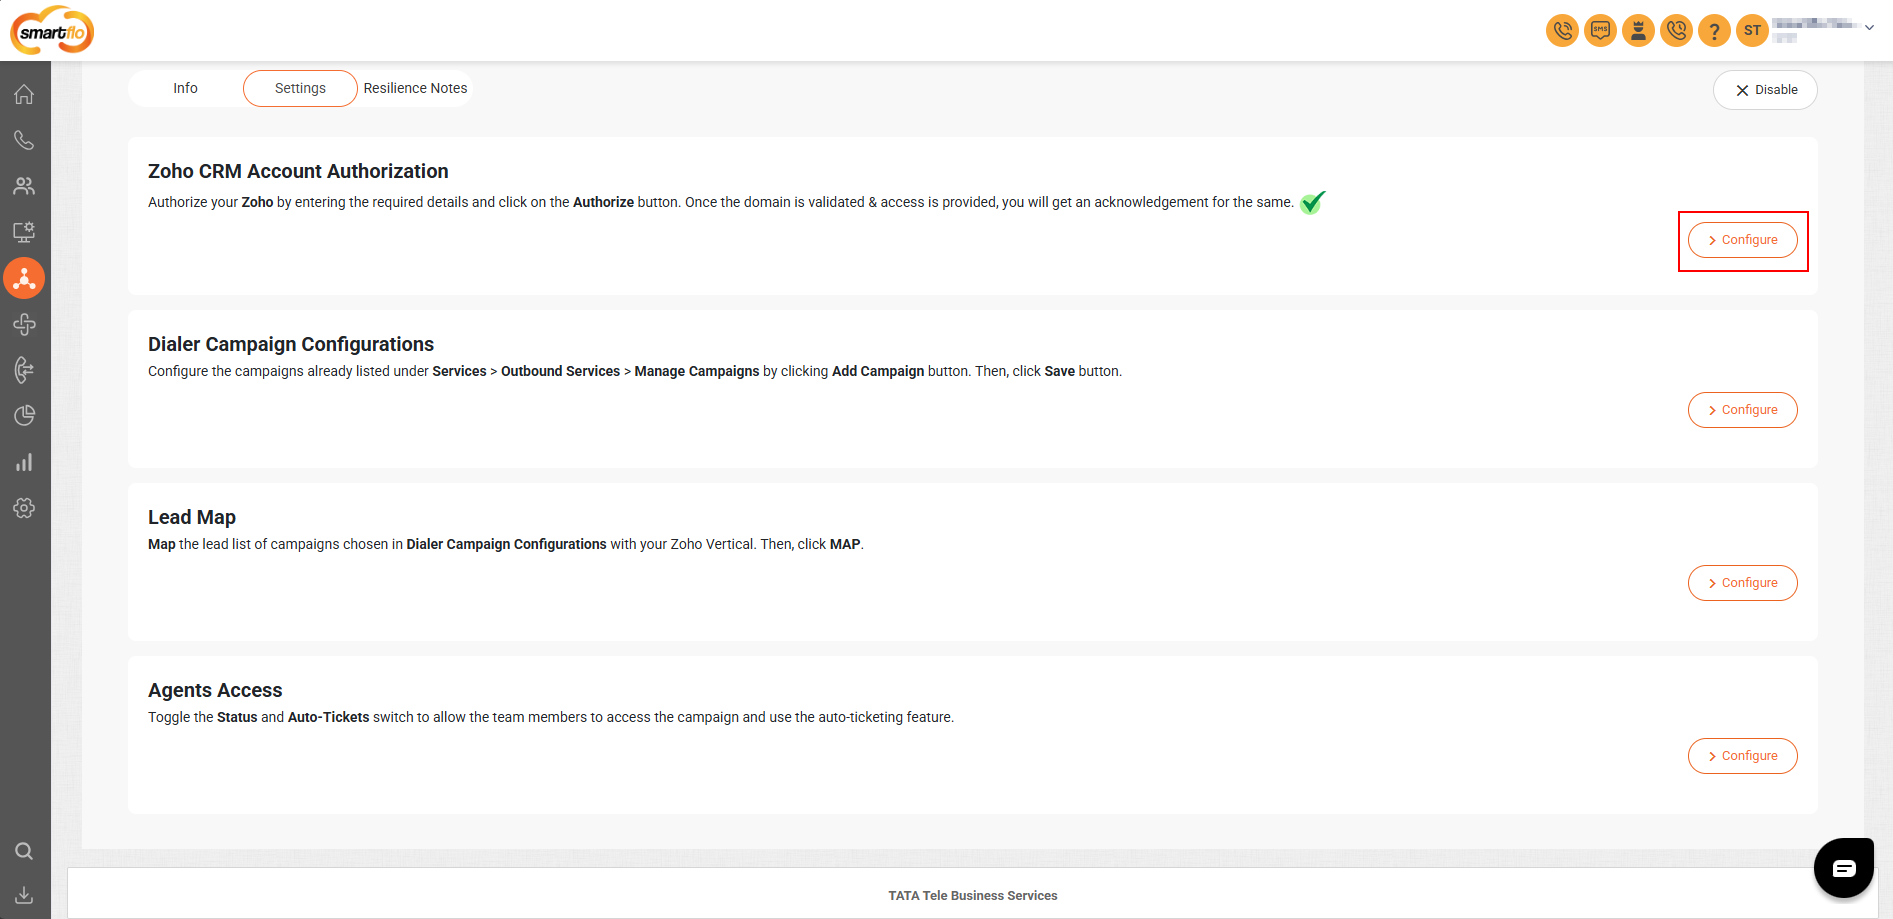
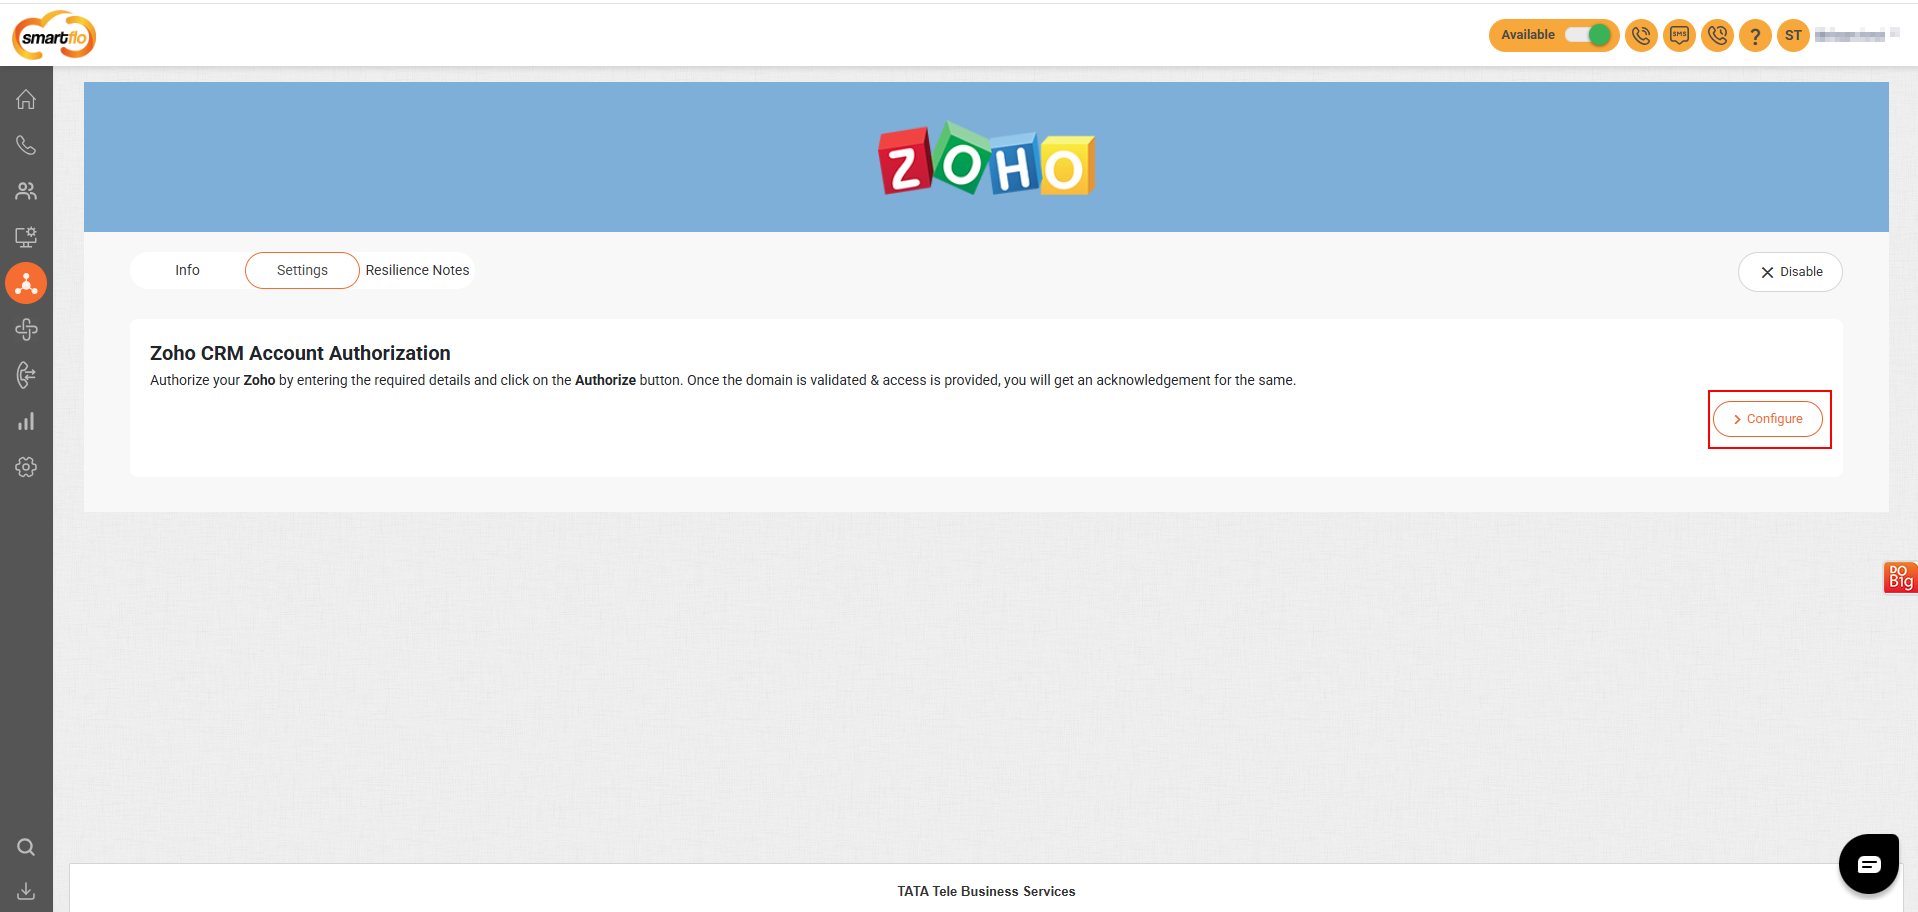
Step 2: Configure Zoho CRM Account Authorization
-
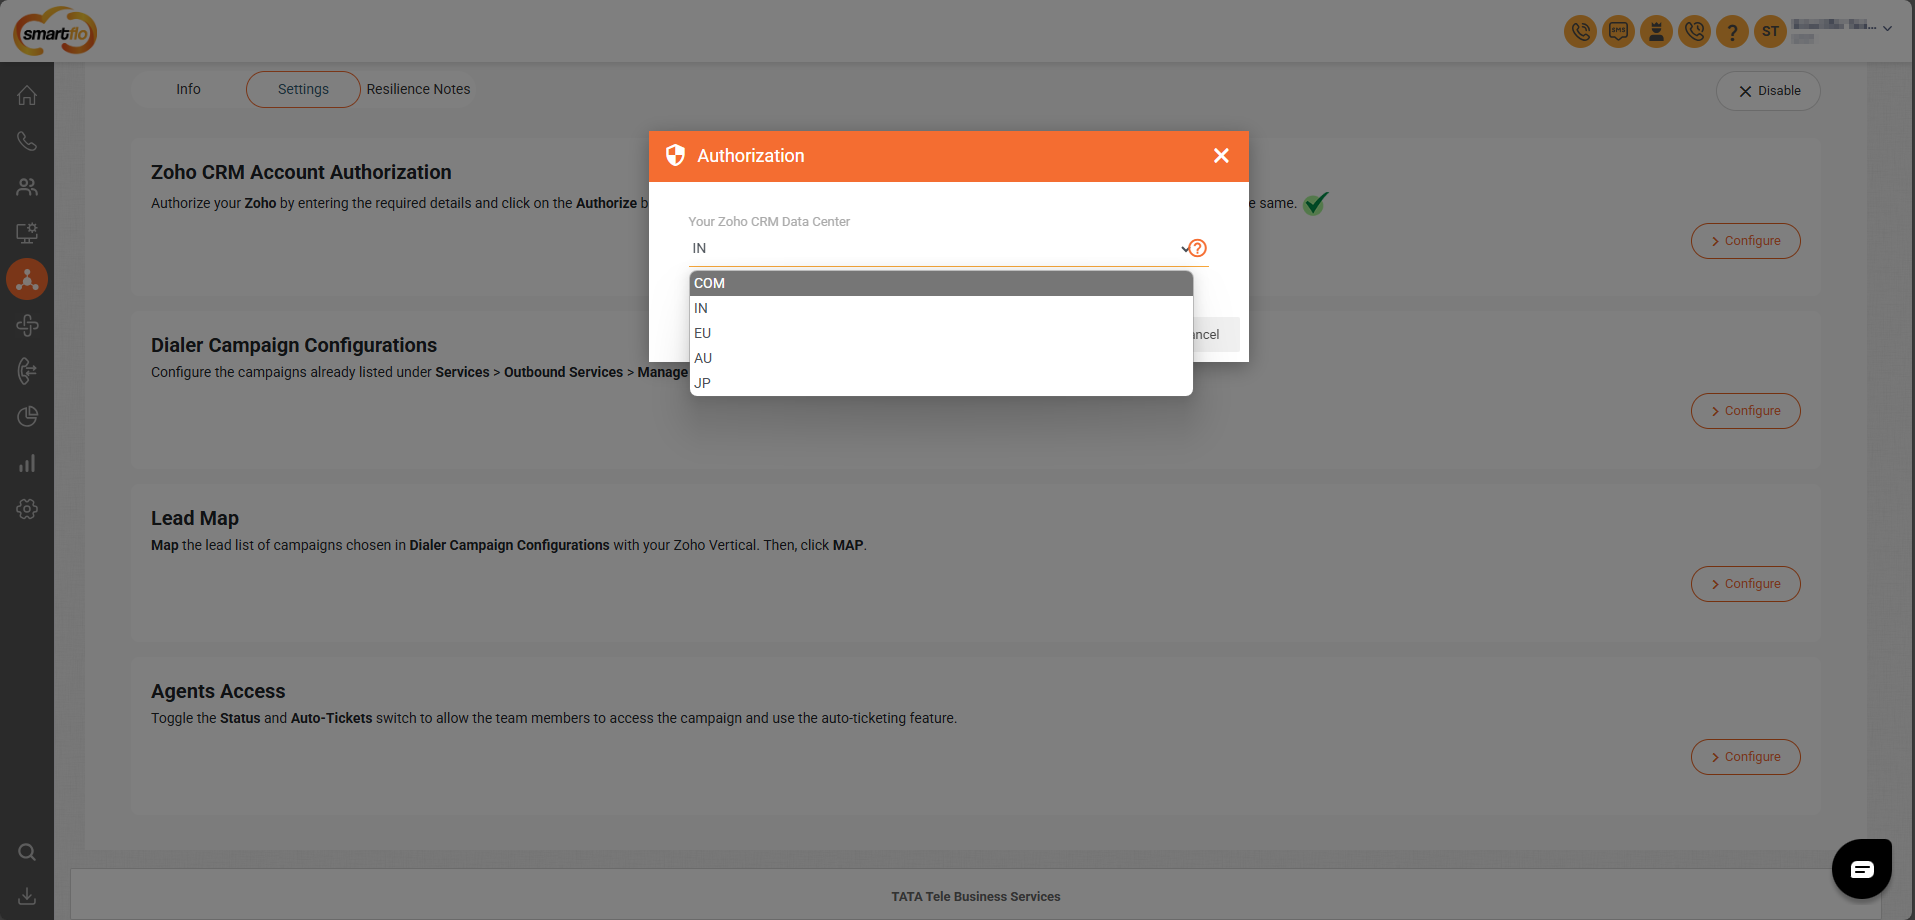
In the Settings tab, click on Configure next to Zoho CRM Account Authorization to authorize your Zoho CRM Account.
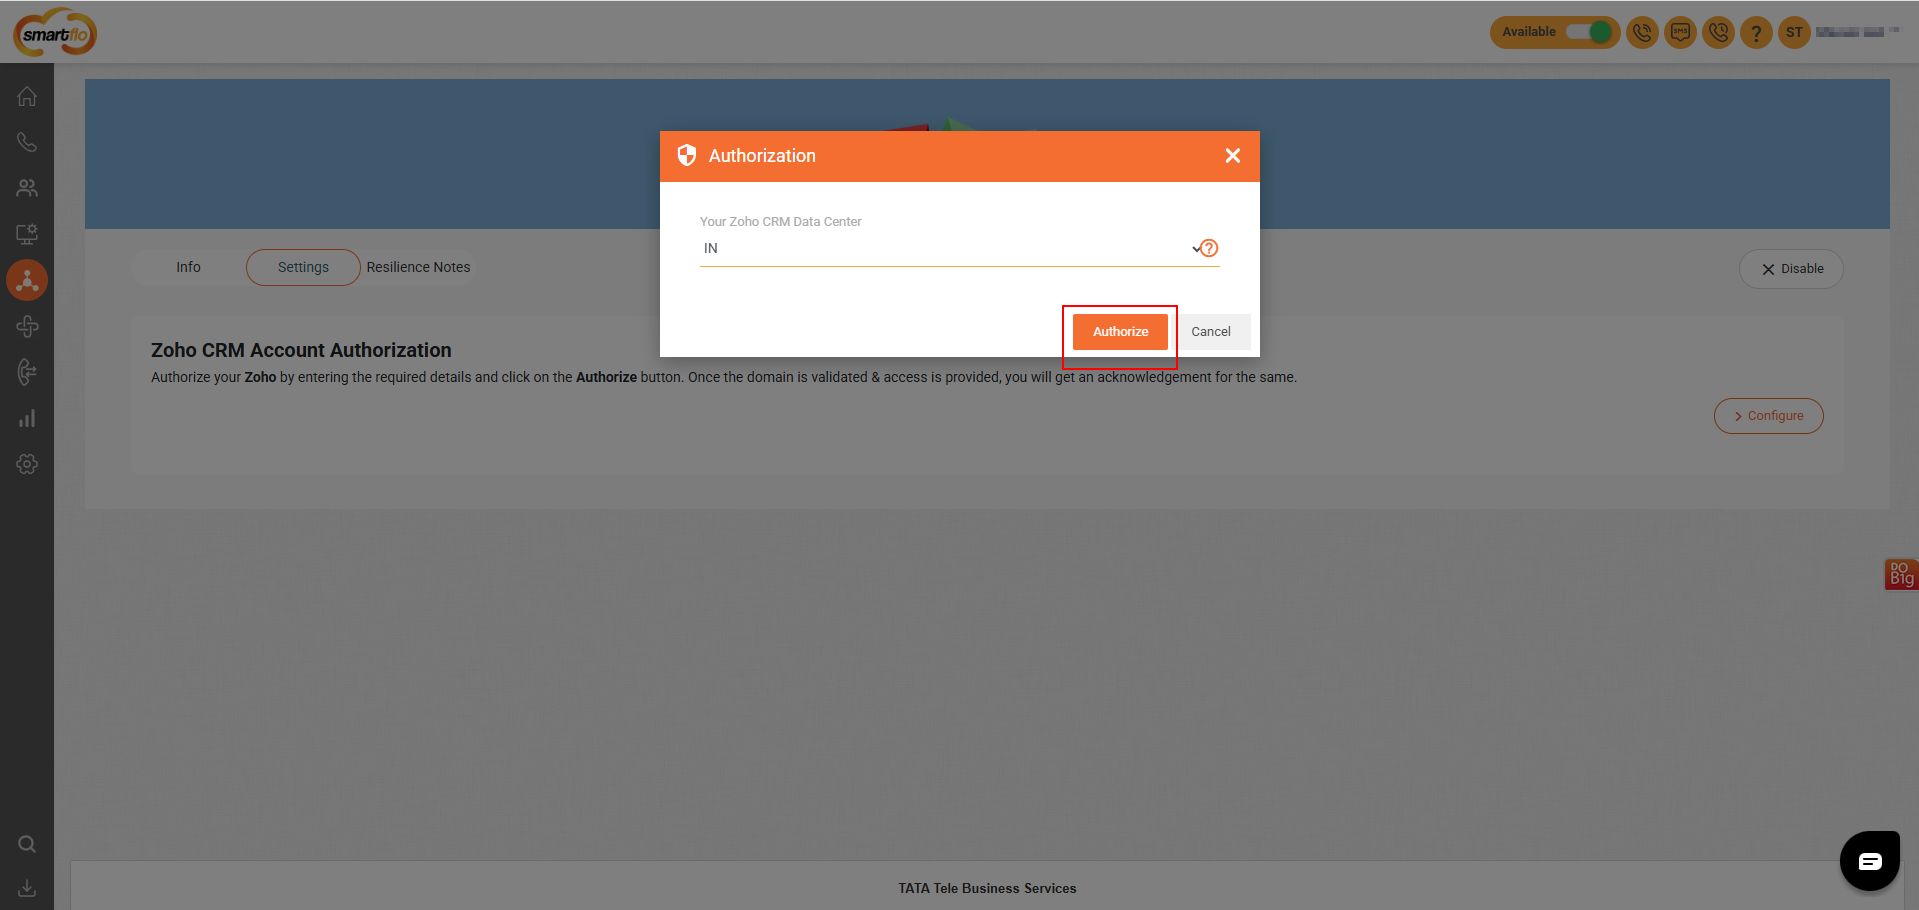
Zoho CRM Data Center Options
| Code | Region | Description |
|---|---|---|
| COM | United States | Refers to Zoho's US data center (zoho.com). Typically used for US-based users. |
| IN | India | Refers to Zoho's India data center (zoho.in). Used for customers in India. |
| EU | Europe | Refers to Zoho's European data center (zoho.eu). Used to comply with GDPR. |
| AU | Australia | Refers to Zoho's Australia data center (zoho.com.au). Used for Australian customers. |
| JP | Japan | Refers to Zoho's Japan data center (zoho.jp). Used for customers based in Japan. |
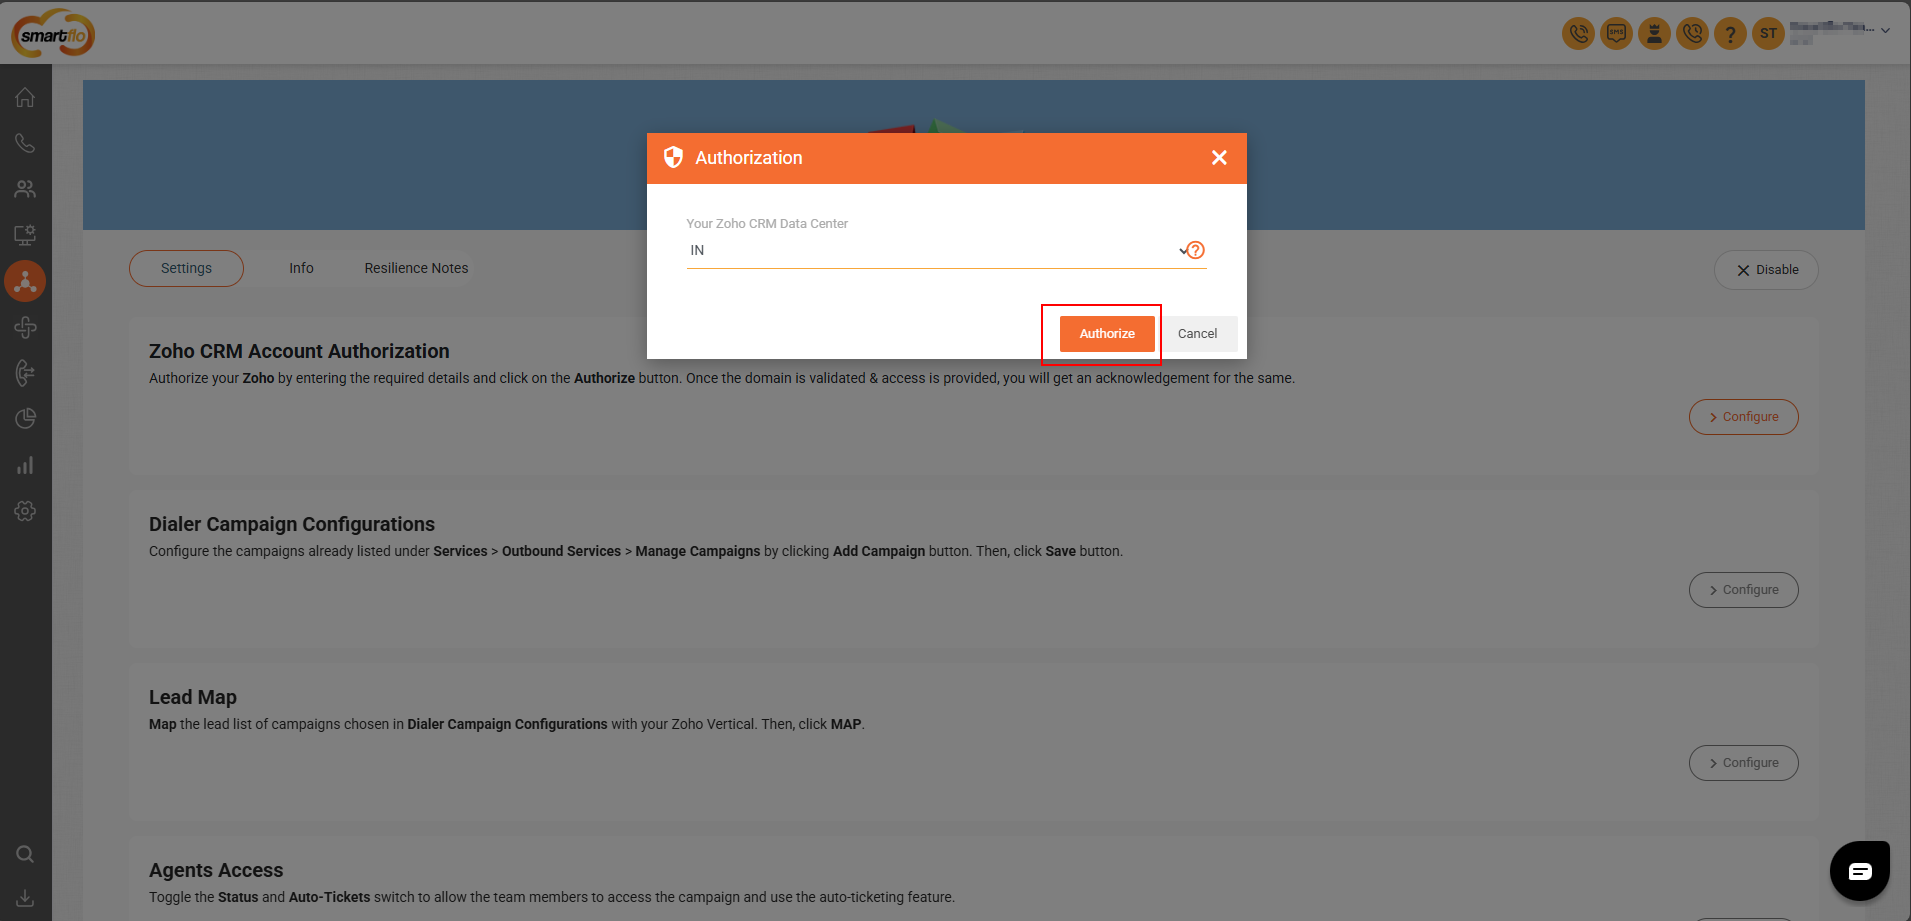
-
Click on Authorize
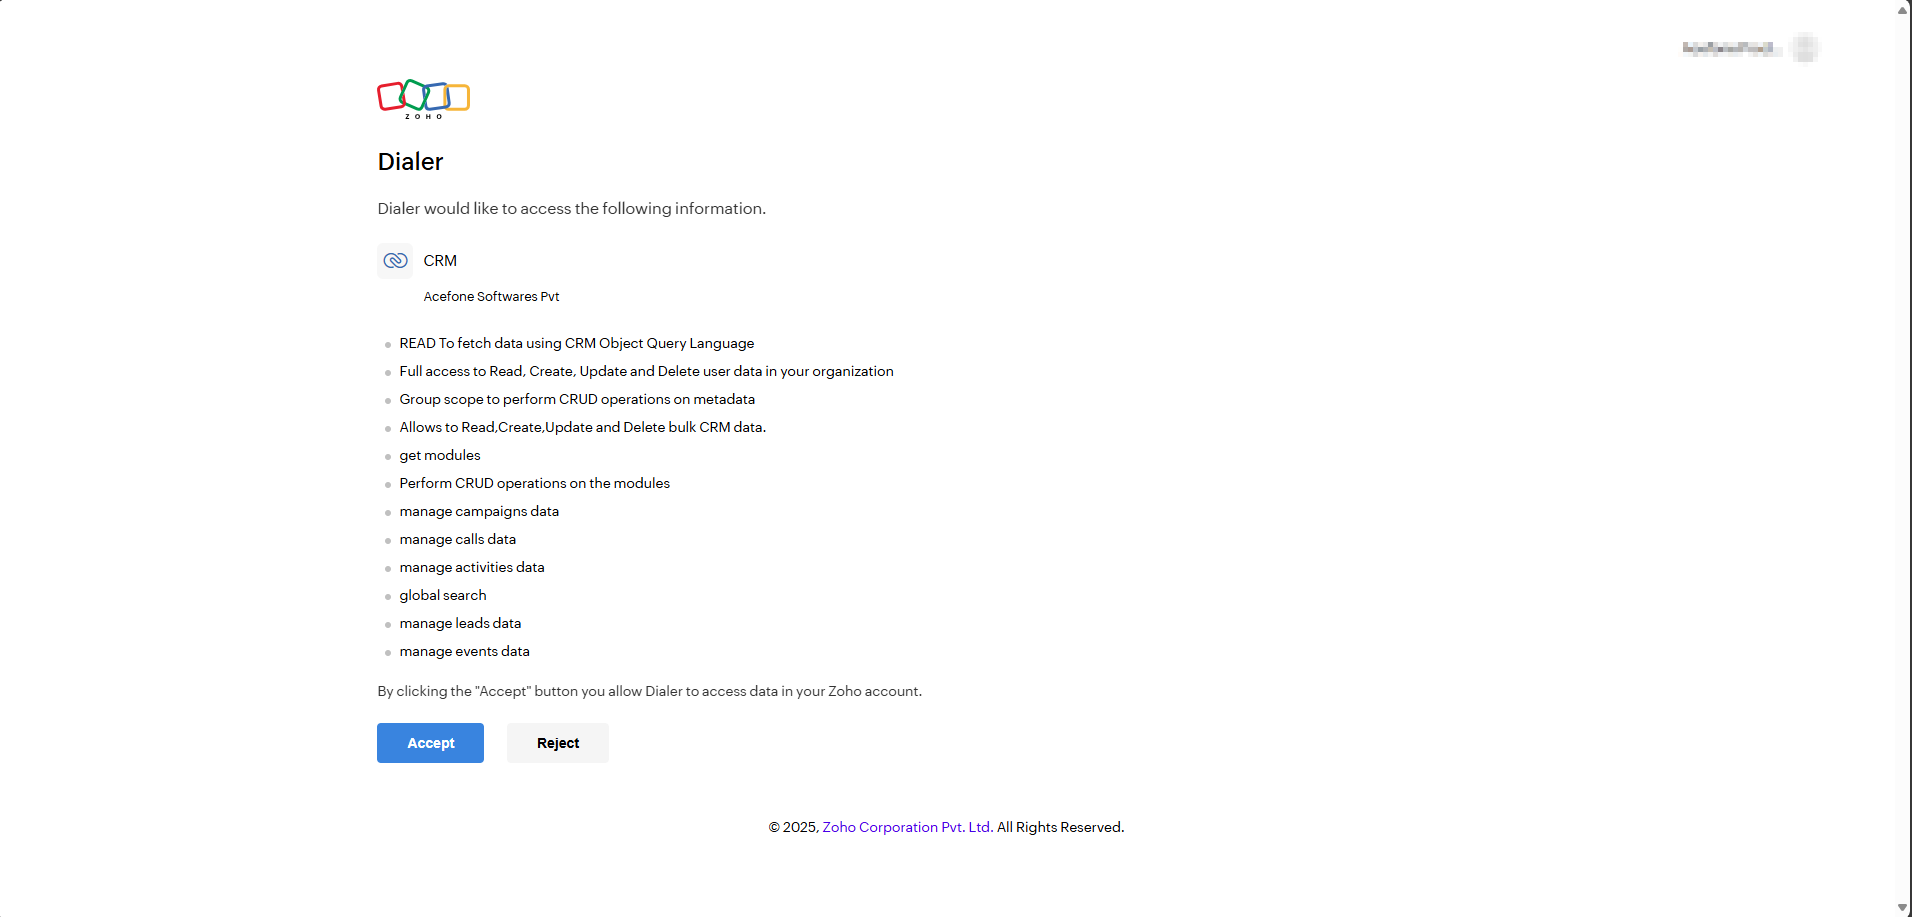
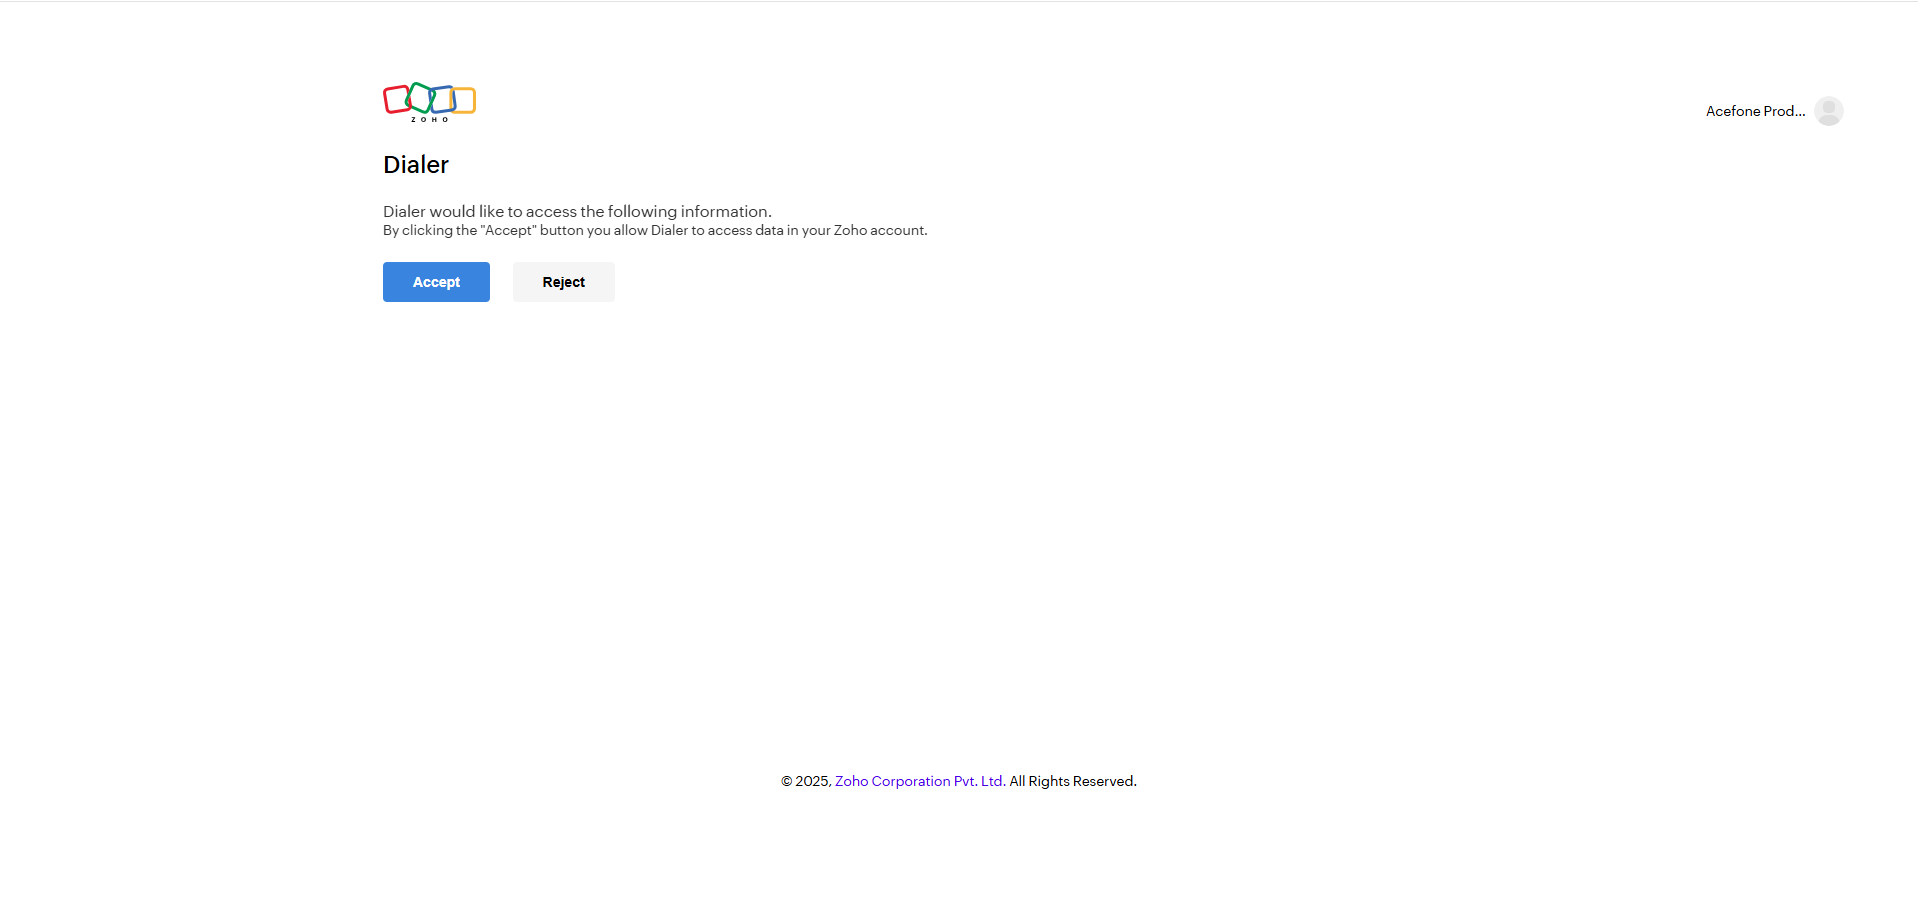
-
Click the Accept button to allow smartflo to access your Zoho CRM data.

Step 3: Configure Dialer Campaign Configurations
-
Click on the "Configure" button next to Dialer Campaign Configurations to proceed with campaign setup.
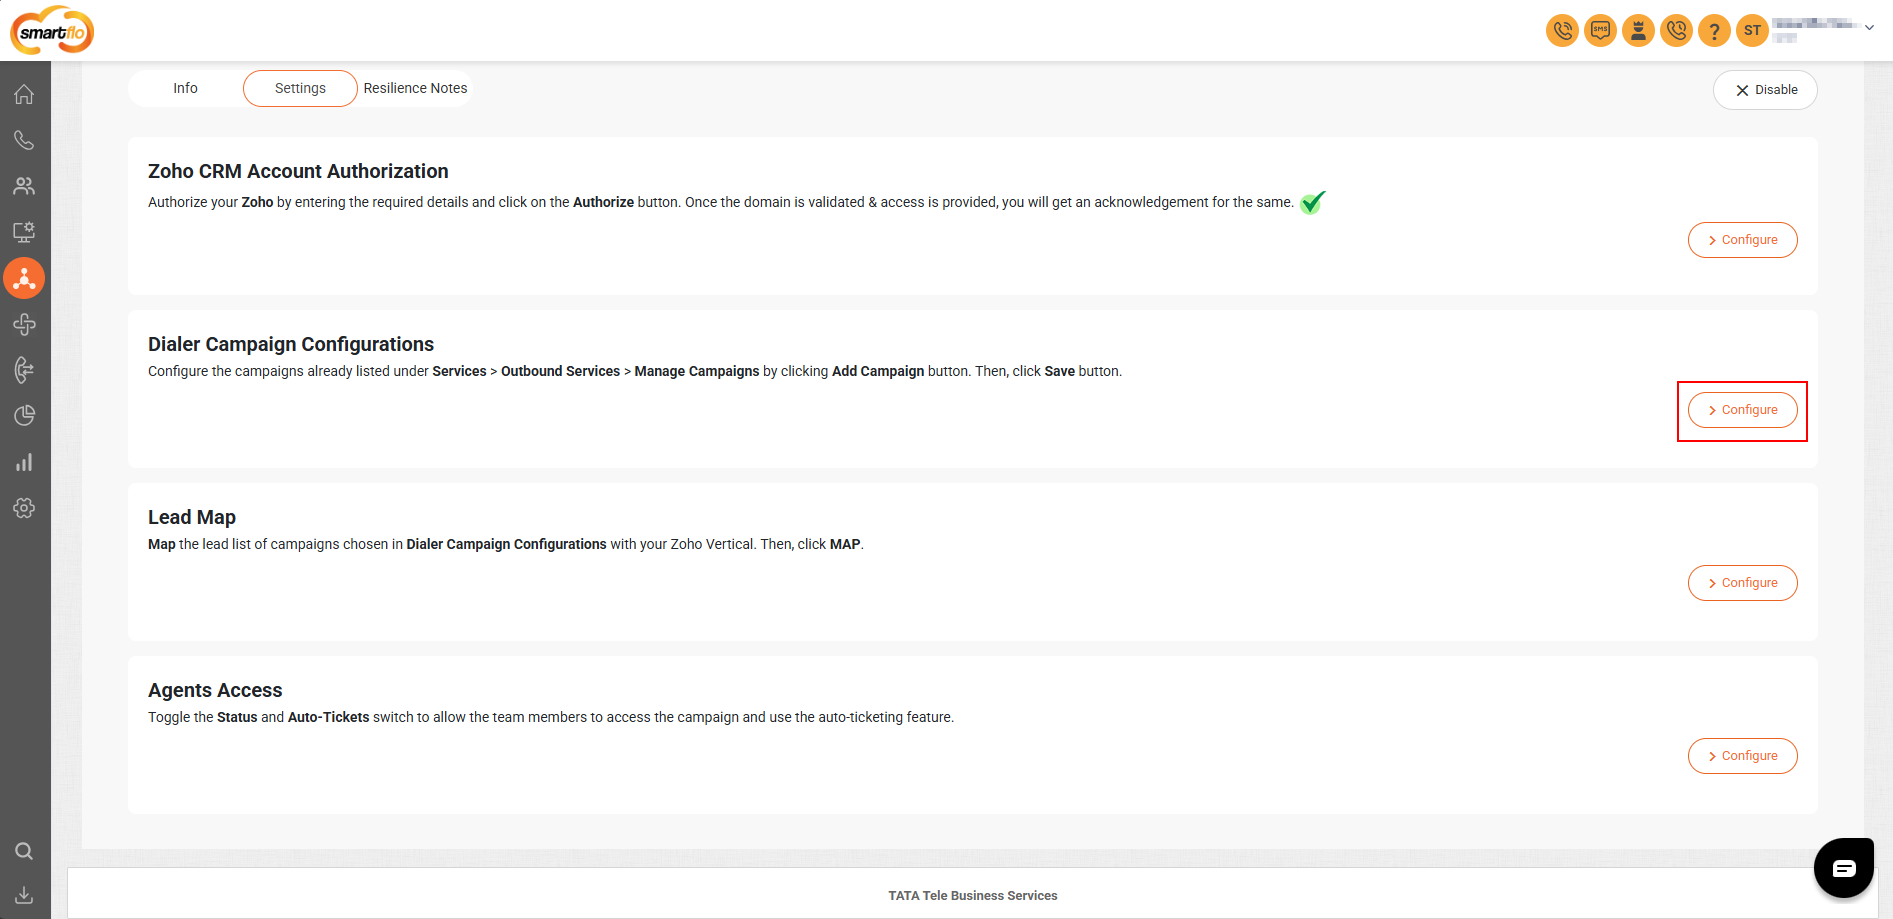
-
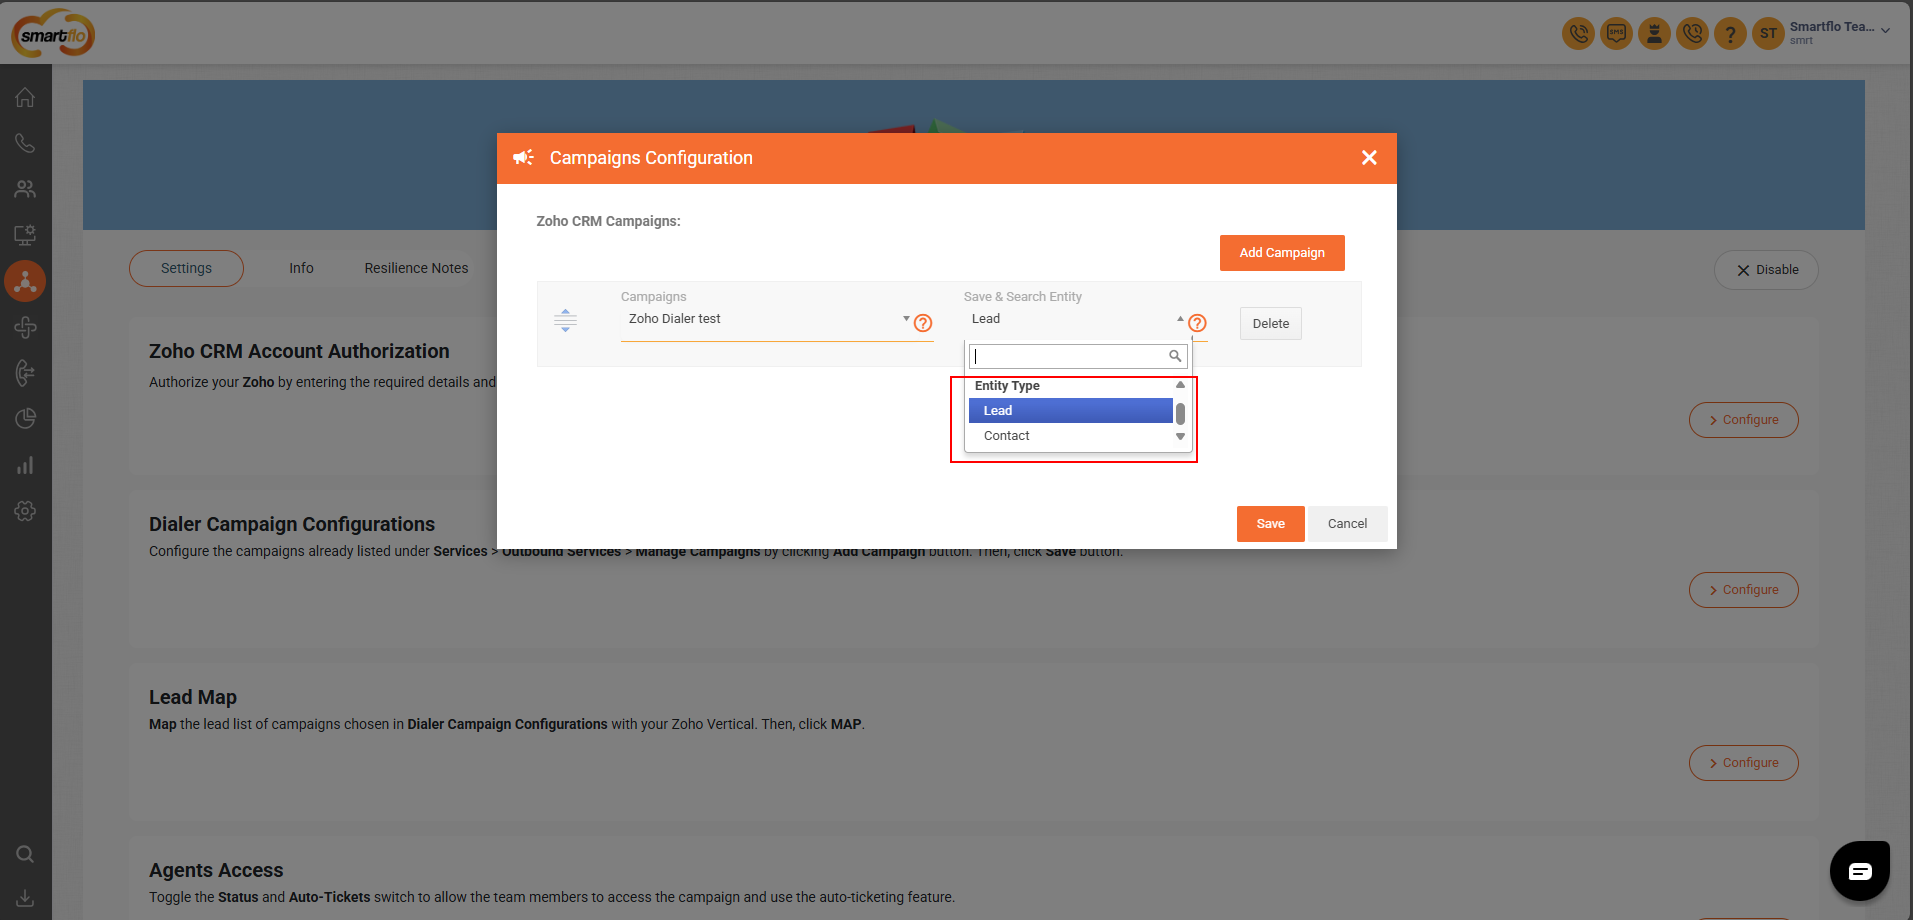
Select the appropriate campaign from the "Campaigns" dropdown, choose the entity type (e.g., "Lead"), and then click on the "Save" button to complete the configuration.
Note:In the Save and Search Entity setting, select Lead or Contact based on how your customer numbers are being stored.
If customer numbers are saved as Leads, select Lead.
If customer numbers are stored as Contacts, select Contact.
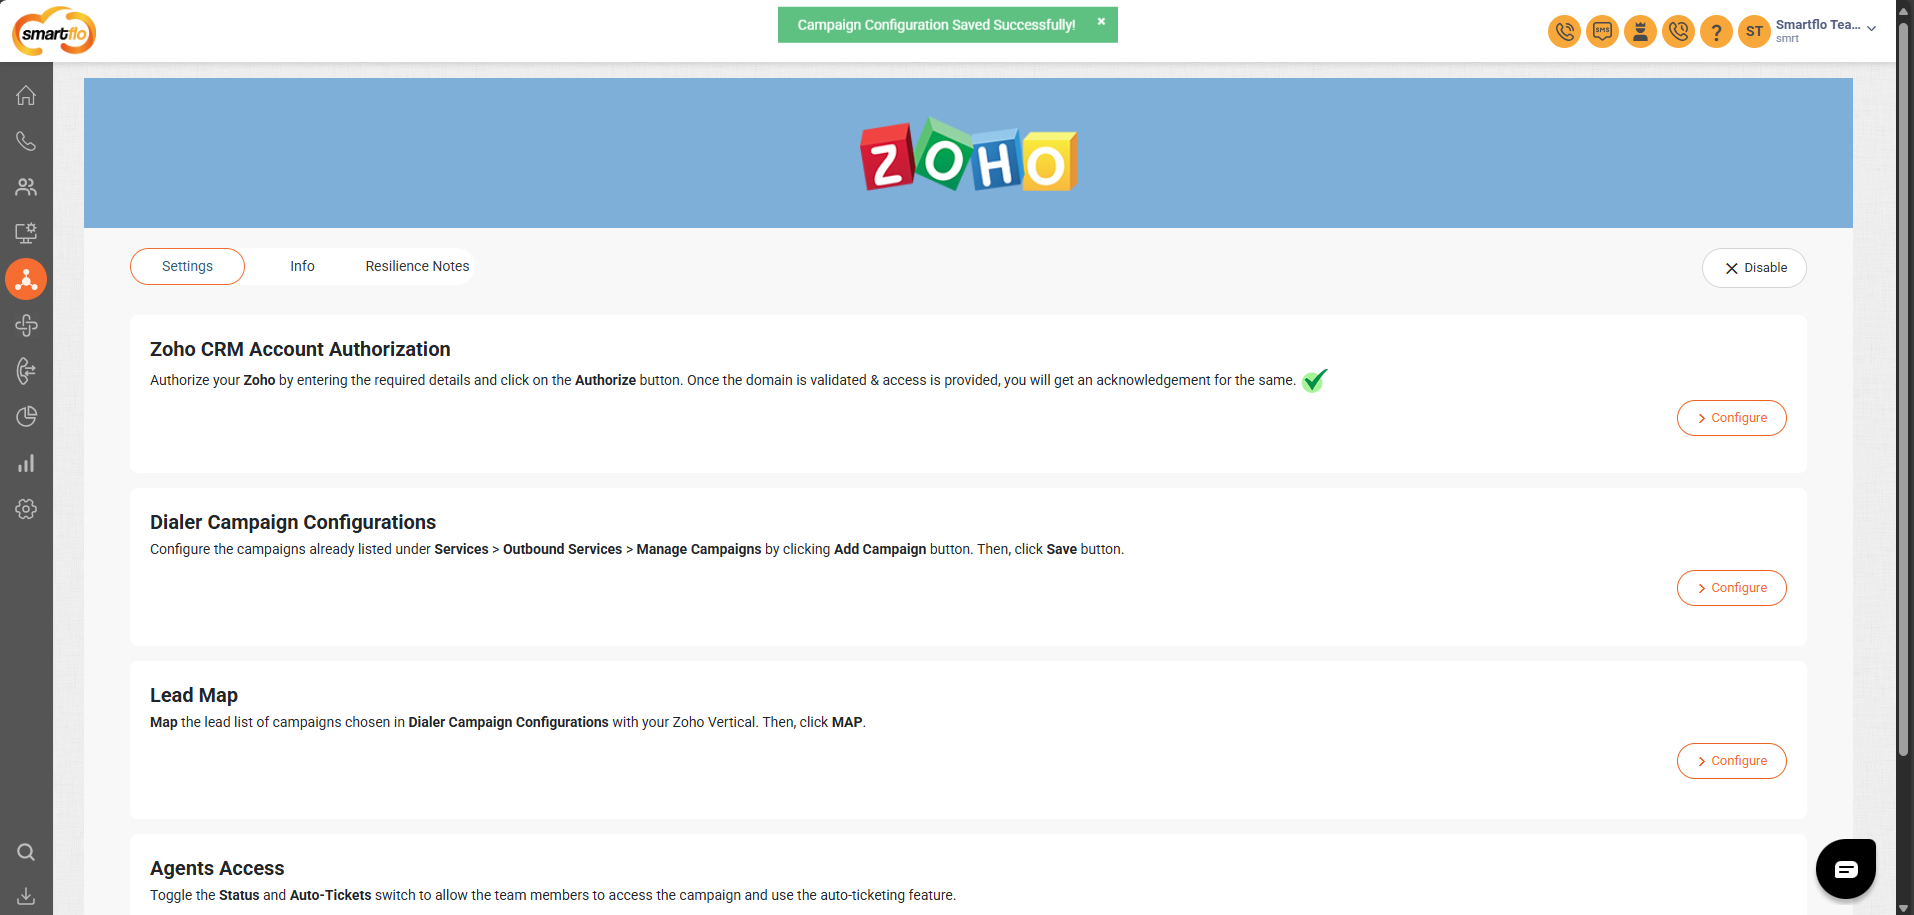
- Once the campaign and entity type are selected and saved, you’ll see a confirmation message:
“Campaign Configuration Saved Successfully!” indicating everything is set up correctly.
Important Note:
- Assign an empty Lead List during integration to ensure smooth data synchronization and prevent any error
- Only one Lead List should be assigned per campaign.
- The system supports two entity types: Lead and Contact only.
- Once the configuration is complete, a success message saying “Campaign Configuration Saved Successfully” will appear at the top of the screen, confirming that your settings have been applied.
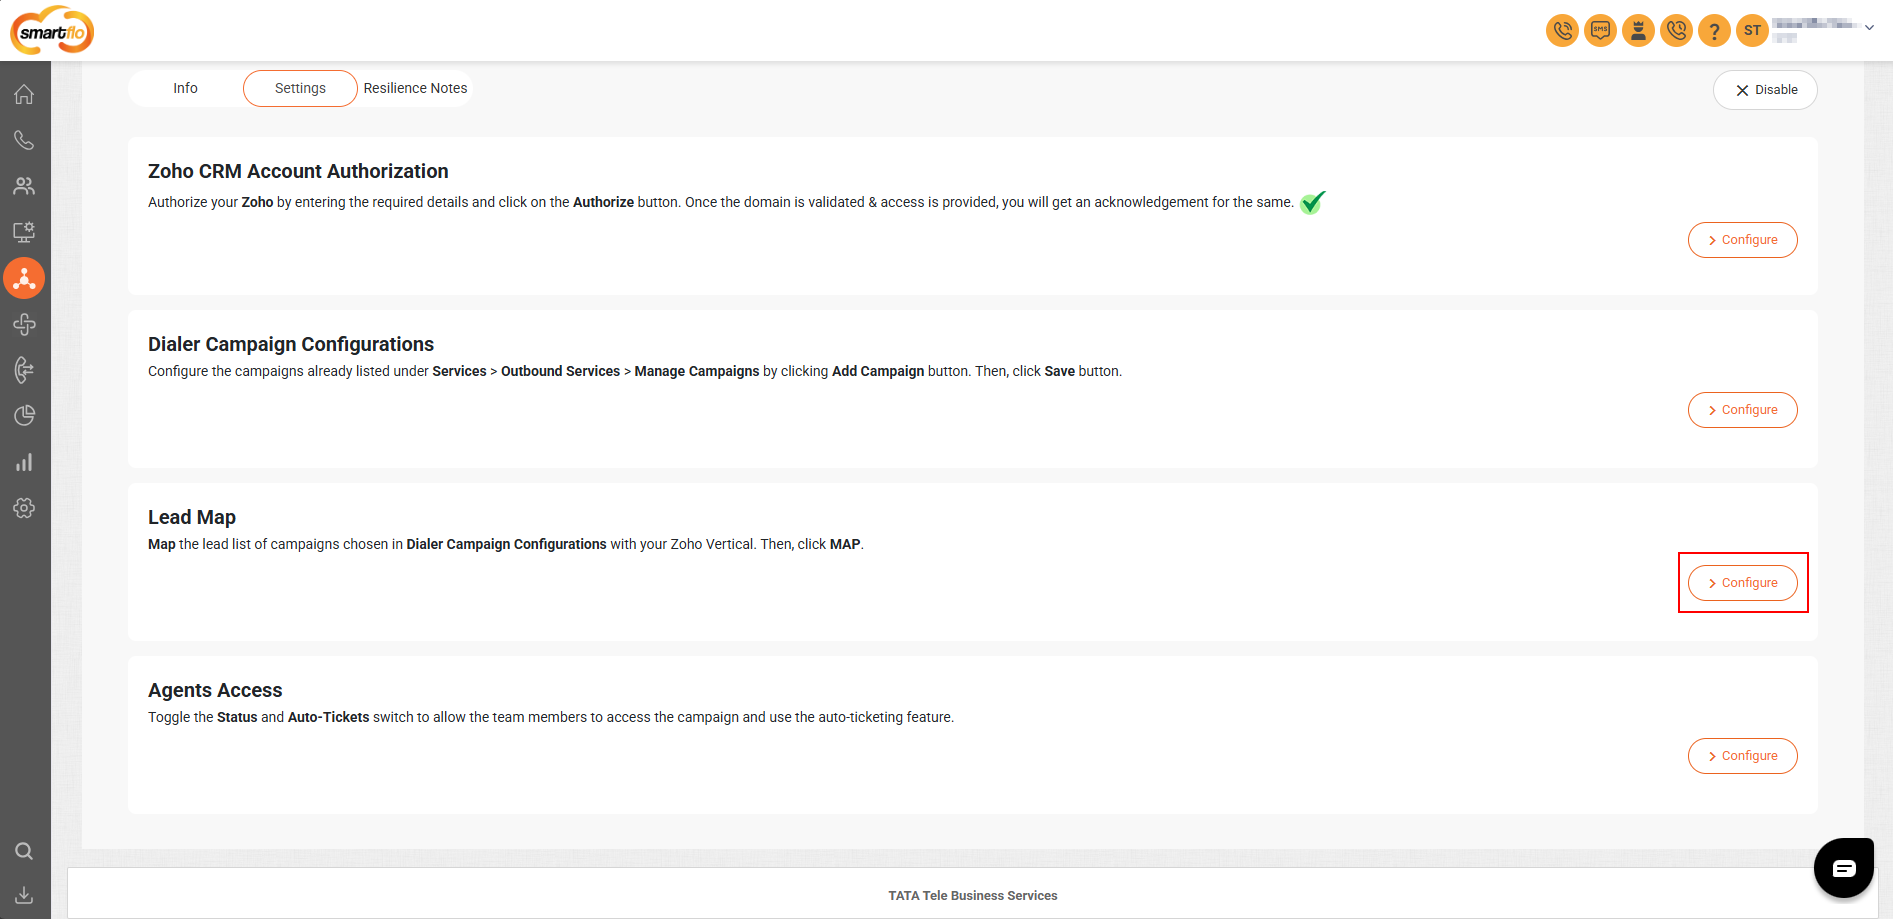
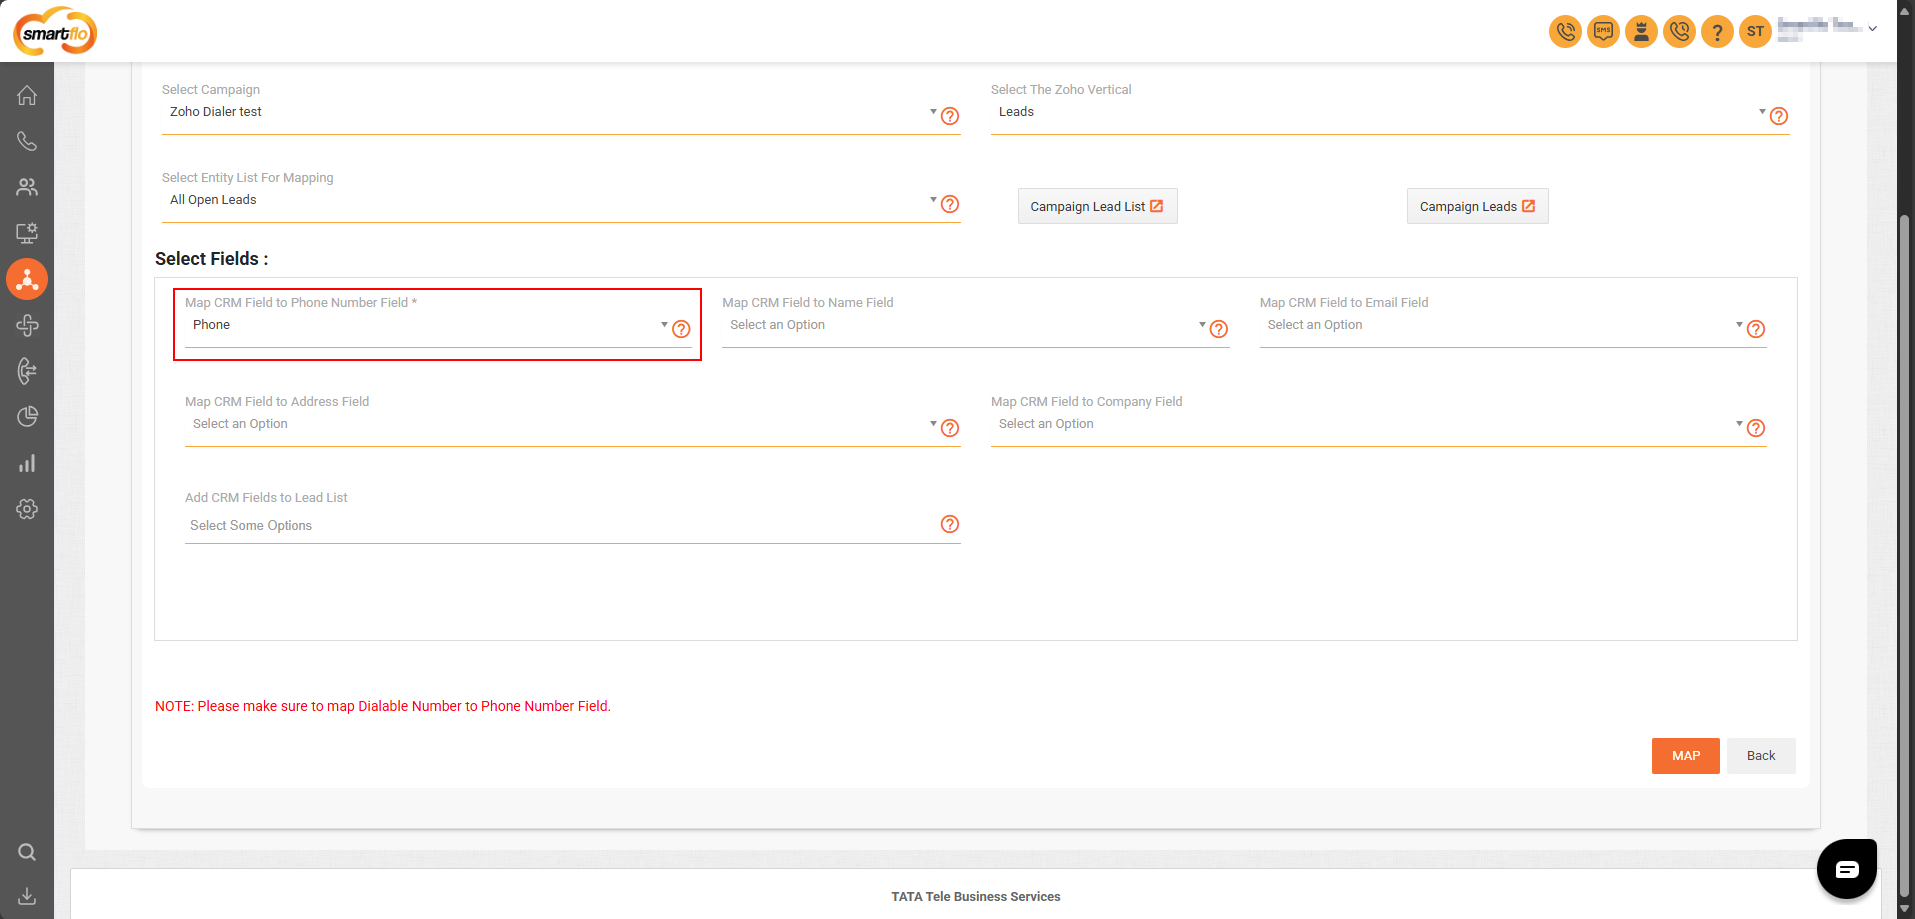
Step 4: Configure Lead Map
- Click the “Configure” button to the right of the Lead Map option
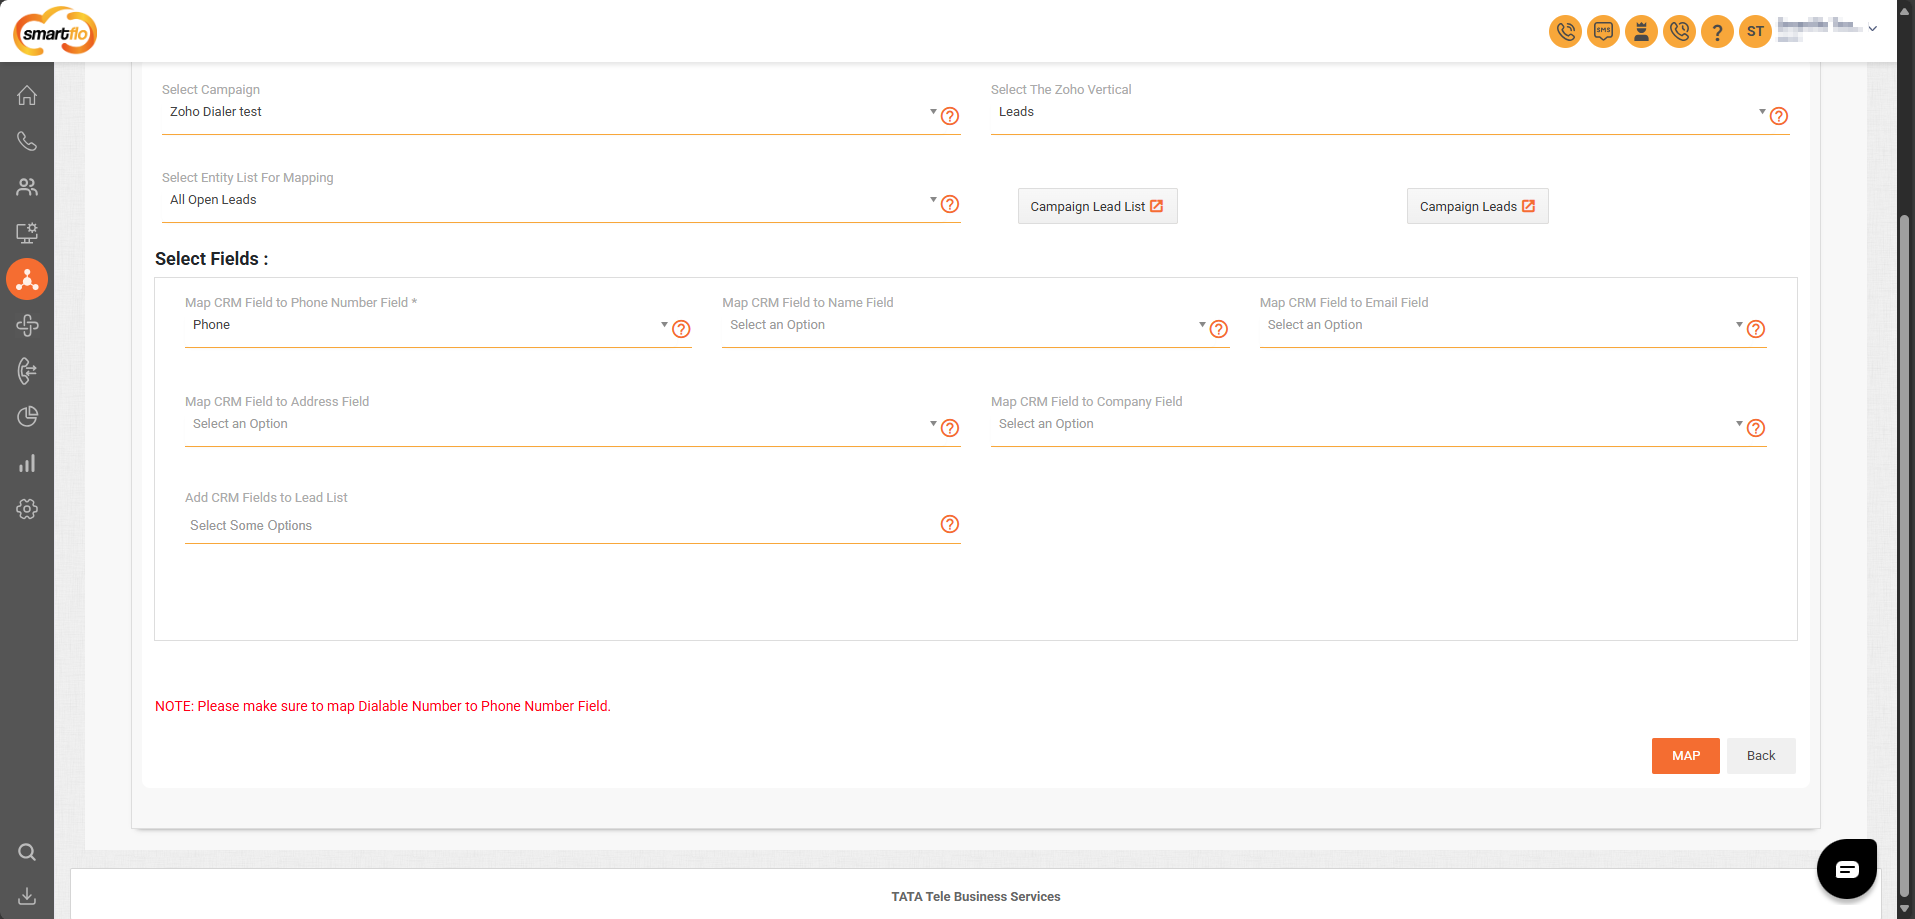
🔄 Lead Mapping Configuration – Smartflo Zoho Integration
| Step | Action | Description |
|---|---|---|
| 1 | Select Campaign | Choose the campaign you want to map from the dropdown list. |
| 2 | Select Zoho Vertical | Pick the appropriate Zoho module (e.g., Leads or contact) from the right dropdown. |
| 3 | Select Entity List for Mapping | Select the entity list like All Open Leads. |
| 4 | Click "Campaign Lead List" | (Optional) Click this to view or fetch existing campaign leads. |
| 5 | Map CRM Field to Phone Number | Choose the field (e.g., Phone) that contains the dialable number. Required. |
| 6 | Map CRM Field to Name | Select the CRM field to use for lead names. |
| 7 | Map CRM Field to Email | Select the CRM field that contains the email address. |
| 8 | Map CRM Field to Address | Choose the appropriate CRM field for address data. |
| 9 | Map CRM Field to Company | (Optional) Map to the company name field if needed. |
| 10 | Add CRM Fields to Lead List | Select additional fields to include in the lead list. |
| 11 | Click "MAP" | Save your mapping by clicking the MAP button. |
| 12 | Click "Back" | Use this to return without saving any changes. |
Make sure the dialable number is mapped to the Phone Number Field to enable calling features.
Step 5: Configure Agents Access
-
Click the “Configure” button to the right of the Agents Access option.
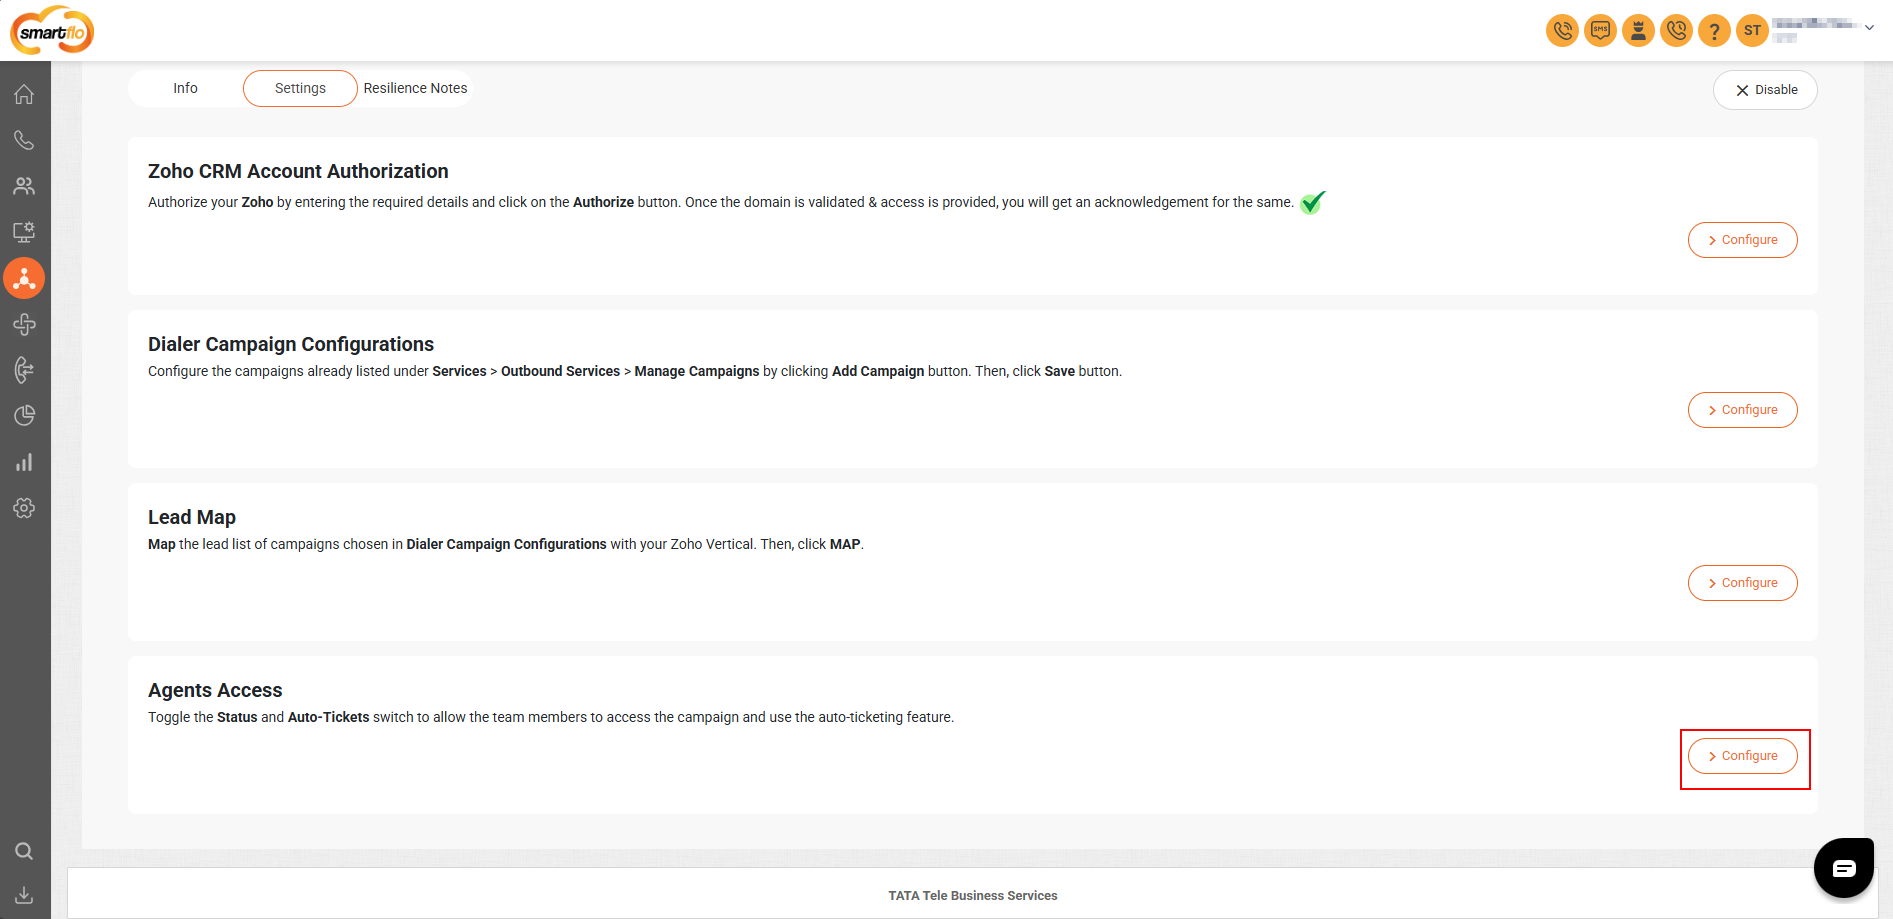
-
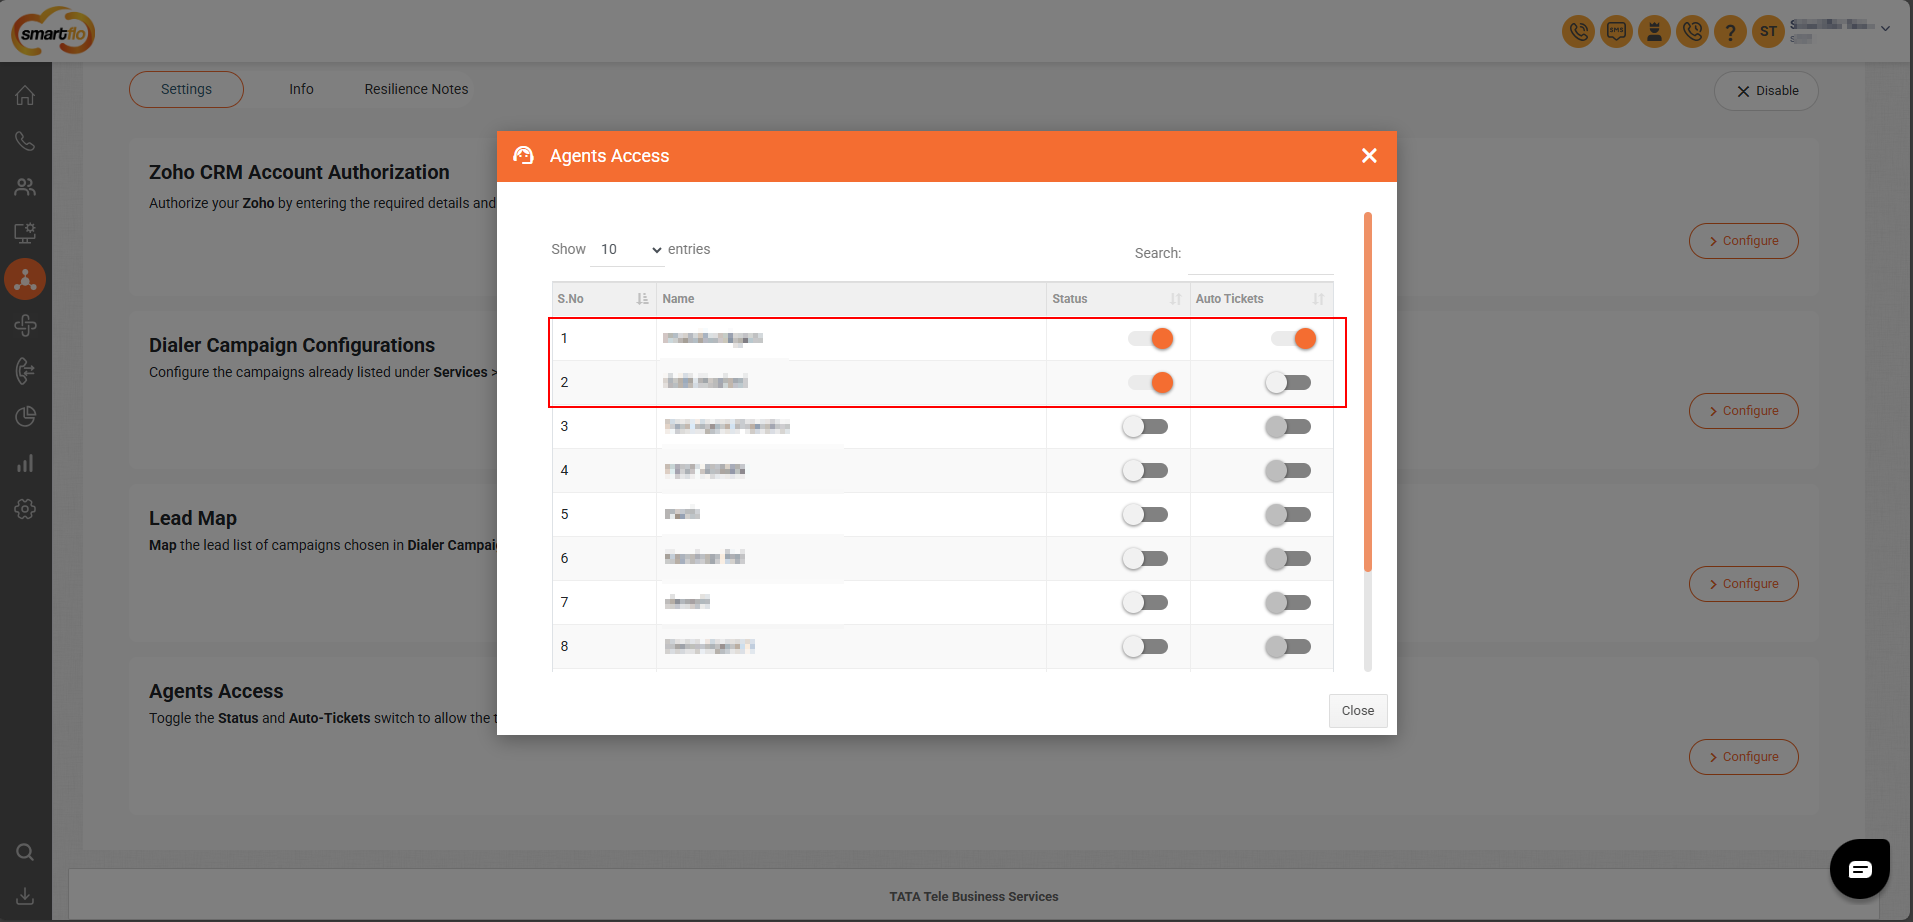
Toggle the Status switch for agent in the popup to manage their campaign access and ticket automation.
Agent Access Settings:Status: Enable this option to activate Zoho integration for the user.
Auto-Tickets:
- If Auto-Ticket is turned ON, a ticket will be created automatically after the call ends (hangup).
- If Auto-Ticket is turned OFF, the agent must manually fill out the disposition form after the call. Only then will the ticket be generated.
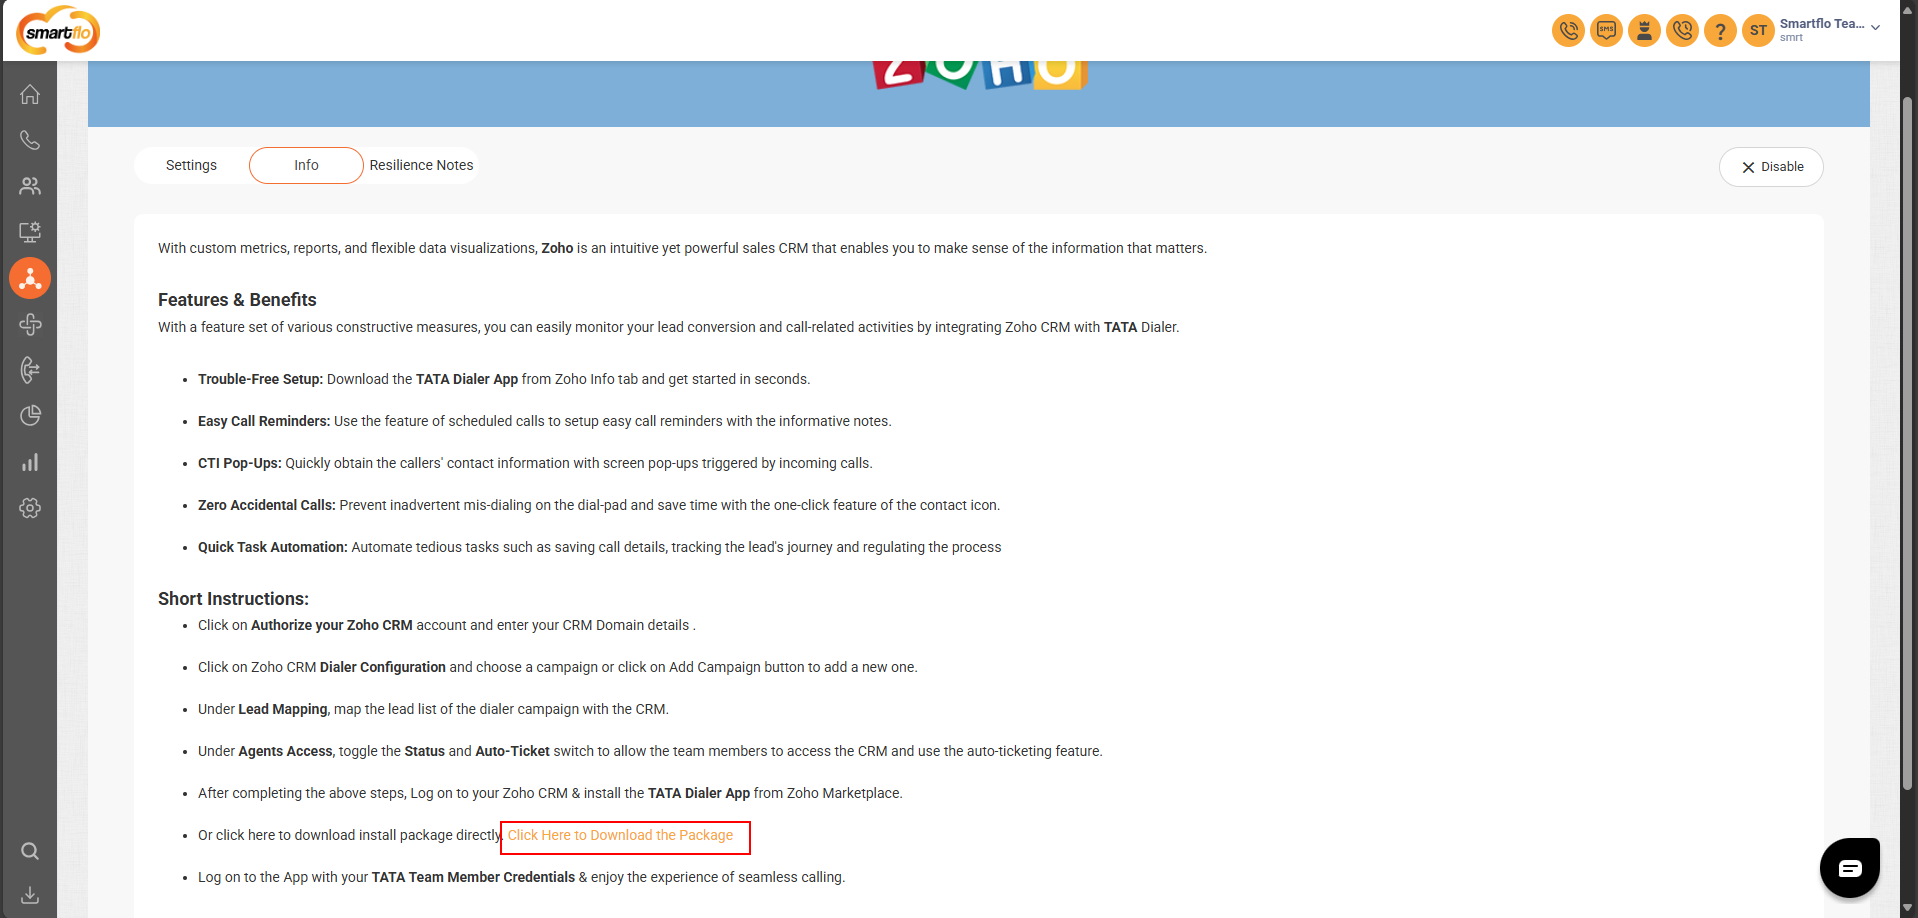
Step 6: Download the Package
-
Go to Info tab
-
Click "Click Here to Download the Package" to manually install the Smartflo Dialer App in Zoho CRM.
-
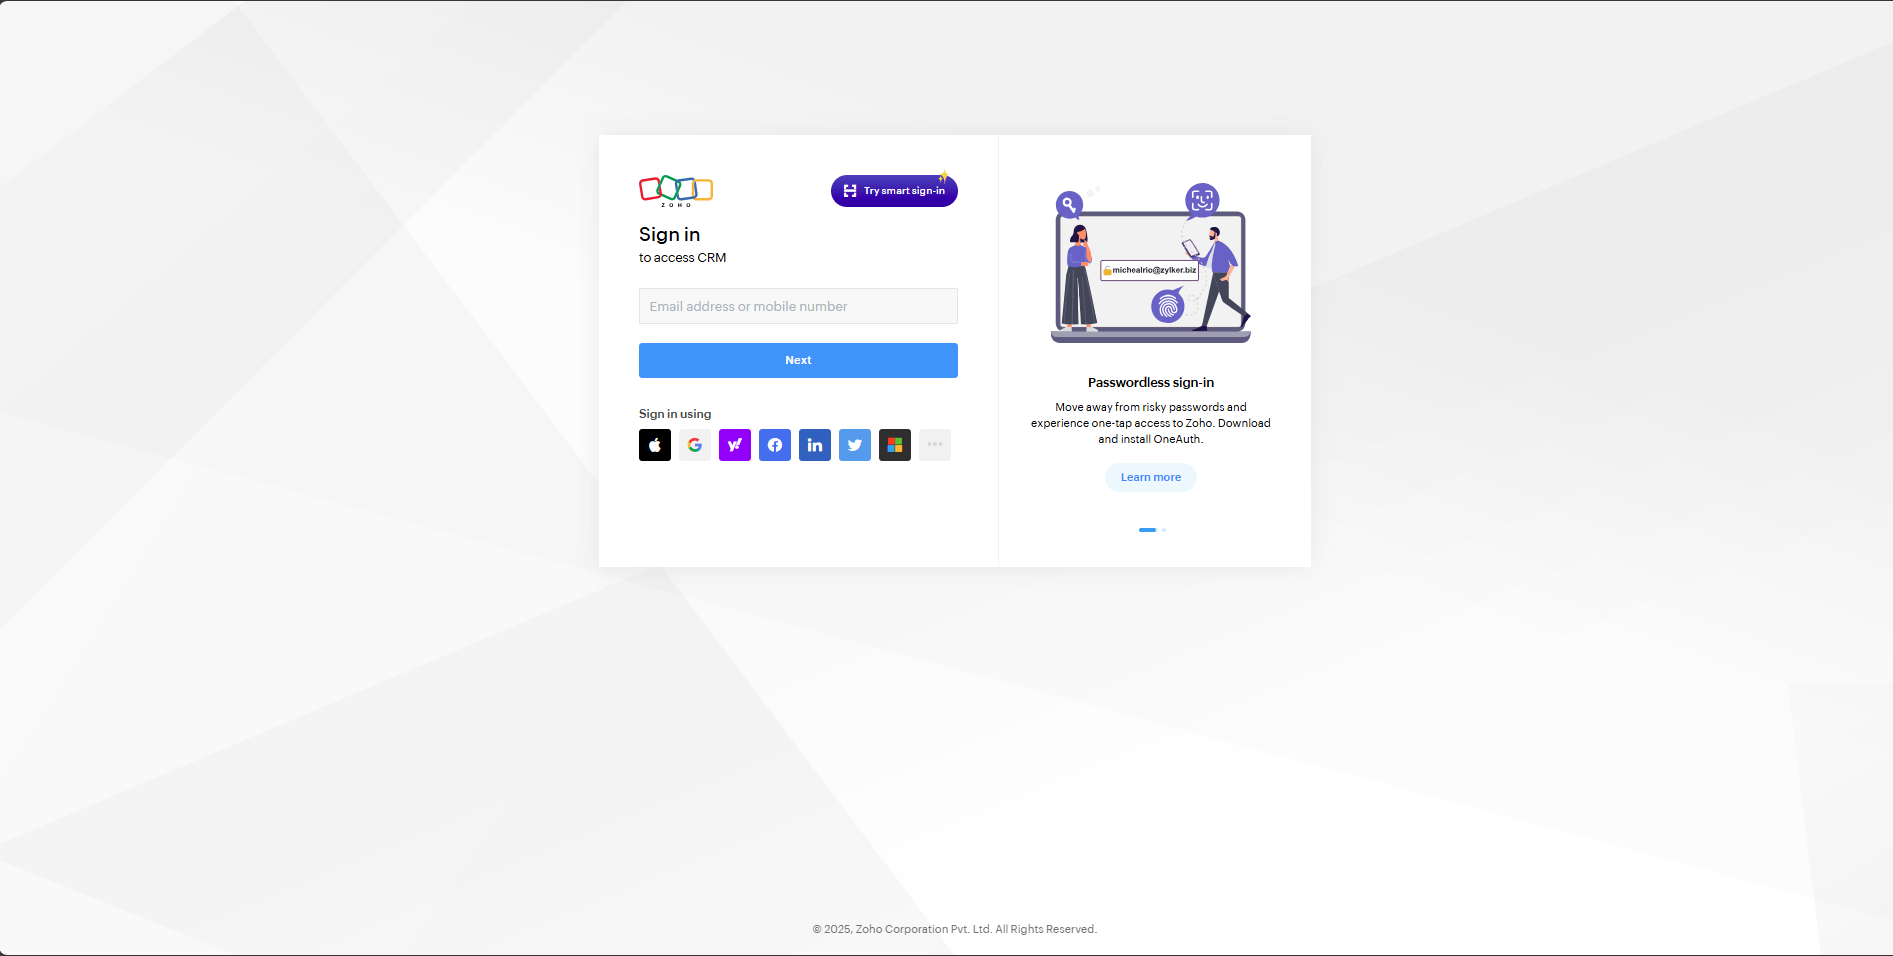
Log in to Zoho CRM using your email or mobile number or choose a preferred provider from the sign-in options below.
Sign-in must be performed using admin credentials to ensure access to all necessary integration settings and permissions.
-
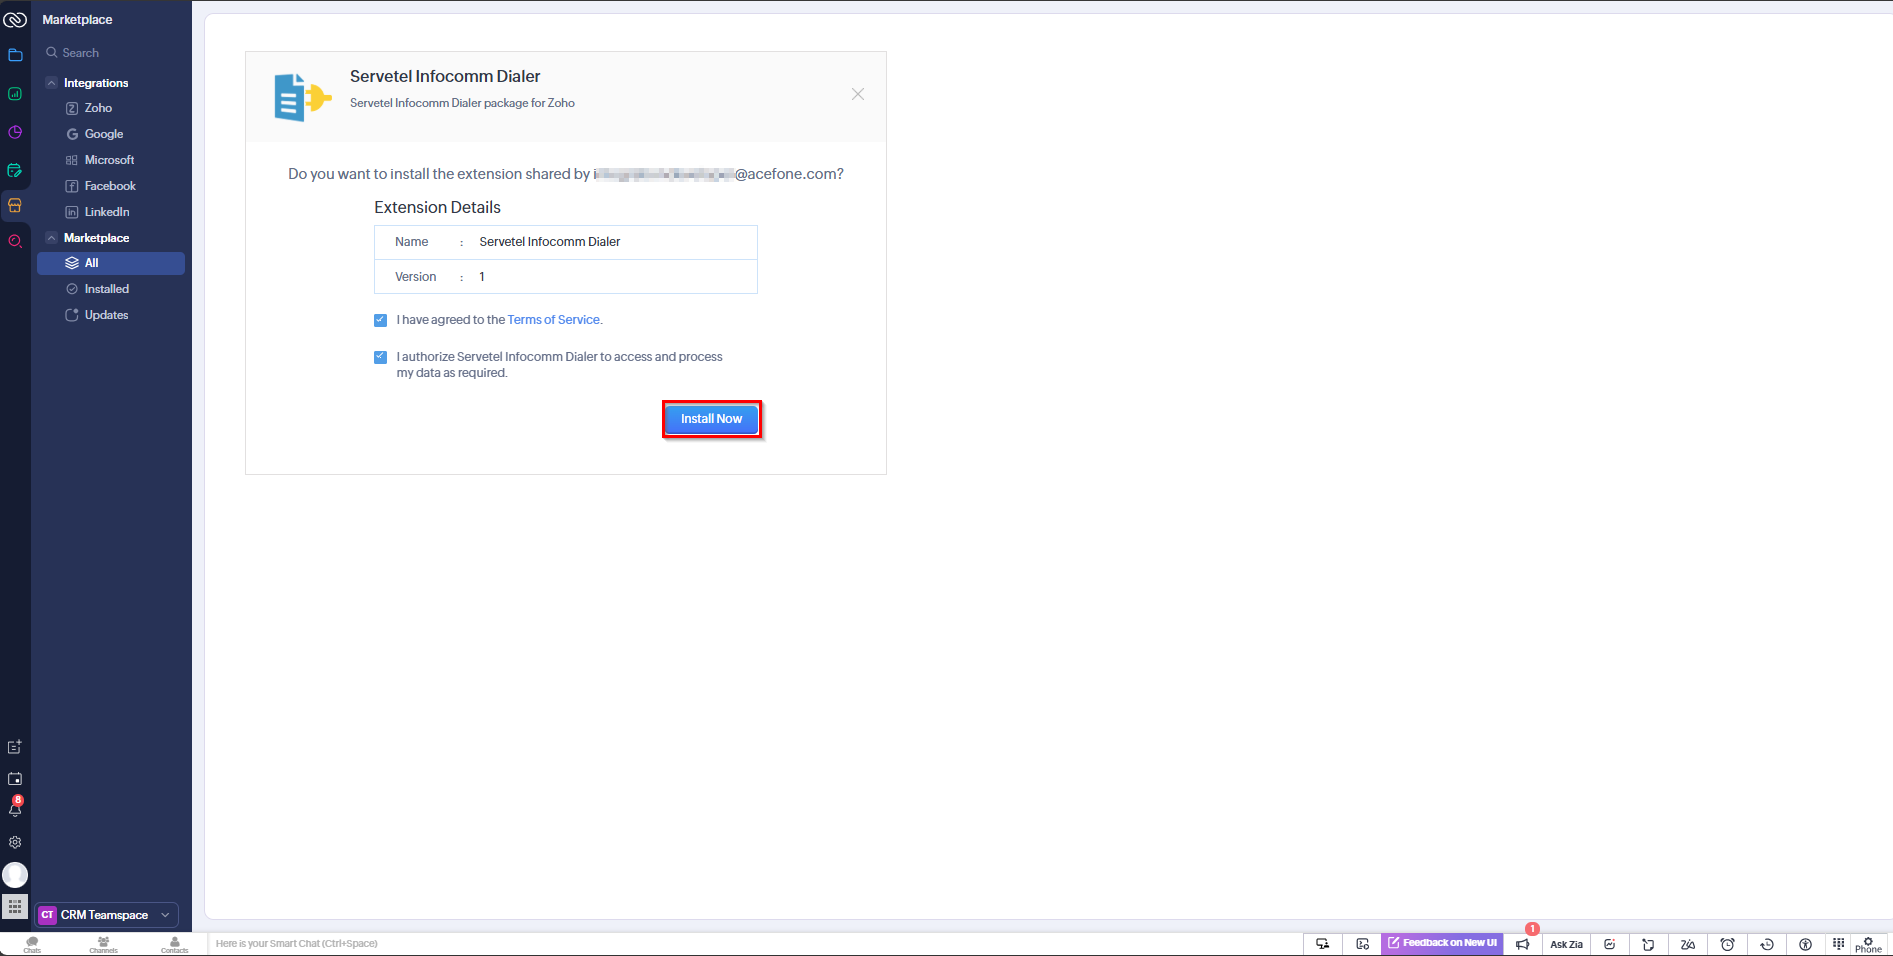
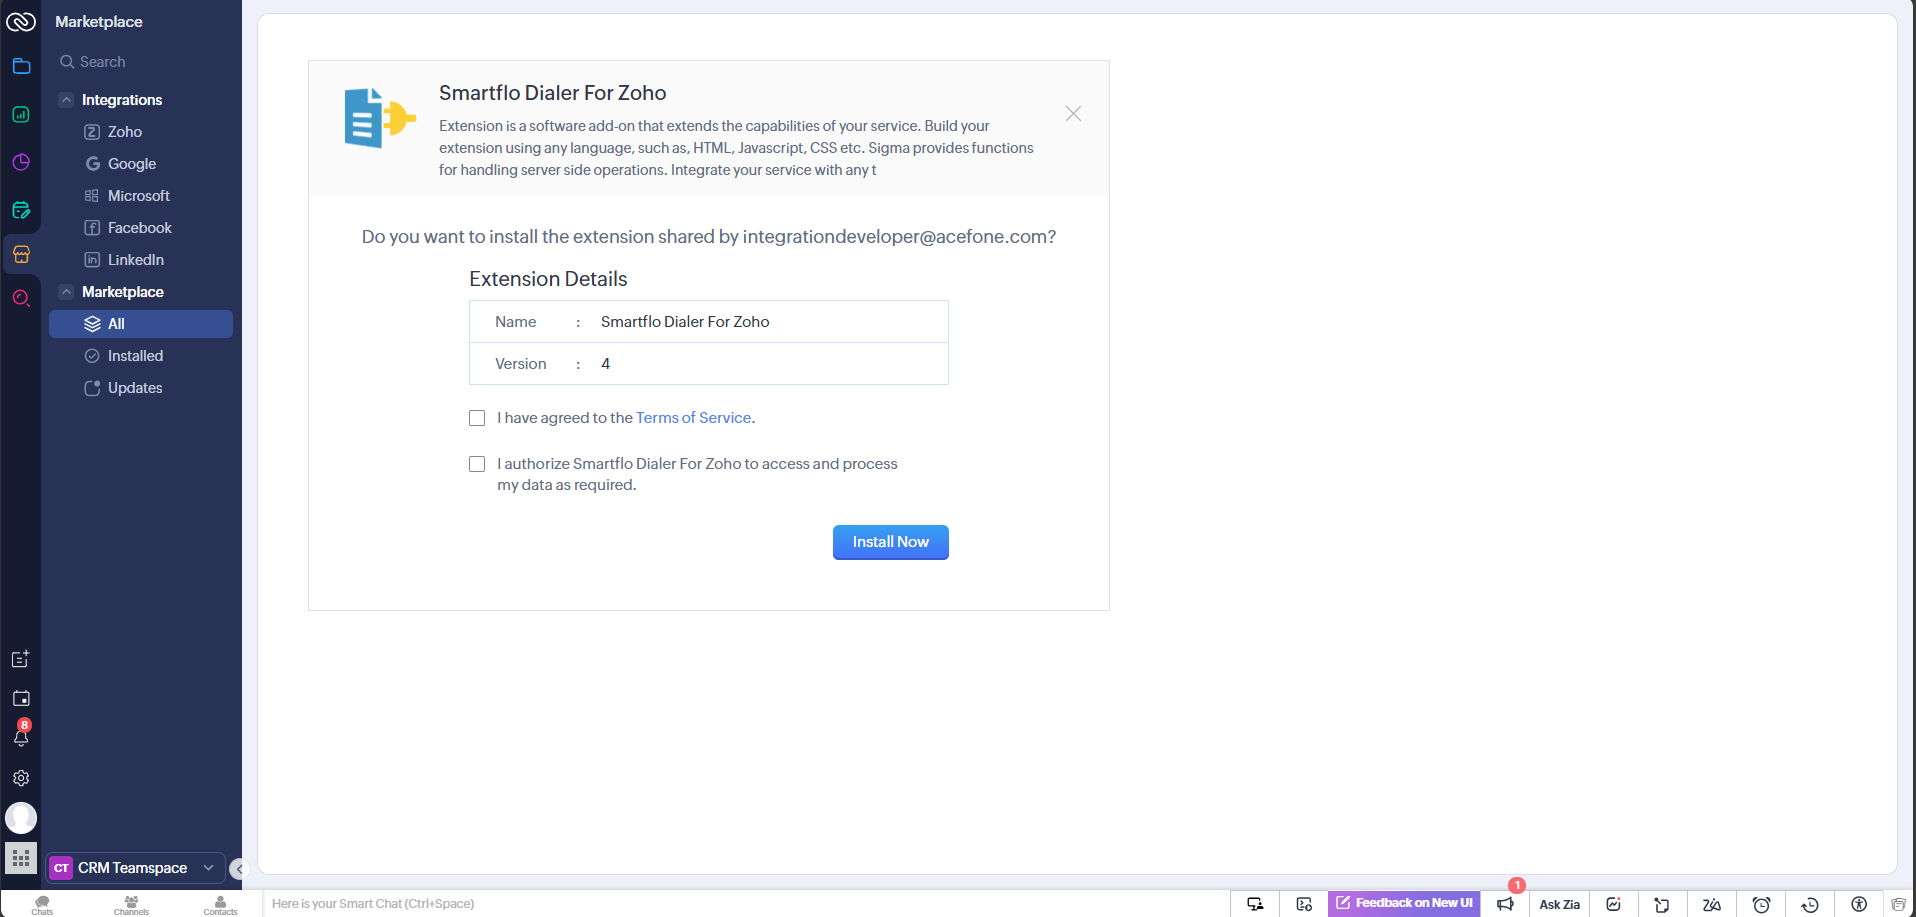
Agree to the terms and click Install Now to install the Smartflo Dialer extension in Zoho Marketplace.
-
Verify the Smartflo Dialer For Zoho extension is installed and active under Zoho Marketplace > Extension Details.
Step 7: Agent Authorization
-
Now, the agent needs to log in using their account, the one for which Zoho CRM Account Authorization was provided.
-
Navigate to the Integrations Tab from the side-navigation panel and in dialer integration, click on More Details for Zoho CRM integration.
- Click on the Authorize button to proceed.
The data center visible in the dropdown (e.g., IN) will be the one authorized and configured by your account administrator for Zoho CRM integration.
- After clicking Authorize, you will be redirected to this screen where you must click Accept to grant smartflo permission to access data in your Zoho account — this completes the authorization process.

Next Up: How to use Zoho CRM
Updated about 1 year ago