Time Conditions
Time conditions enable precise control over call routing by defining where calls will be directed based on the active time group. This feature allows you to set specific destinations for incoming calls, ensuring they are routed to the appropriate agents or departments according to predefined schedules. For example, during regular business hours, calls might be routed to a customer service team, while after-hours calls could be sent to voicemail or a specialized night shift team. Time conditions work hand-in-hand with time groups, automatically managing call destinations without the need for manual intervention. This ensures seamless and efficient call flow, reducing the possibility of missed or misrouted calls.

Getting Started with Time Conditions
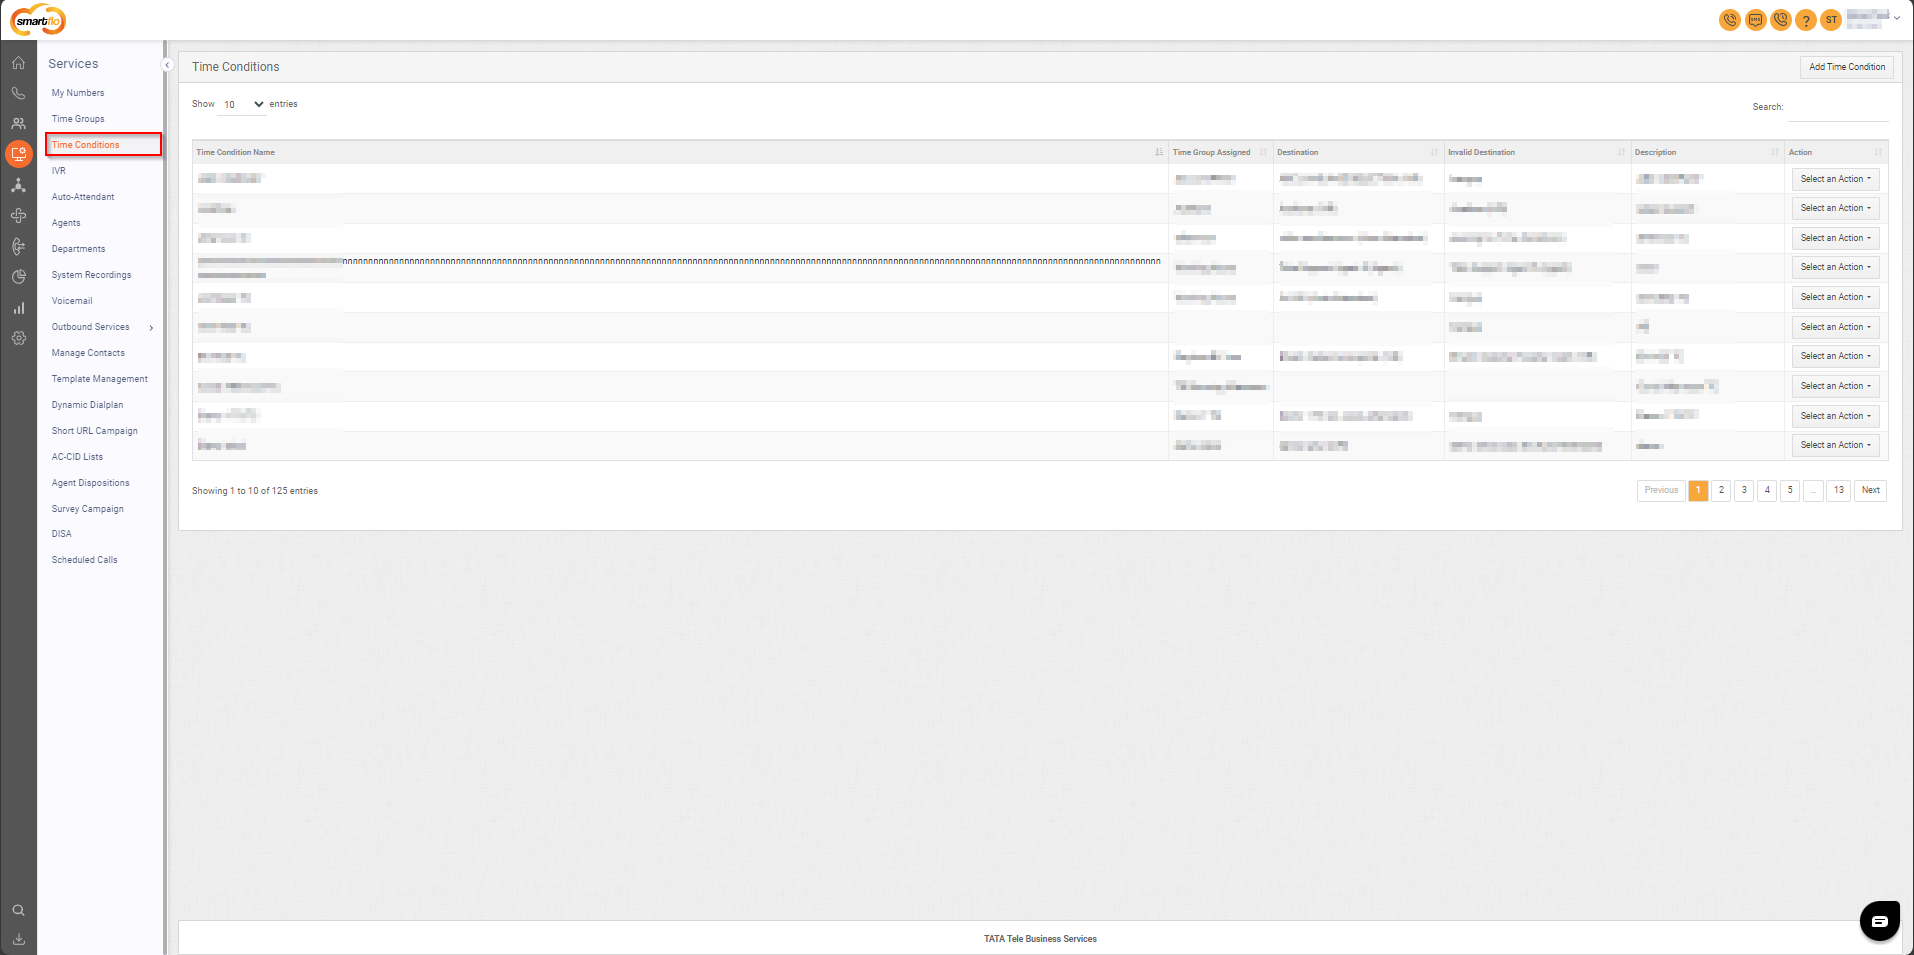
To go to Time Conditions to your Smartflo account, first log in using your unique User ID and Password. Once logged in, you will be directed to the main dashboard. From there, locate the navigation menu on the left-hand side of the screen and click on "Services." A set of options opens up. One of these options is the “Time Conditions".
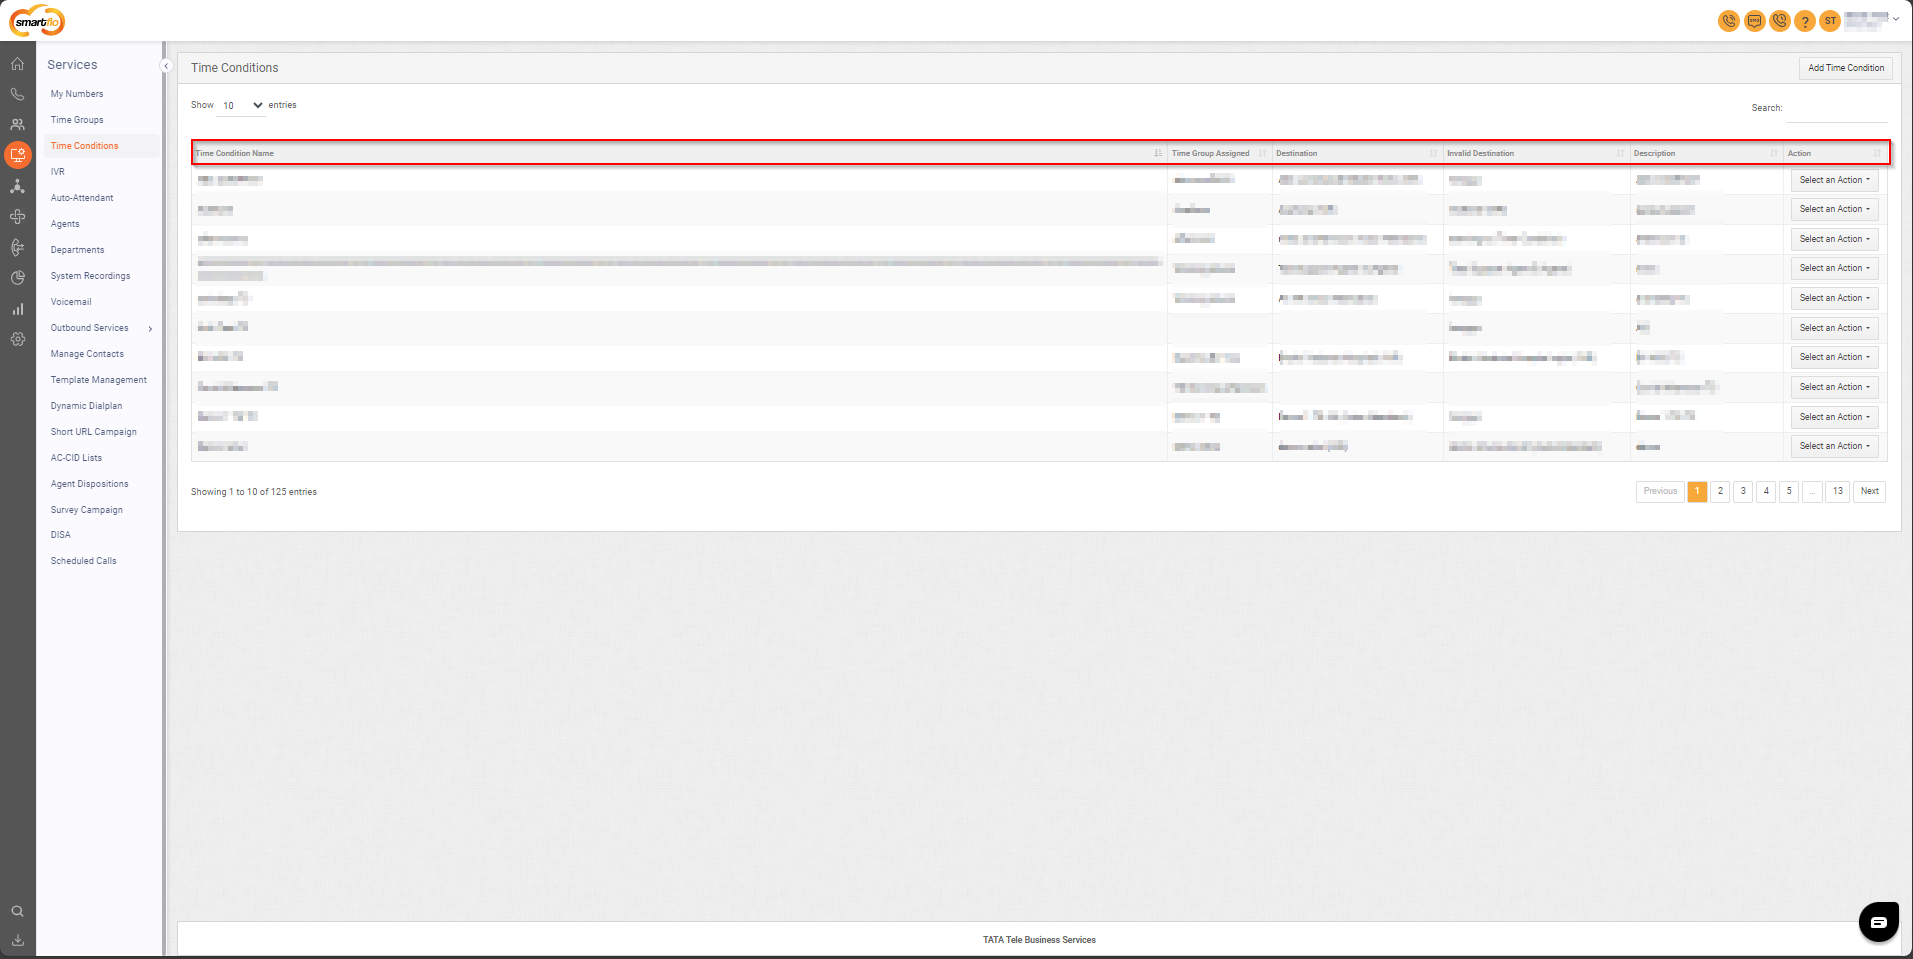
- List of Time Groups

The table displays a list with the following information:
| Field | Description |
|---|---|
| Time Condition Name | The Time Condition Name is used to identify specific call routing rules that are based on time groups. |
| Time Group Assigned | The Time Group linked to the time condition defines the schedule for call routing. |
| Destination | Specifies where the call will be routed during the active time group (e.g., to an agent or department… etc). |
| Invalid Destination | The fallback destination for calls if an issue arises with the primary destination (e.g., to an agent or department… etc). |
| Description | A brief description of the time condition, providing context for its purpose and usage. |
| Select an Action | Options to edit or delete the time condition, allowing for easy updates or removal of routing rules. |
- Add Time Condition
To add a time condition, follow the below steps:
- Click on the Services tab on the side navigation.
- Click on Time Conditions.
- A list of all time conditions is displayed along with the relevant details.
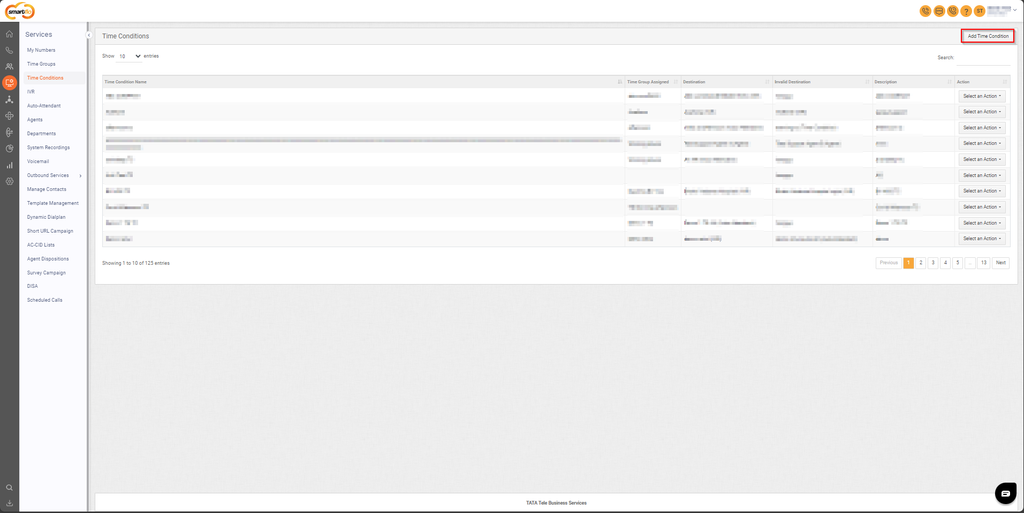
- Click on Add Time Condition.

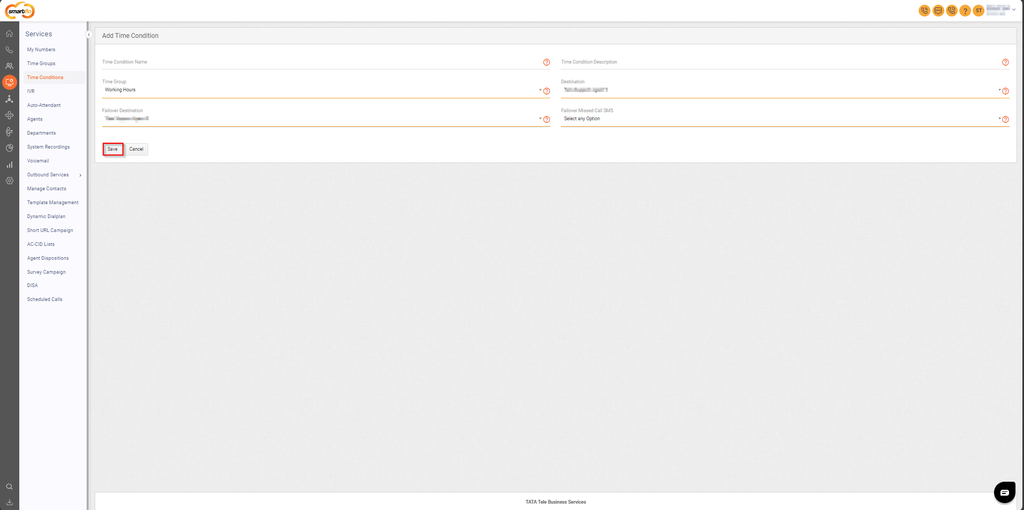
- Enter the basic details for the time condition. For example, if creating a time condition for an IVR, select the appropriate Time Group, set the Destination to the IVR, and choose the Failover Destination (such as hangup or another destination based on your needs). Additionally, specify the Failover Missed Call SMS.
- Failover Missed Call SMS: Select a predefined SMS from the template management. Whenever the call is routed to the failover destination, the selected failover SMS will be triggered automatically.
To enable the failover SMS feature, an active SMS setting must be configured in your account. This is required for the SMS to be triggered when the call is routed to the failover destination.
- Click Save.

Updated about 1 year ago