Departments
Departments Overview
- A Department is used to distribute incoming calls to a designated group of agents, ensuring that calls are handled efficiently by the appropriate team.
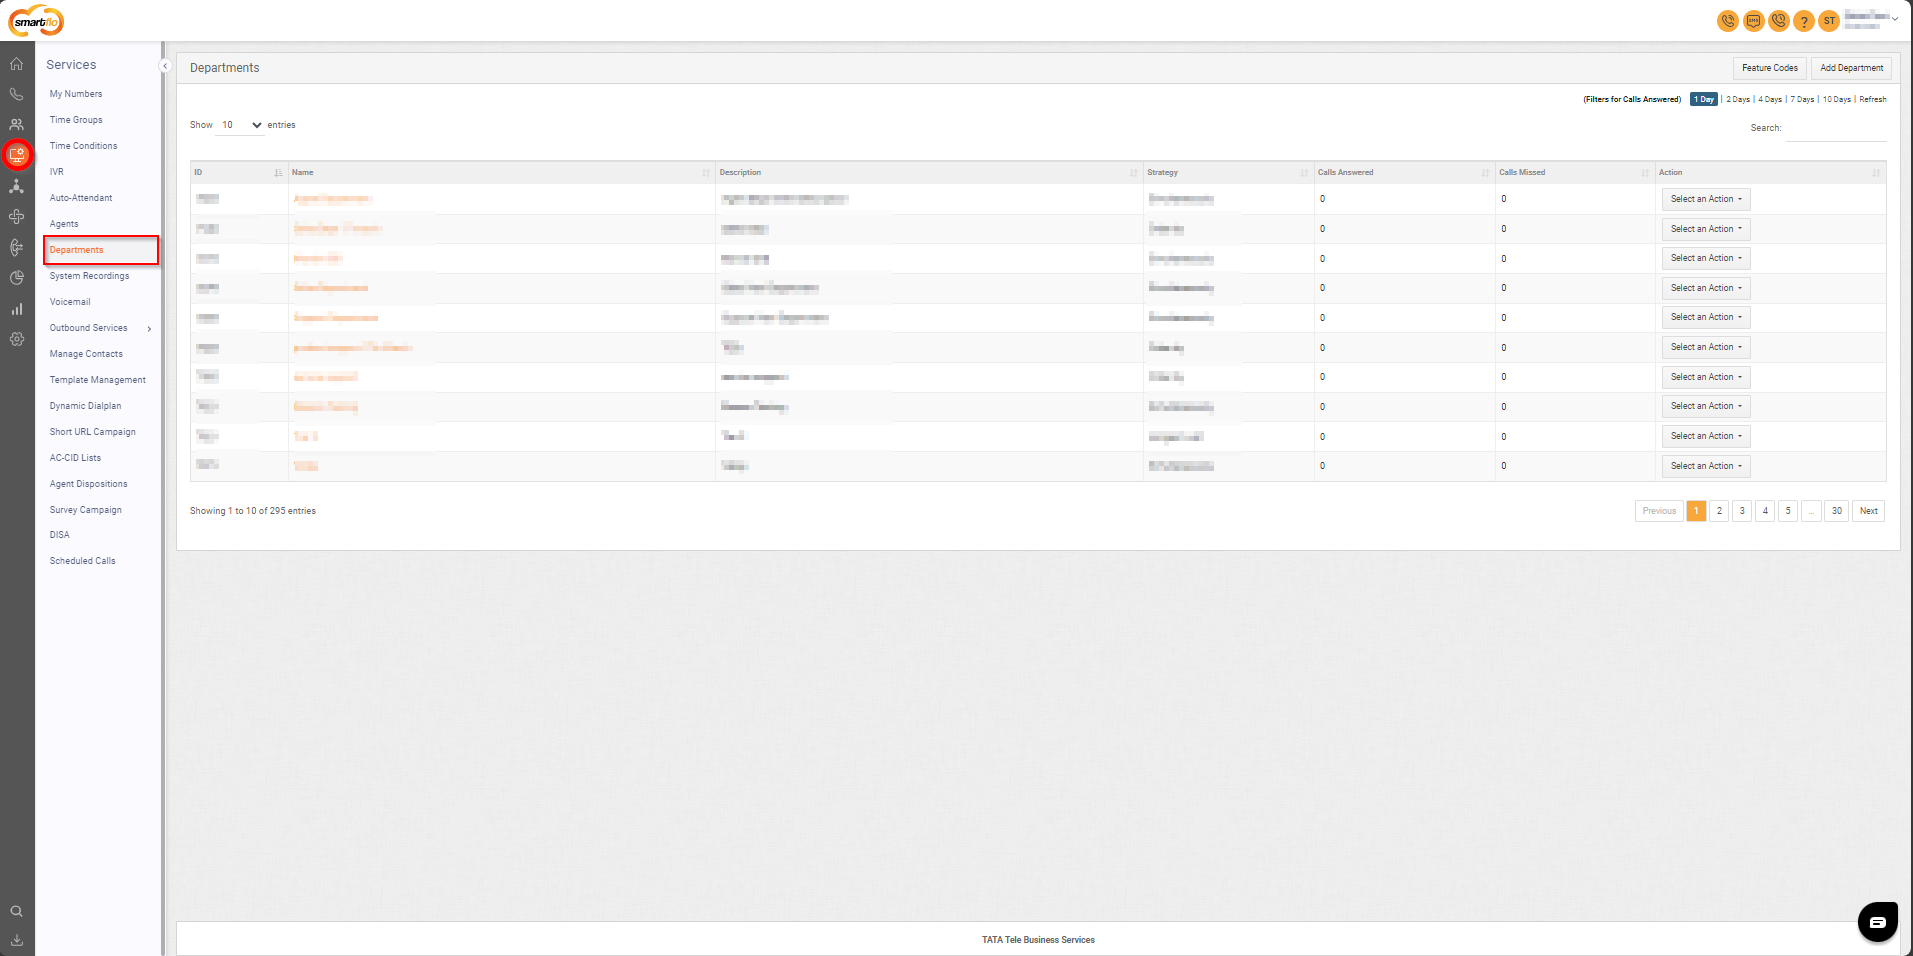
Getting Started with Departments
- To go to Departments in your Smartflo account, first log in using your unique User ID and Password. Once logged in, you will be directed to the main dashboard. From there, locate the navigation menu on the left-hand side of the screen and click on "Services." A set of options opens up. One of these options is the “Departments".
1. List of Departments
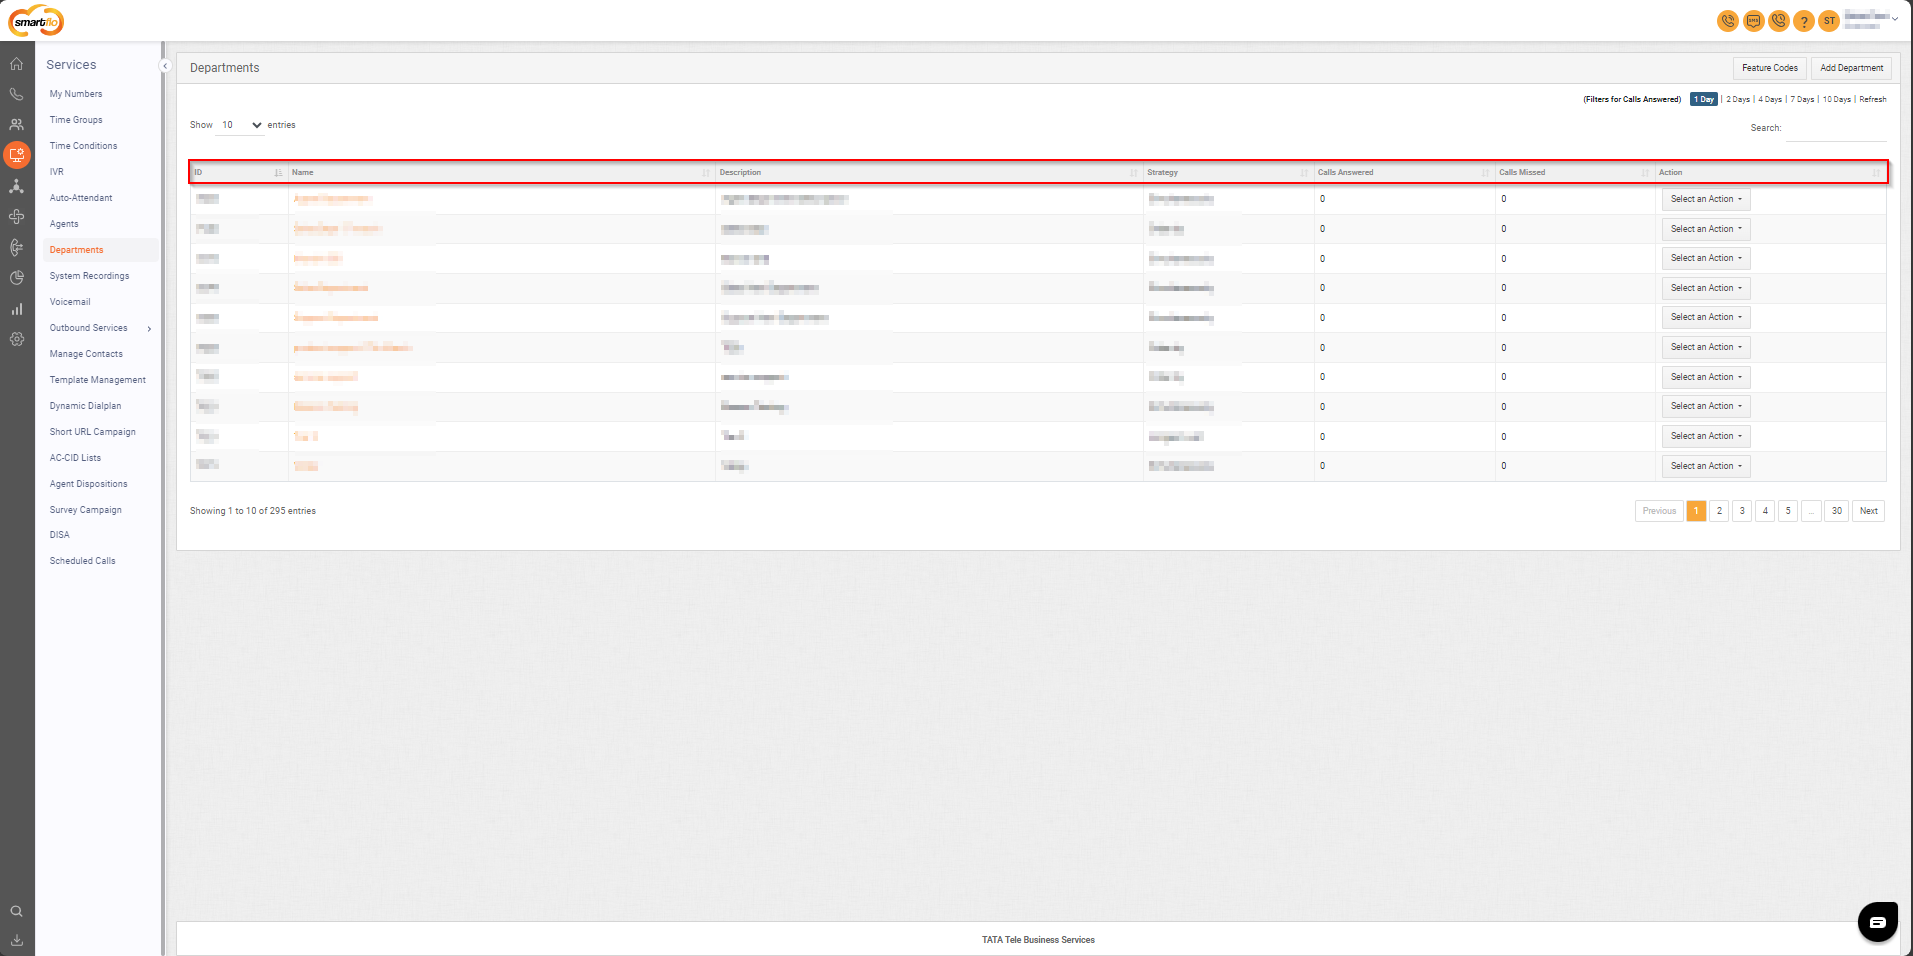
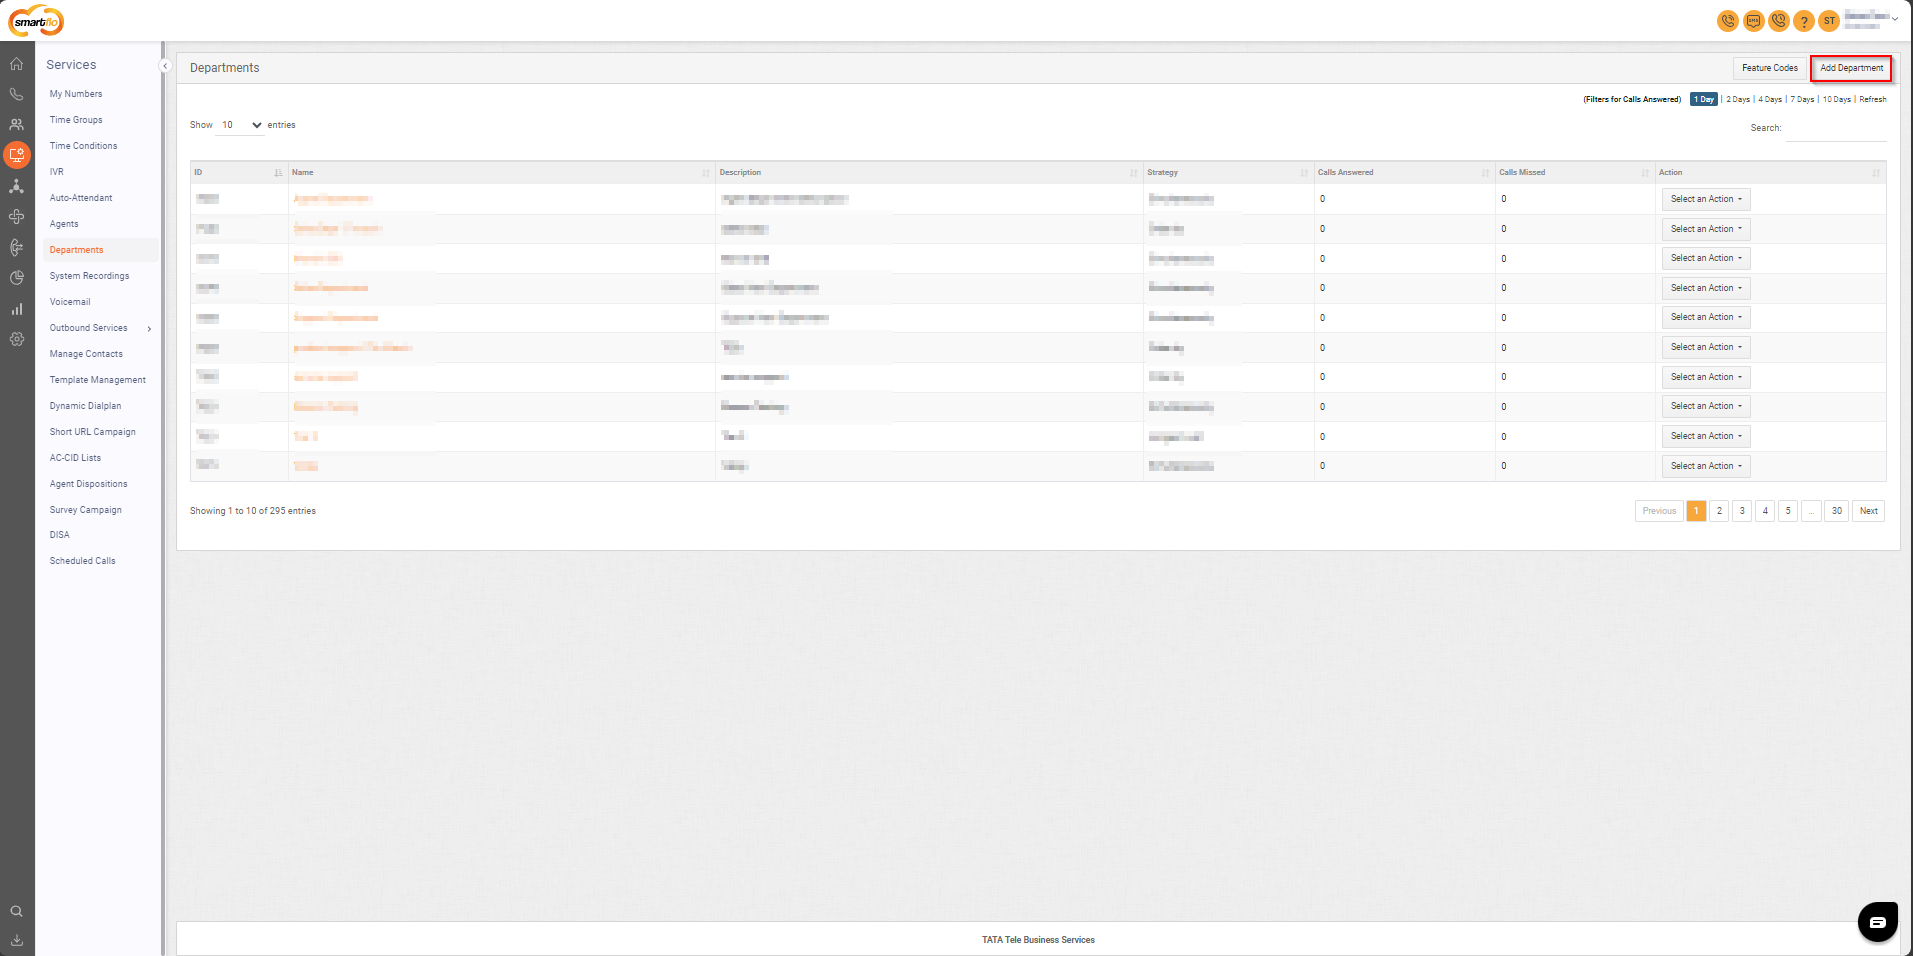
- The table displays a list of all departments with the following information:
| Field | Description |
|---|---|
| ID | A unique identifier for the department. |
| Name | The name of the department. |
| Description | A brief description outlining the purpose or role of the department. |
| Strategy | The call distribution strategy within the department determines how incoming calls are assigned to agents. Available options include Simultaneously, Order-By, Random, Round-Robin, and Longest Wait Time. |
| Calls Answered | The number of calls successfully answered by agents in the department. |
| Calls Missed | The number of calls that were missed or not answered by the department. |
| Action | Options to edit or delete the department. |
2. Feature Codes
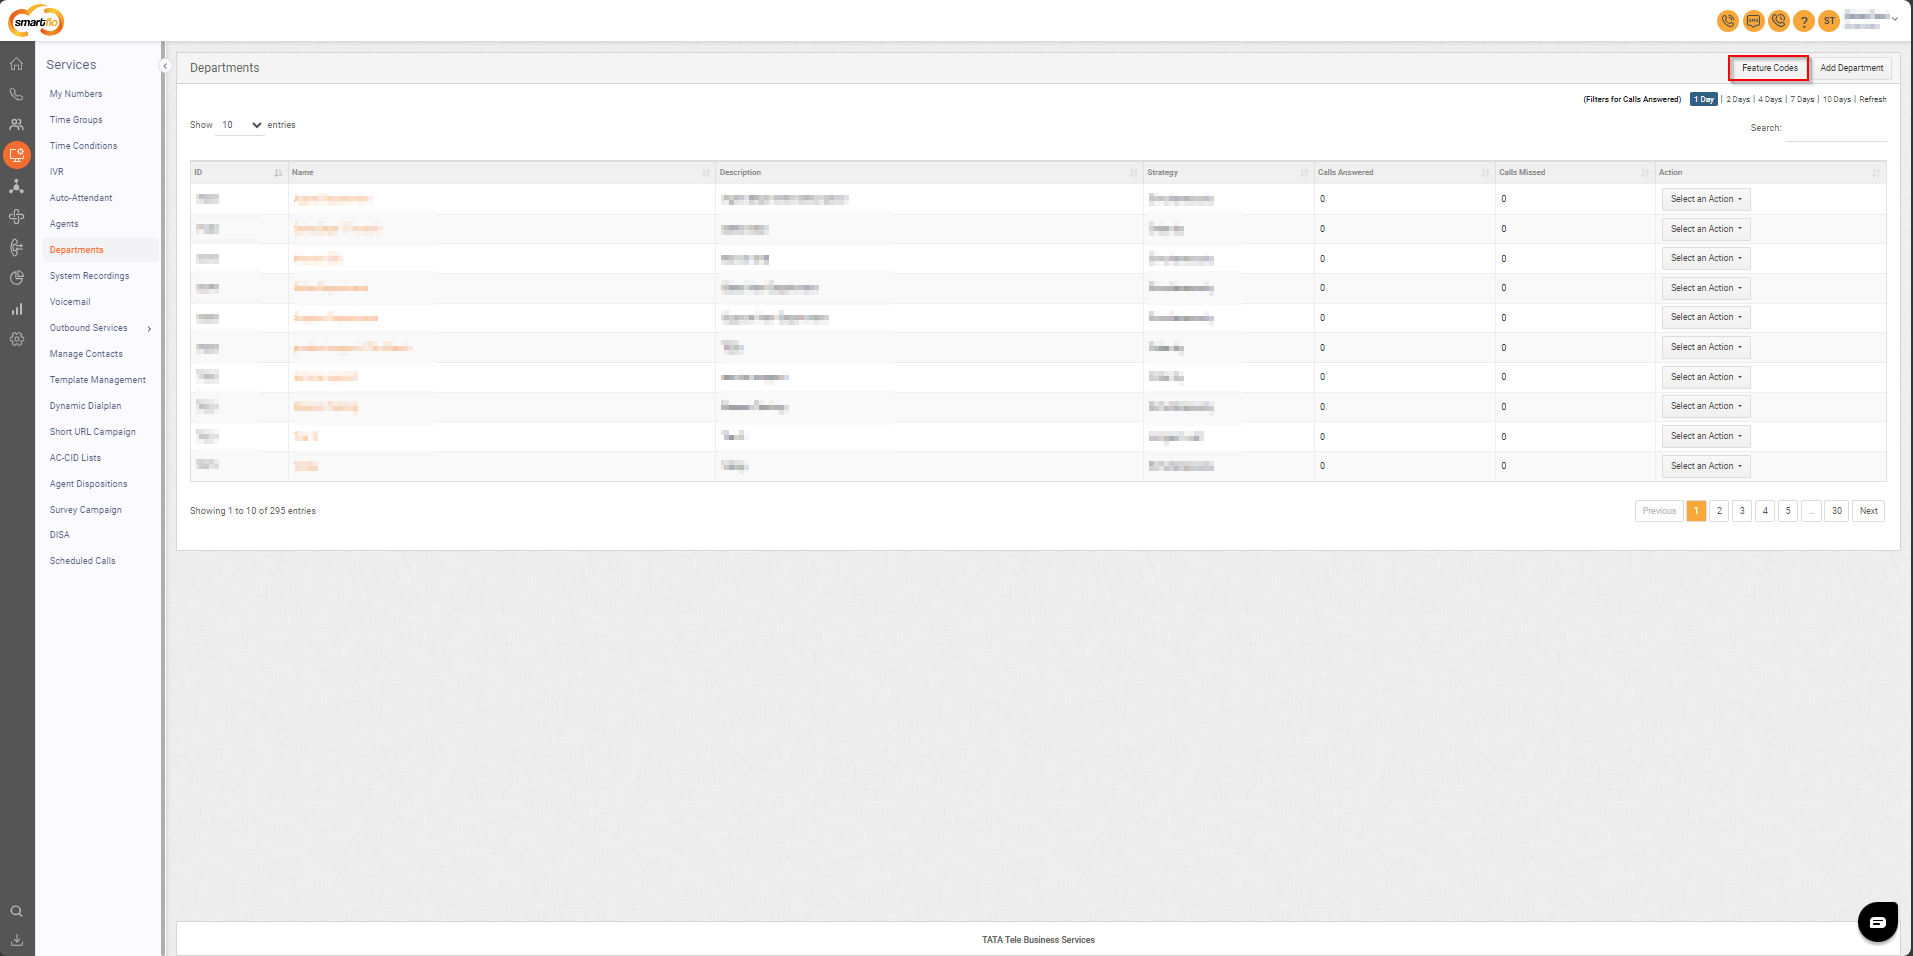
Note: In order to transfer the call from one agent to another or to an external number, follow the given instructions:
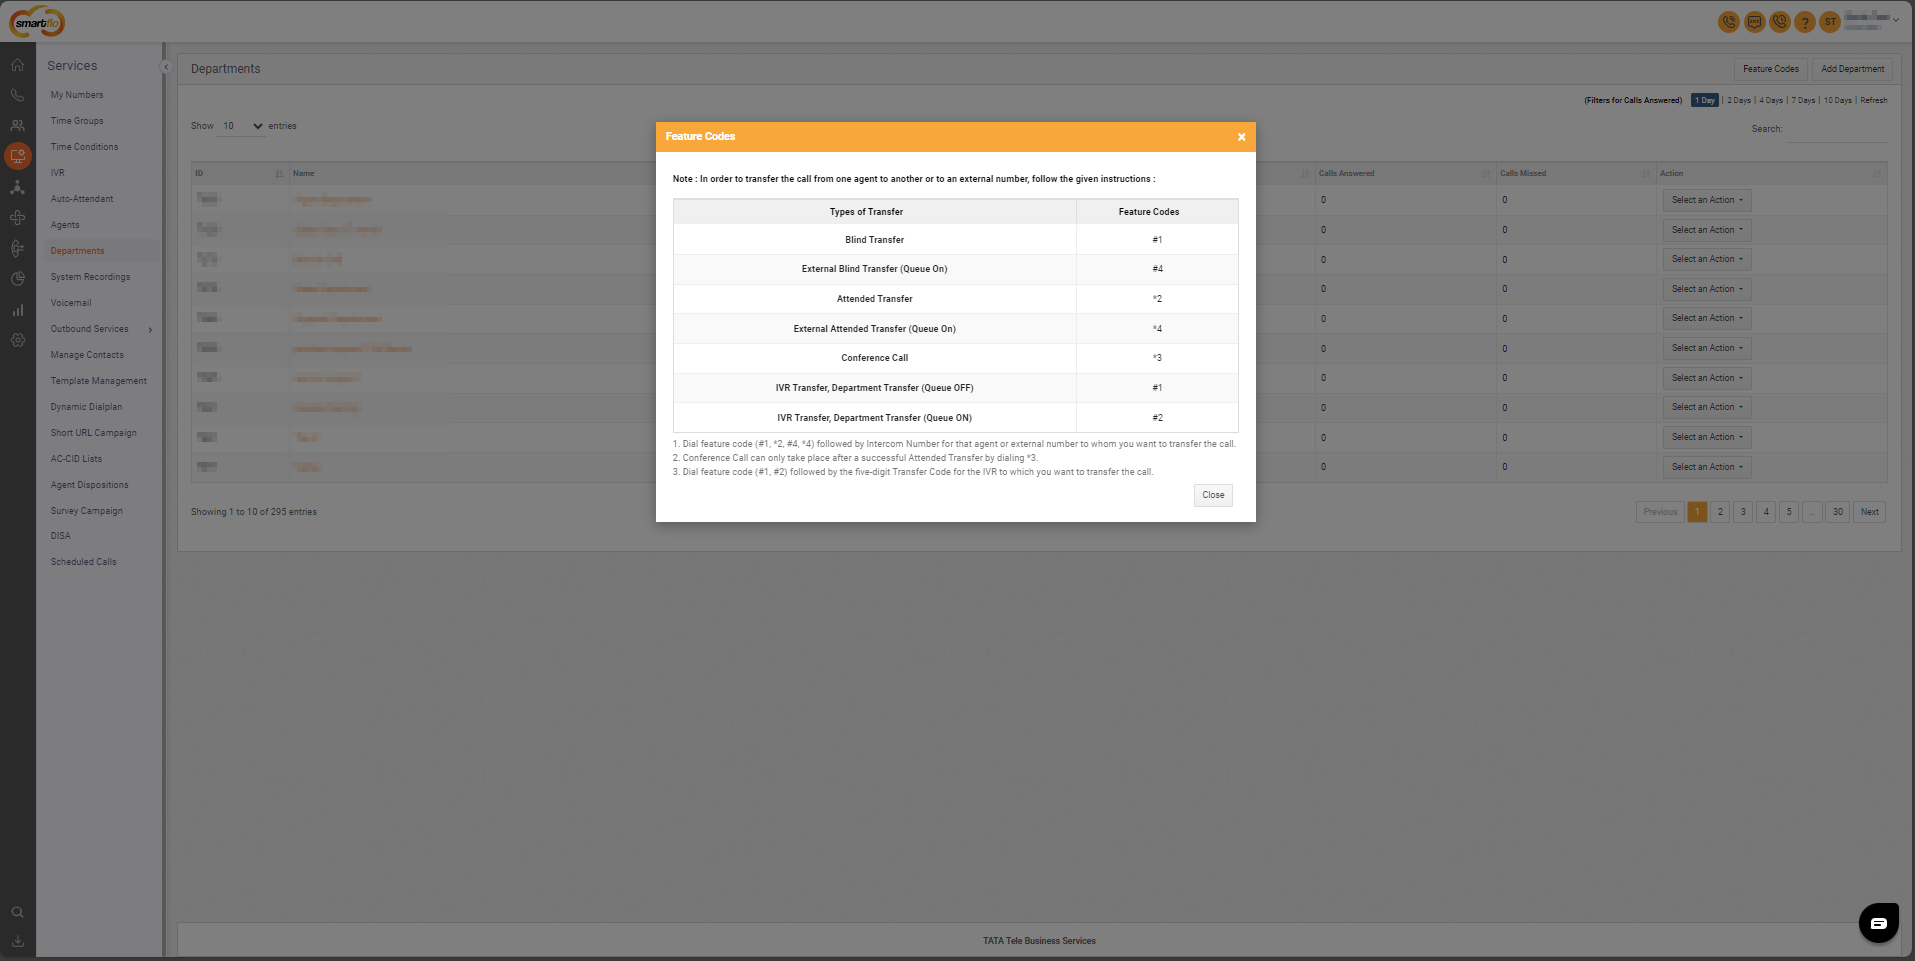
| Type of Transfer | Feature Code | Explanation |
|---|---|---|
| Blind Transfer | # 1 | Transfer the call to another agent without prior notification or introduction (Cold Transfer). |
| External Blind Transfer (Queue On) | # 4 | Transfers the call to an external number while the department's “Use it as Queue” is active. |
| Attended Transfer | *2 | Allows the agent to communicate with the recipient (Agent) before transferring the call. |
| External Attended Transfer (Queue On) | *4 | Transfers the call to an external number after the agent confirms with the recipient (Agent), while “Use it as Queue“ remains active. |
| Conference Call | *3 | Initiates a three-way call between the original caller, the recipient, and the transferring agent to all join the same call, enabling seamless communication between all parties. |
| IVR Transfer, Department Transfer (Queue OFF) | # 1 | Transfers the call to a specific department or IVR when the “Use it as Queue“ is inactive. |
| IVR Transfer, Department Transfer (Queue ON) | # 2 | Transfers the call to a specific department or IVR when the “Use it as Queue“ is active. |
-
Dial feature code (#1, _2, #4, _4) followed by the Intercom Number for that agent or external number to whom you want to transfer the call.
-
Conference Calls can only take place after a successful Attended Transfer by dialling *3.
-
Dial feature code (#1, #2) followed by the five-digit Transfer Code for the IVR to which you want to transfer the call.
3. Add Department
- To add a department, follow the below steps:
- Click on the Services tab on the side navigation.
- Click on Departments.
- A list of all departments is displayed along with the relevant details.
- Click on Add Department.
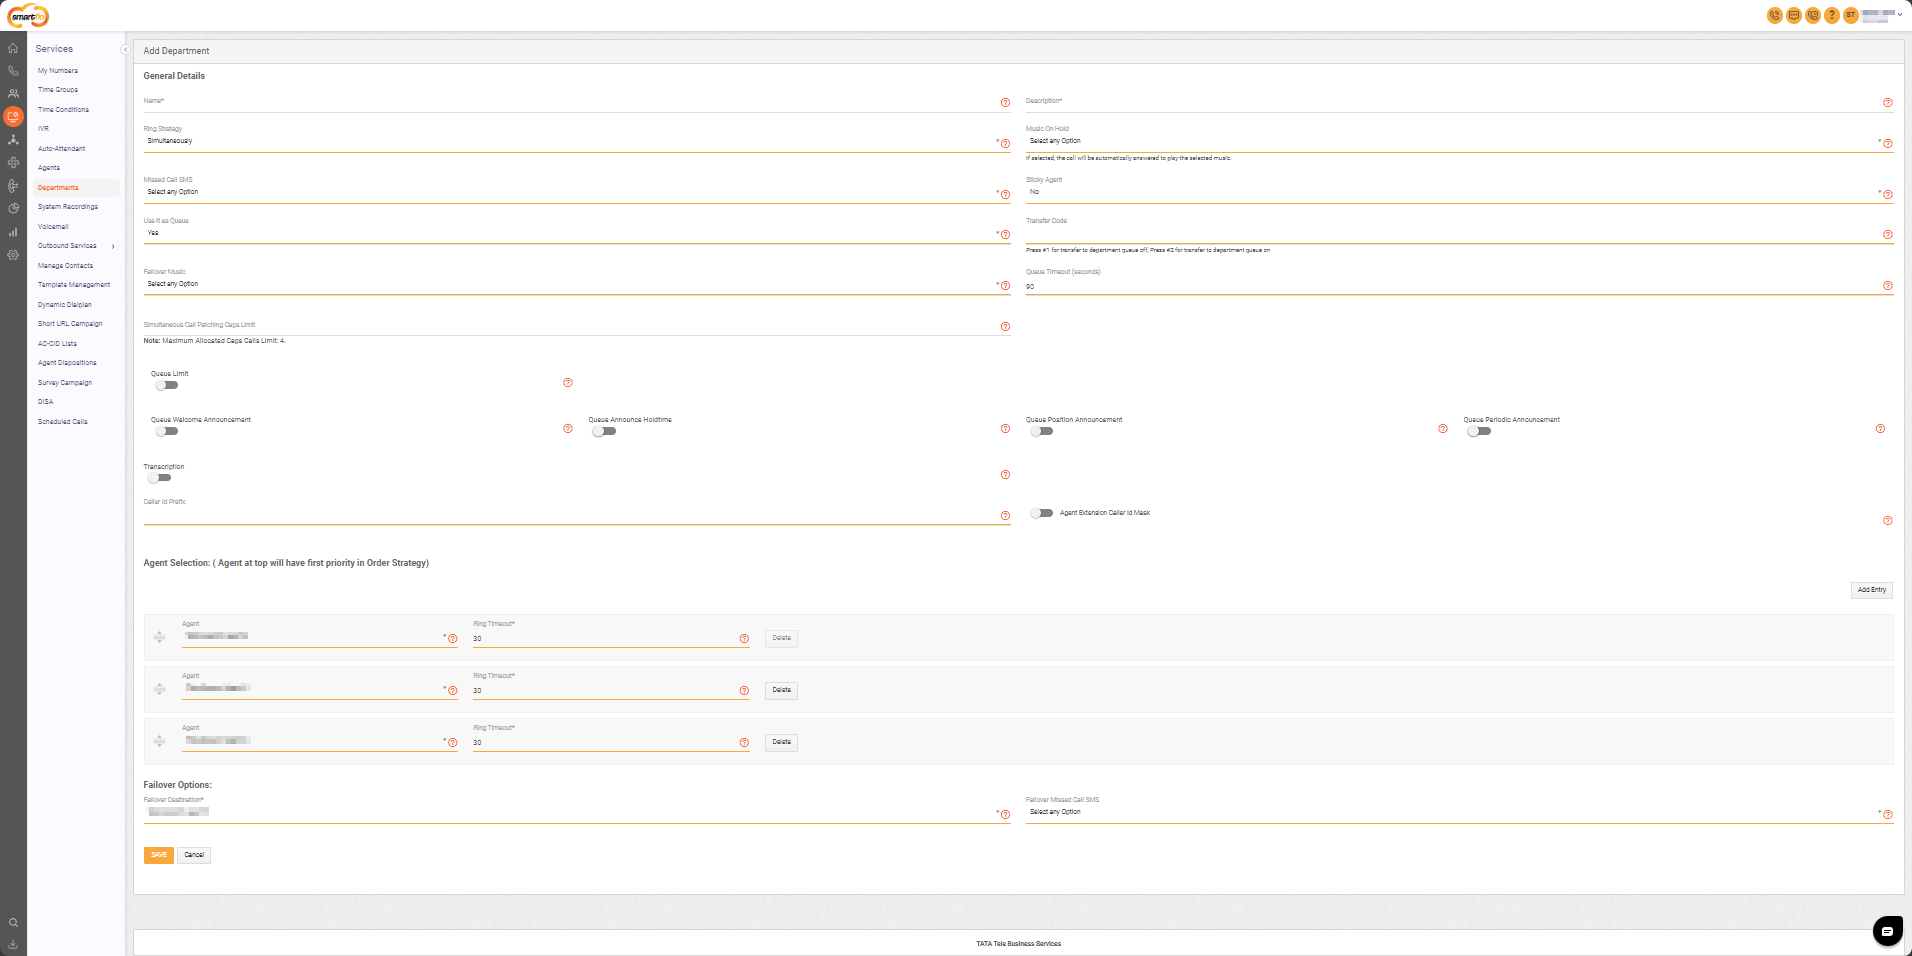
- Enter the Details as per the fields described below.
| Field | Description |
|---|---|
| Name | Enter the name of the department. |
| Description | Provide a brief description of the department’s purpose. |
| Ring Strategy | Choose a call distribution strategy: Simultaneously, Order by, Random, Round Robin, Longest Wait Time. |
| Music on Hold | Plays music or recording when an incoming call is placed on hold. Set a system recording as music on hold in the system recordings section. |
| Missed Call SMS | Select the SMS template to be sent as an alert for missed calls in the department. |
| Sticky Agent | Select "Yes" to route customers to the same agent for future calls. Configure Sticky Agent Time and format (days/hours). Maximum refresh period: 10 days. |
| Use it as Queue | Activate the department's queue functionality. Configure failover music and queue timeout. |
| Transfer Code | A unique 5-digit code for transferring calls to the department. Use #1 for queue off, #2 for queue on. |
| Simultaneous Call Patching Caps | Limits concurrent calls in simultaneous ring strategy. Set caps (Max: 4). |
| Queue Limit | Define the maximum number of calls in the queue. Configure failover destination for excess calls. |
| Queue Welcome Announcement | Enable a welcome message for callers entering the queue. Select a recording marked as "Music on Hold." |
| Queue Announce Holdtime | Inform callers of approximate hold time (e.g., "Less than 2 minutes"). |
| Queue Position Announcement | Announce caller’s position in the queue (e.g., "You are caller number 3"). Applies to the first 20 callers. |
| Queue Periodic Announcement | Repeatedly play a recording at a specified interval to inform or entertain callers. Select a recording marked as "Music on Hold." |
| Transcription | Converts recorded calls to text. Configure transcription language and time threshold for agent-answered calls. |
| Caller ID Prefix | Add a prefix to the caller’s ID (e.g., "Sales - John Doe"). |
| Agent Extension Caller ID Mask | Masks the caller's number on the extension (softphone) to ensure privacy. |
Filters for Calls Answered
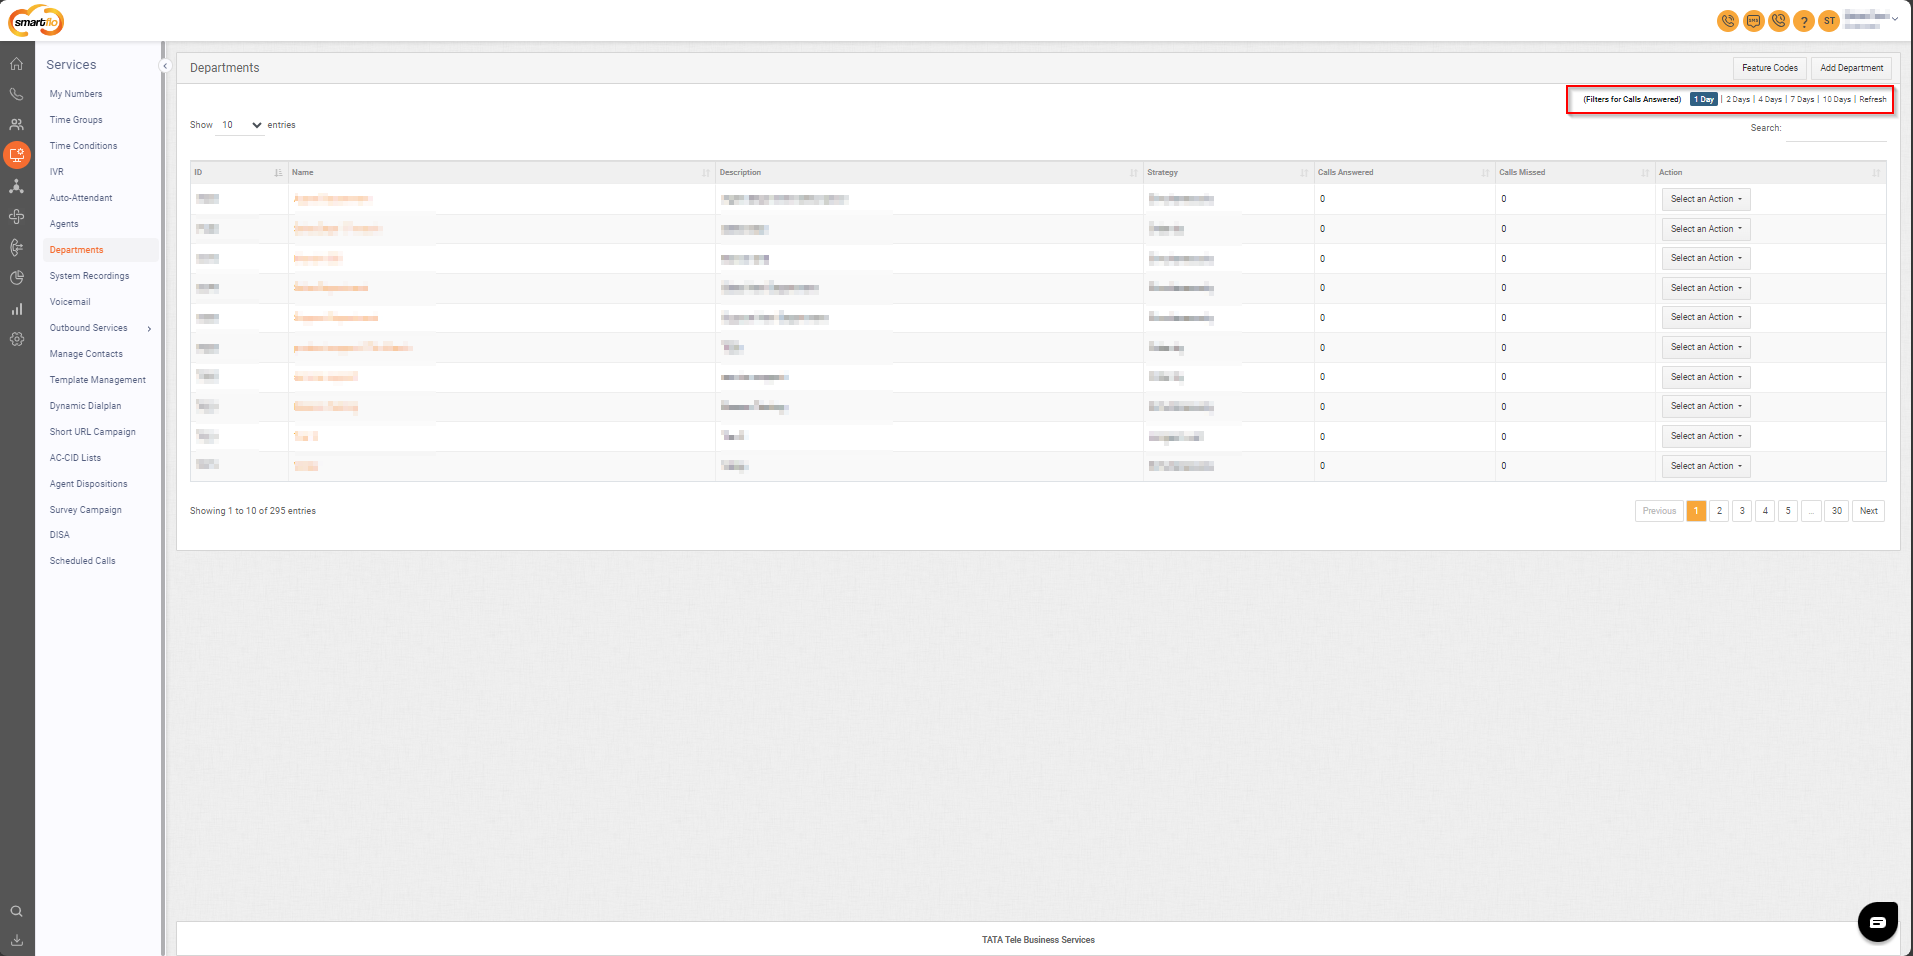
- Click on the days for which you want to filter out the number of calls answered and click on Refresh to get the updated data.
FAQs
- User/Agent/Employee was already on a call, and he got another call was attempted for him.
- In case of a sticky agent system doesn’t check the availability of the user (Active/Busy) and attempts the call. This behaviour is known and made intentionally as sticky agent logic has the highest priority while attempting the call.
- User/Agent/Employee was on a call from the department Inbound queue. Within 1 second, he received another call on this Extension, skip active is enabled in the department.
- It is a known limitation & edge case where the call was attempted to an agent. We officially support >3 seconds sync support across our service (Active call refreshes in 5).
Updated 10 months ago