Disposition List
Disposition Lists Overview
- A Disposition List is used by agents to record the outcome of each call, such as "Sale Closed," "No Answer," or "Callback Requested." It helps categorize call results, track customer responses, and organize follow-up actions. This tool is essential for analyzing call effectiveness and improving overall call center performance.
Getting Started with Disposition Lists
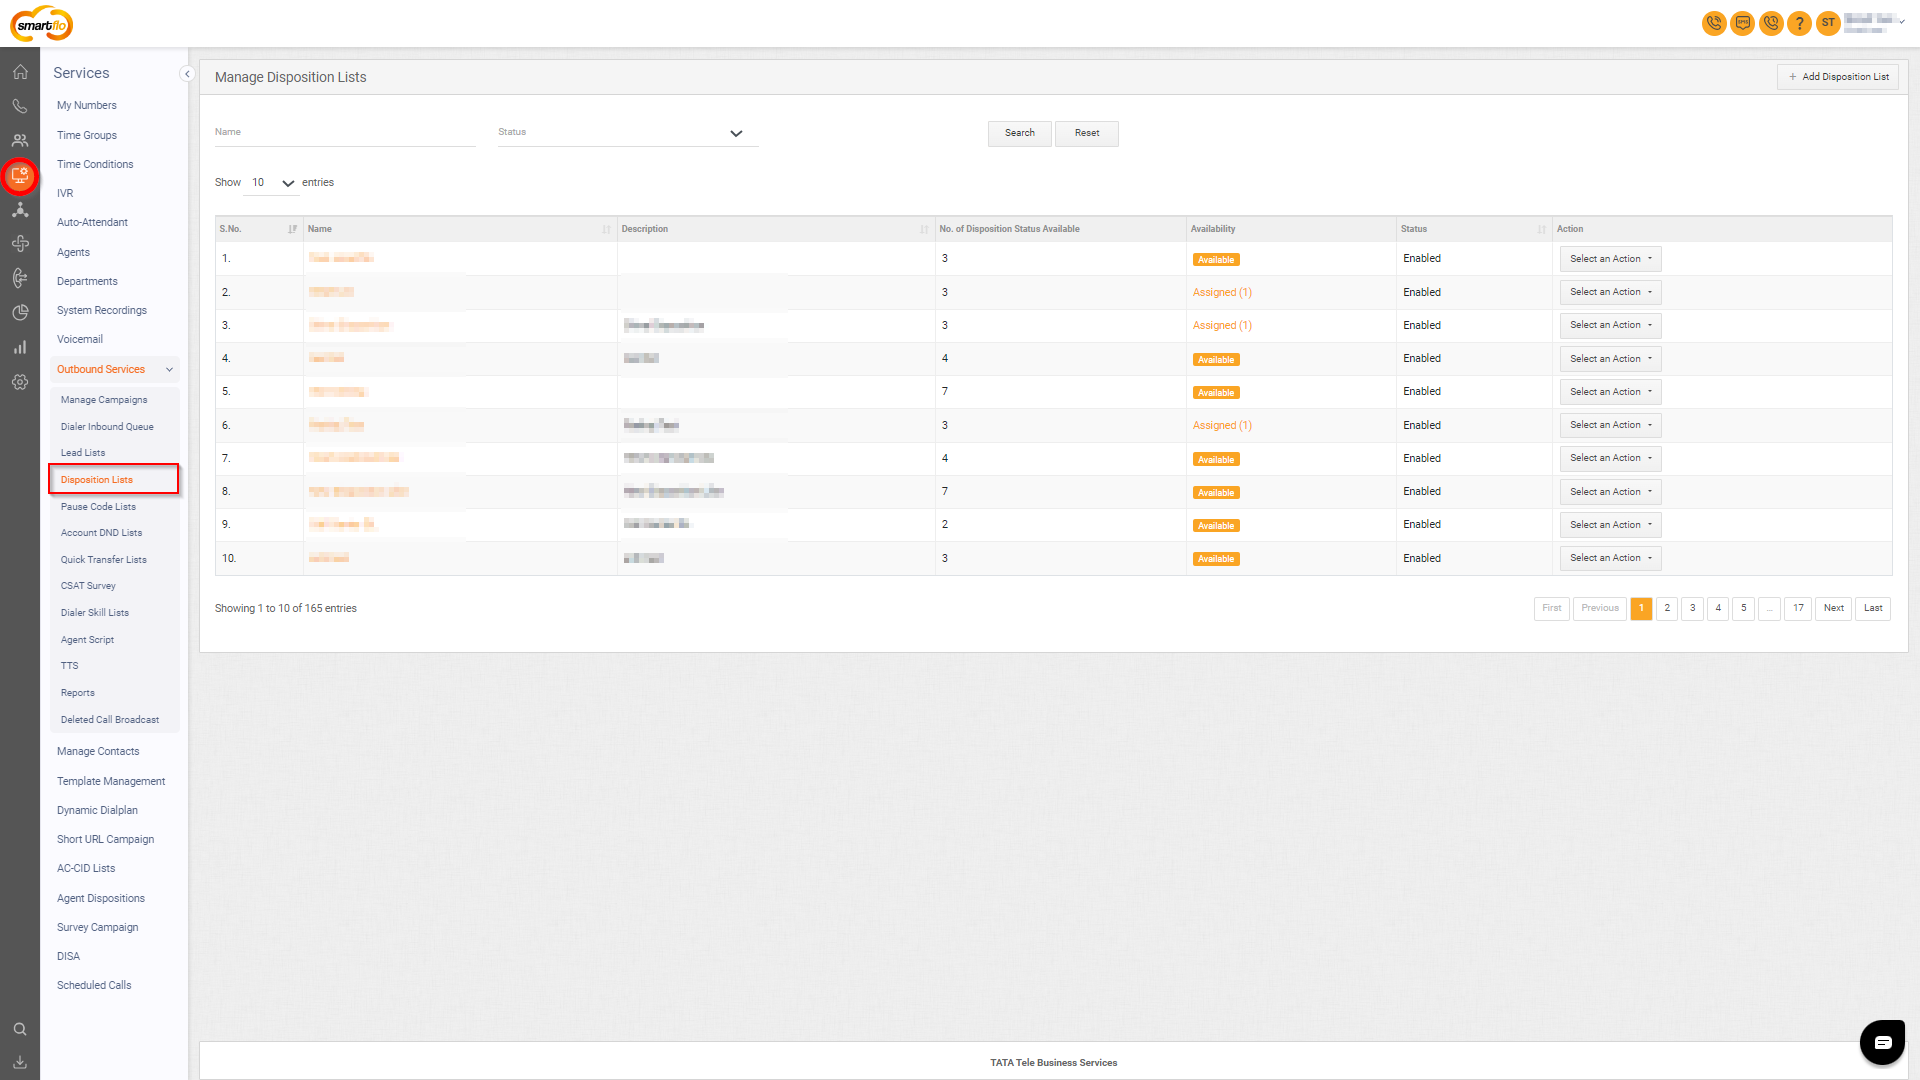
- To go to Disposition Lists to your Smartflo account, first log in using your unique User ID and Password. Once logged in, you will be directed to the main dashboard. From there, locate the navigation menu on the left-hand side of the screen and click on "Services" then “Outbound Services”. A set of options opens up. One of these options is the “Disposition Lists".
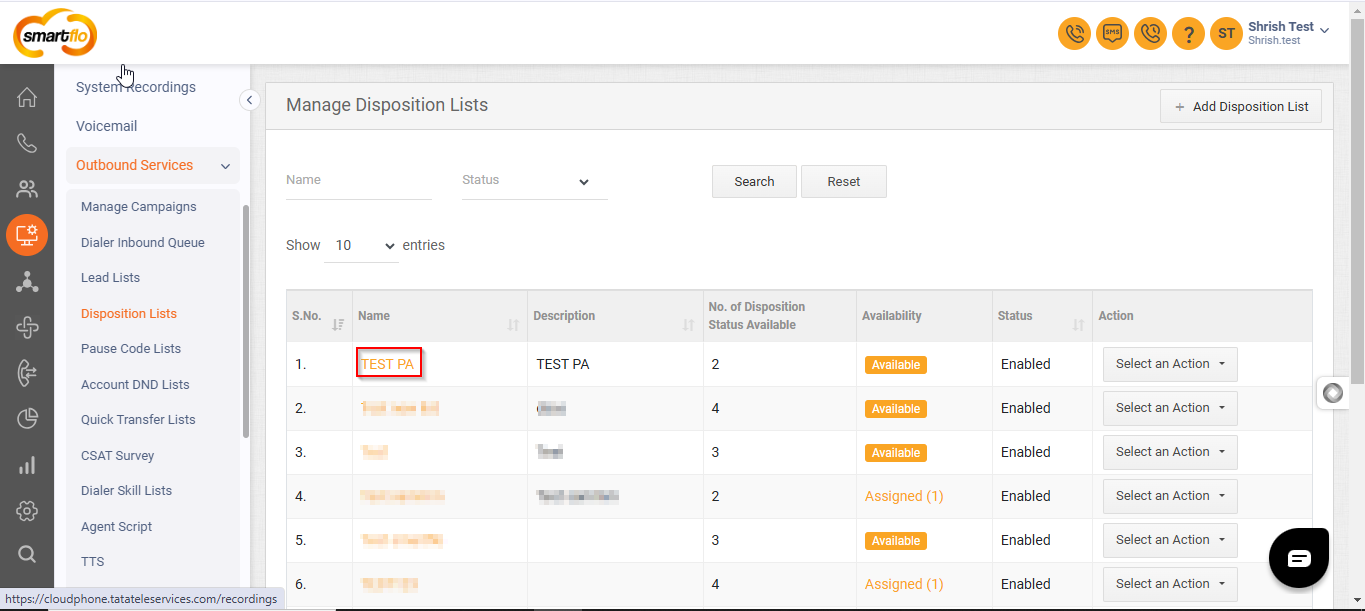
- List of Disposition Lists
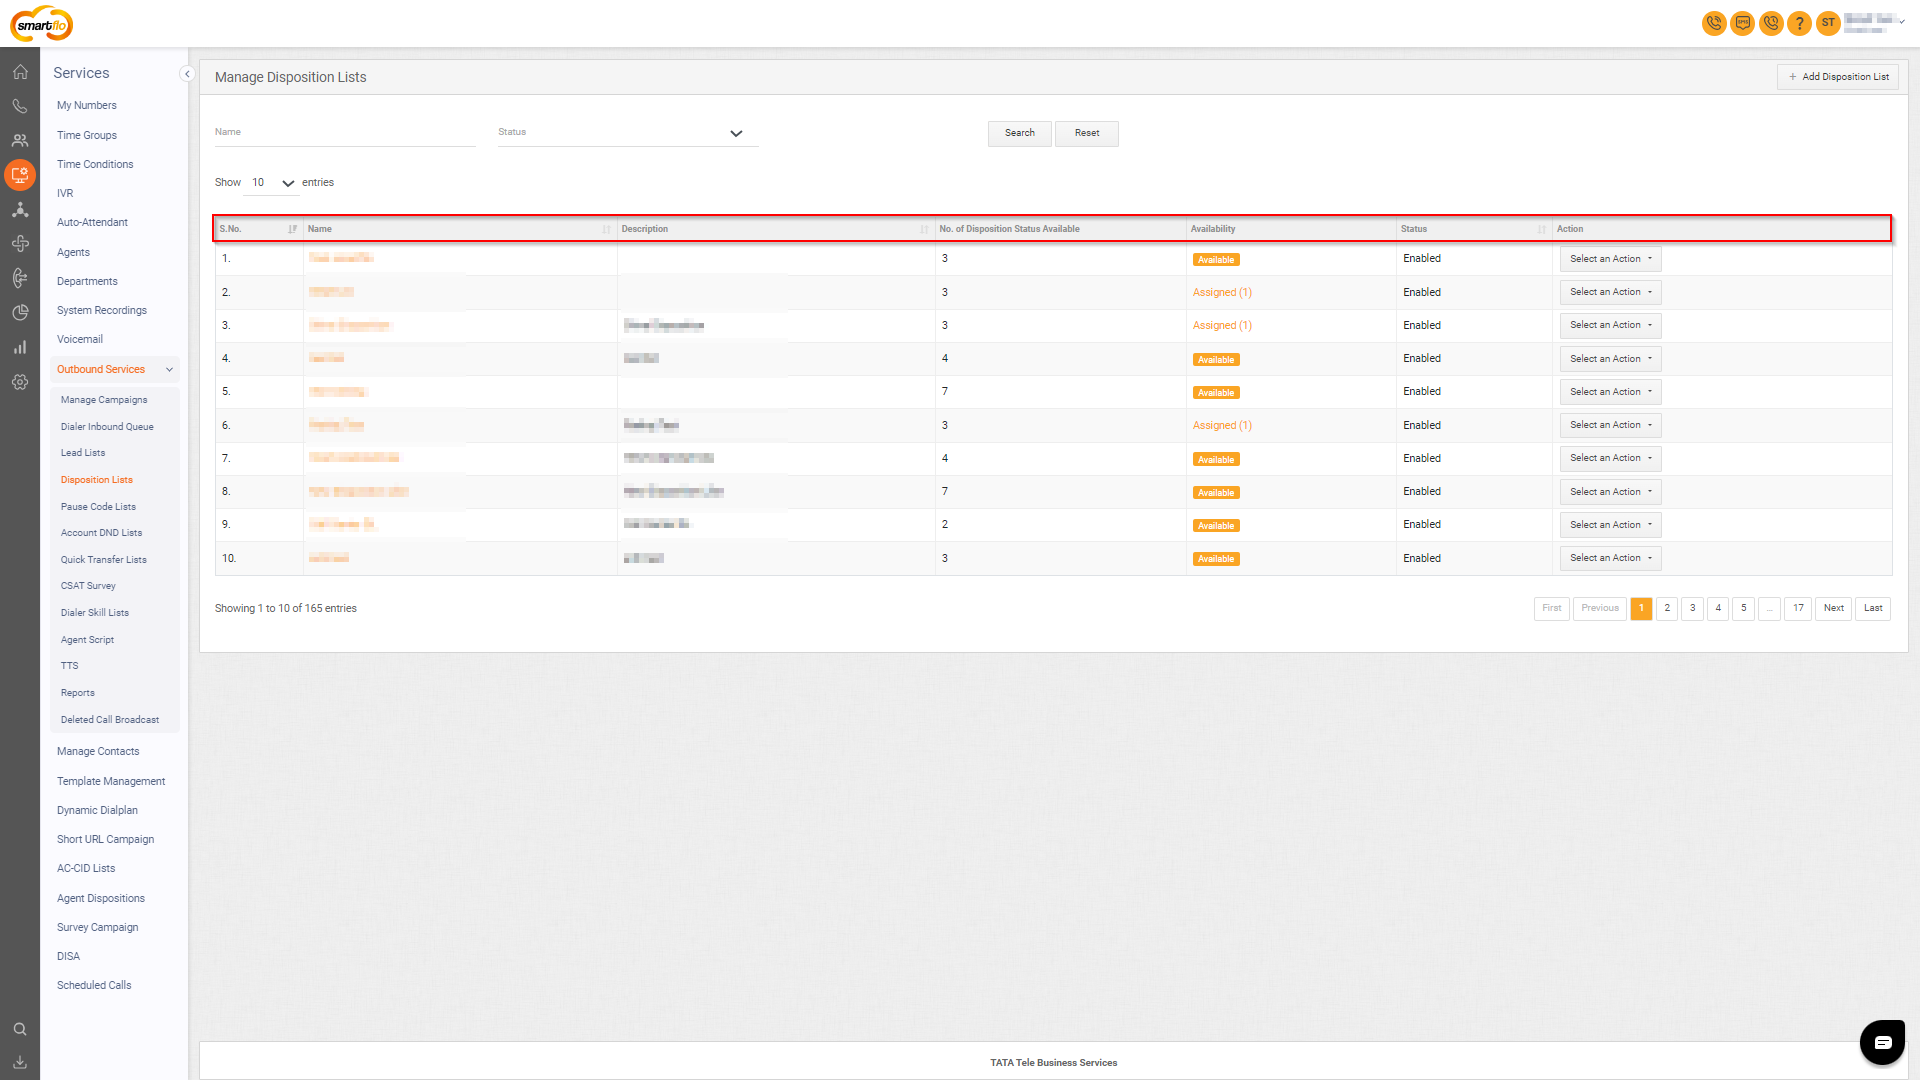
- The table displays a list of all Disposition Lists with the following information:
| Field | Description |
|---|---|
| S no. | A serial number is used to uniquely identify or organize each Disposition list, ensuring easy reference and management. |
| Name | The name assigned to the disposition list indicates its purpose or the type of outcomes it tracks. |
| Description | A brief description of the disposition list and what type of call outcomes it is used to record. |
| No. of Disposition Status Available | The total number of individual Dispositions available in the list. |
| Availability | Indicates whether the disposition list is available or assigned to specific campaigns. |
| Status | Shows if the disposition list is currently enabled for use. |
| Action (Edit/Clone/Delete/Disable/Add Disposition Status) | Provides options to edit, clone, delete, disable the list, or add new disposition statuses to it. |
- Add Disposition Lists
- To add a Disposition List, follow the below steps:
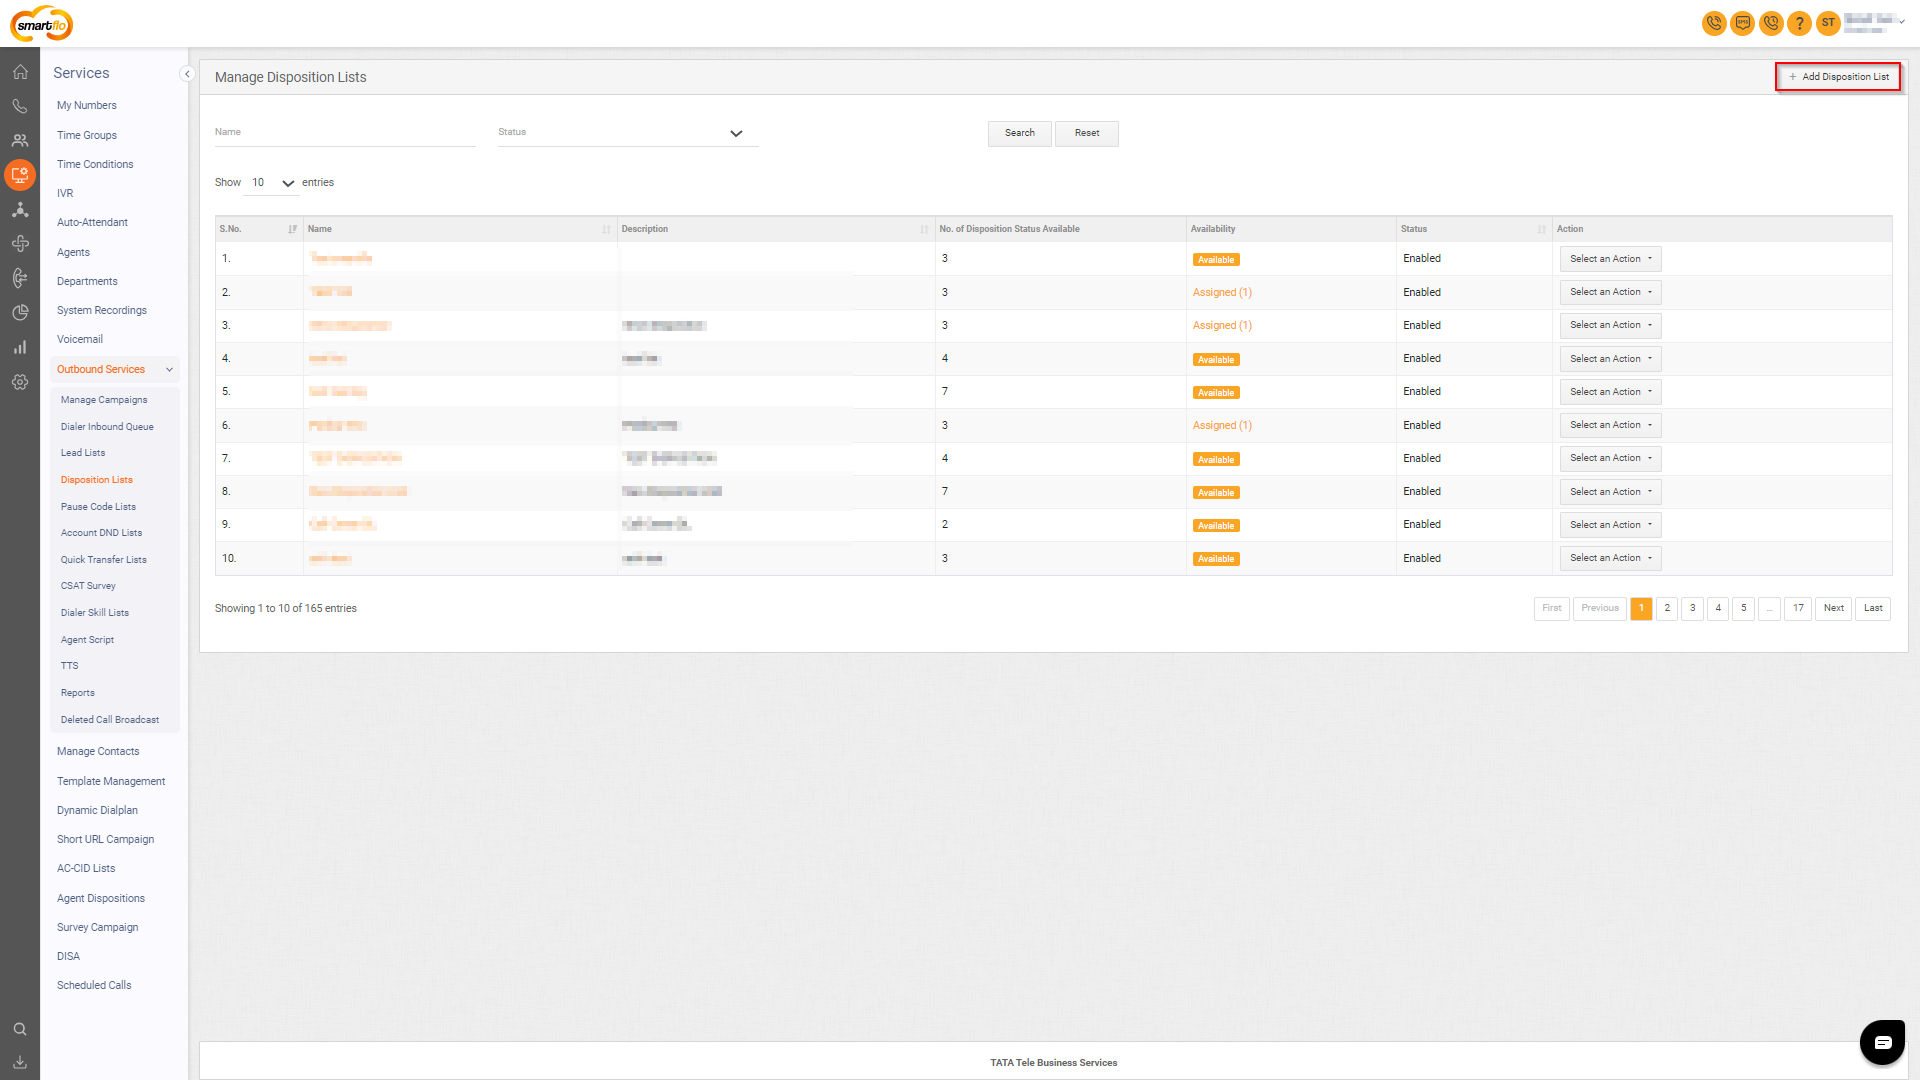
- Click on the Services tab on the side navigation.
- Click Outbound Services and select Disposition Lists.
- A list of all the Disposition Lists appears along with the relevant details.
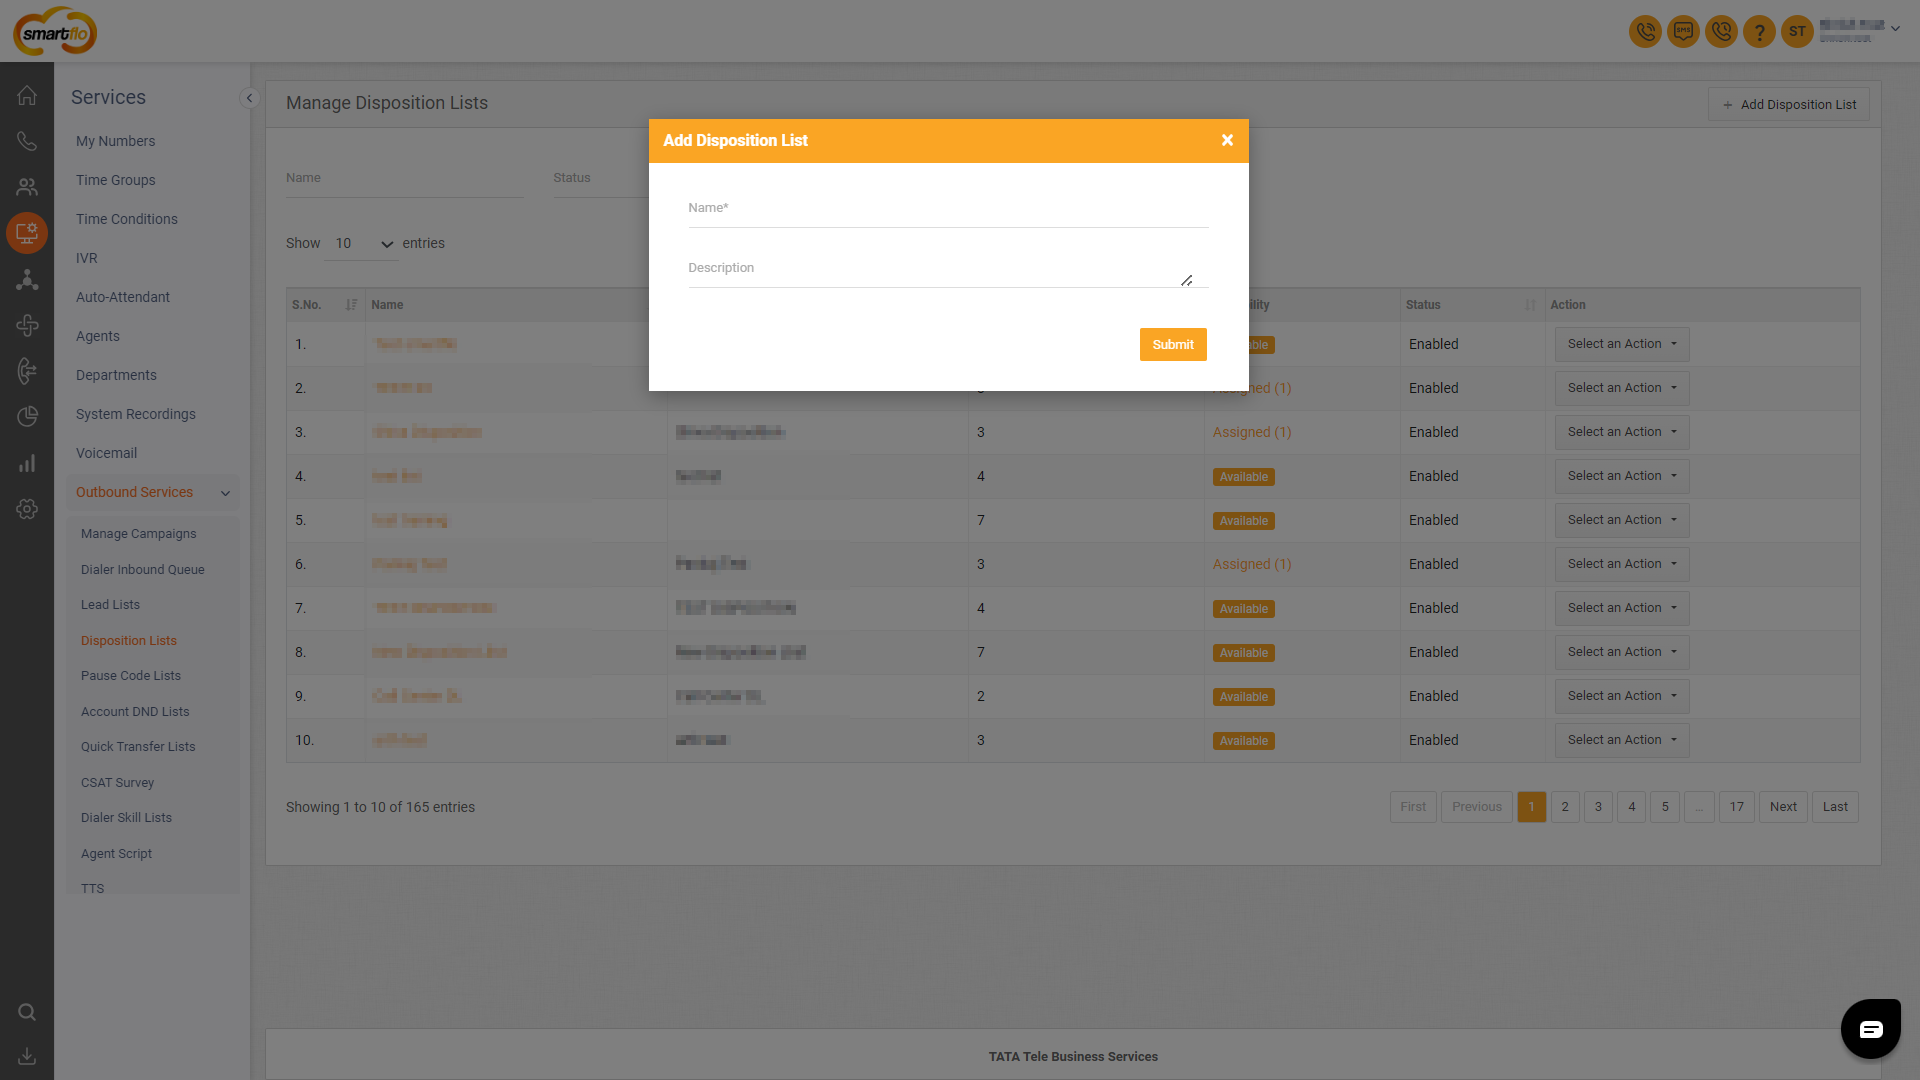
- Click on Add Disposition Lists.
- Enter the Name and Description.
- Click Submit.
- Once the Disposition List is created, you can add Disposition either one by one manually or in bulk. Follow the steps below for each method:
- To Add Disposition One by One Manually:
- Select the created Disposition List.
- Click on Add Disposition Status.
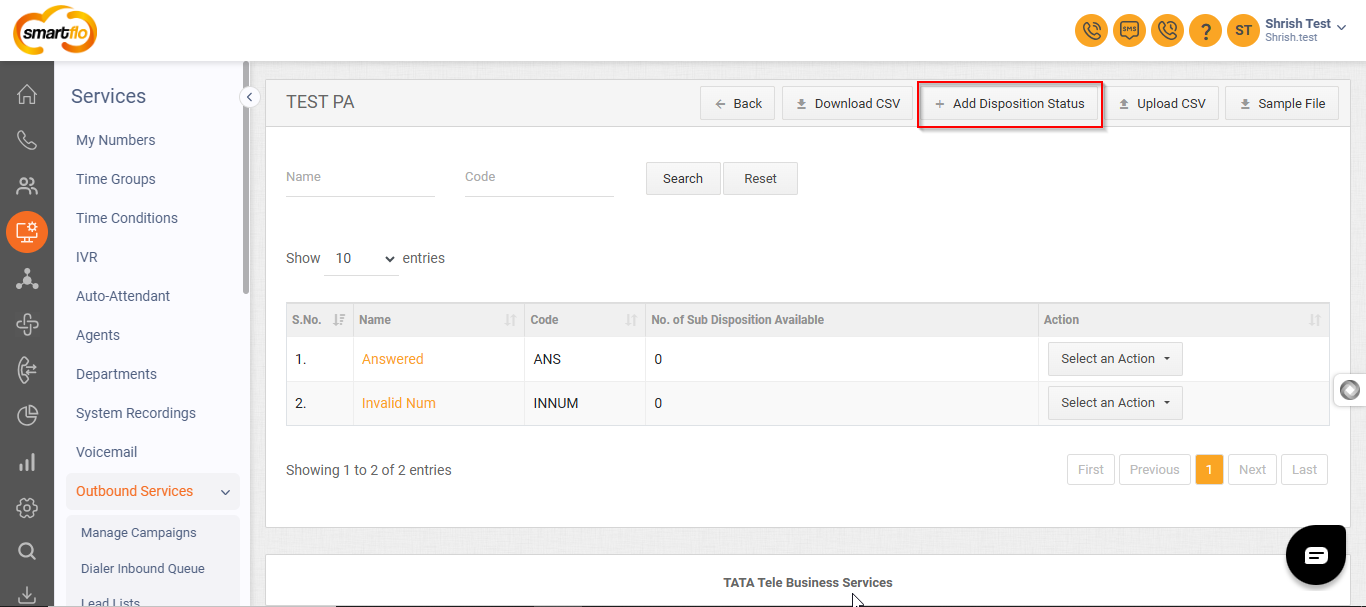
-
Enter the Disposition Name,Code and select the custom option (Optional).
- When adding a disposition to the disposition list, a custom option allows you to map it to either "Schedule Callback" or "Account DND List," enabling specific actions based on the selected disposition.
| Custom Options | Description | Example |
|---|---|---|
| Schedule Callback | This option allows agents to schedule a follow-up call with the customer at a specified time, ensuring timely communication based on the customer’s availability. | "Schedule a callback for 3 PM" |
| Account DND List | This option enables agents to add a customer’s number to the Account DND list for the account, ensuring the customer does not receive further calls. | "Add this number to the DND list" |
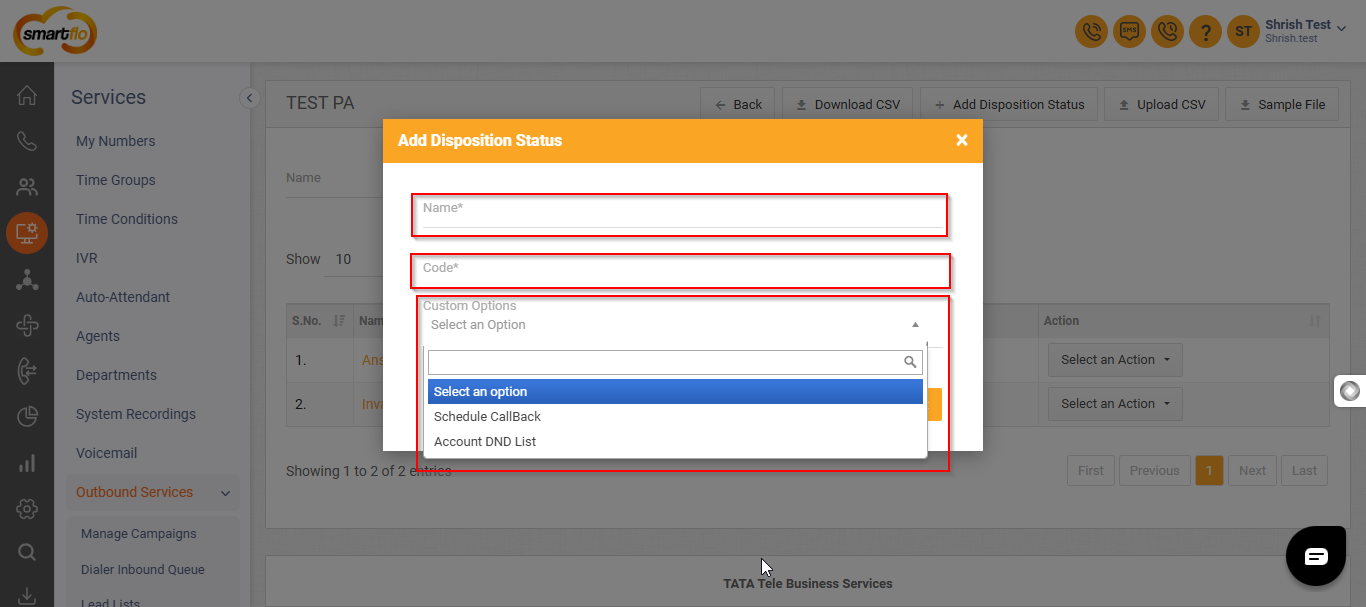
- Click on Submit to add the Disposition to the Disposition list.
- To Add Dispositions in Bulk:
- Select the created Disposition List.
- Click on Sample File to download a sample CSV file.
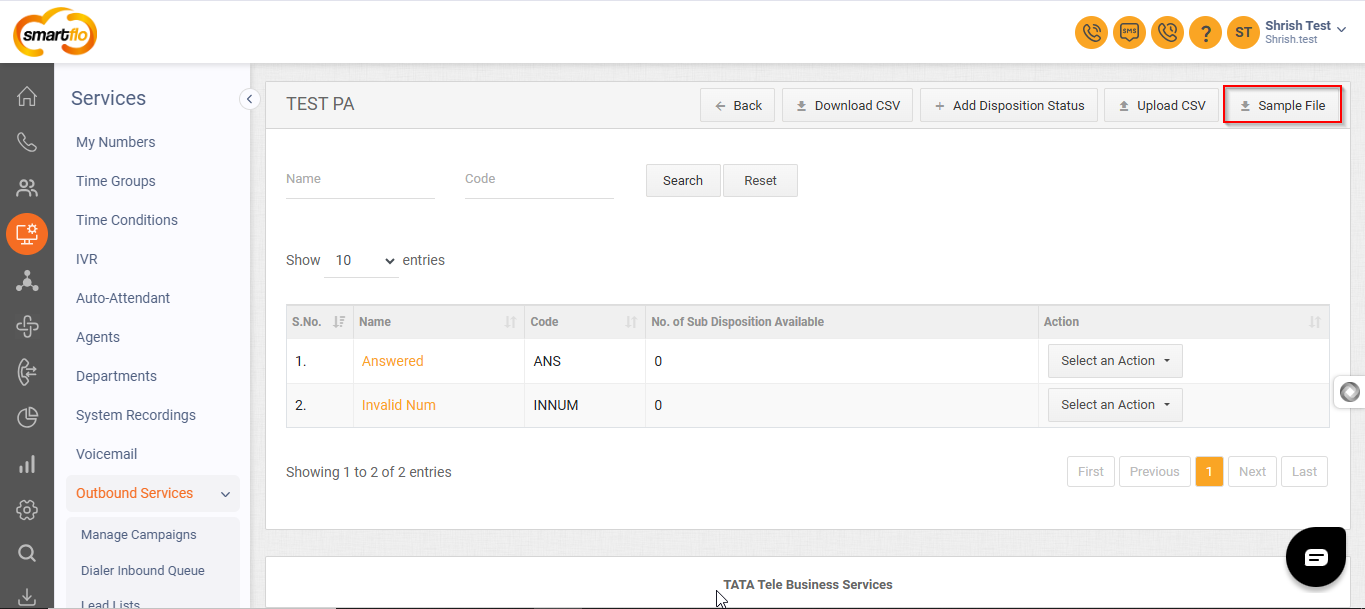
- Open the CSV file and input the disposition Name and Code.
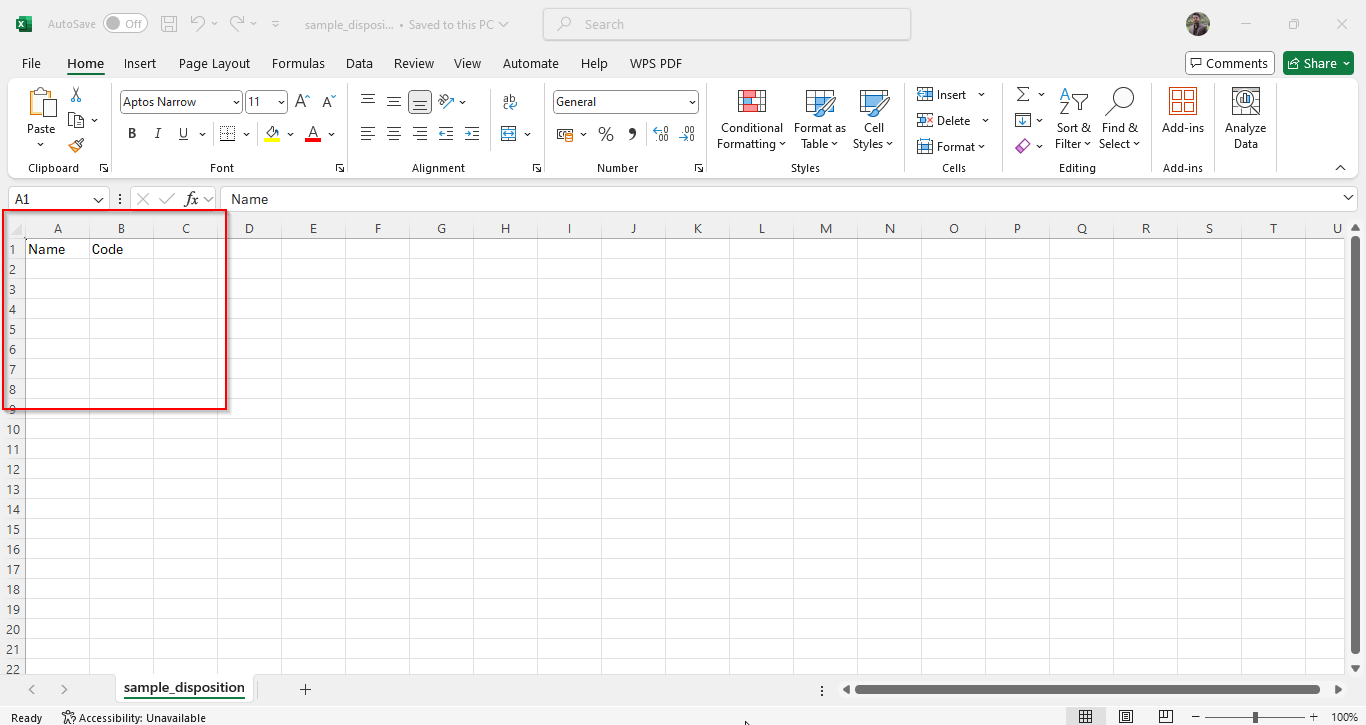
- Save the file and return to the portal.
- Click on Upload CSV, then select the updated file from your system.
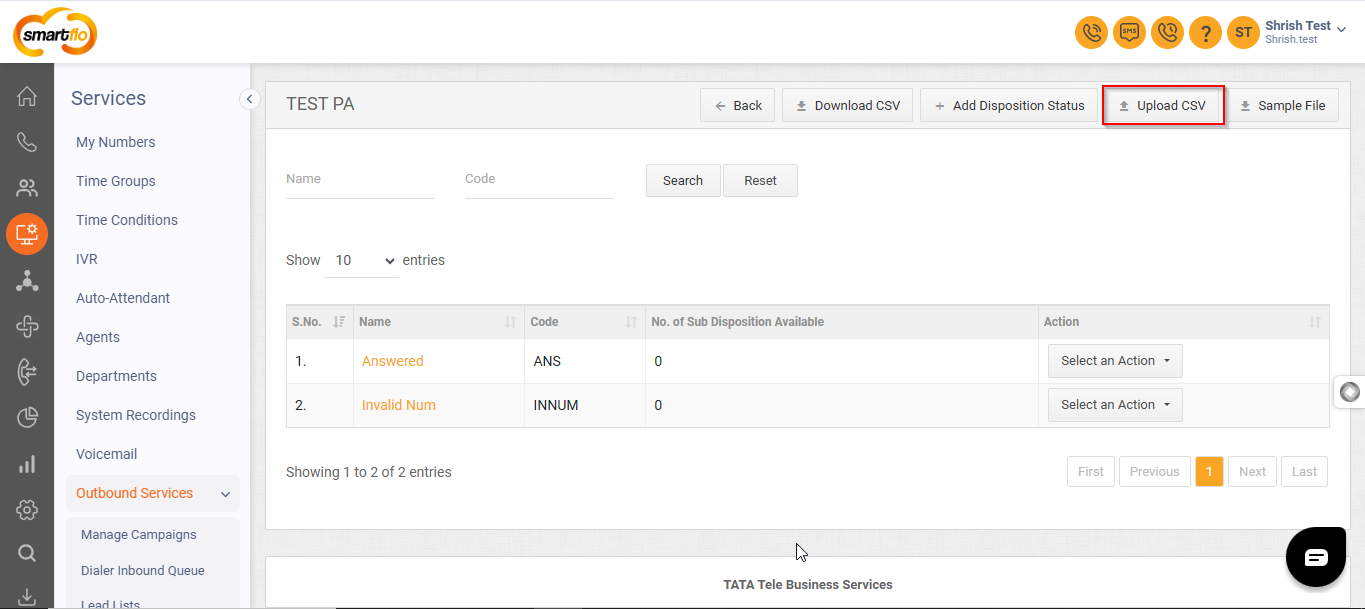
- Review the data and confirm the upload.
Updated over 1 year ago