Zoho CRM
Zoho CRM when integrated enables your support team to enhance their productivity with its better call handling and CRM experience. With a feature set of several productive measures to manage your call-related activities inside CRM, Zoho CRM aces ahead of your business's productivity.
📘 Get Started
Follow the below-mentioned steps to successfully integrate your Zoho CRM with Smartflo.
-
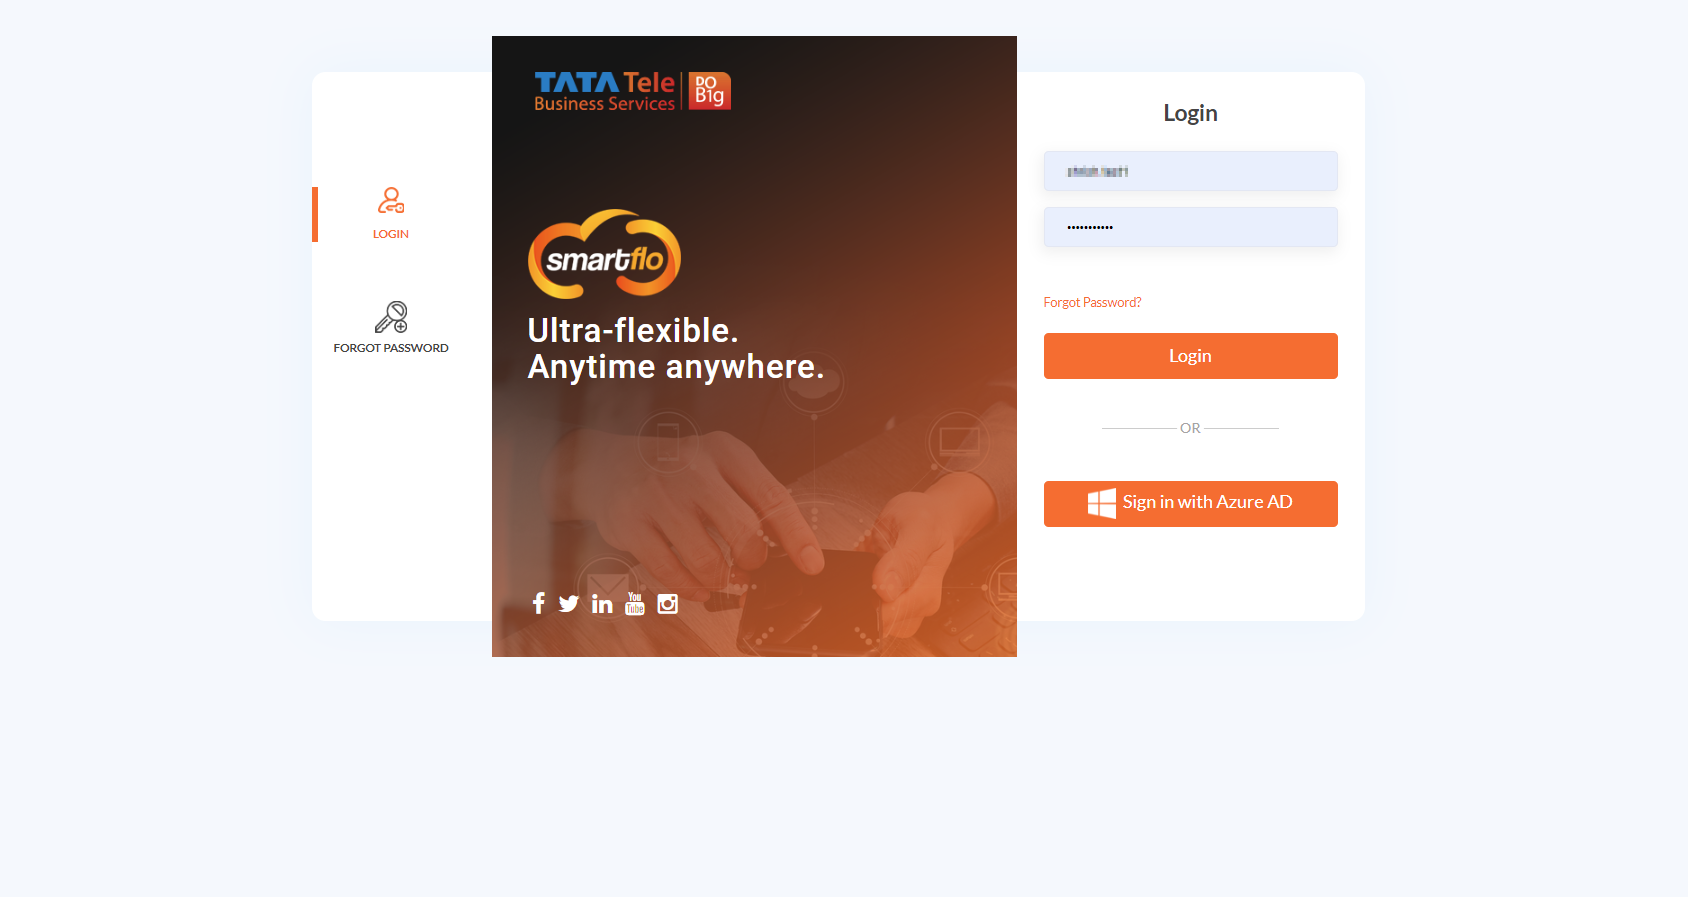
Log into your Smartflo Account.
-
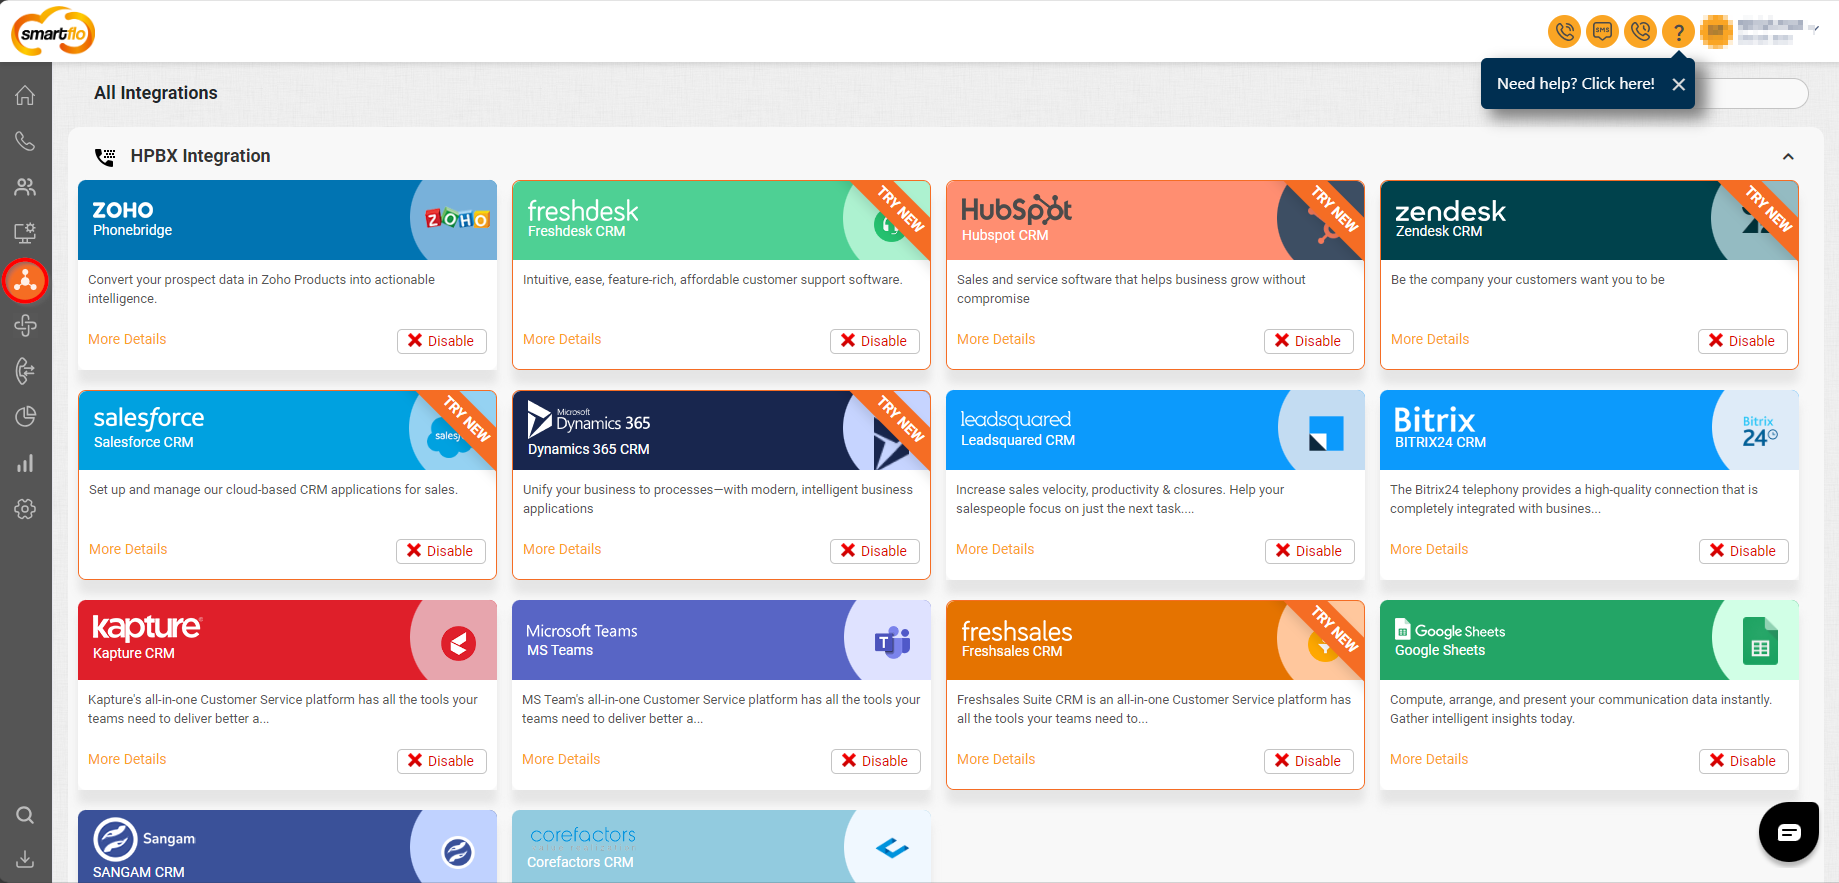
Navigate to the Integrations Tab from the side-navigation panel.
-
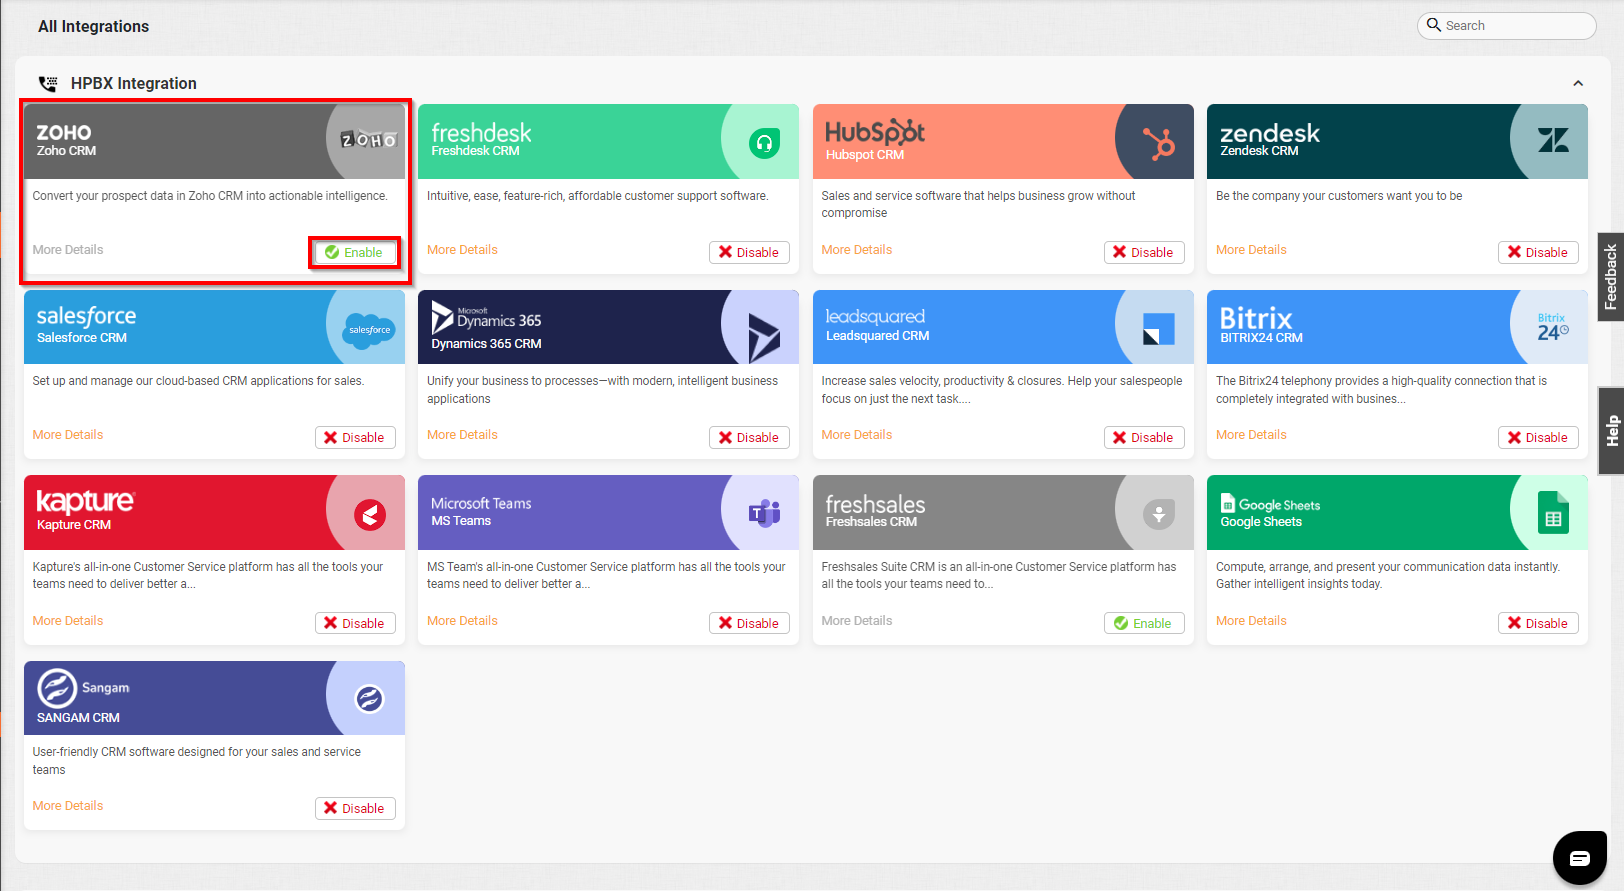
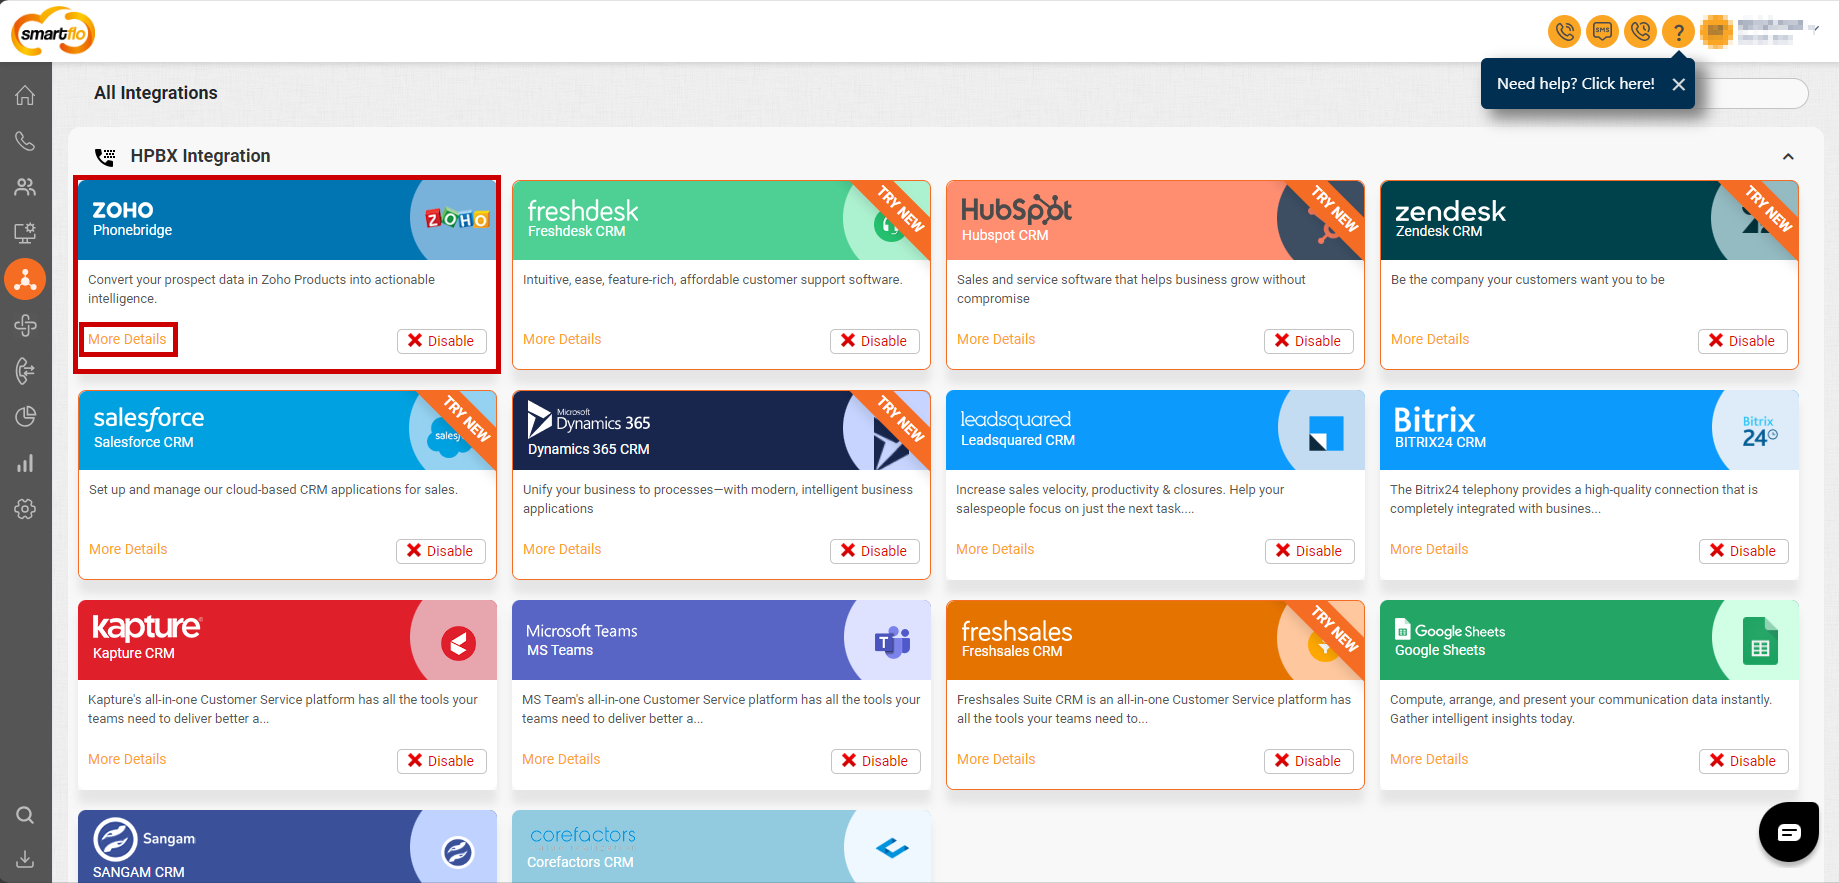
In HPBX integration, click on enable for Zoho Phonebridge integration.
-
In a new tab, log in to your Zoho CRM Account.

-
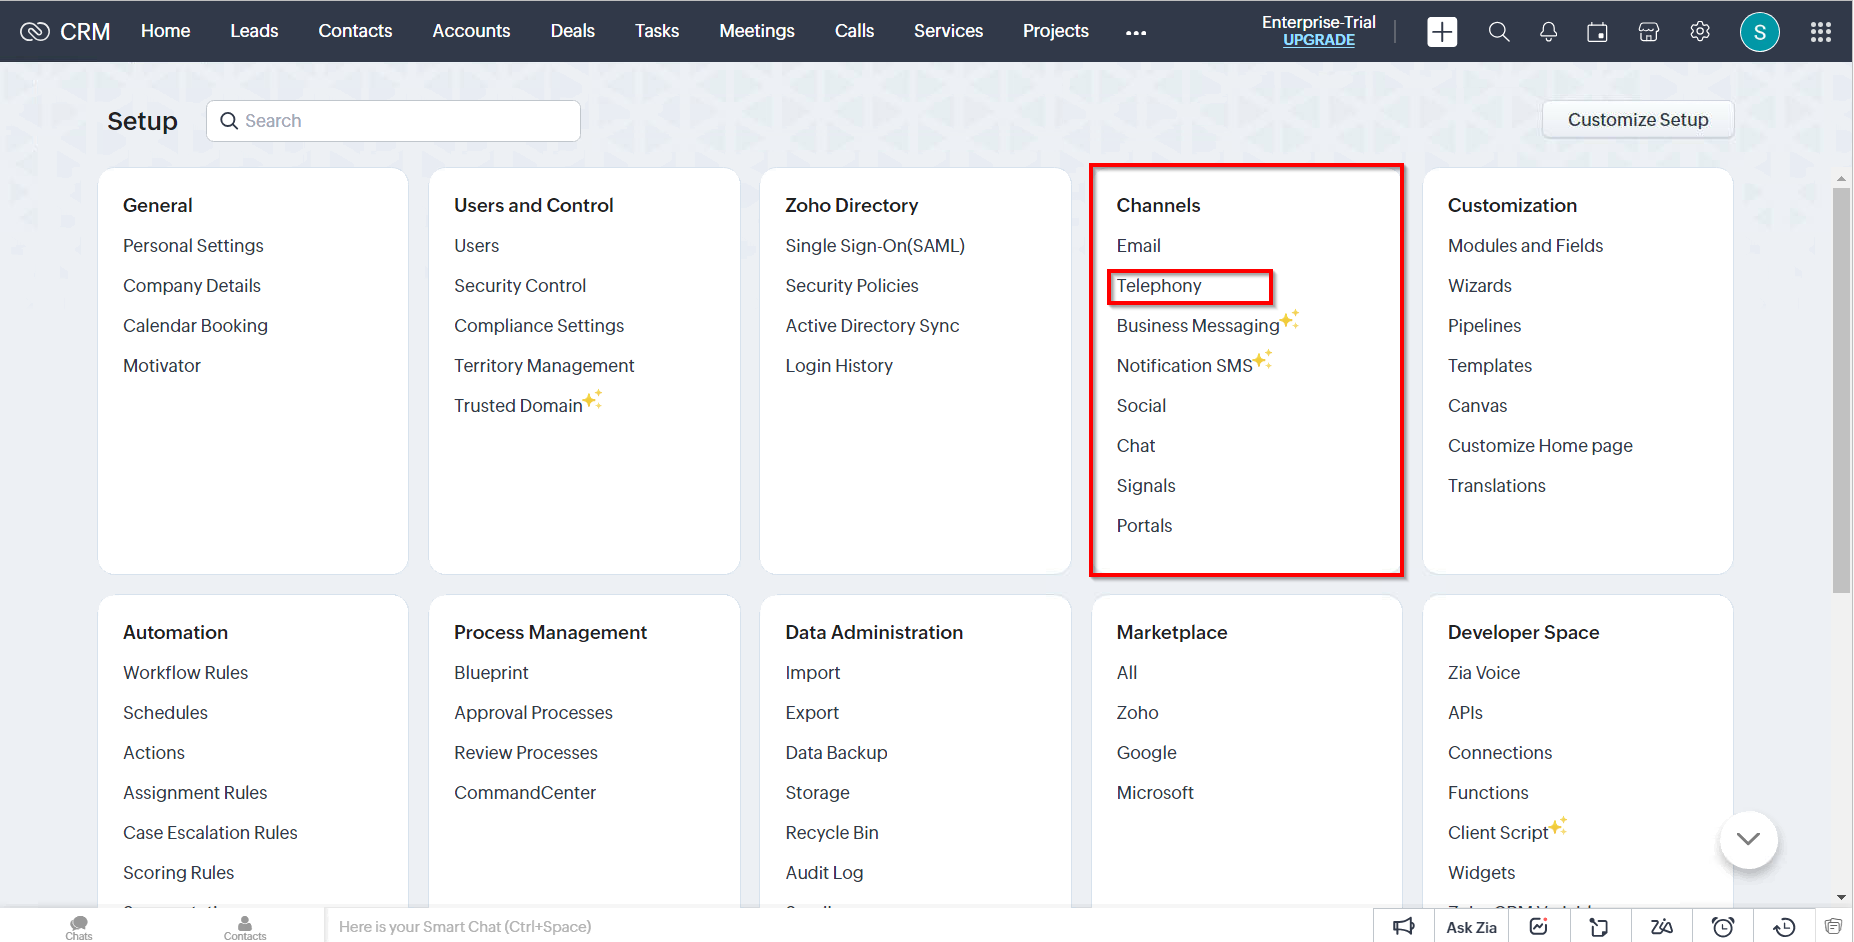
Click on the Setup option from the top navigation panel.

-
In Setup, go to Channels>Telephony option.
-
Search for the Smartflo application and install it in your Zoho CRM account.

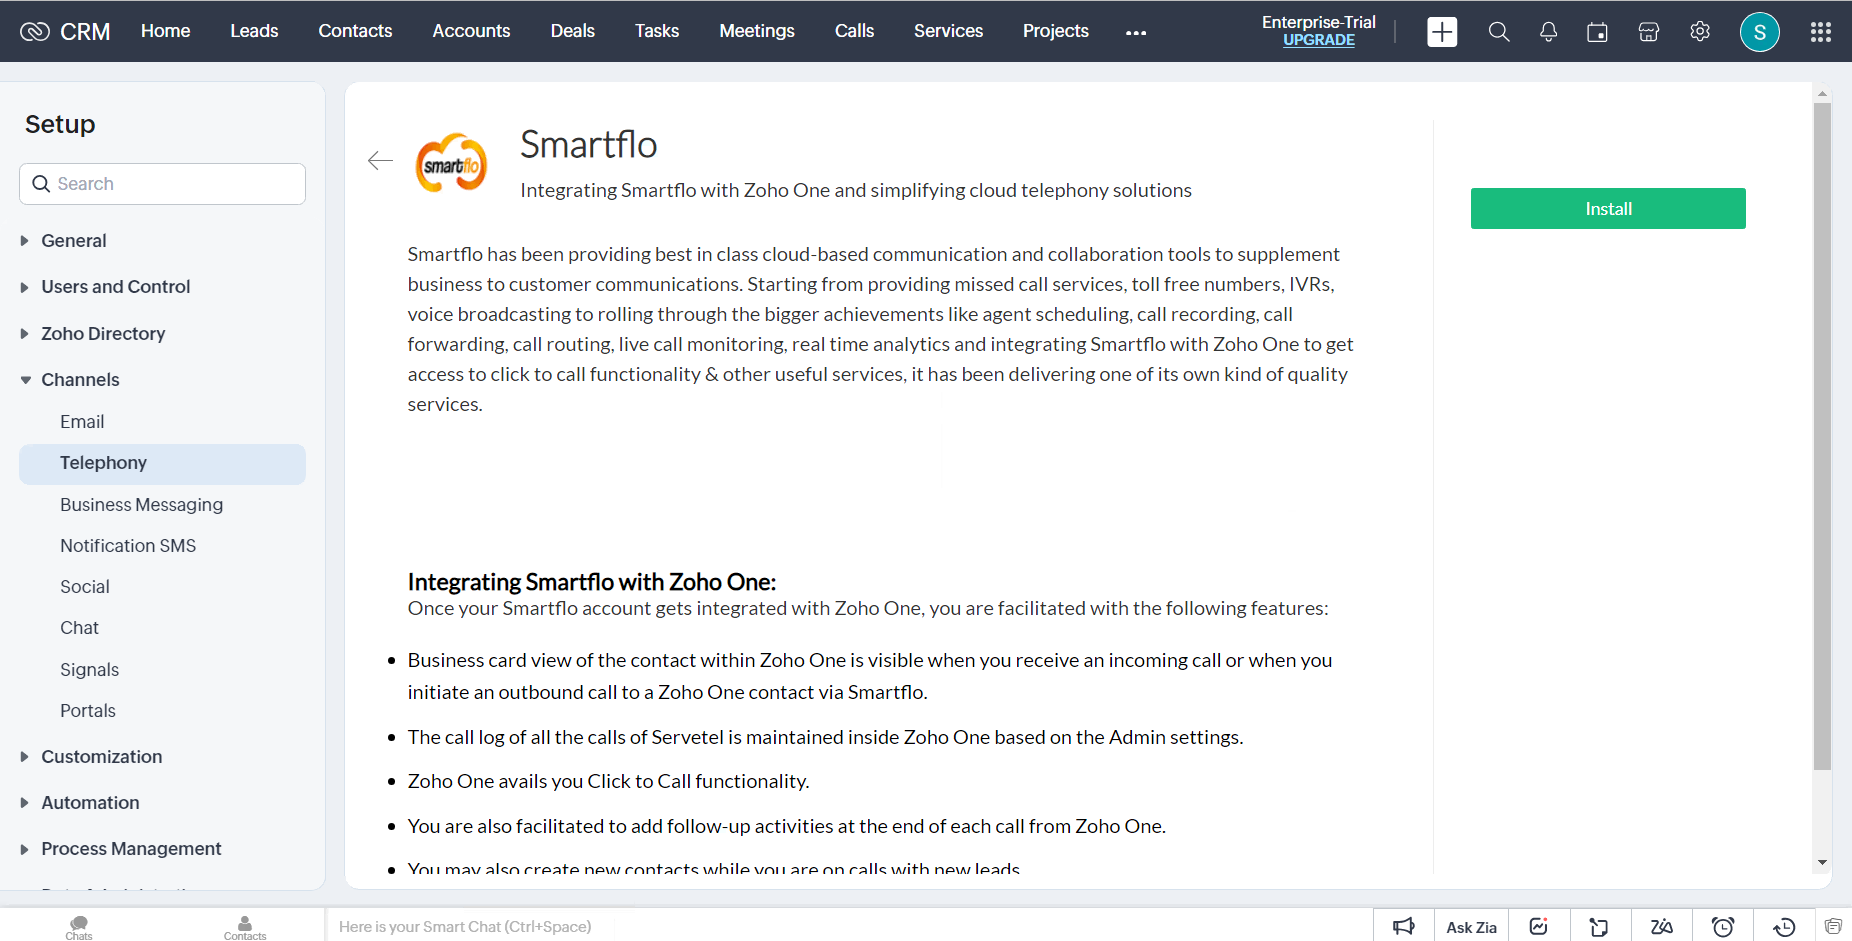
Note: You can install it for all users and some specific users also.
-
Now, click on More Details under Zoho Phonebridge in the Integrations Tab.
-
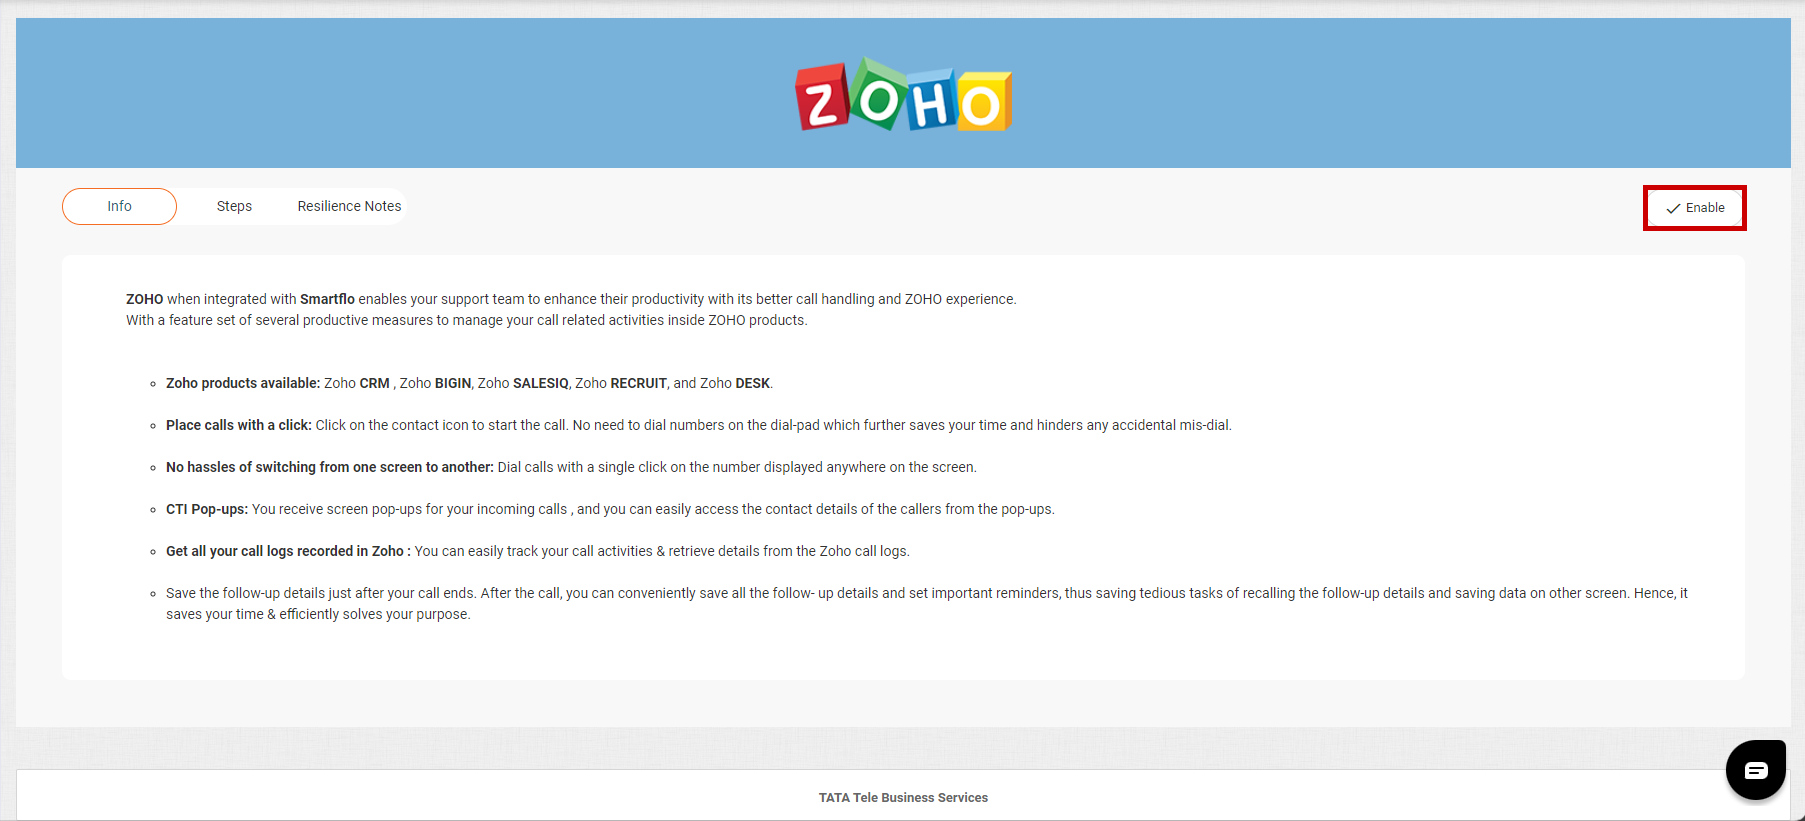
Click on Enable and select your desired user for the integration.
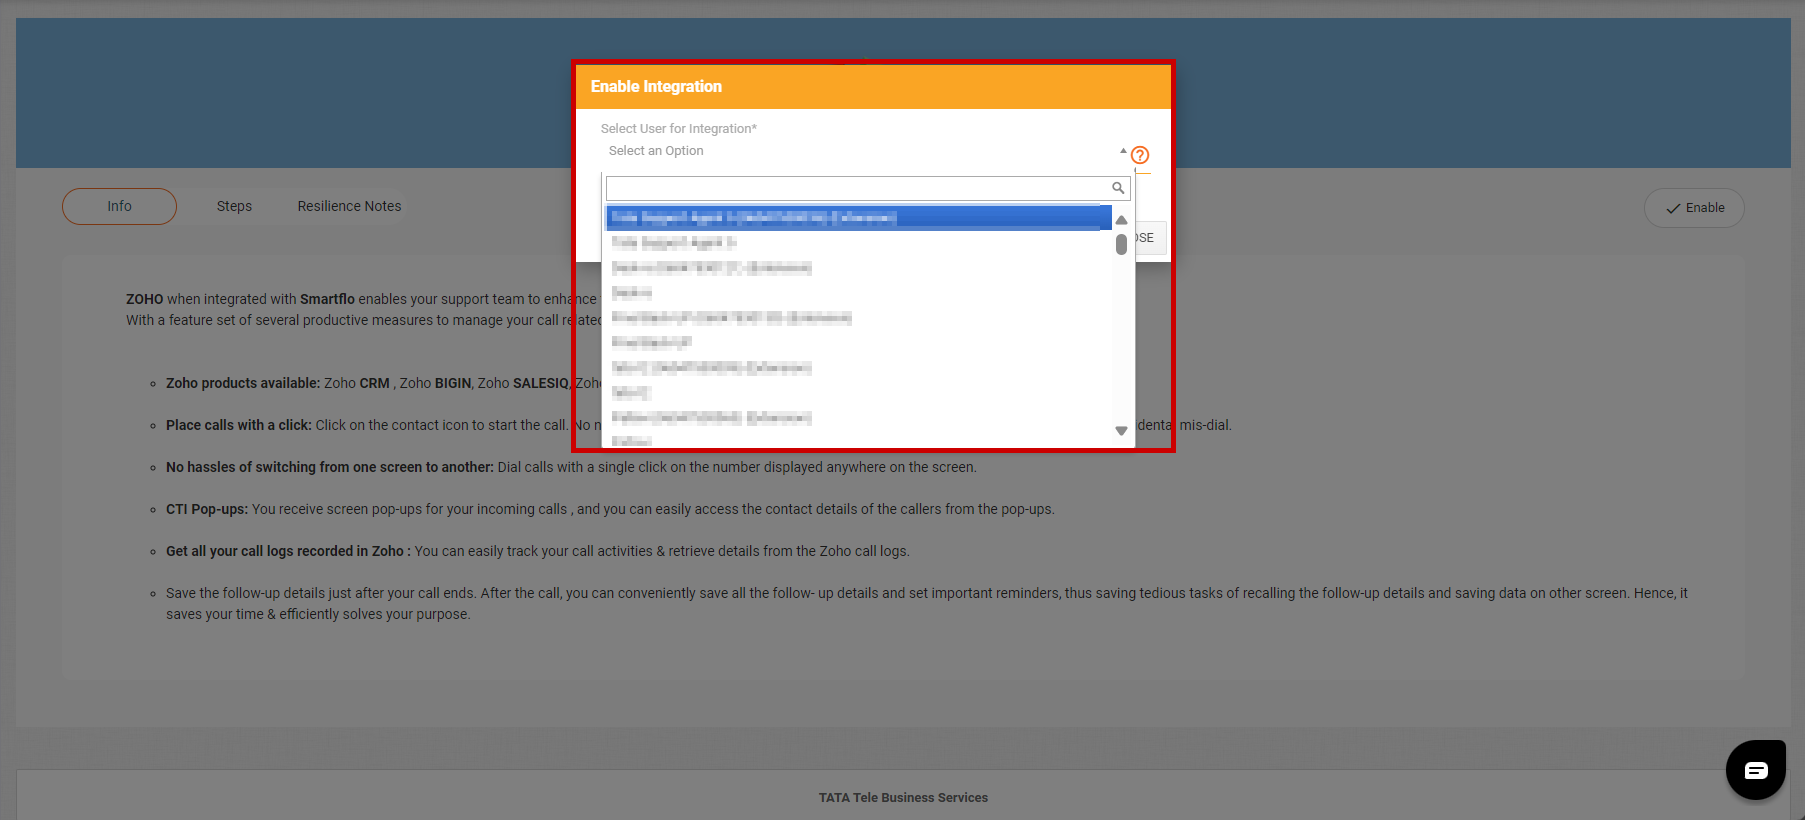
Note: You can select either mobile or extension number for the user.
-
You will be redirected to the Zoho CRM login page.
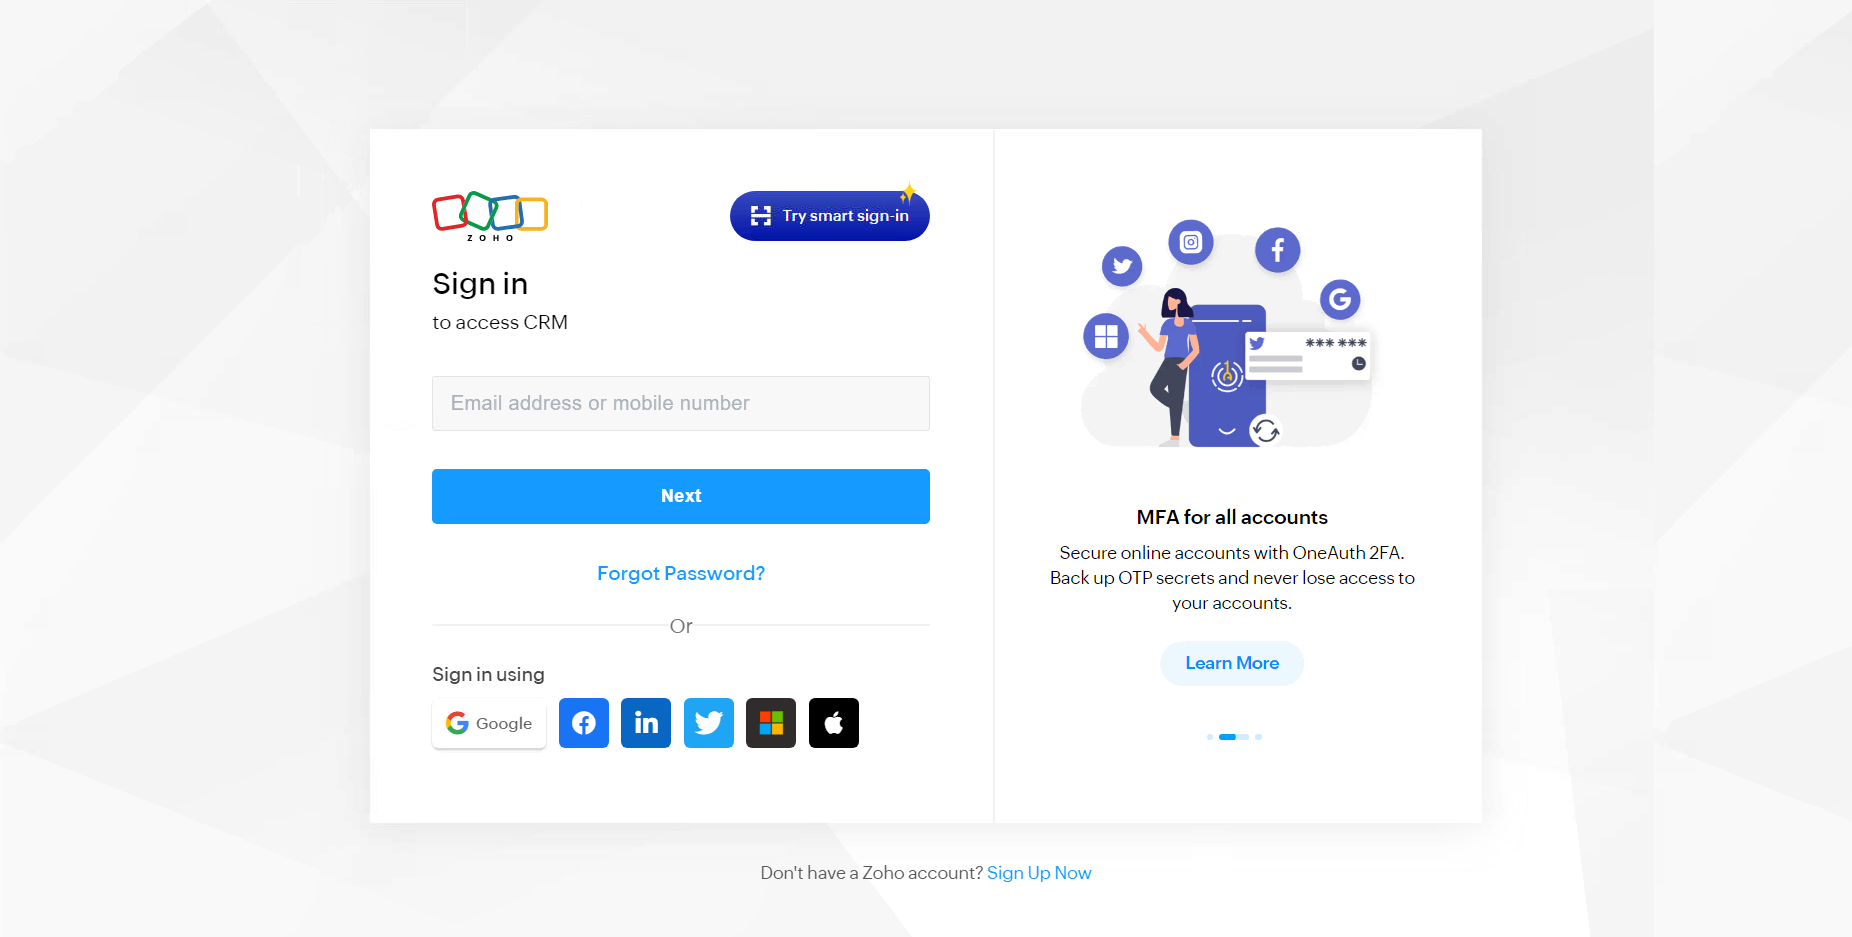
-
Log in to your account and accept the required terms & conditions.
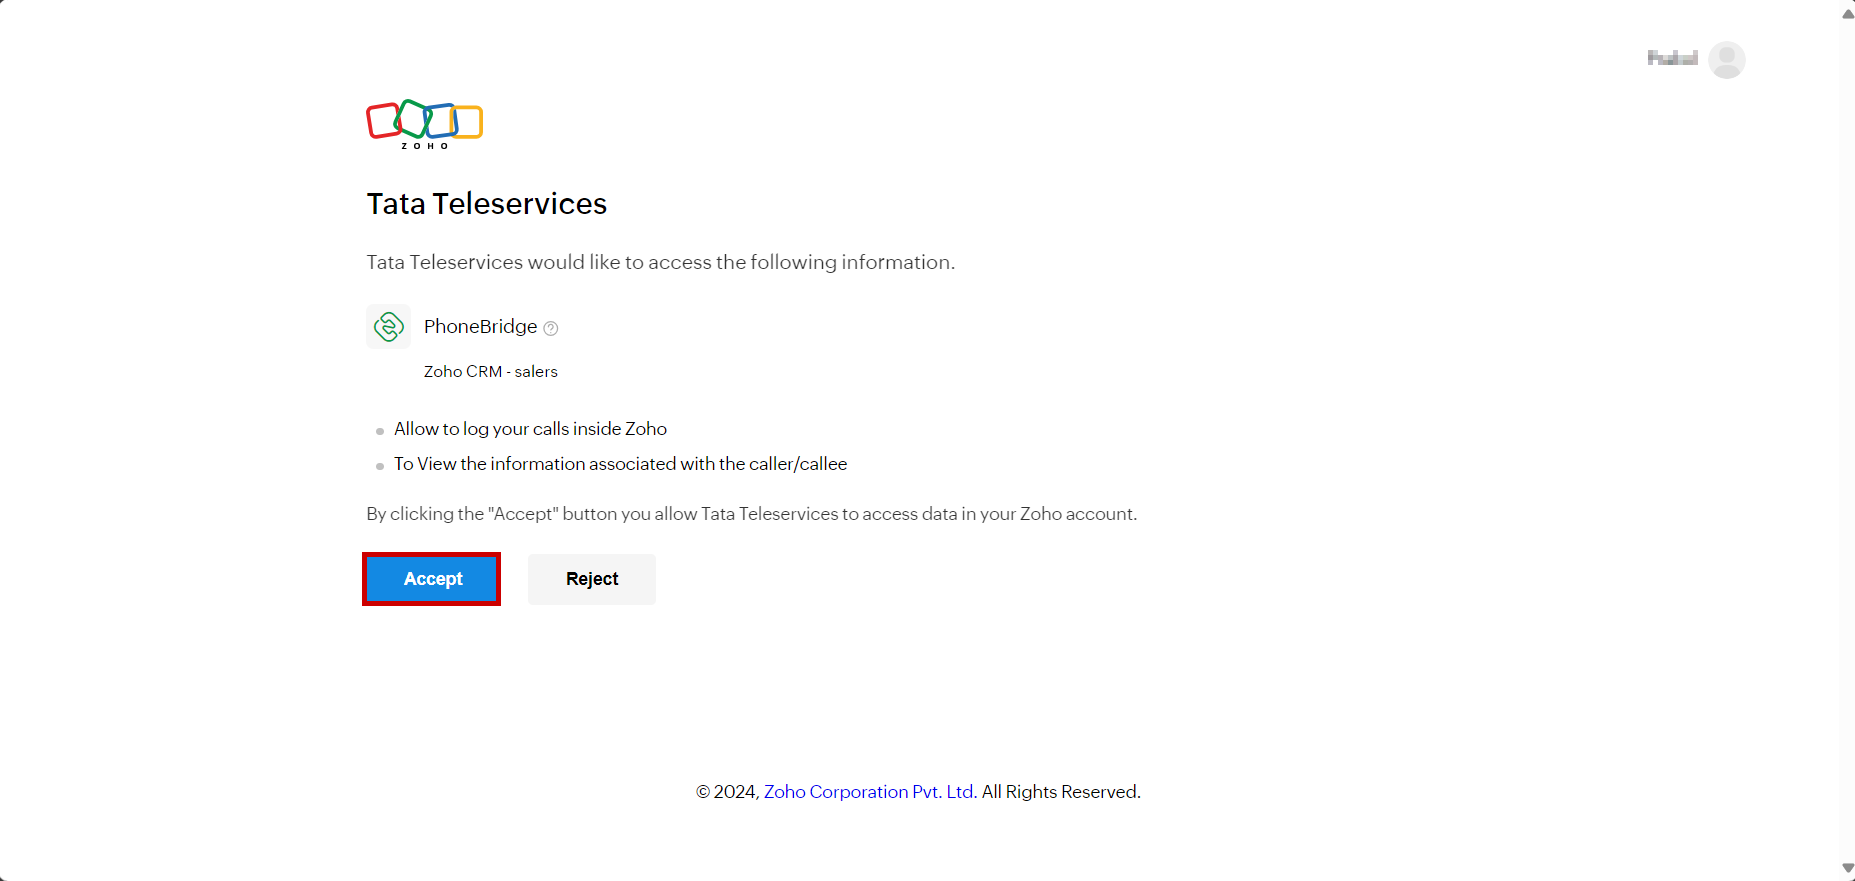
-
You have successfully integrated your Smartflo Account with Zoho CRM.
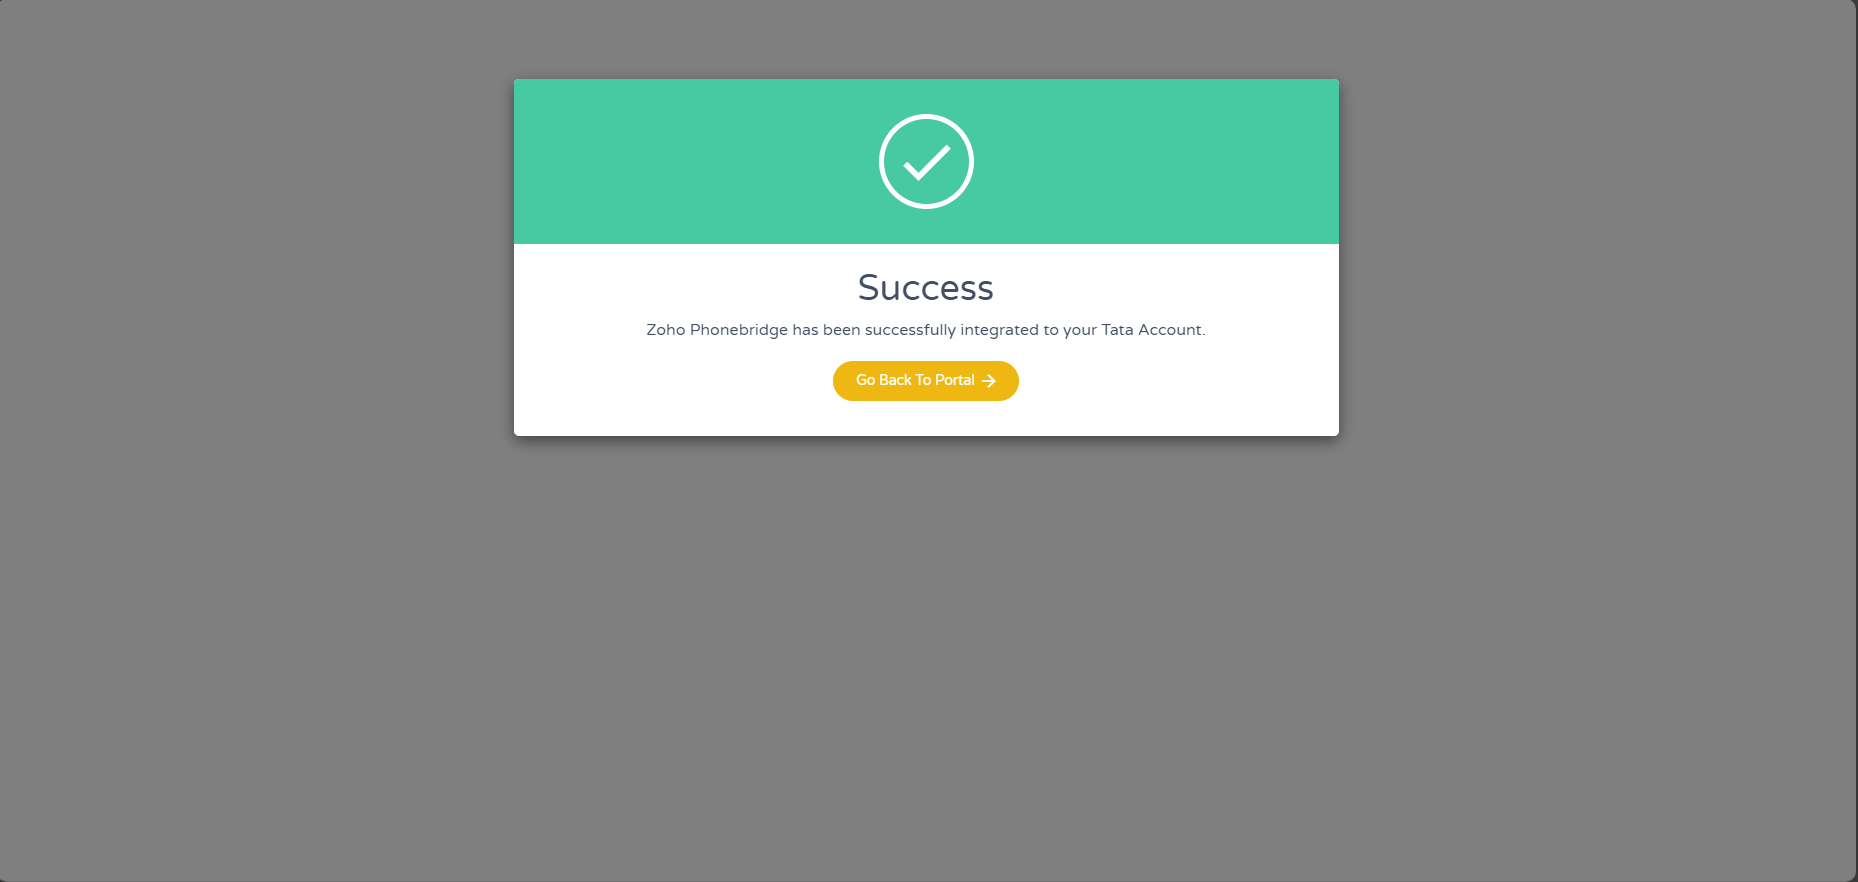
-
This app integration provides the below-listed functionalities of Smartflo through Zoho Phonebridge.
- Click To Call (Outbound Calls)
- Click To Dial
- Save New Contact/Lead
- Call Detail Records
- Call Notes or Call Description
-
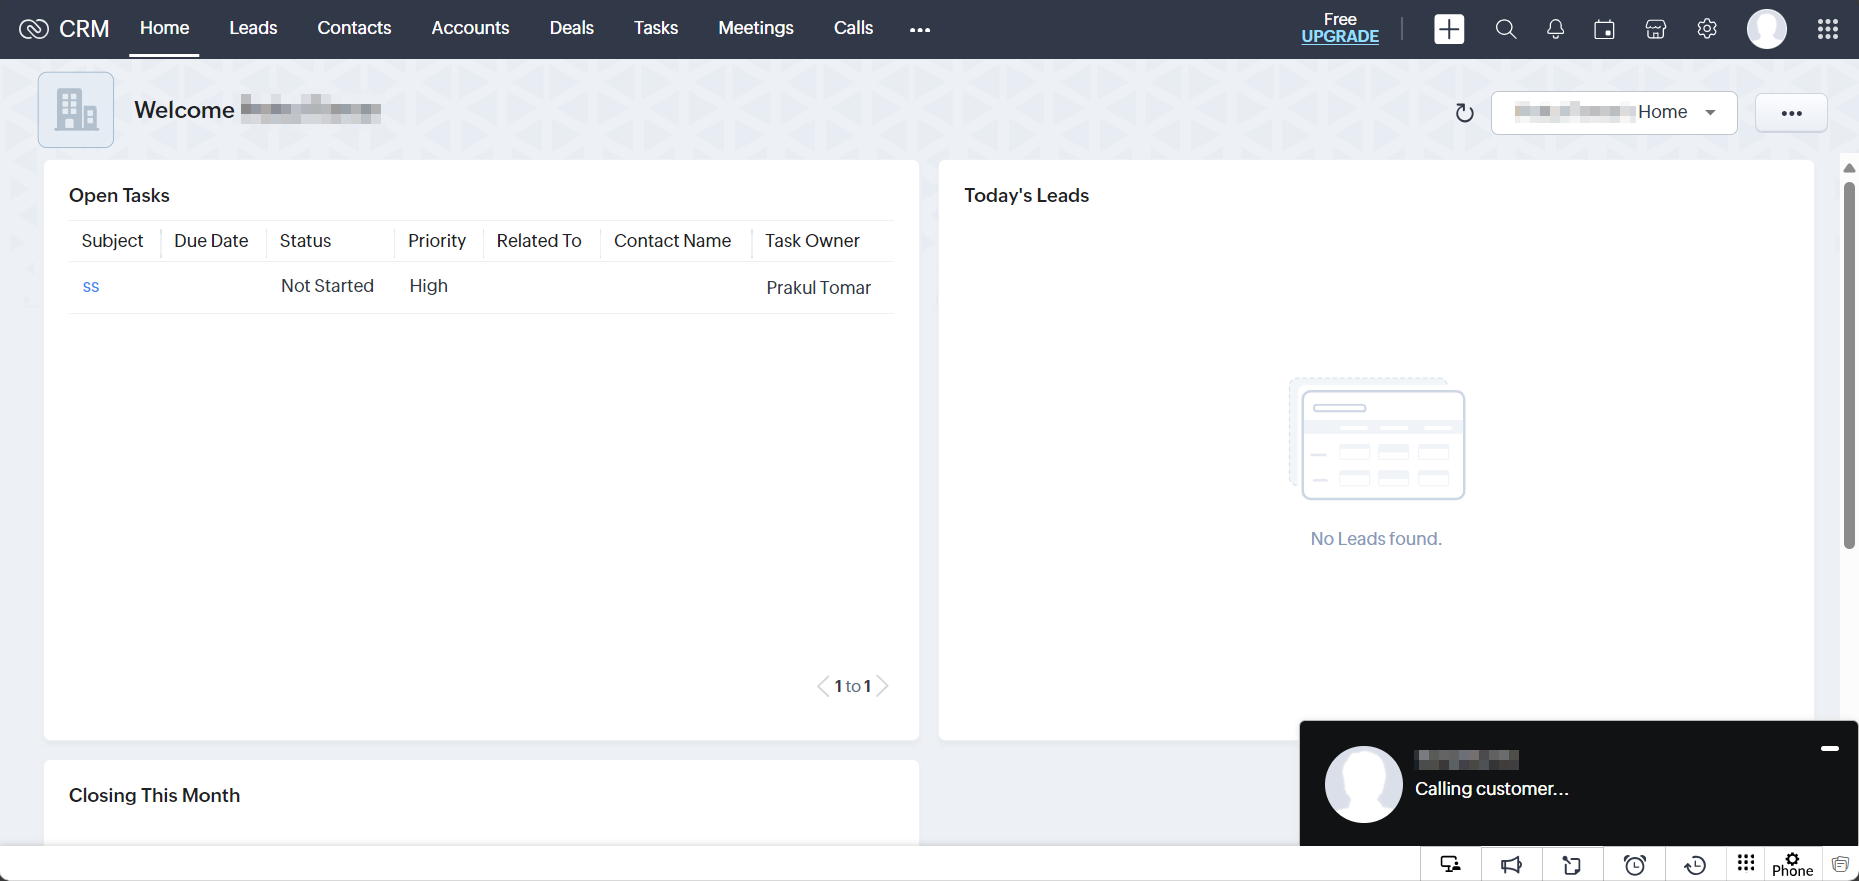
To use the Click To Call functionality, Click on the Dialpad icon in the bottom pane. Dial the number of your choice.
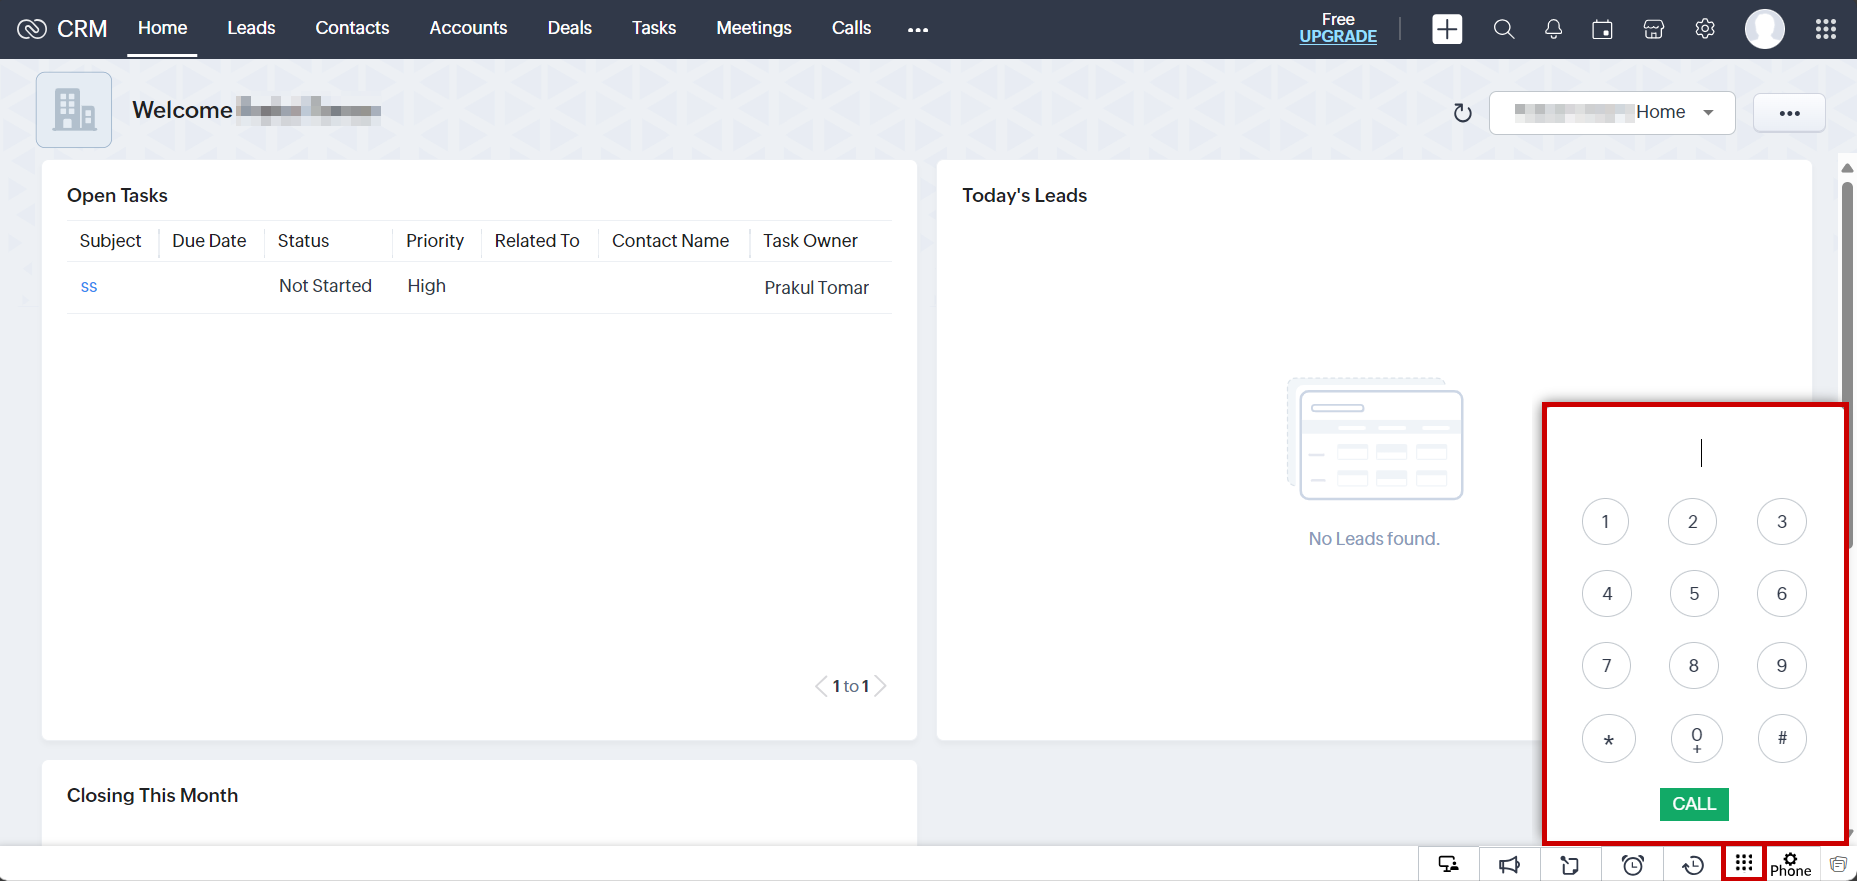
After dialing any number from the dashboard, the status of the call changes accordingly.
-
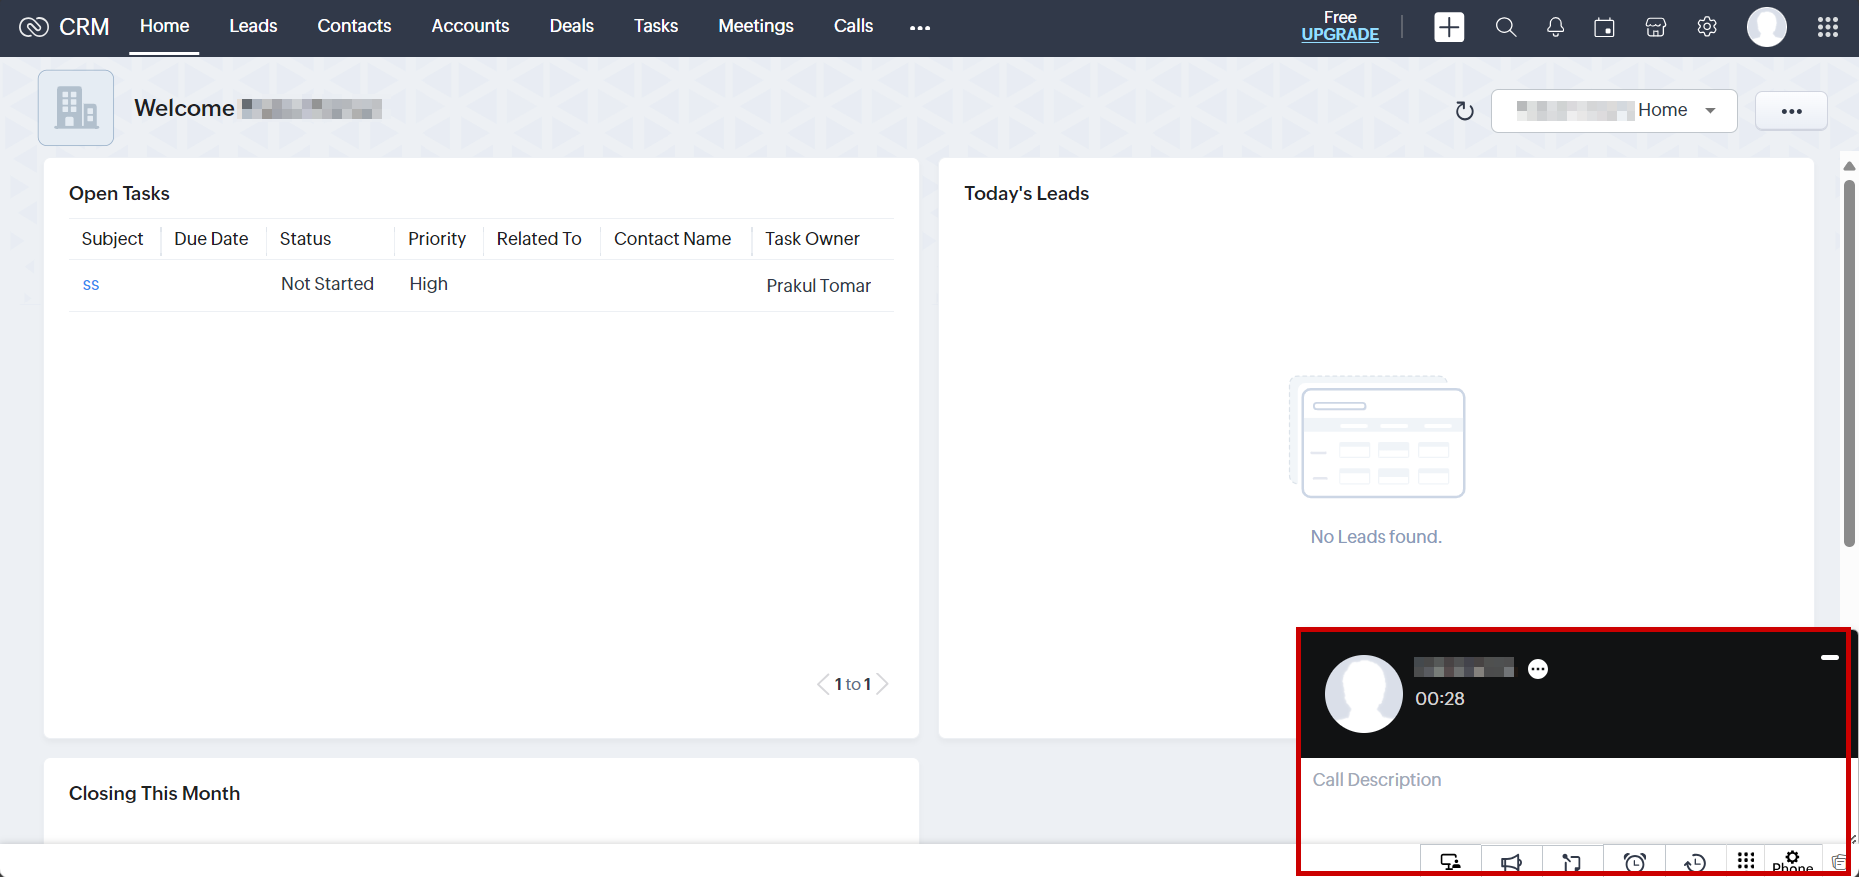
While in between a call, the user gets a Call Description tab to write down call notes during the call.
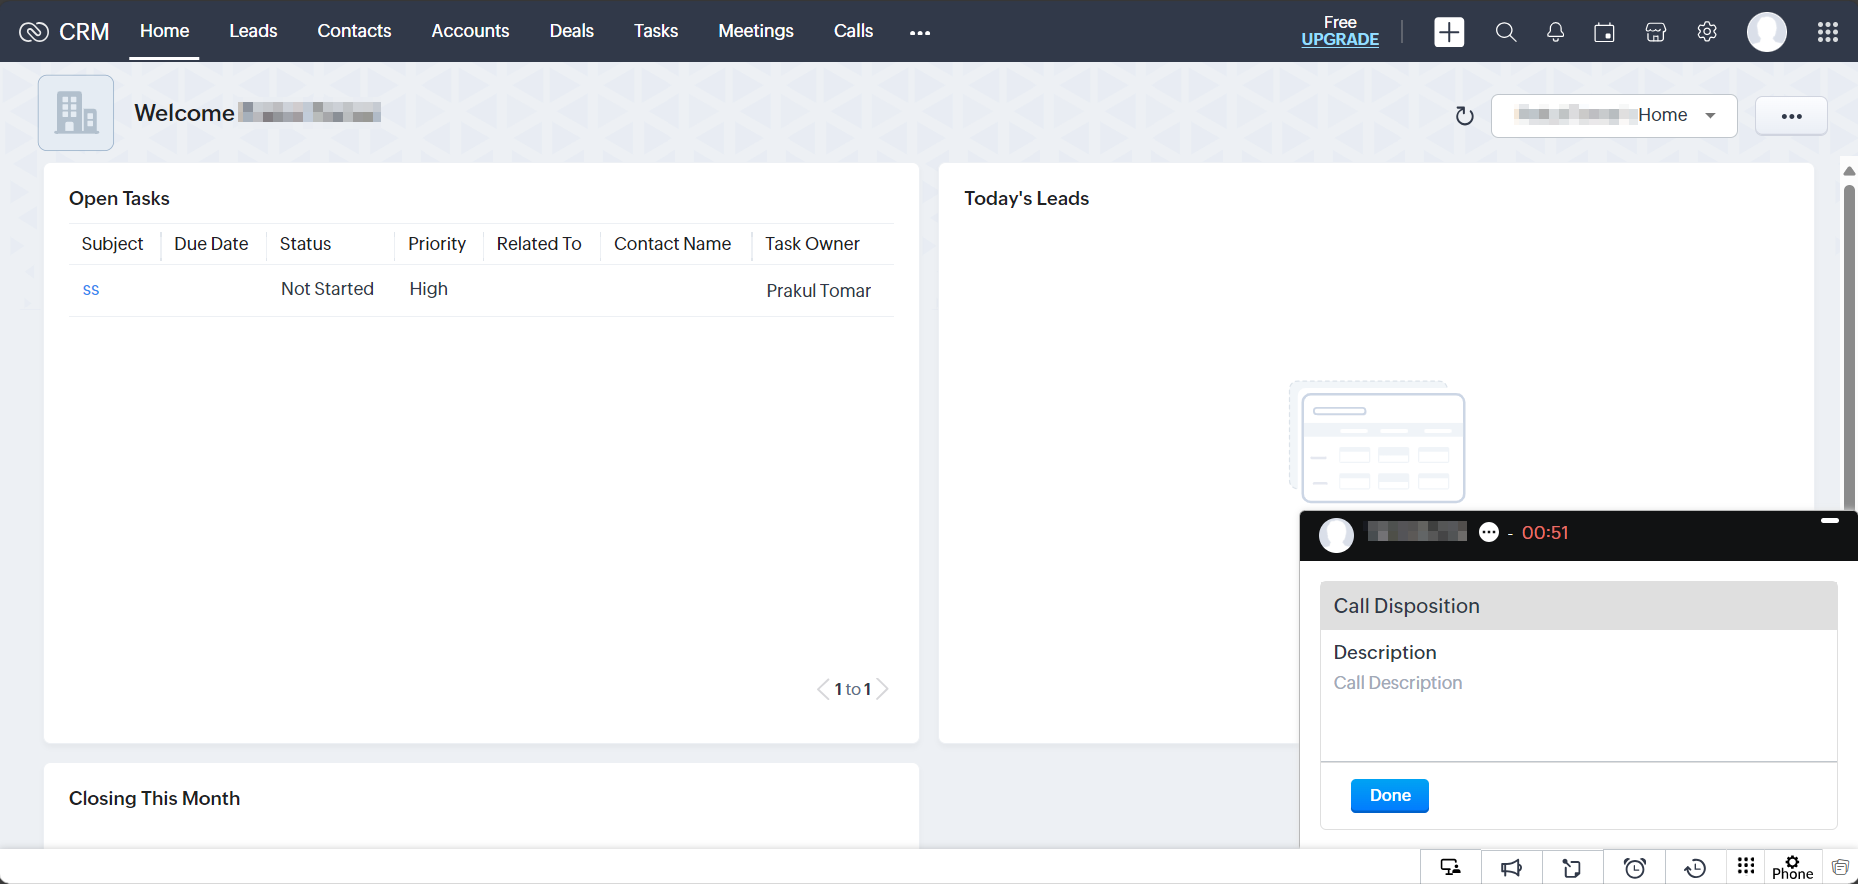
After call hangup, you can save this call description by clicking on done.
-
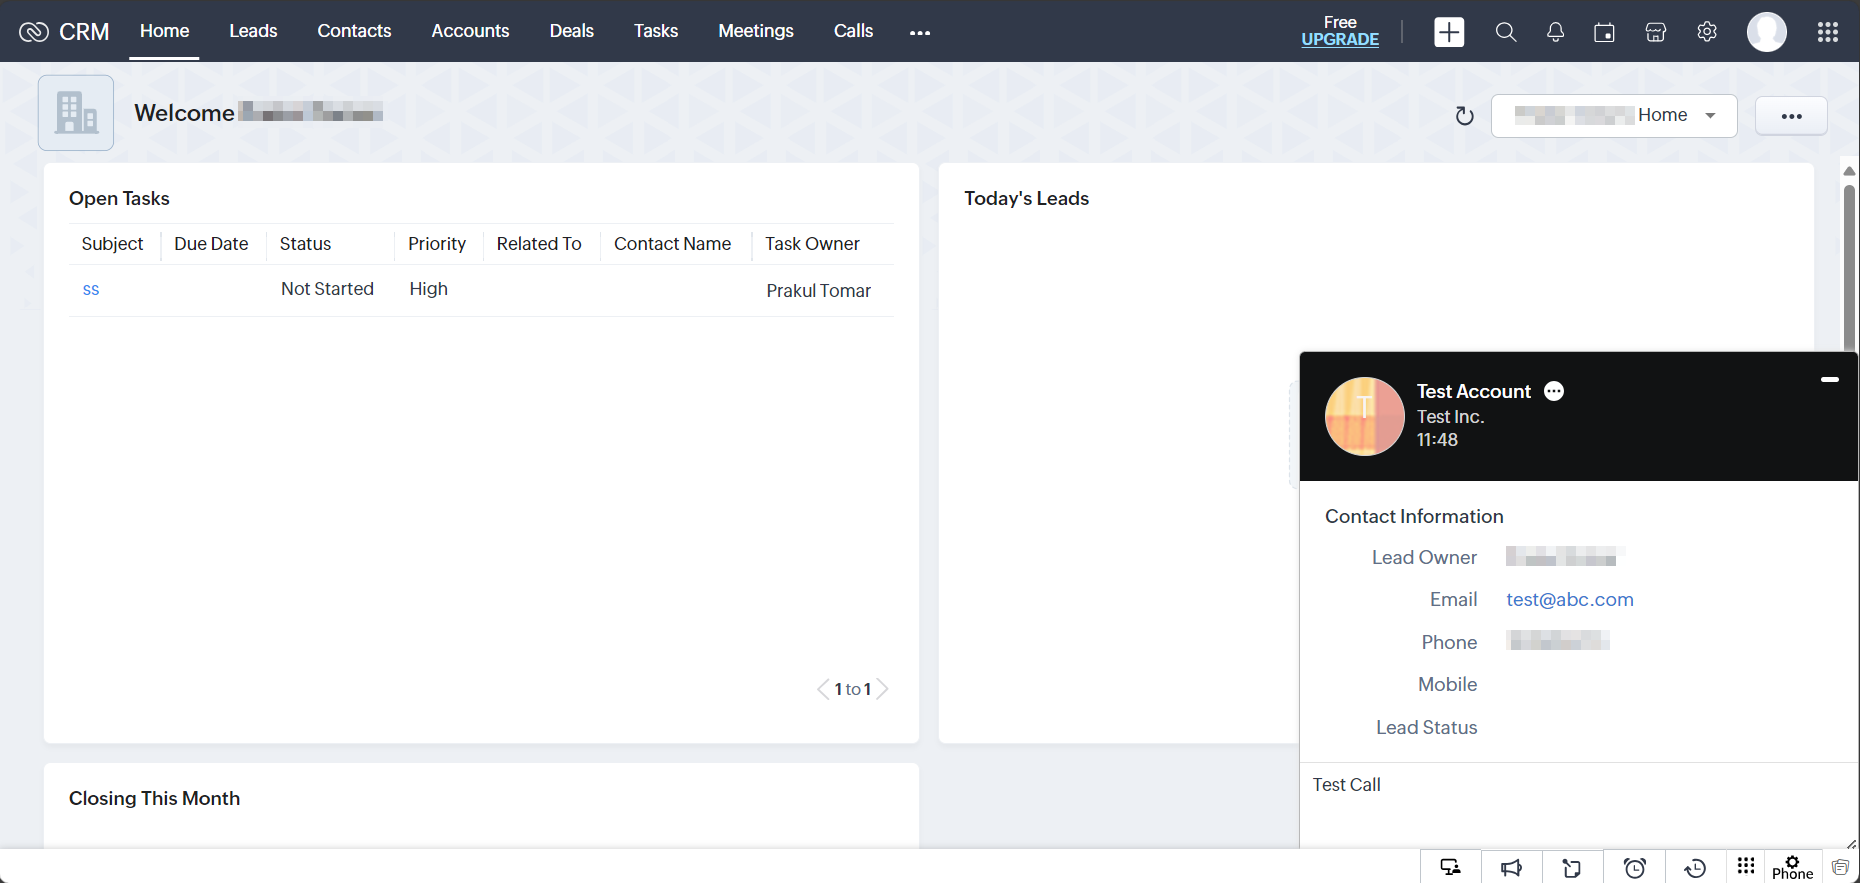
During the call, the user can click on Three Dots adjacent to the dialed number to perform below actions.
-
Create New Lead

-
Create New Contact
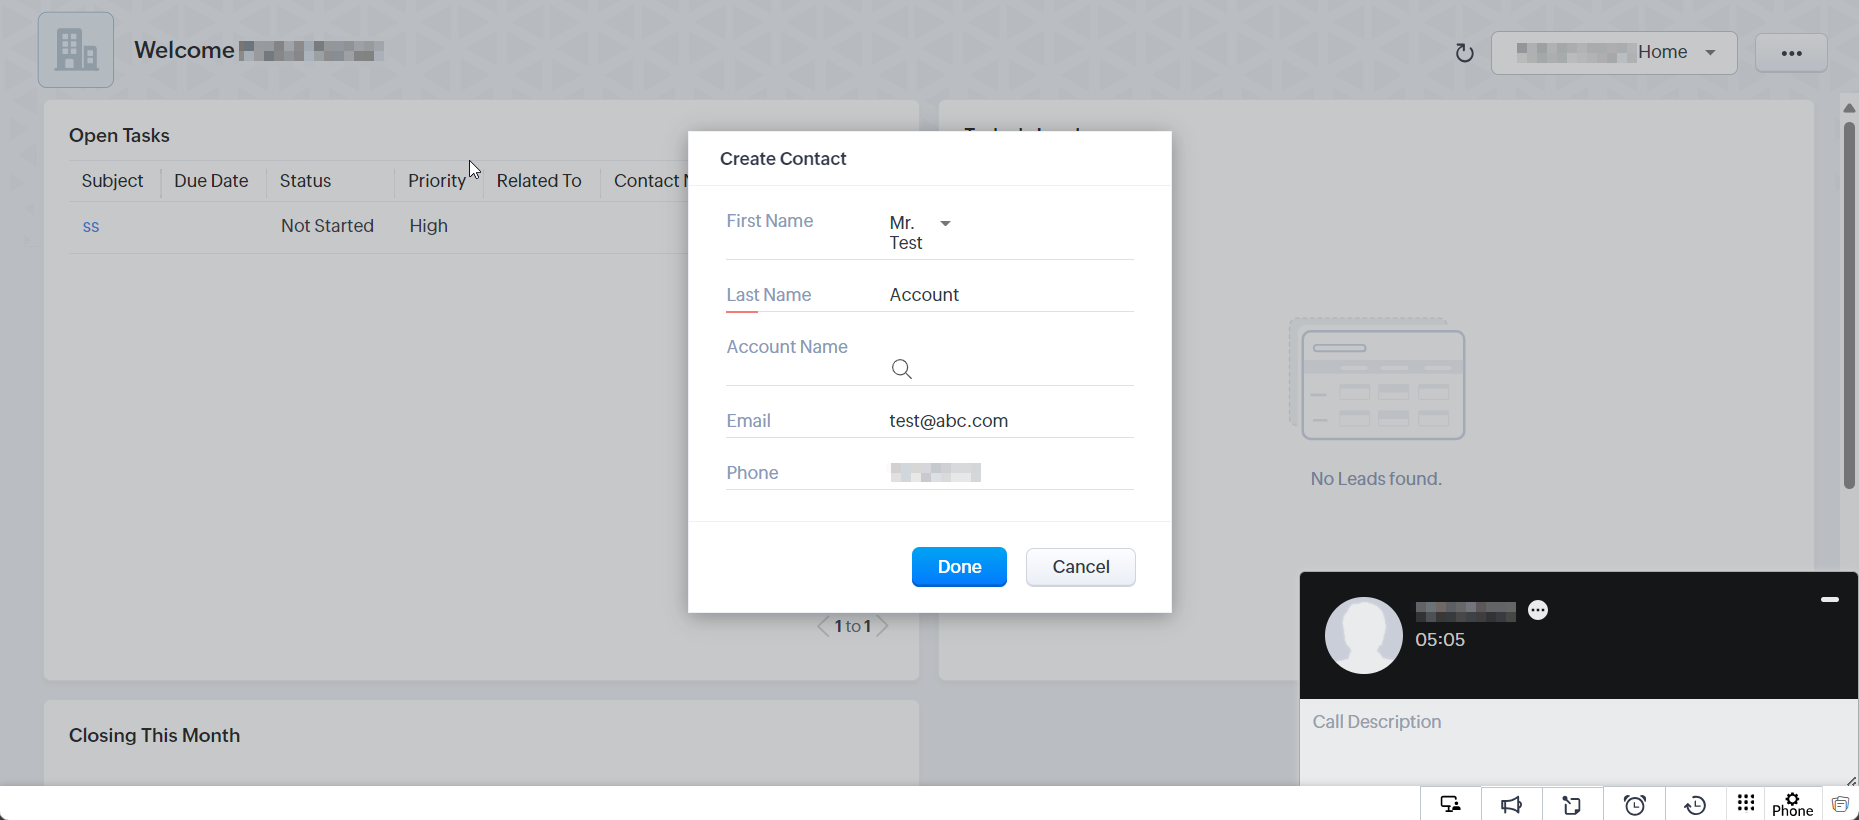
When added, the contact details get reflected on the call itself in Realtime.
-
Add to Existing Lead
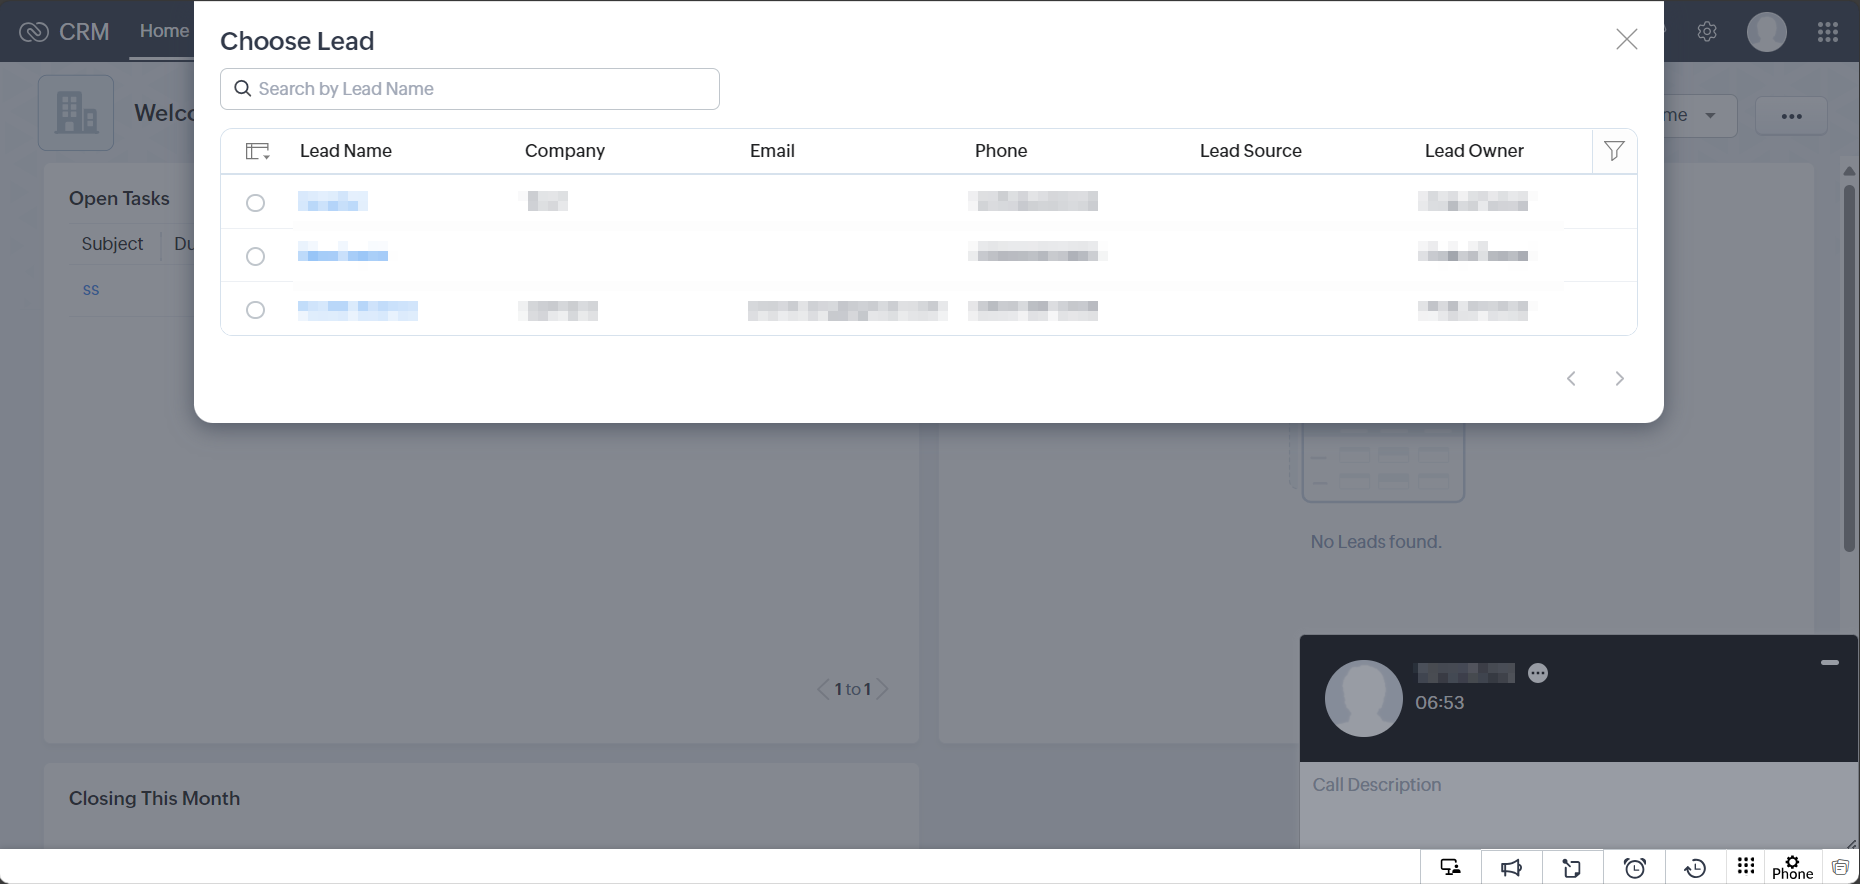
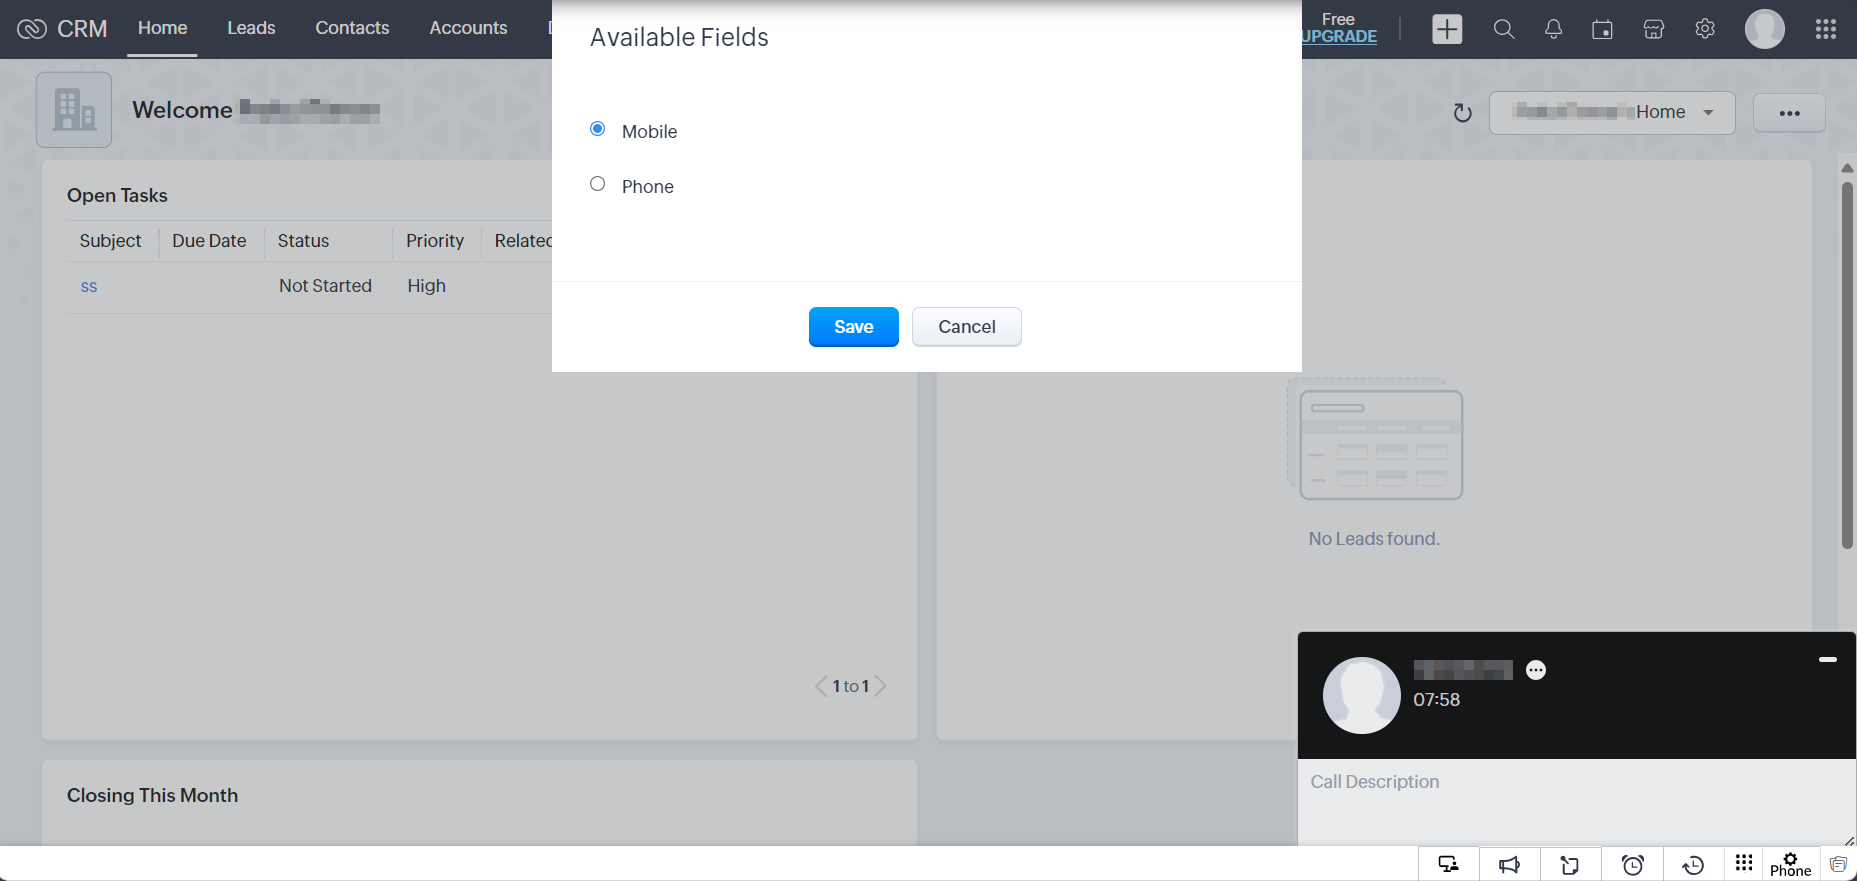
Select the available fields to update with the contact information.
-
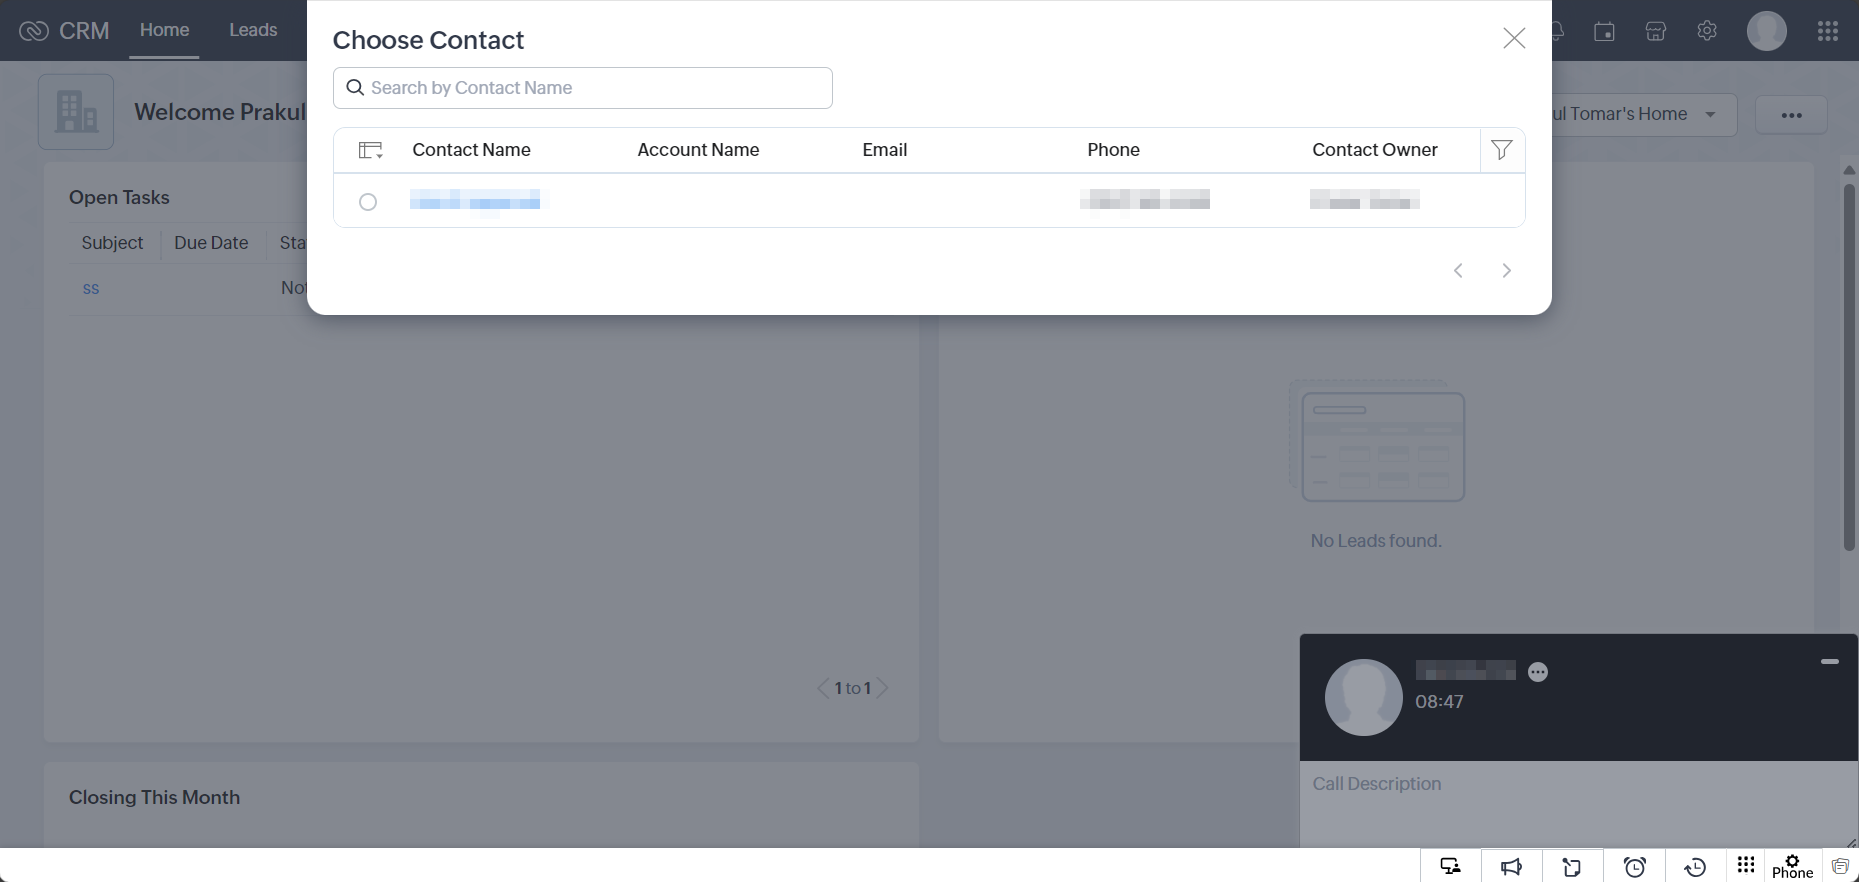
Add to Existing Contact
-
Add Call Details
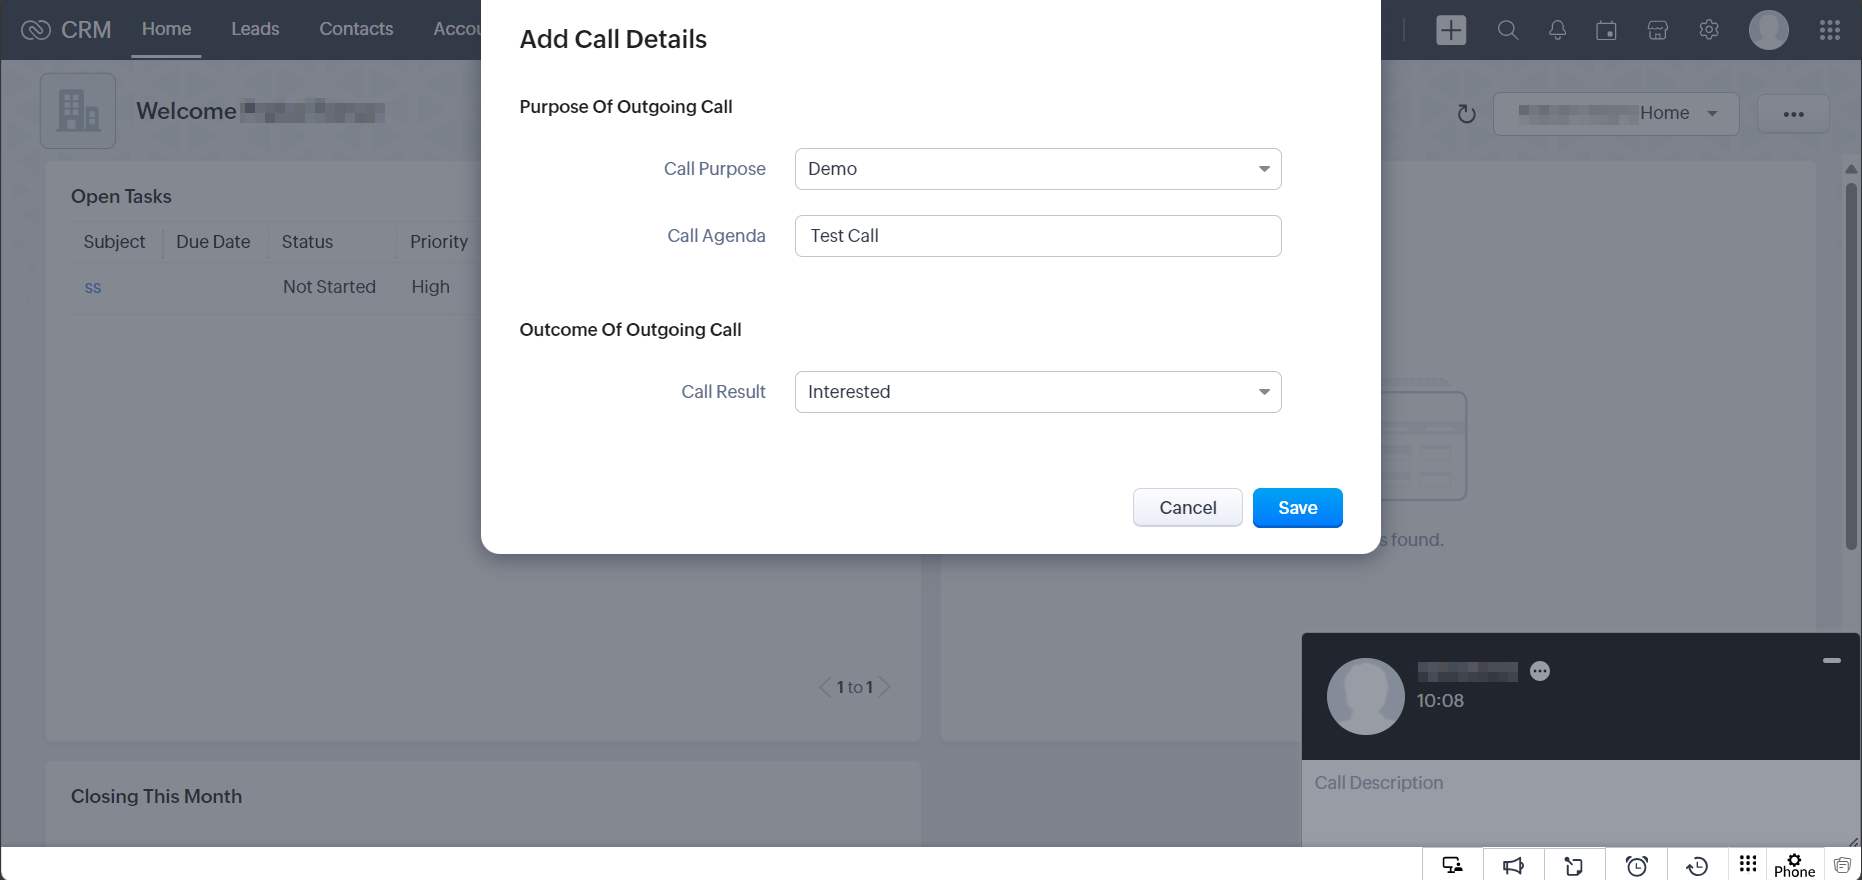
-
-
After Hangup, there’s an option to add Followup Action for the call.
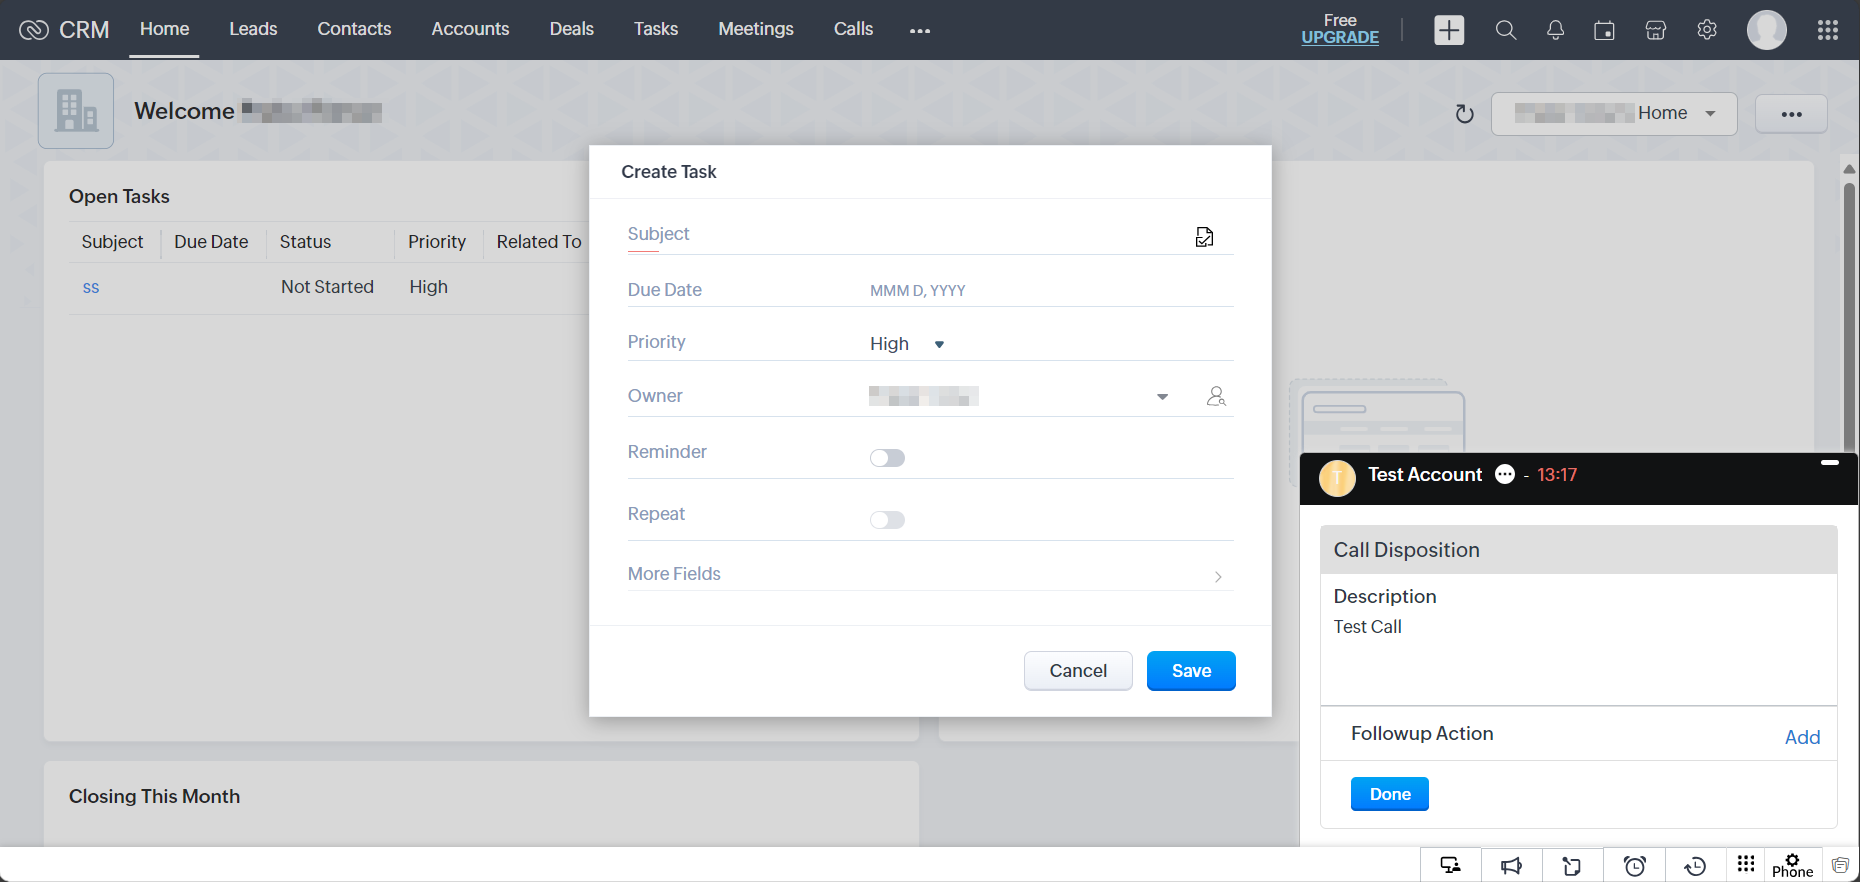
-
When the call is completed, there’s a log stored for each call with all the necessary fields fetched from Call Detail Records. To access the logs, navigate to Calls from the top navigation panel.
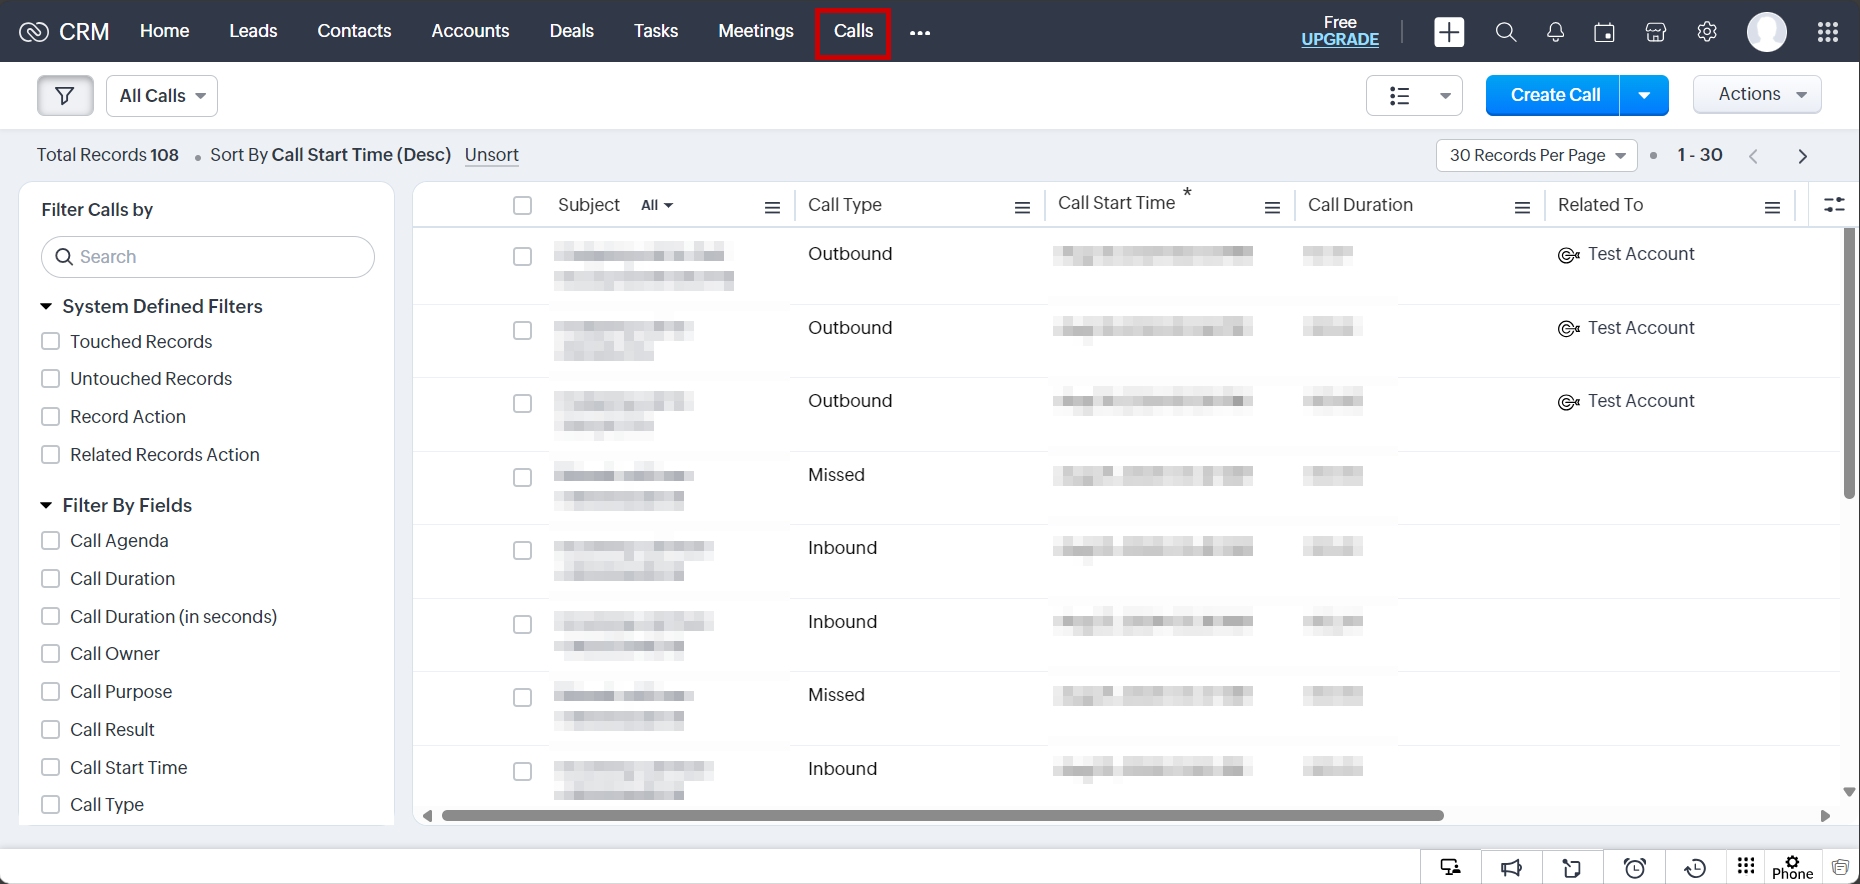
It contains all the information regarding each call made such as Call Type, Call Start Time, etc.
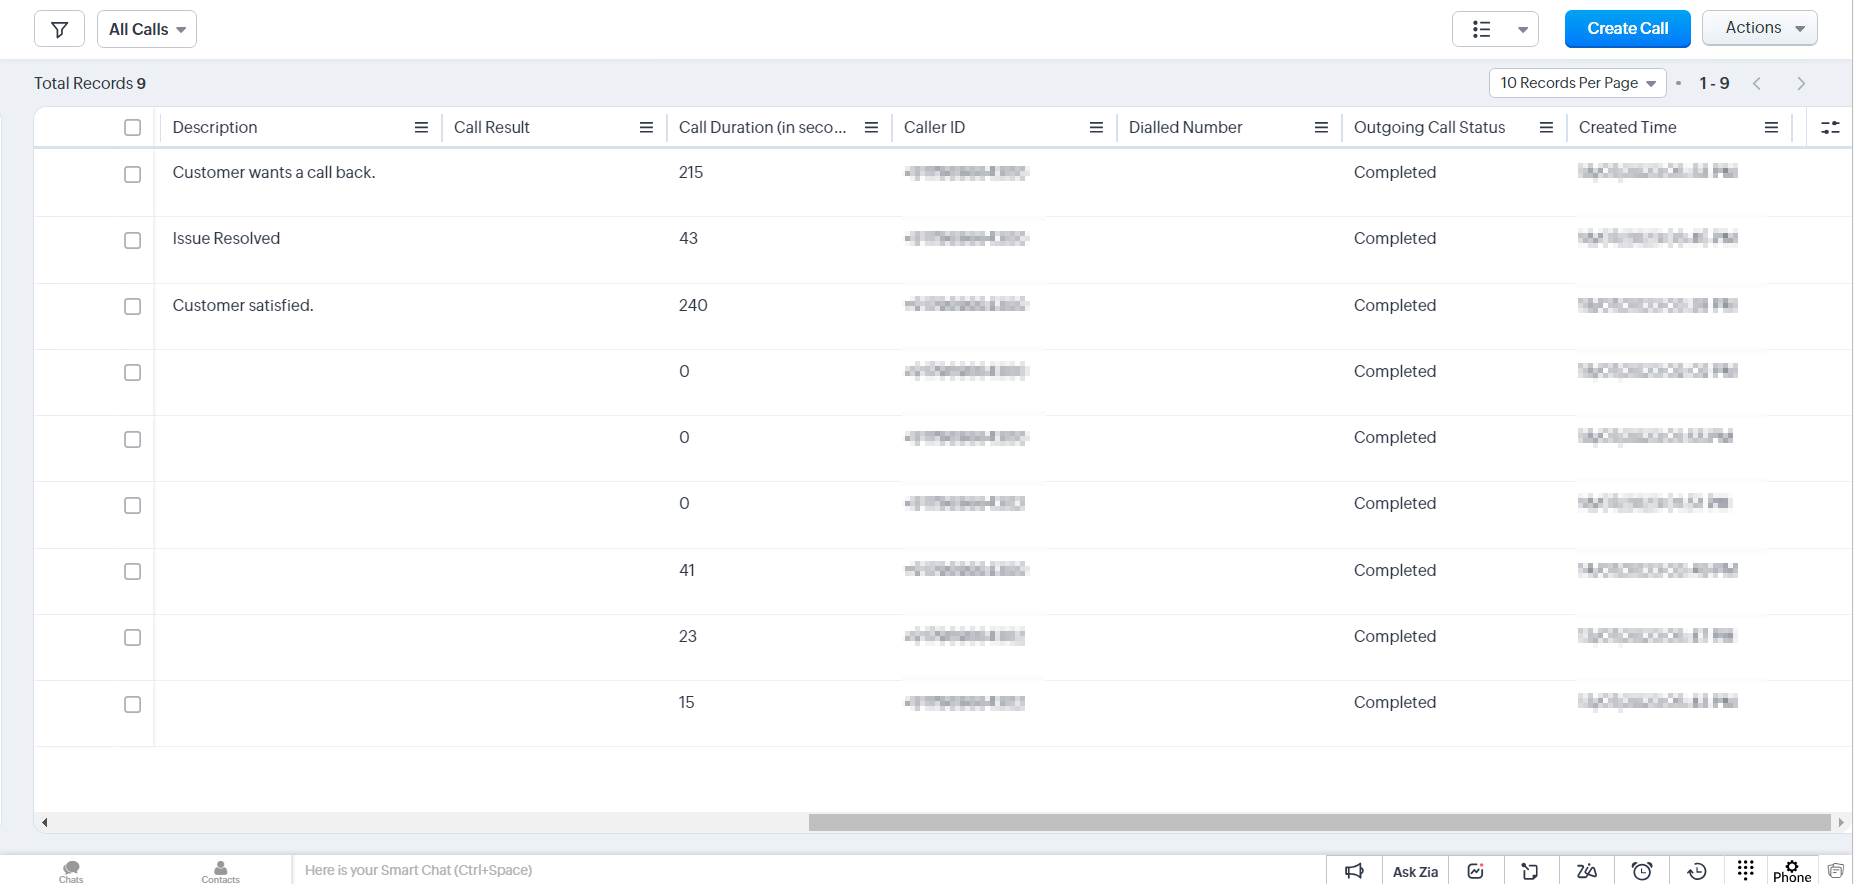
| Field | Description |
|---|---|
| Subject | Shows all the outbound and inbound calls |
| Call Type | Whether the call is outbound or inbound |
| Call Start Time | The time at which the call was started |
| Call Duration | The total time spend on the call |
| Contact Name | Name of the contact number or lead |
| Call Owner | The person who owns the account on which the call is received or from which the call has been made |
| Description | It refers to the call notes that are recorded during the call. |
| Call Duration (in seconds) | The total time of the call in seconds. |
| Caller ID | It refers to the extension used to make the outbound call |
| Dialled Number | The number on which the outbound call is made |
| Outgoing Call Status | Whether the call is completed or not |
| Created Time | Time at which the call is logged in the records. |
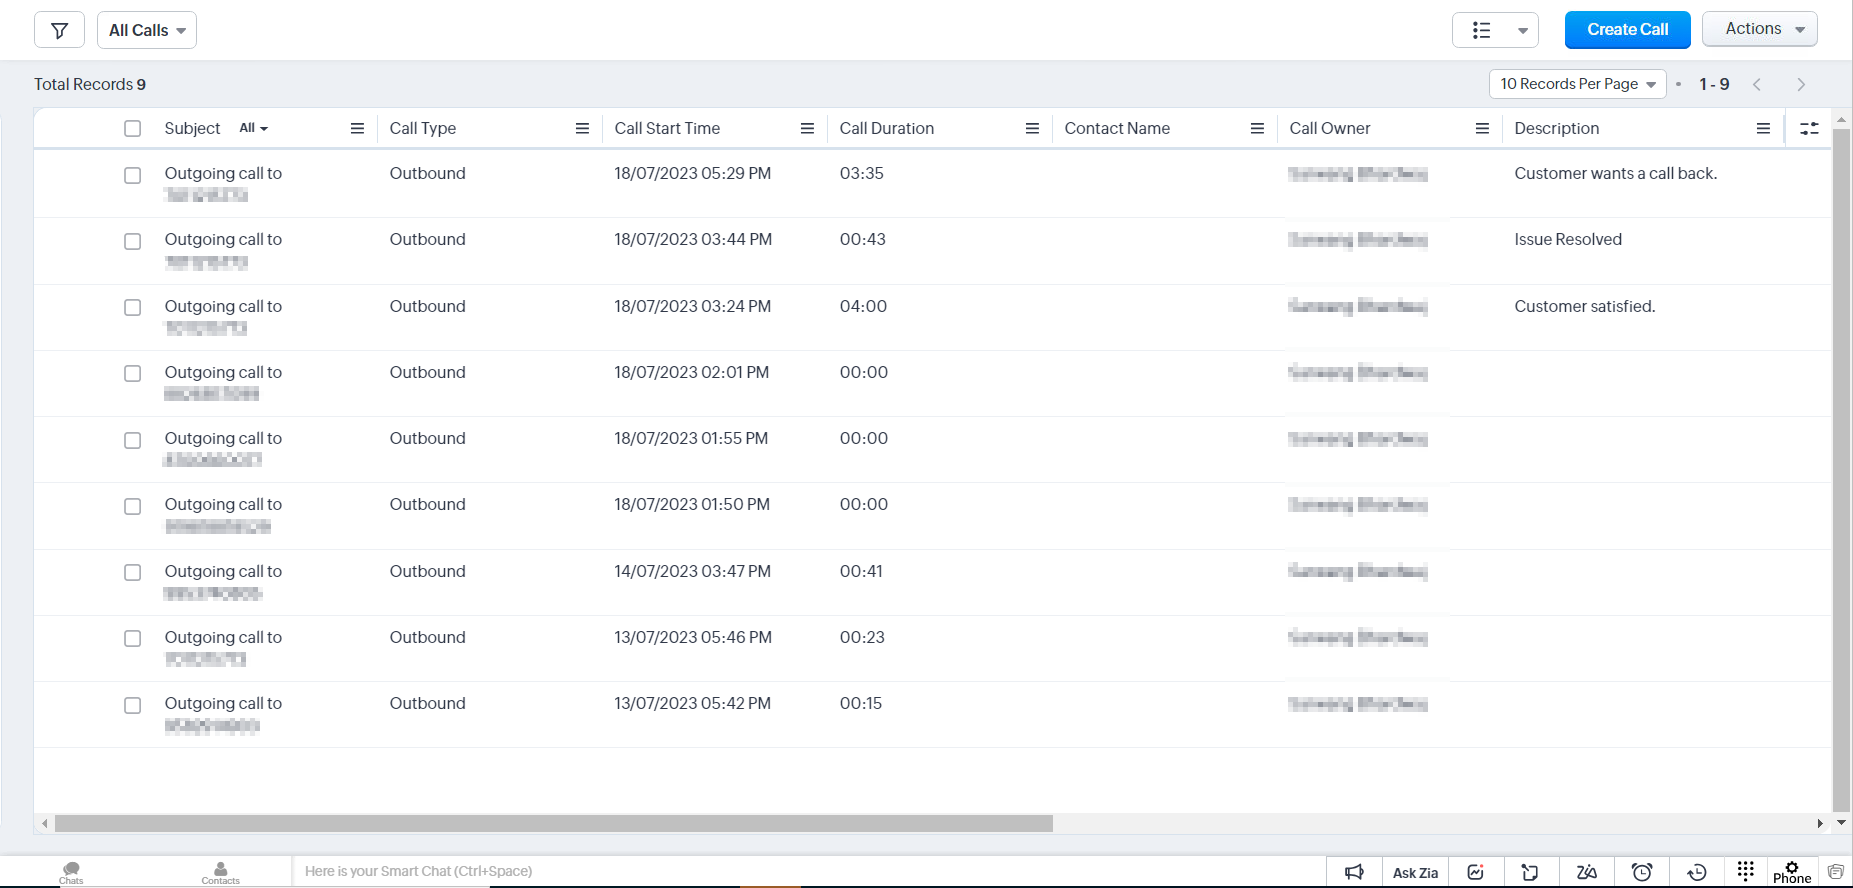
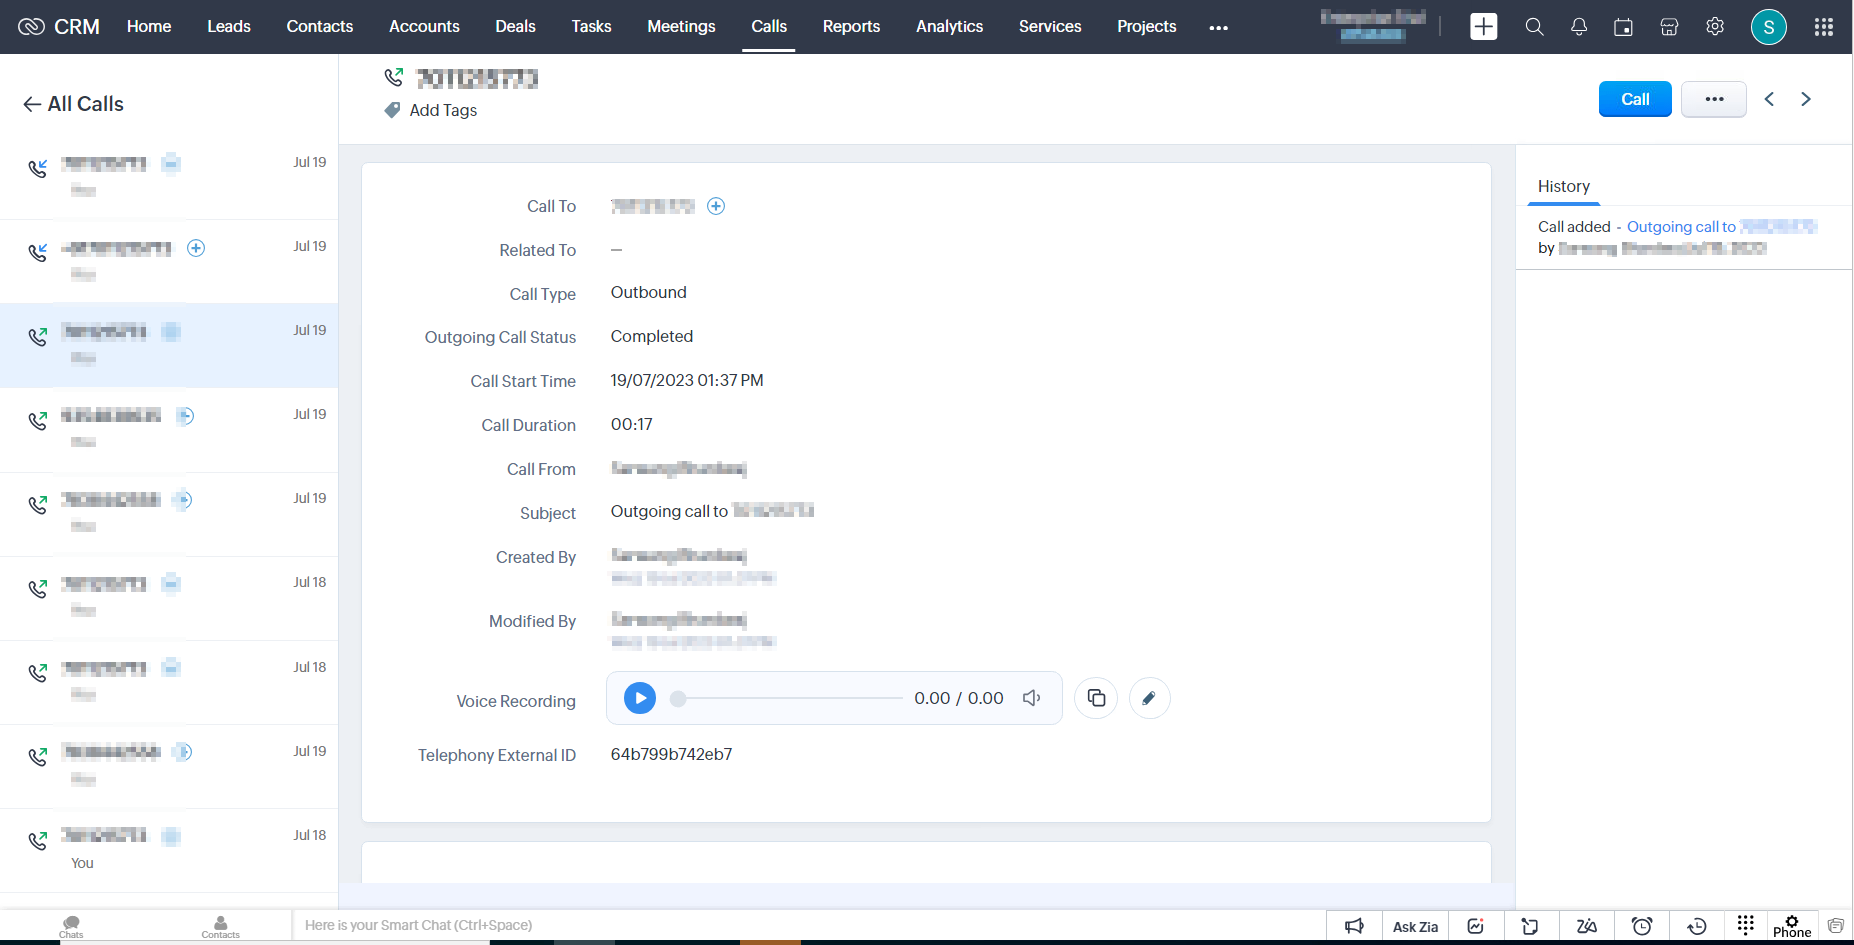
- Moreover, you can click on any log created to edit or access the fields recorded more efficiently. The call recording is also stored in these individual logs.
Updated 3 months ago