Dialer Inbound Queue
Dialer Inbound Queue Overview
The Dialer Inbound Queue in Smartflo helps manage incoming calls by placing them in a queue until an agent is available. If a customer waits longer than the pre-defined threshold, they can request a callback instead of staying on hold. This feature reduces customer wait times and improves satisfaction. It ensures that no calls are missed while providing a better experience for customers.
Getting Started with Dialer Inbound Queue
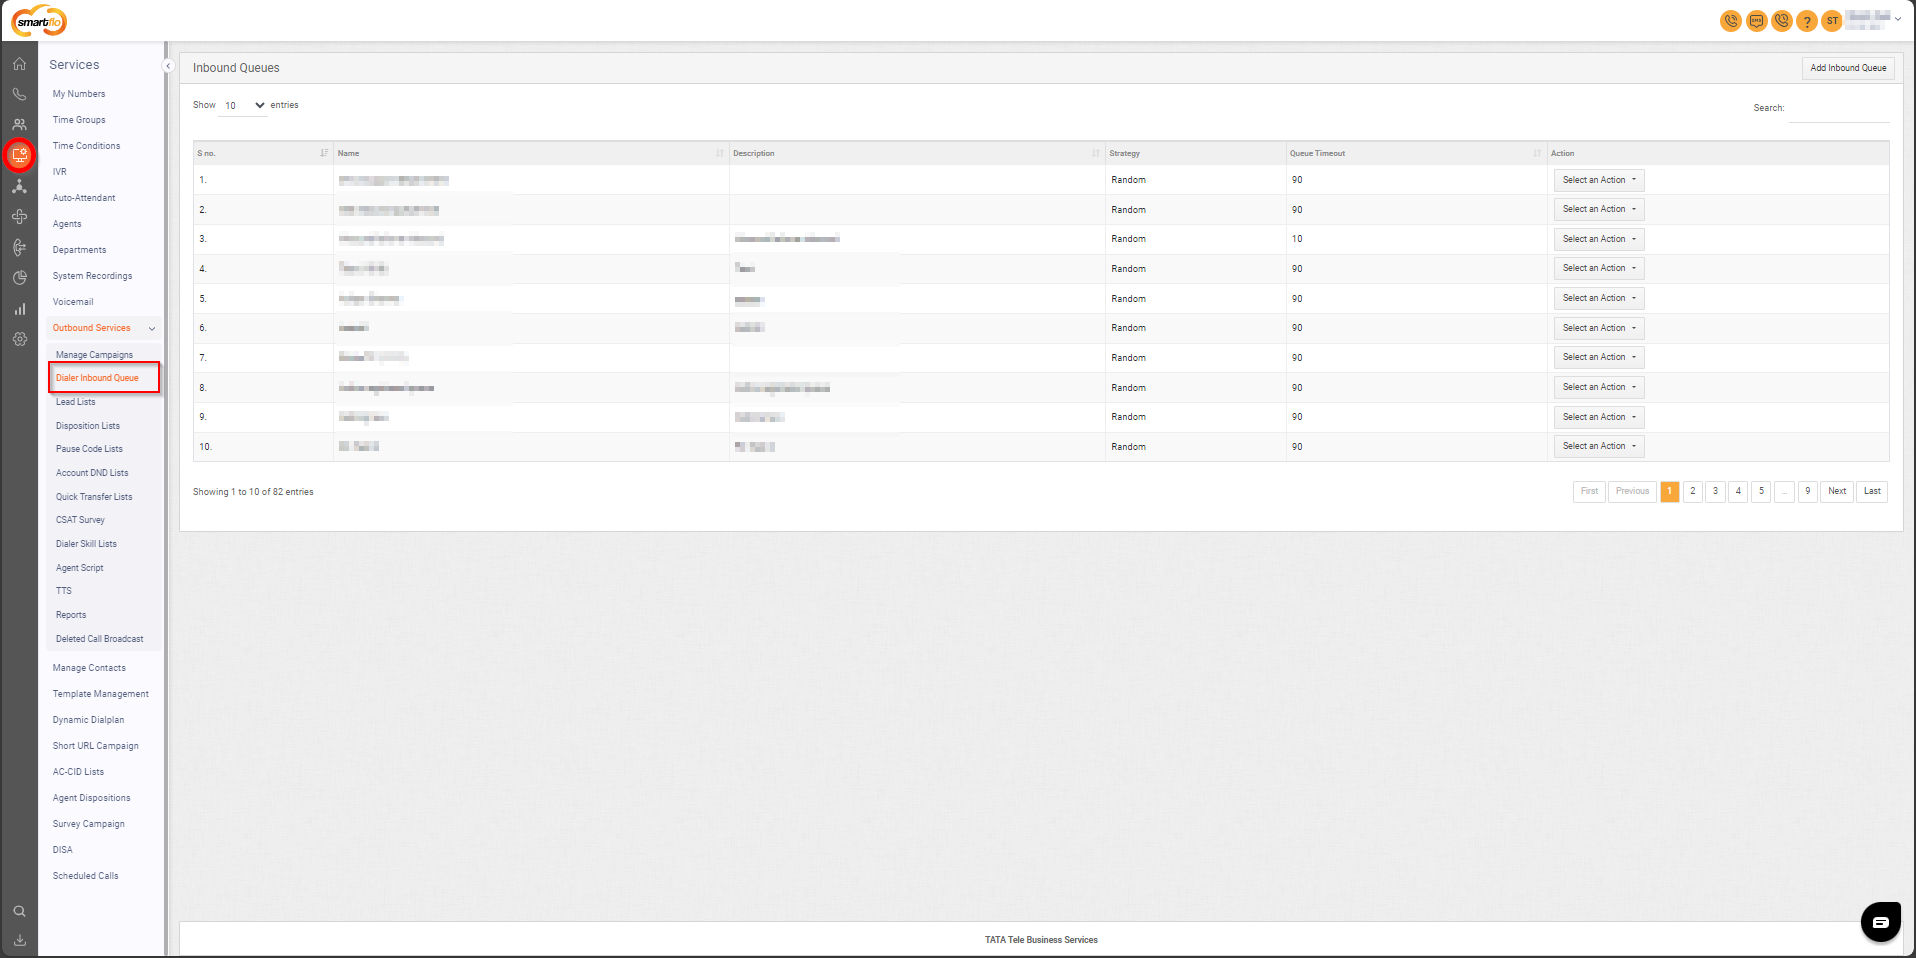
To go to Dialer Inbound Queue to your Smartflo account, first log in using your unique User ID and Password. Once logged in, you will be directed to the main dashboard. From there, locate the navigation menu on the left-hand side of the screen and click on "Services" then “Outbound Services”. A set of options opens up. One of these options is the “Dialer Inbound Queue".
- List of Inbound Queues
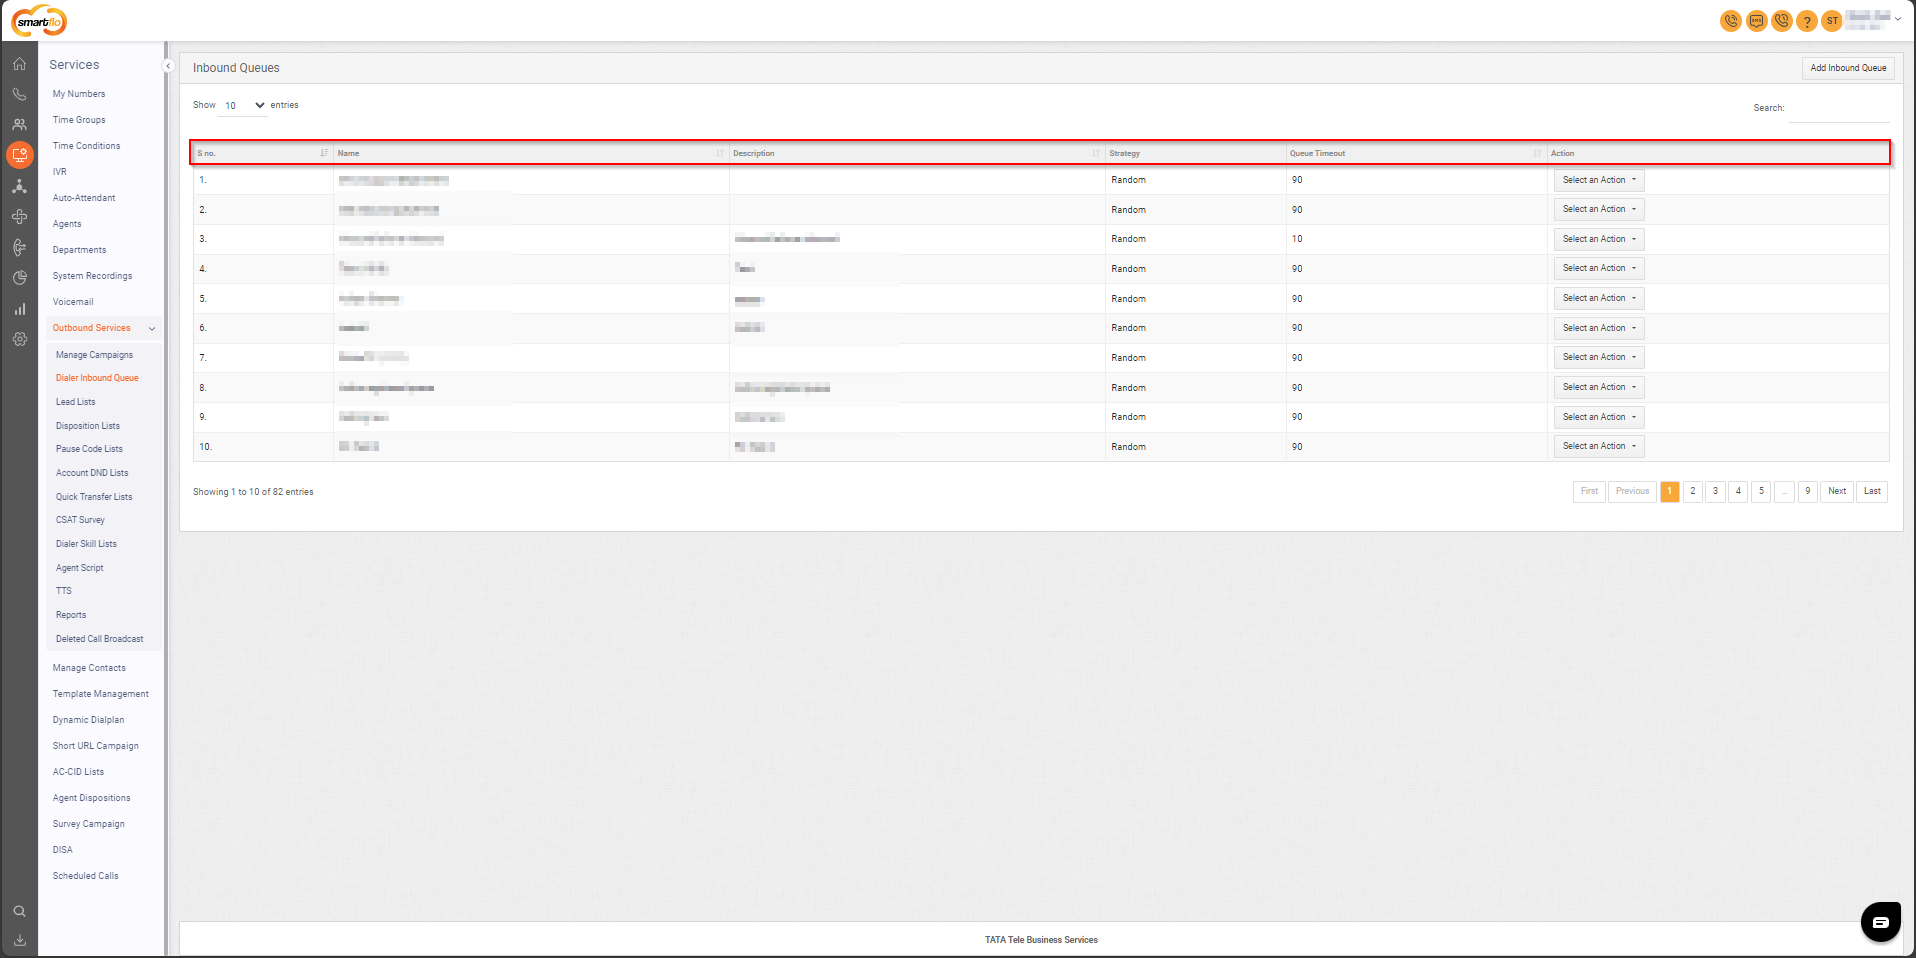
- The table displays a list of all Inbound Queues with the following information:
| Field | Description |
|---|---|
| S no. | A serial number is used to uniquely identify Each Inbound queue, ensuring easy reference and management. |
| Name | The name given to the queue often represents its purpose (e.g., support, sales). |
| Description | A brief explanation of what the queue is used for, such as handling customer support or sales calls. |
| Strategy | The ring strategy determines how calls are routed to agents in the queue. |
| Queue Timeout | The maximum time a caller can remain in the queue before the system takes alternative action (e.g., redirect or end the call). |
| Action (Edit/Delete) | Options to either edit the queue settings or delete the queue from the system. |
- Add Inbound Queue
- To add an Inbound Queue, follow the below steps:
- Click on the Services tab on the side navigation.
- Click Outbound Services and select Dialer Inbound Queue.
- A list of all the Inbound Queues appears along with the relevant details.
- Click on Add Inbound Queue.
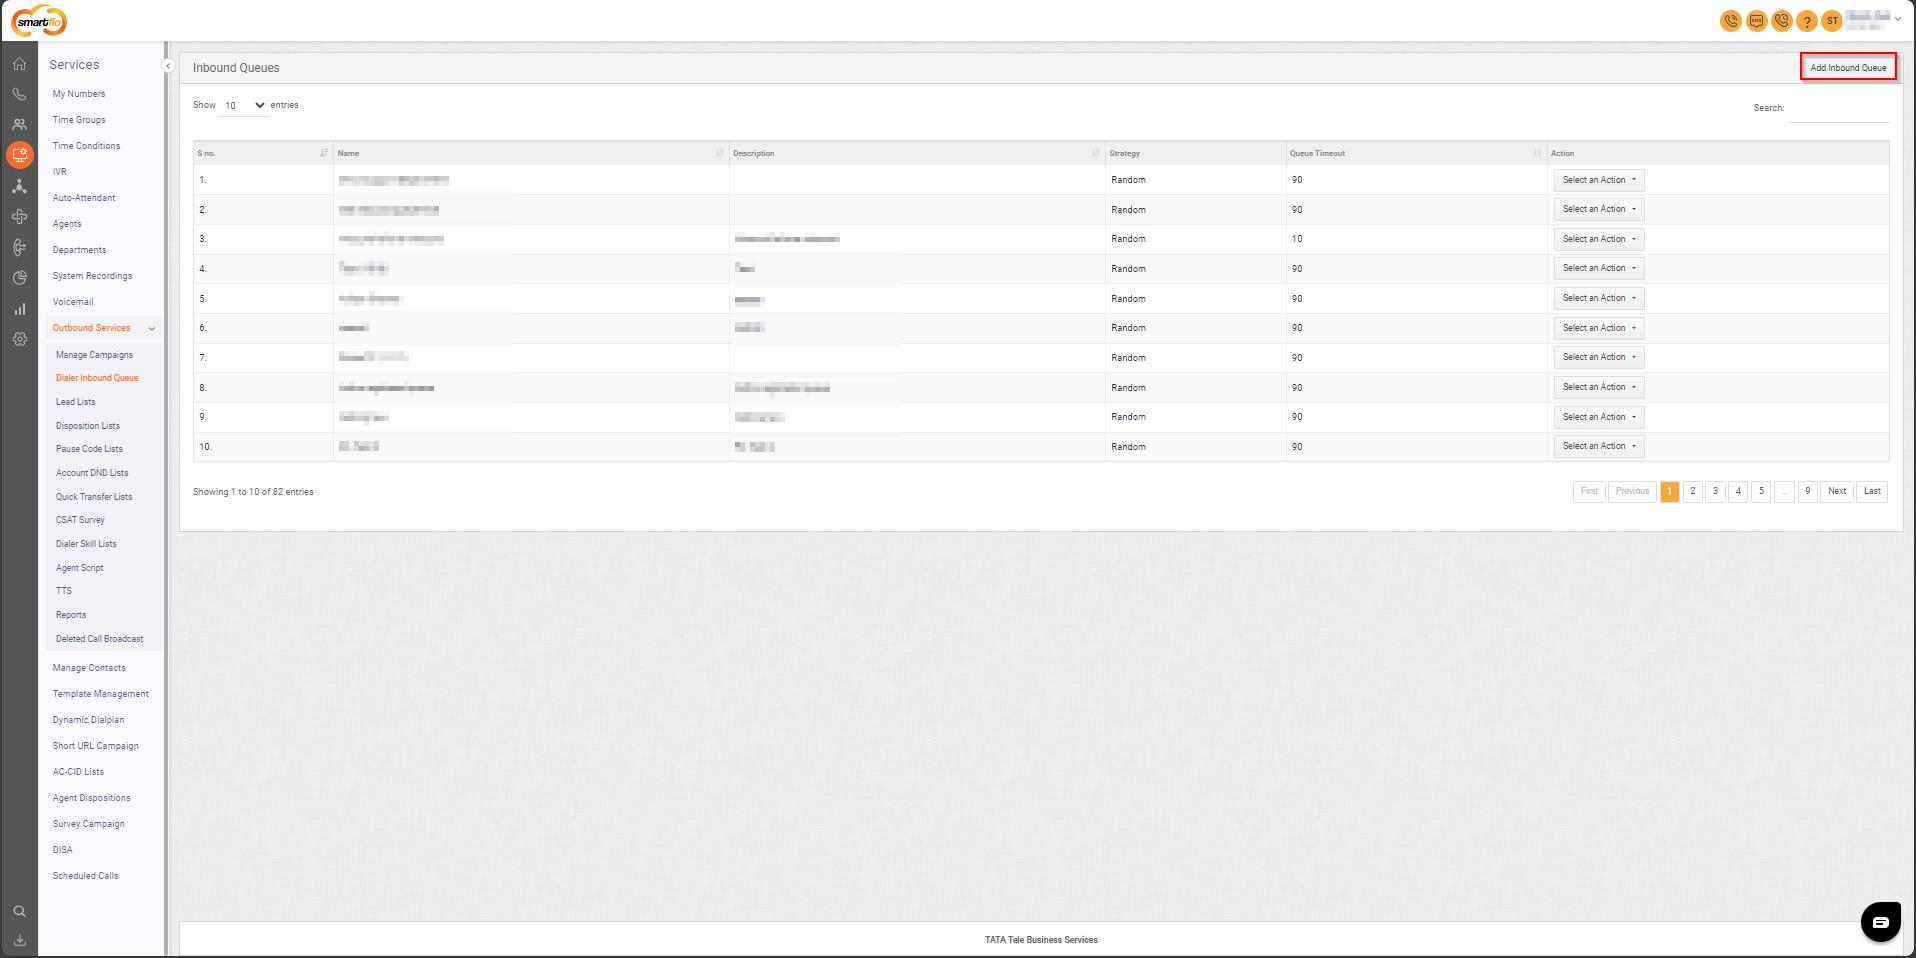
- The following screen will appear, prompting you to complete the necessary fields as shown in the screenshot below.
- General Details
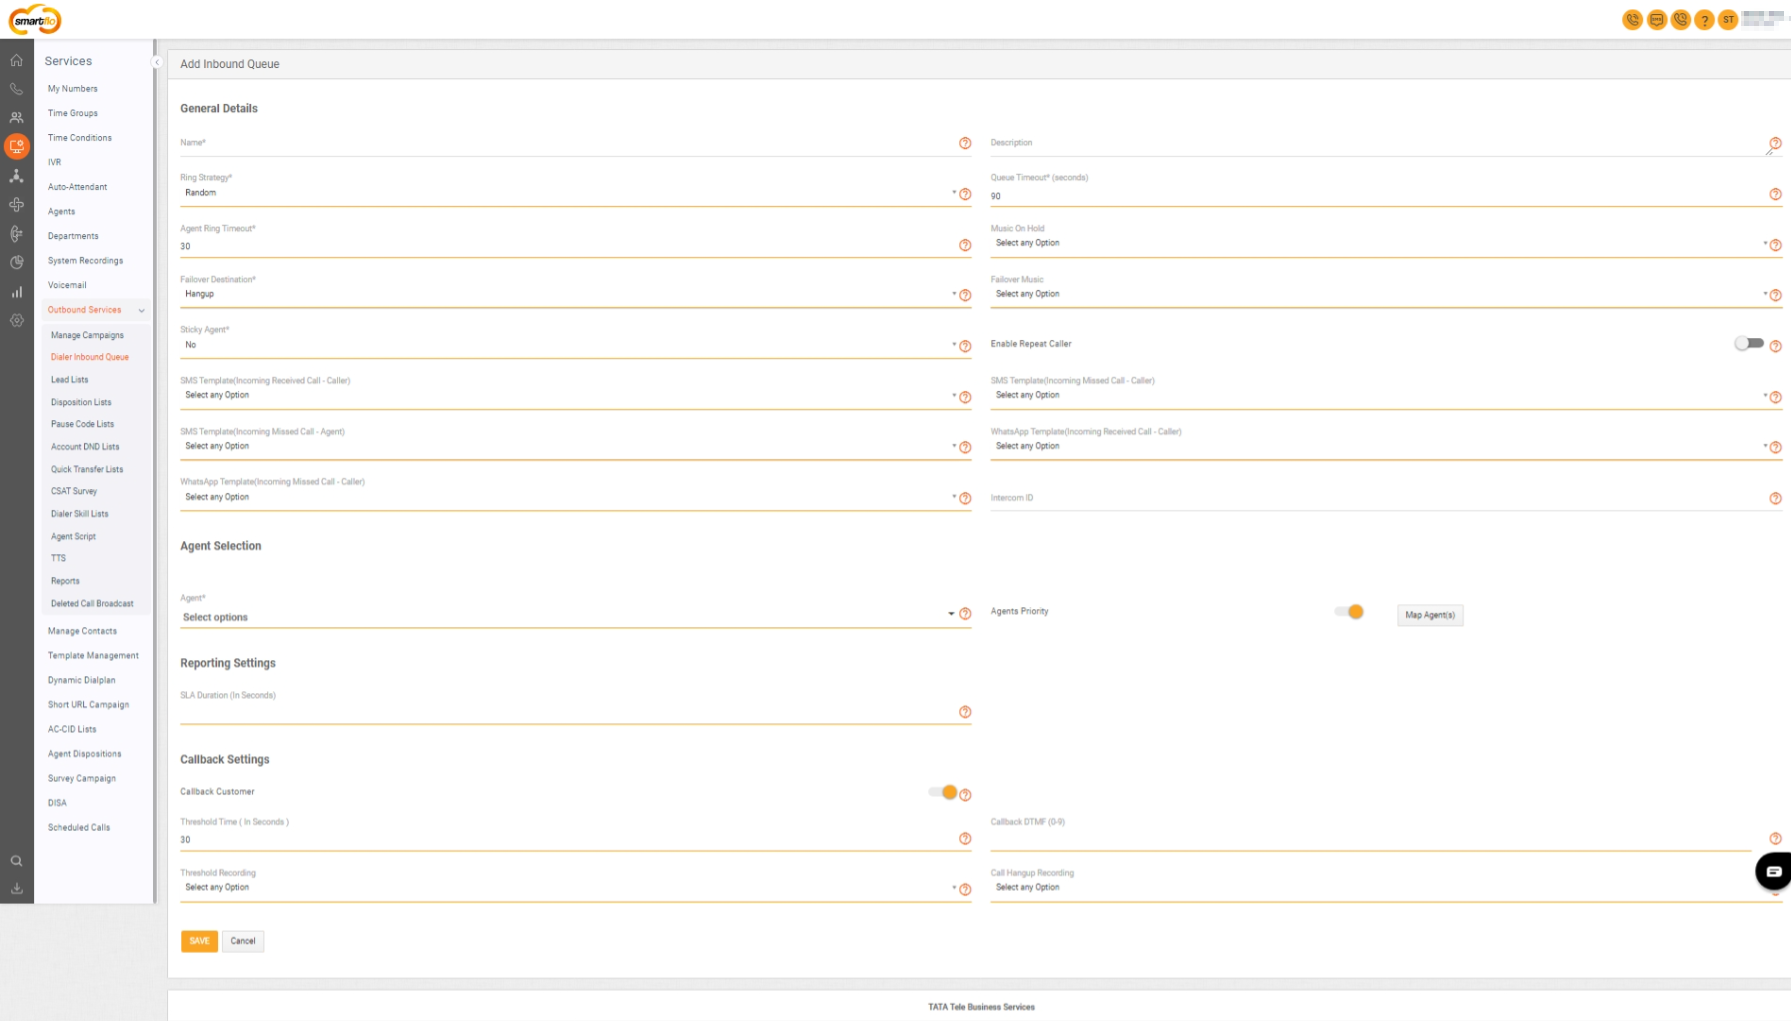
- Here is a table explaining the fields from the Add Inbound Queue interface based on the screenshot:
| Fields | Description | Options/Examples |
|---|---|---|
| Name | Enter the Name of the dialer inbound queue. |
|
| Description | Enter the description of the dialer inbound queue. |
|
| Ring Strategy | When a customer calls the campaign's DID, there are several strategies through which calls can be distributed to agents. |
|
| Queue Timeout (Seconds) | Enter the maximum time a caller can remain in the queue before the system takes alternative action (e.g., redirect or end the call). |
|
| Agent Ring Timeout | Enter the time for which the call will ring on each agent before getting routed to the next available agent. |
|
| Music On Hold | Choose the recording that will play music or a message when the call is placed on hold.
|
|
| Failover Destination | Set the destination to which a call will be forwarded if no agent is available. |
|
| Failover Music | Music is to be played if no one picks up the call.
|
|
| Sticky Agent | This feature allows customers to connect to the same agent with whom they have already connected in the past. Select the Sticky Agent as Yes or No from the dropdown. If Yes, fill in the required fields that appear on the panel. The fields enable to mapping of the callers to the same agent for all future interactions.
|
|
| Enable Repeat Caller Toggle | Specify the time period (in days) for the agent to receive repeat caller alerts. Note: The maximum allowable period is 10 days. |
|
| SMS Template(Incoming Received Call- Caller) | Choose the SMS template to be sent to the caller if the incoming call is received by the agent.
|
|
| SMS Template(Incoming Missed Call- Caller) | Choose the SMS template to be sent to the caller if the incoming call is missed.
|
|
| SMS Template(Incoming Missed Call- Agent) | Choose the SMS template to be sent to the agent if the incoming call is missed.
|
|
| WhatsApp Template(Incoming Received Call - Caller) | Choose the Whatsapp template to be sent to the caller over WhatsApp if the incoming call is received.
|
|
| WhatsApp Template(Incoming Missed Call - Caller) | Choose the Whatsapp template to be sent to the caller over WhatsApp if the incoming call is missed.
|
|
| Intercom ID | Enter a 4-digit intercom ID, used to transfer calls to a specific inbound queue. |
|
- Agent Selection
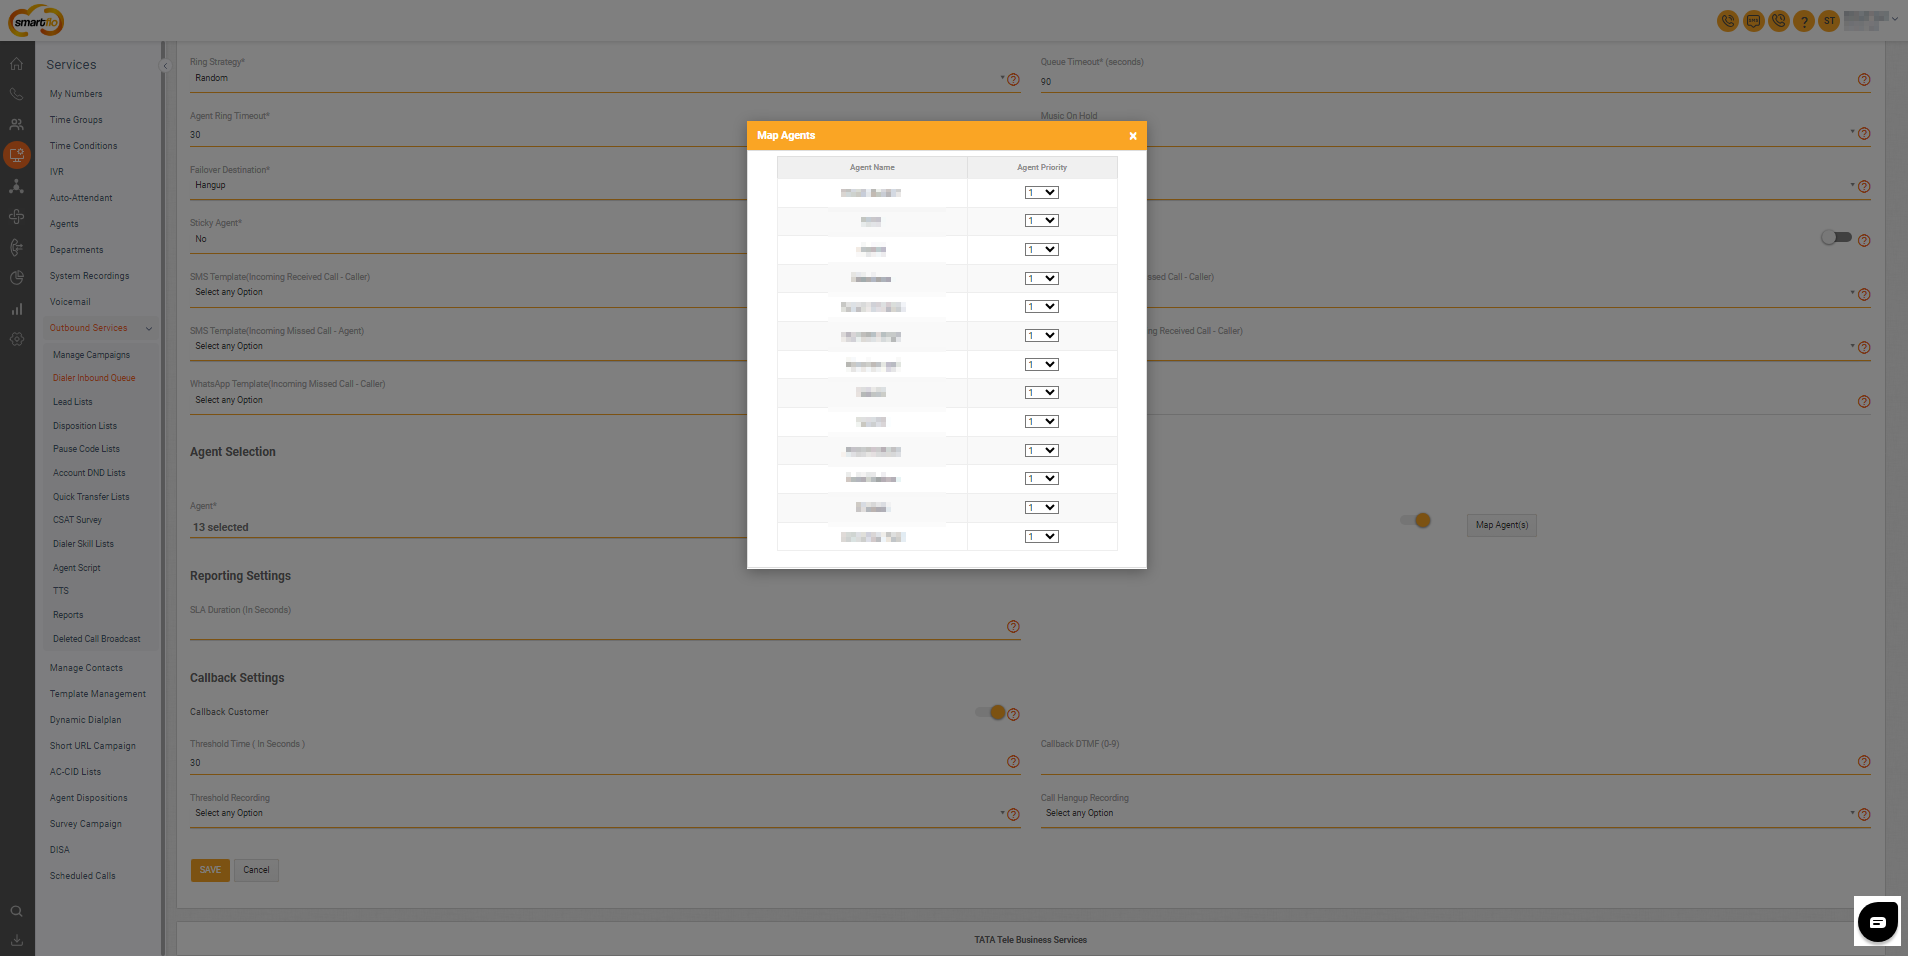
- Fill in the following details in Agent Selection.
| Field | Description | Options/Example |
|---|---|---|
| Agent | Select the agents to route the customer's call waiting in the inbound queue. | Example: Assign agents like "John Doe" or "Jane Smith" to handle calls in the queue. |
| Agents Priority toggle | Enable the toggle, click Map Agents, and assign priority to agents for incoming calls, with 30 being the highest priority and 1 the lowest. | Example: Assign "John Doe - Priority 30" (highest priority) and "Jane Smith - Priority 15" (medium priority) to prioritize call routing effectively. |
- Reporting Settings
- Fill in the following details in Reporting Settings.
| Field | Description | Options/Examples |
|---|---|---|
| SLA Duration (In Seconds) | Enter the time in seconds, which will be used to identify if the call was connected to the agent within the specified SLA or outside of it. | Example: Set "30 seconds" as the SLA duration to ensure the call is connected within 30 seconds of being answered. |
- Callback Settings
- Fill in the following details in Callback Settings.
| Field | Description | Options/Example |
|---|---|---|
| Threshold Time (In Seconds) | Enter the time in seconds after which the callback can be activated. | Example: Set 60 seconds for the callback to activate after the customer waits in the queue for 60 Seconds. |
| Callback DTMF(0-9) | Enter the number between 0 and 9 to enable queue callback. | Example: Assign "5" as the DTMF input for customers to press if they want to request a callback. |
| Threshold Recording | Select the recording to be played to the customer after the callback threshold is reached. | Example: Use a recording such as "Thank you for your patience, press 5 to request a callback." |
| Call Hangup Recording | Select the recording to be played to the customer on hangup after activating the callback. | Example: Use a recording such as "Your callback request has been received. We will contact you shortly." |
- Click Save.