Agents
The agent section has been moved to the user section. In the user section, you can add individual users or perform a bulk upload of users. Add User
Agents Overview
A Supervisor can create and manage agents who are responsible for making and receiving calls. Agents are the key personnel in handling customer interactions and can be assigned specific roles and permissions within the system to ensure efficient call management.
Getting Started with Agents
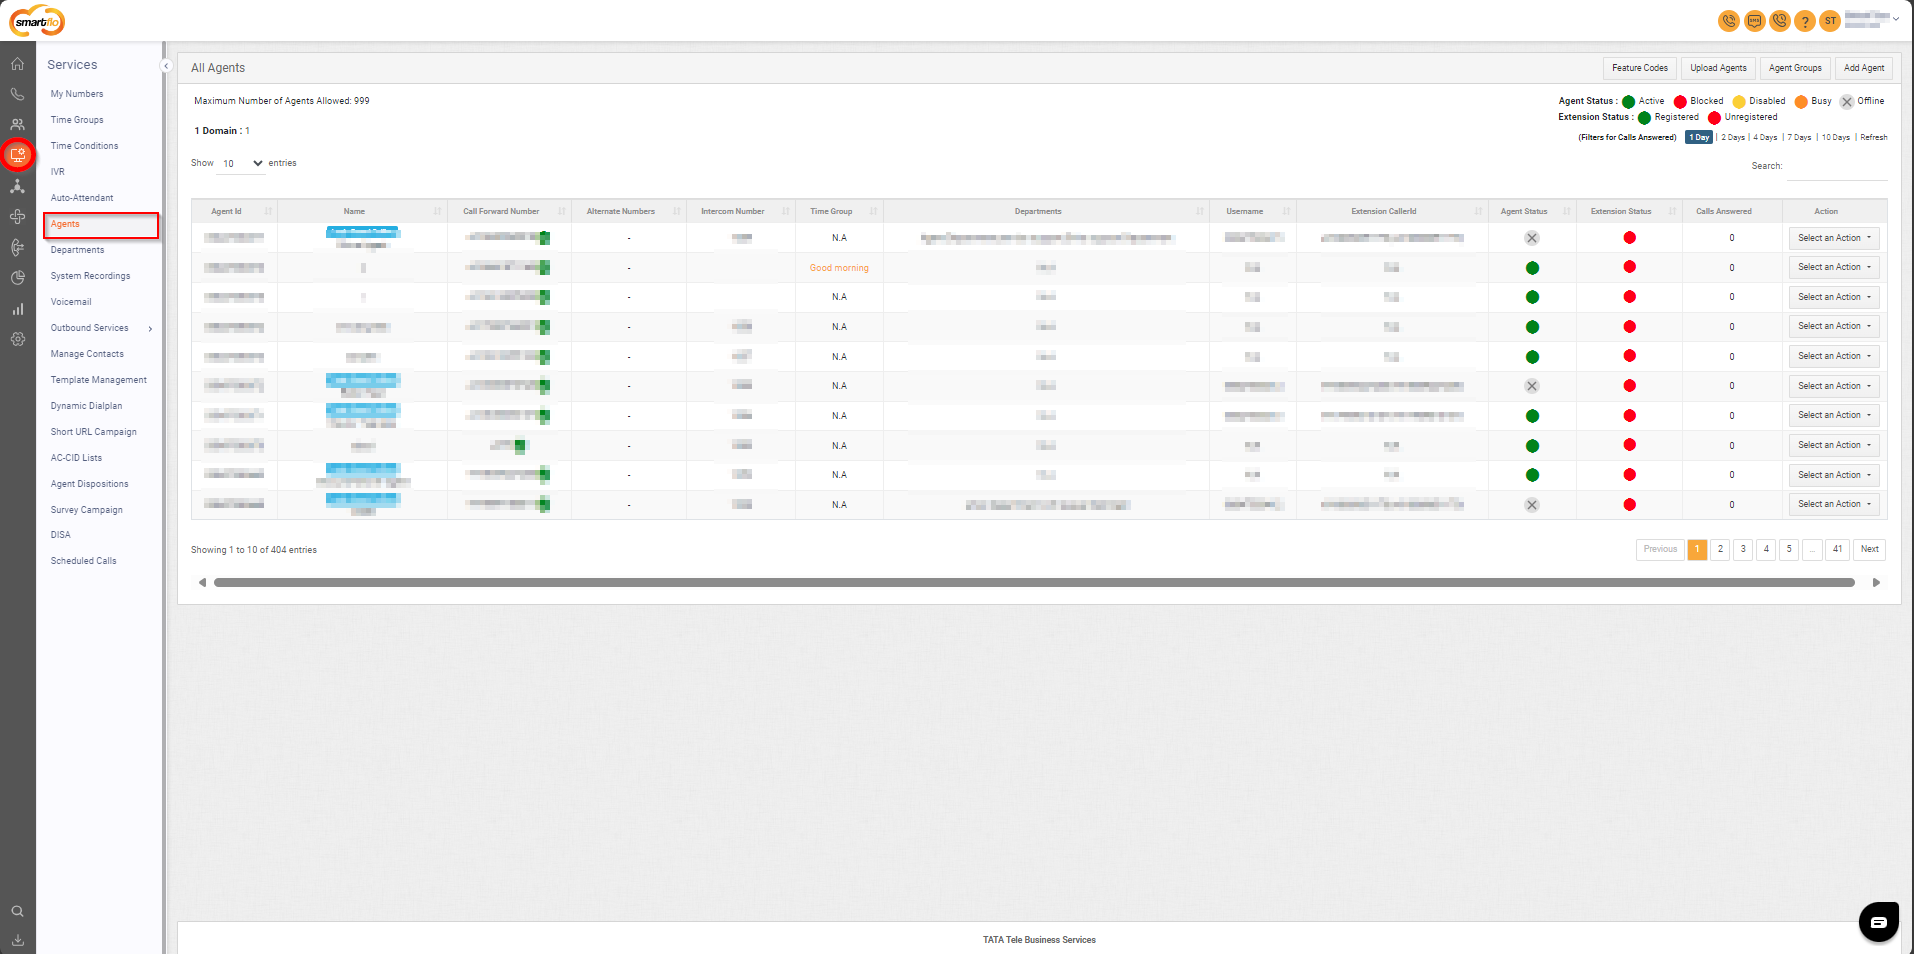
To go to Agents to your Smartflo account, first log in using your unique User ID and Password. Once logged in, you will be directed to the main dashboard. From there, locate the navigation menu on the left-hand side of the screen and click on "Services." A set of options opens up. One of these options is the “Agents".
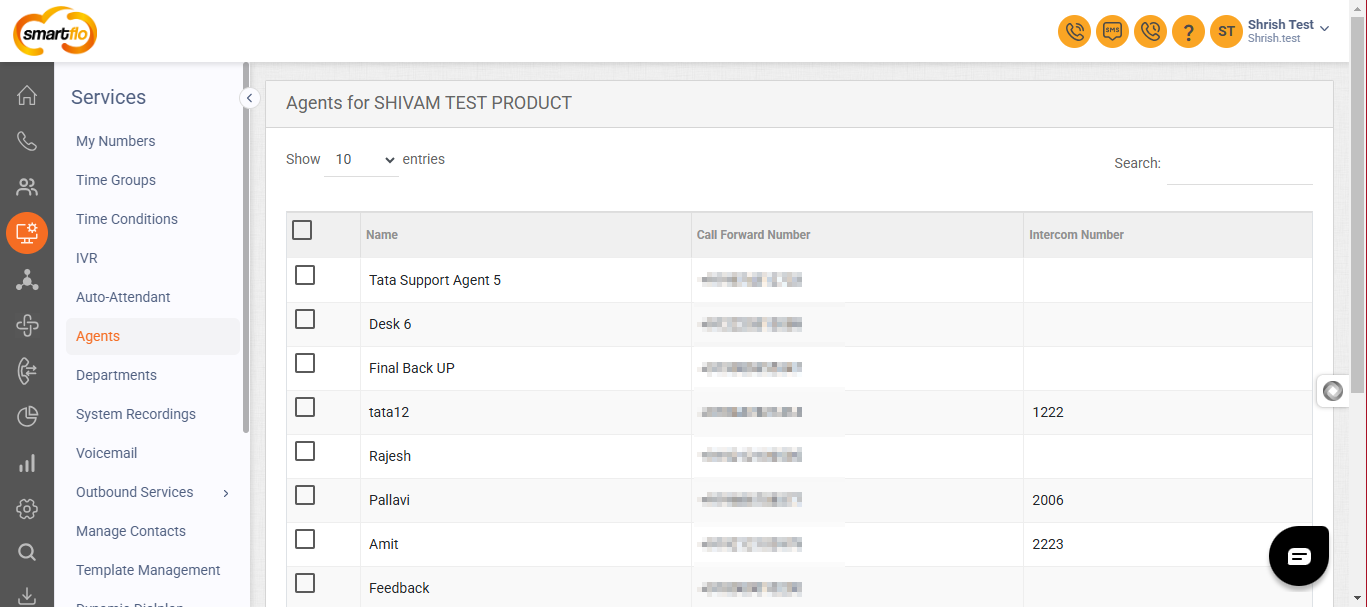
- List of Agents
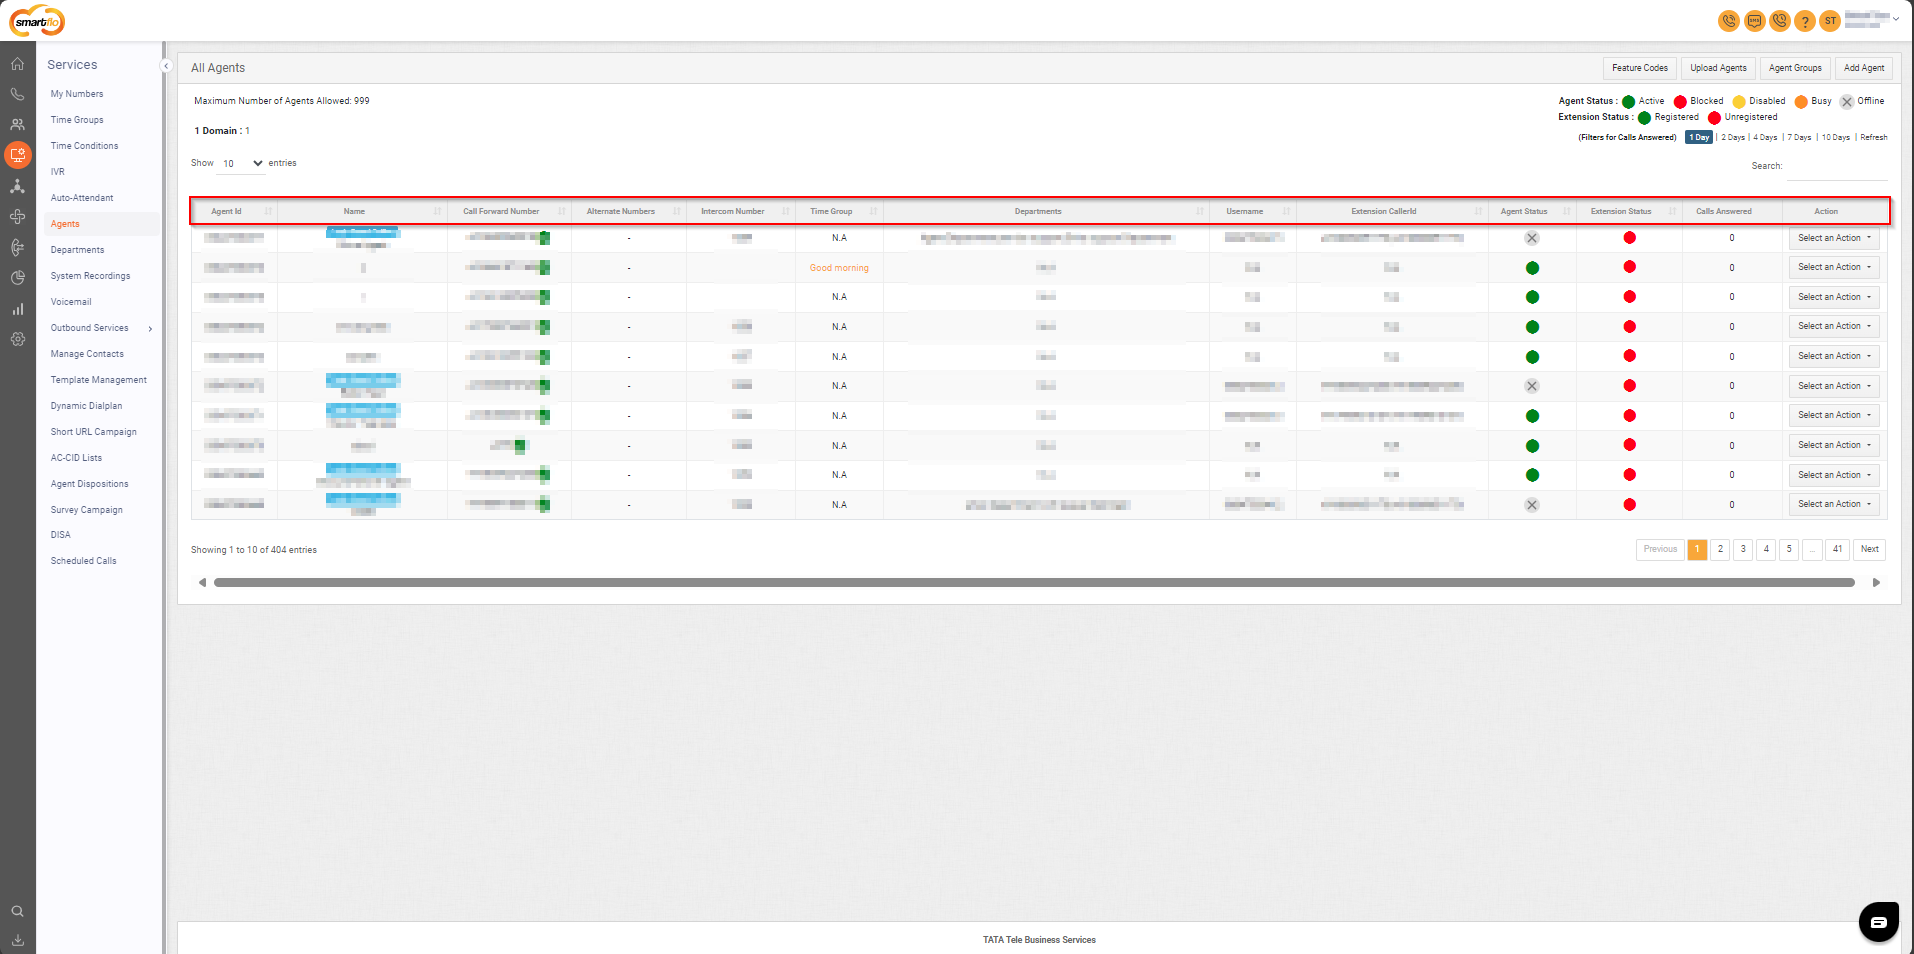
- The table displays a list of all agents with the following information:
| Field | Description |
|---|---|
| Agent ID | A unique identifier assigned to each agent for tracking and management purposes. |
| Name | The full name of the agent. |
| Call Forwarding Number | The Agent phone number where the incoming calls will be routed. |
| Alternative Numbers | Backup contact numbers for the agent, used for call forwarding or customized routing. |
| Intercom Number | The agent's 4 digit intercom number for internal communication within the organization. |
| Time Group | The working hours or shifts assigned to the agent, defining their availability for receiving calls. |
| Departments | The departments assigned to the agent, enabling call routing based on the department's call routing strategy. |
| Username | The agent's username used to log in and access the system |
| Extension Caller ID | The extension Caller ID assigned to the agent for making calls via the softphone. |
| Agent Status | The current status of the agent (e.g., Active, Blocked, Disabled, Busy, Offline). |
| Extension Status | The status of the agent's extension (e.g., Registered, Unregistered). |
| Calls Answered | The total number of incoming calls the agent has answered. |
| Action | Options to edit, block, delete, or disable the agent from making and receiving calls. |
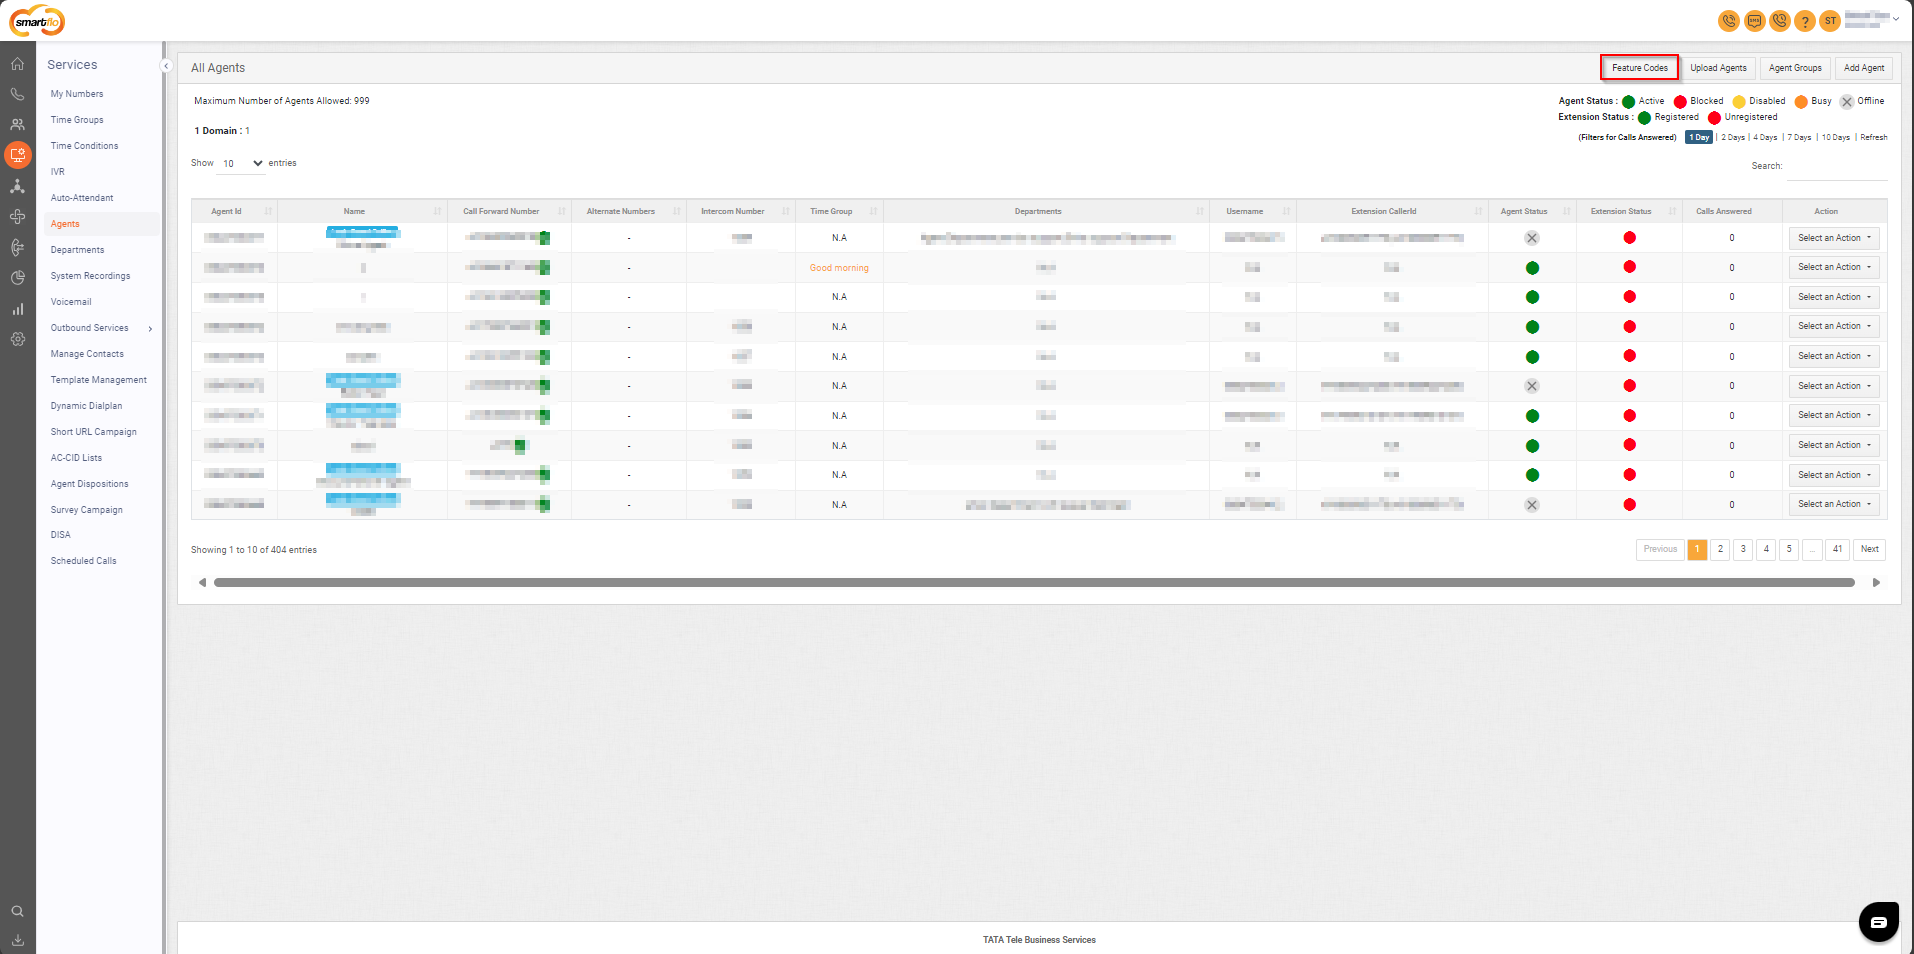
- Feature Codes
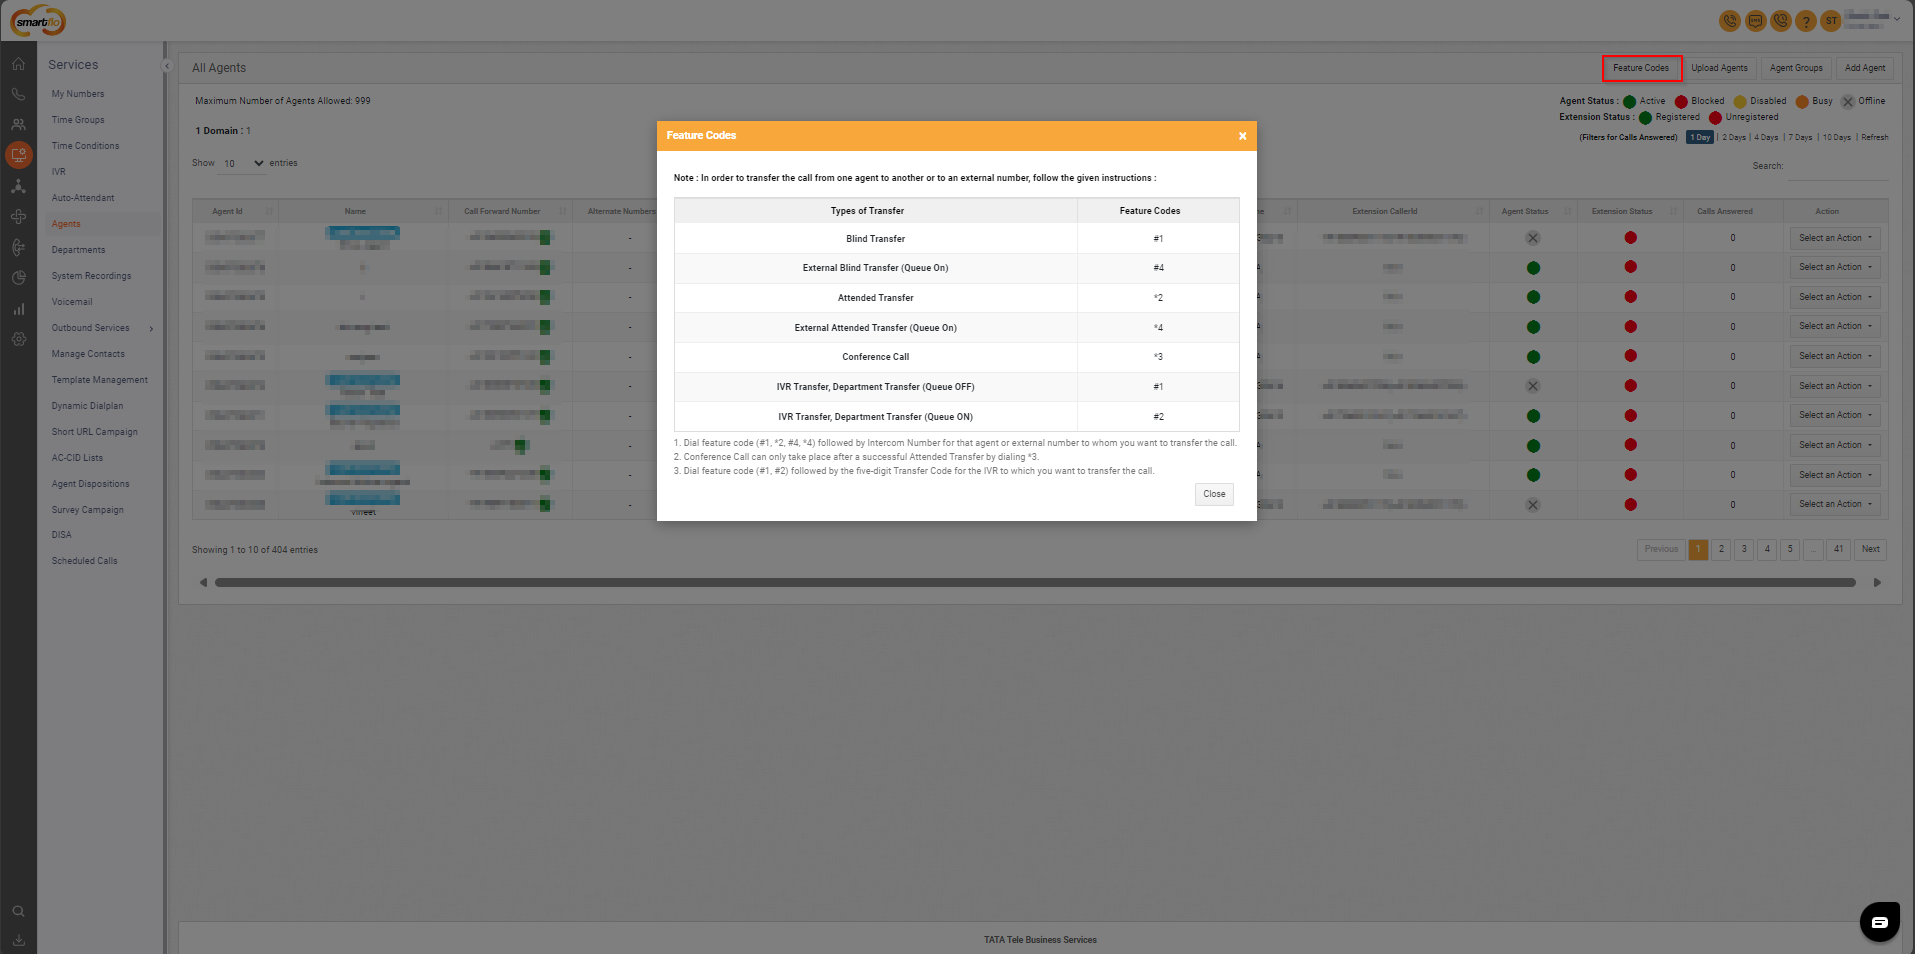
Note: In order to transfer the call from one agent to another or to an external number, follow the given instructions:
-
Dial feature code (#1, 2, #4, 4) followed by Intercom Number for that agent or external number to whom you want to transfer the call.
-
Conference Call can only take place after a successful Attended Transfer by dialing *3.
-
Dial feature code (#1, #2) followed by the five-digit Transfer Code for the IVR to which you want to transfer the call.
- Add Agent Groups
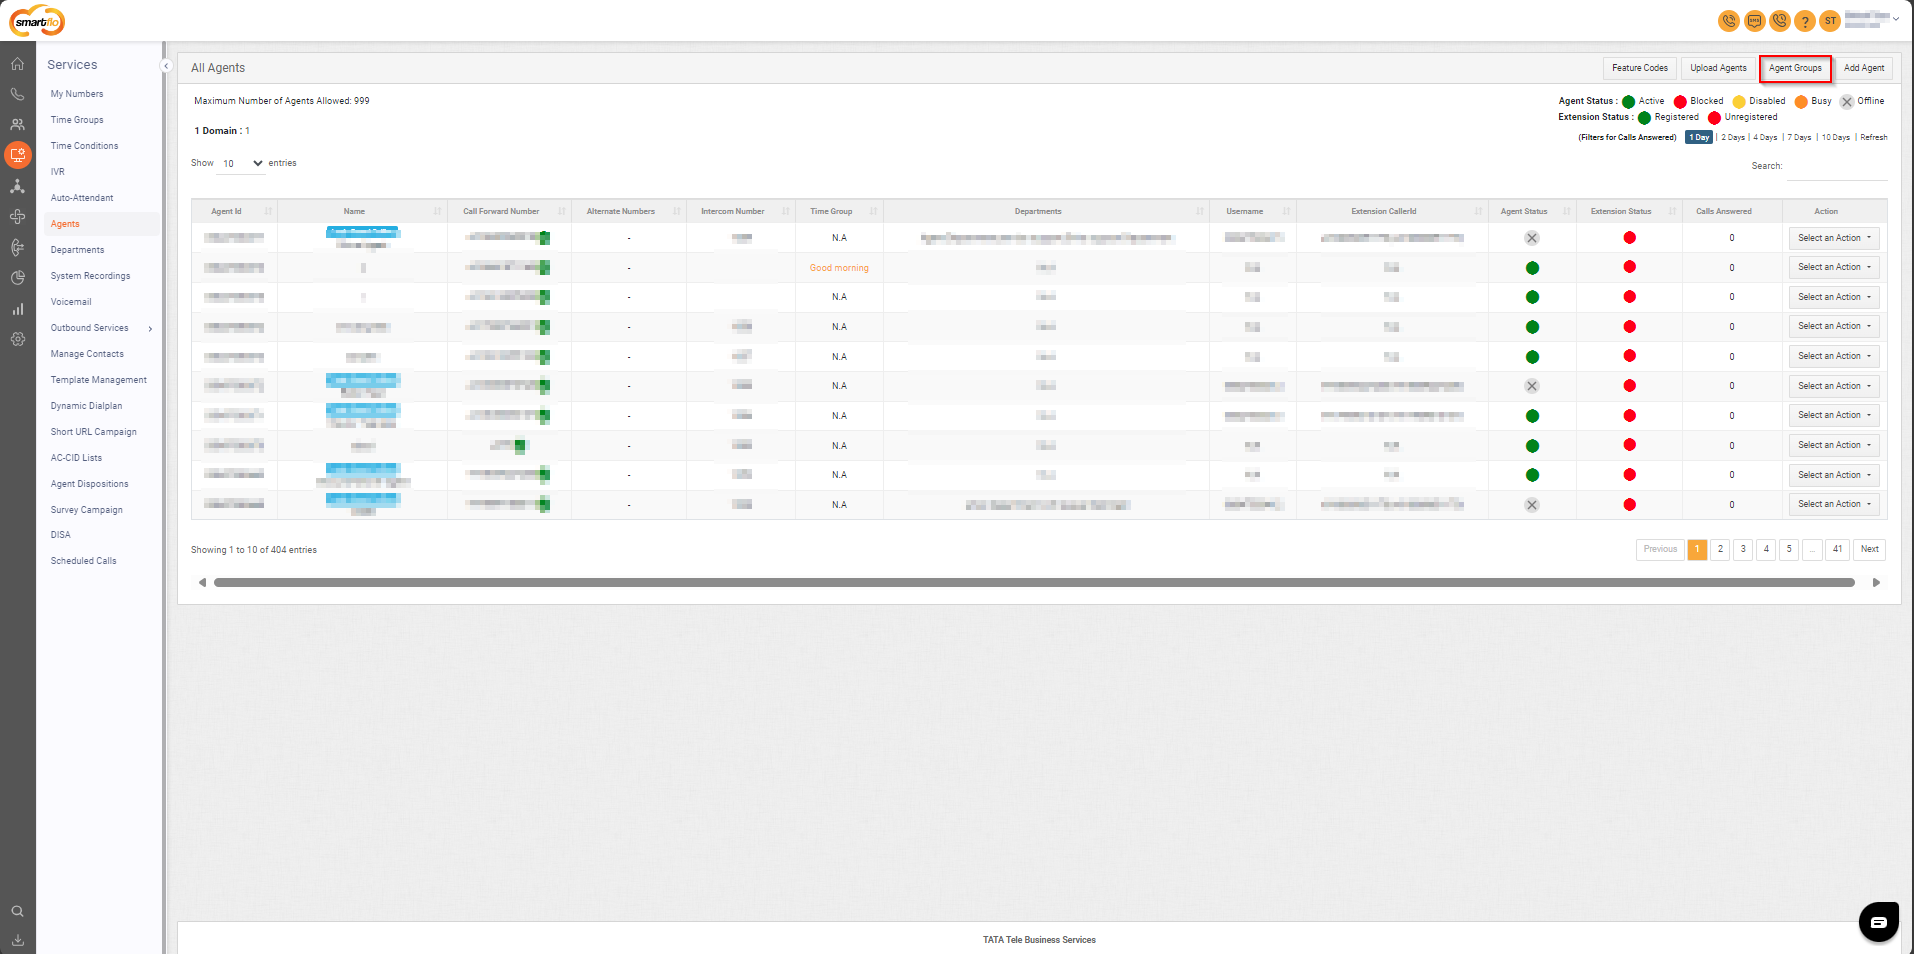
- To add an agent group, follow the below steps:
- Click on the Services tab on the side navigation.
- Click on Agents.
- Then click on Agent Groups button placed in the top-right corner.
- A list of all agent groups is displayed along with the relevant details.
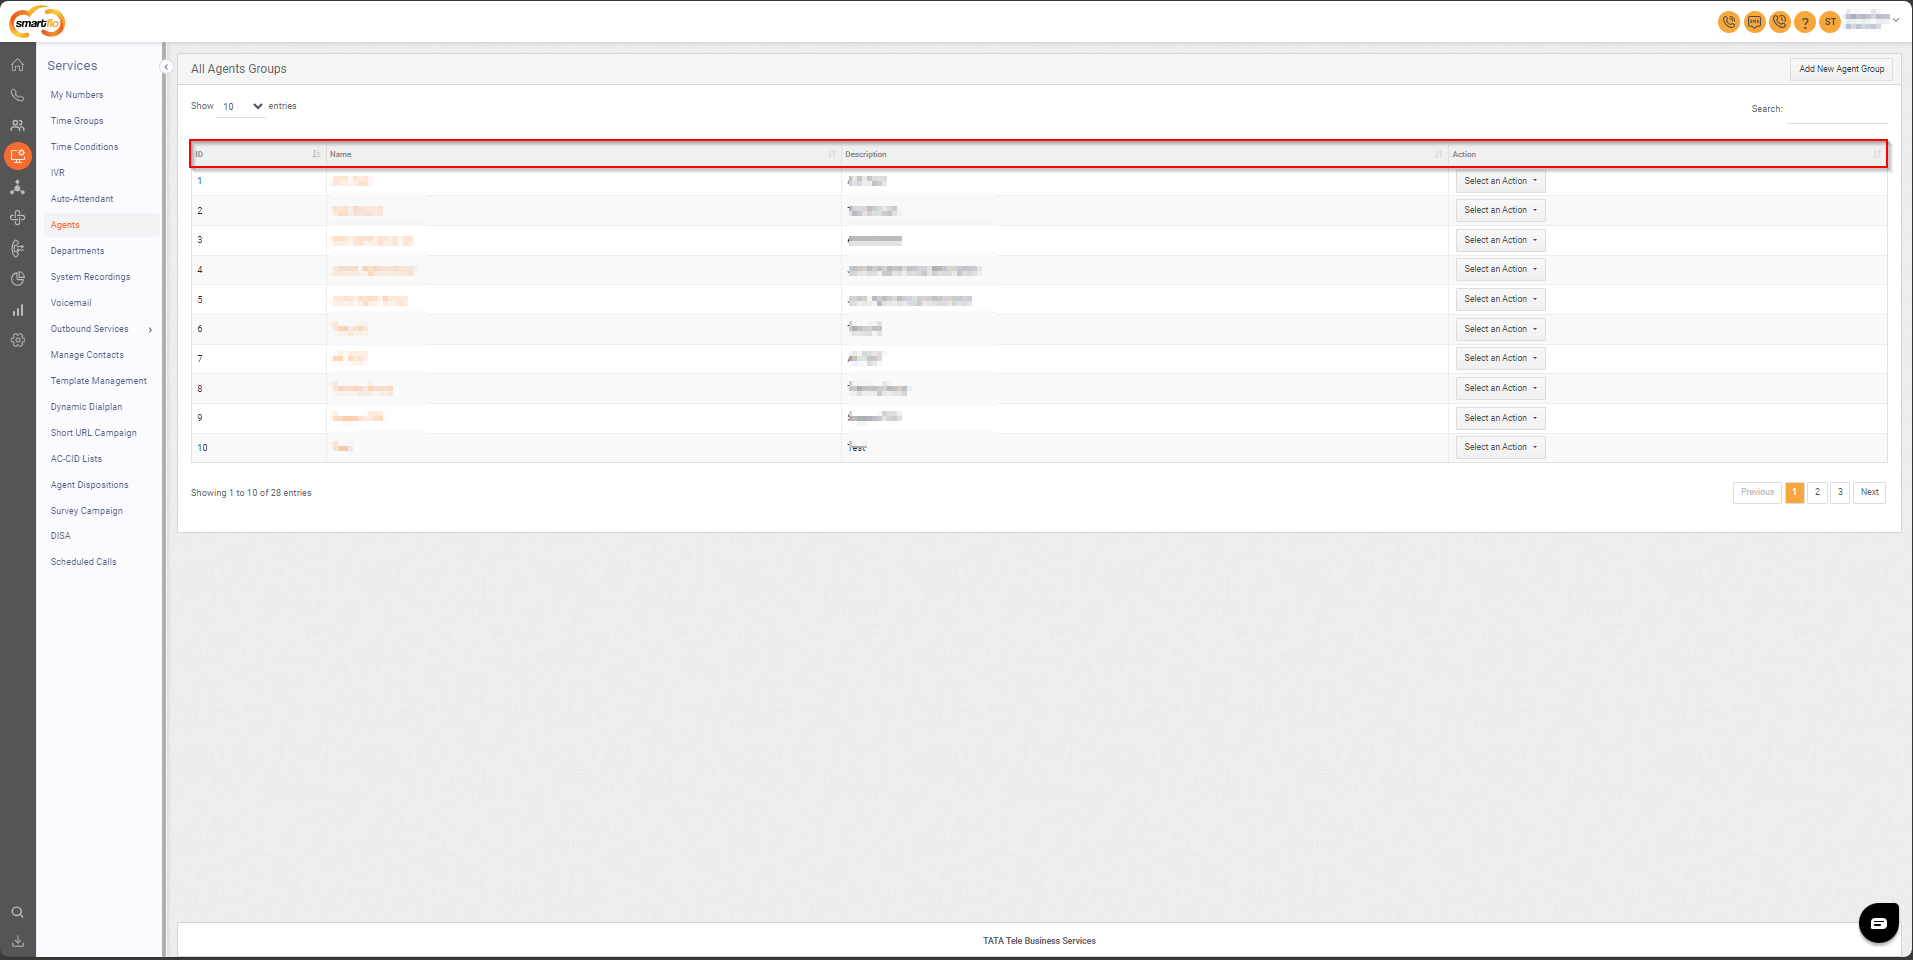
- The table displays a list of all users with the following information:
| Field | Description |
|---|---|
| ID | A unique identifier for the record. |
| Name | The name of the Agent group. |
| Description | A brief description providing more details about the Agent Group. |
| Action | Options to view associated agents, edit, or delete the record. |
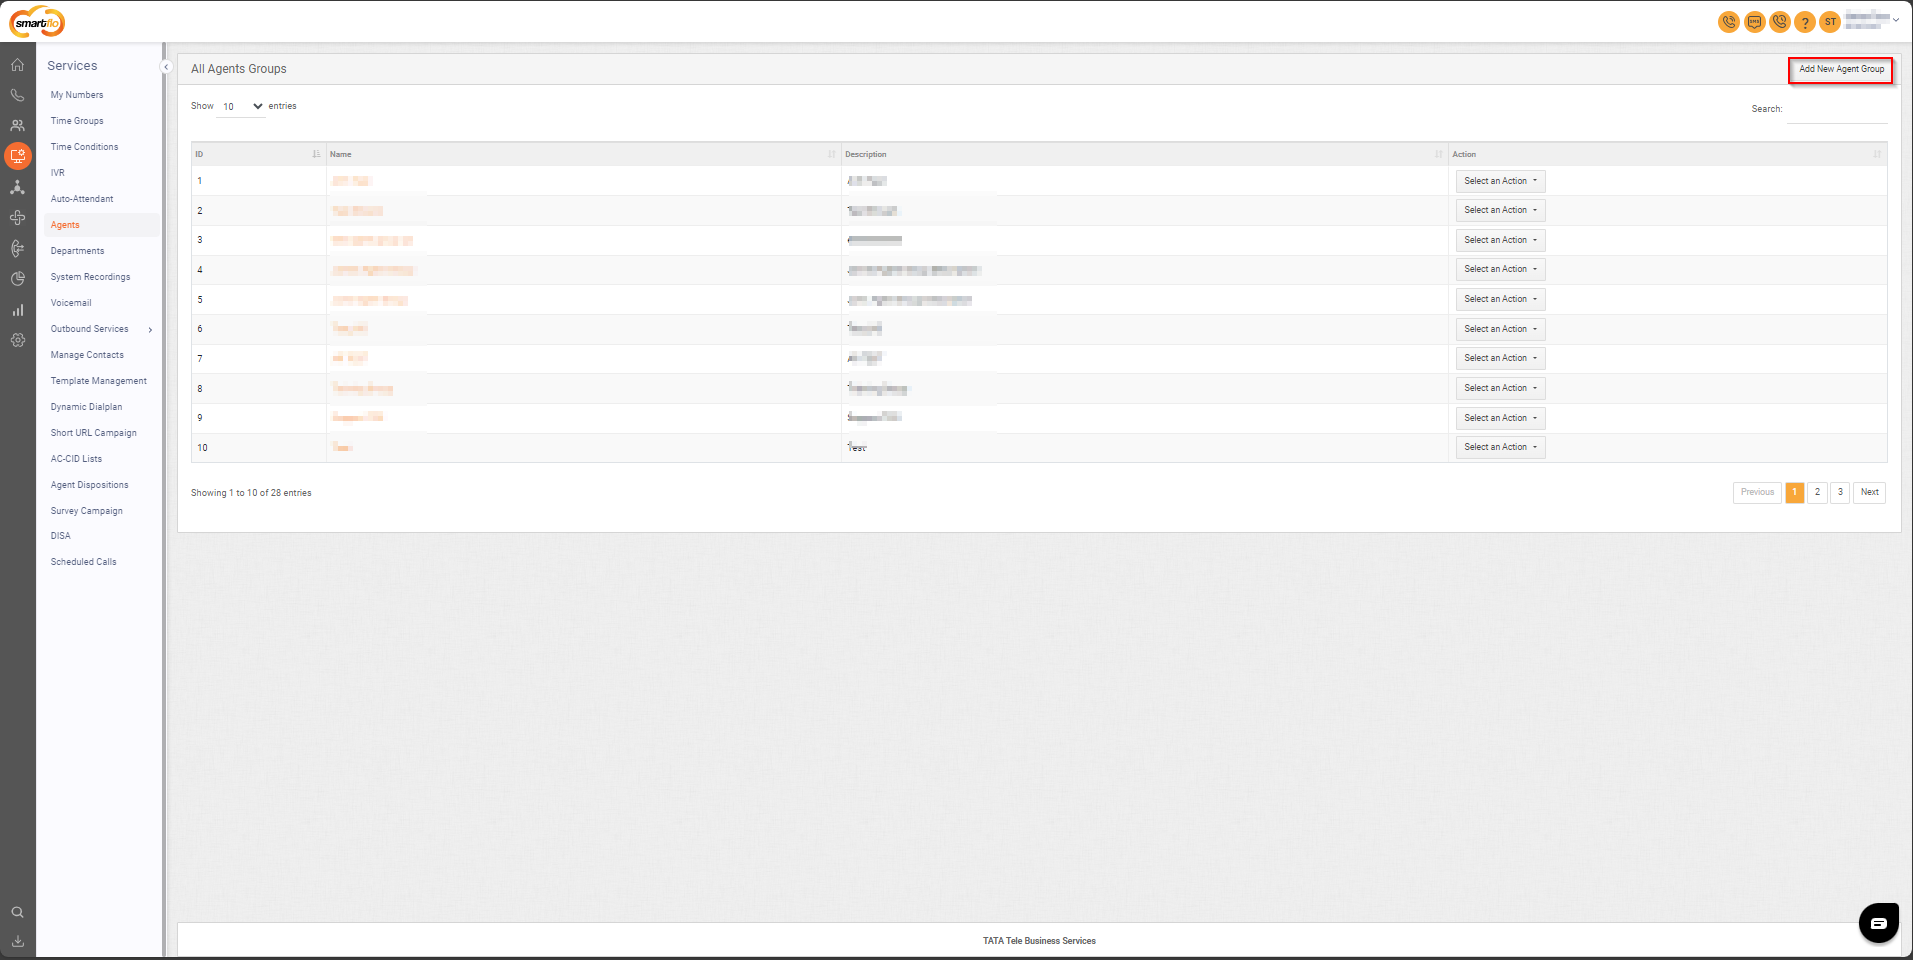
- Click on Add New Agent Group.
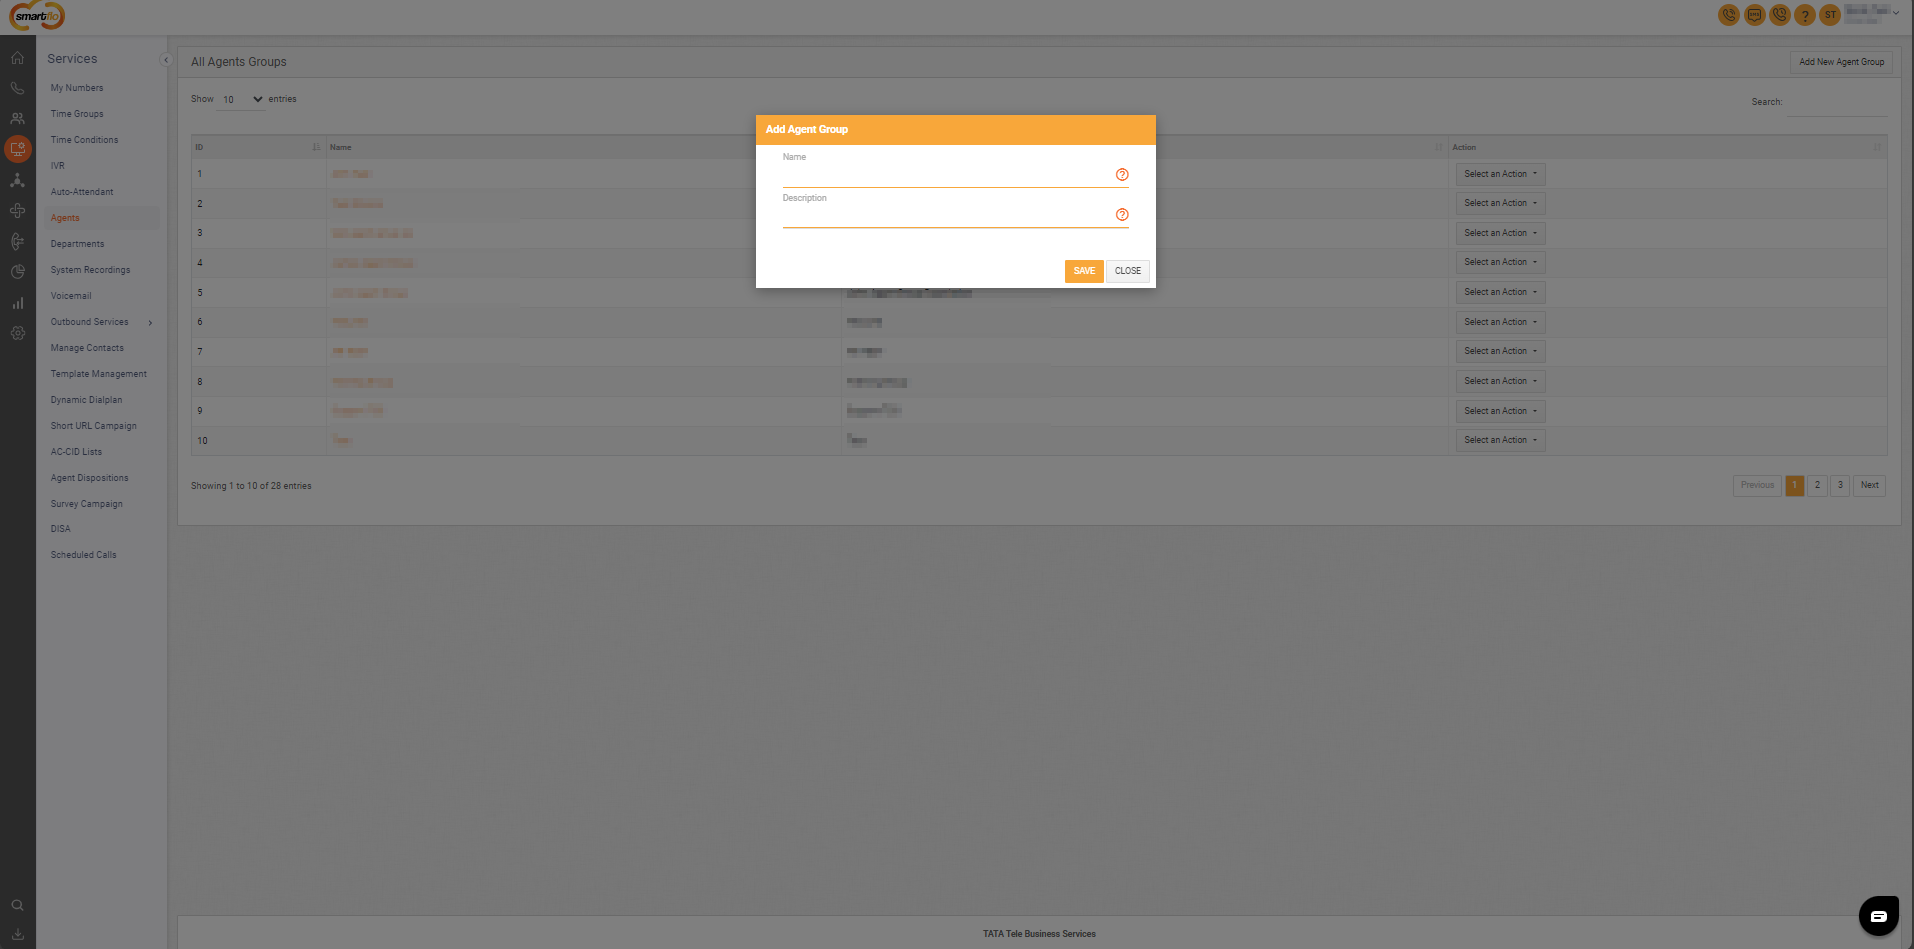
- Enter the Name and Description of the agent group.
- Open the Agent group
- Select the agents to be added to the Agent group.
- Click on Save.
- Color Codes
- The color codes define Agent Status and Extension Status.
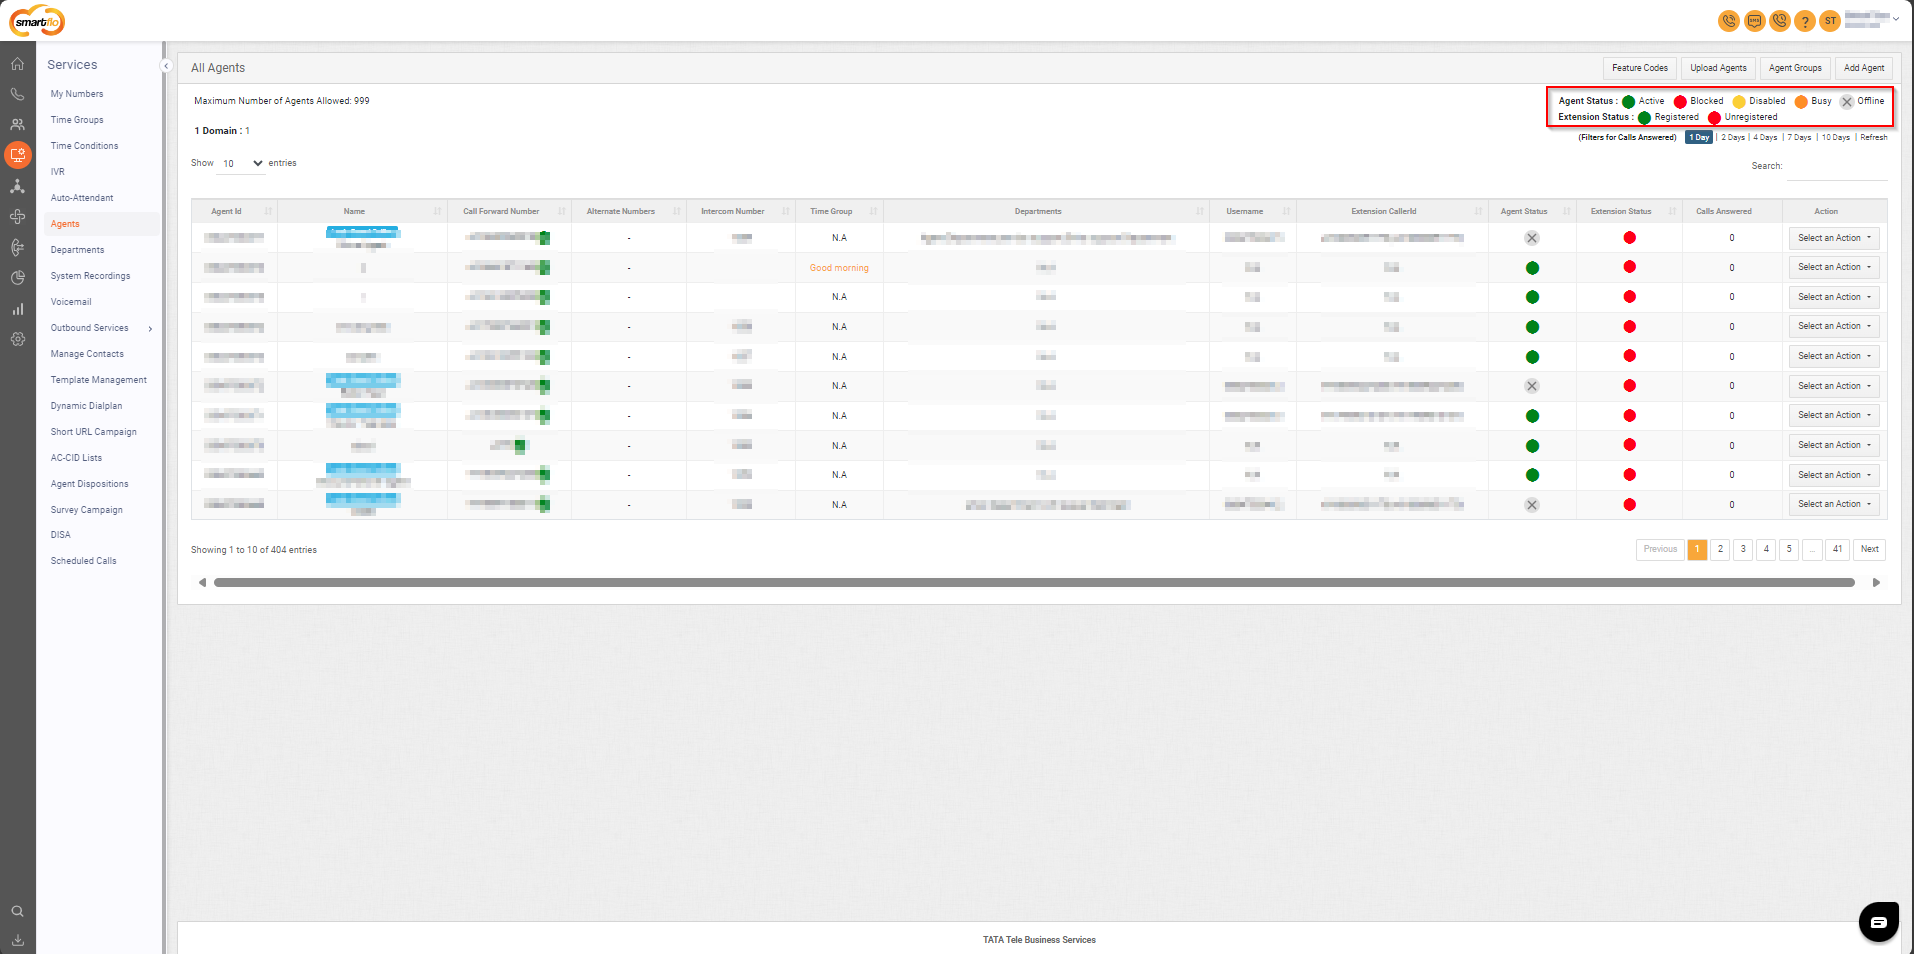
- Agent Status
Green: Active
Red: Blocked
Yellow: Disabled
Amber: Busy
Grey: Offline
- Extension Status
Green: Registered
Red: Unregistered
- Filters for Calls Answered

- Click on the days for which you want to filter out the number of calls answered and click on Refresh to get the updated count of calls answered by the agent.
Updated about 1 year ago